How To Lighten Red Oak
A very common problem you may run into when designing, building or renovating a home is matching your wood colors. Older homes used lots of reddish woods but these days everything tends to be lighter and more muted with a natural coloring. So how do you lighten red oak? Ahead we’ll find out.
You may not realize this but it’s not that hard to take the red out of red oak. There are two basic types of coloring found in most pieces of finished wood. The first is it’s natural coloring which is found all the way through the wood. The second is man made added color like stain and varnish which is generally only a surface coloring. The good news is that both types of wood coloring is removable through the same basic processes which involves a simple solution.
That solution is a two part formula made from sodium hydroxide (caustic soda a.k.a. lye) and hydrogen peroxide.
You can buy it from the store or make it yourself at home. It’s great for removing both man made dyes and natural coloring from wood. But keep in mind the bleaching is only at the surface. If you cut or sand into the wood you’ll expose more coloring which will need to be bleached again.
Working with chemicals can pose health and safety hazards. Be sure to read the manufacturer’s instructions and warnings beforehand. And always wear rubber gloves and eye protection. It’s a good idea to have good ventilation too.
Ahead we’ll look at how to lighten red oak wood in more detail.
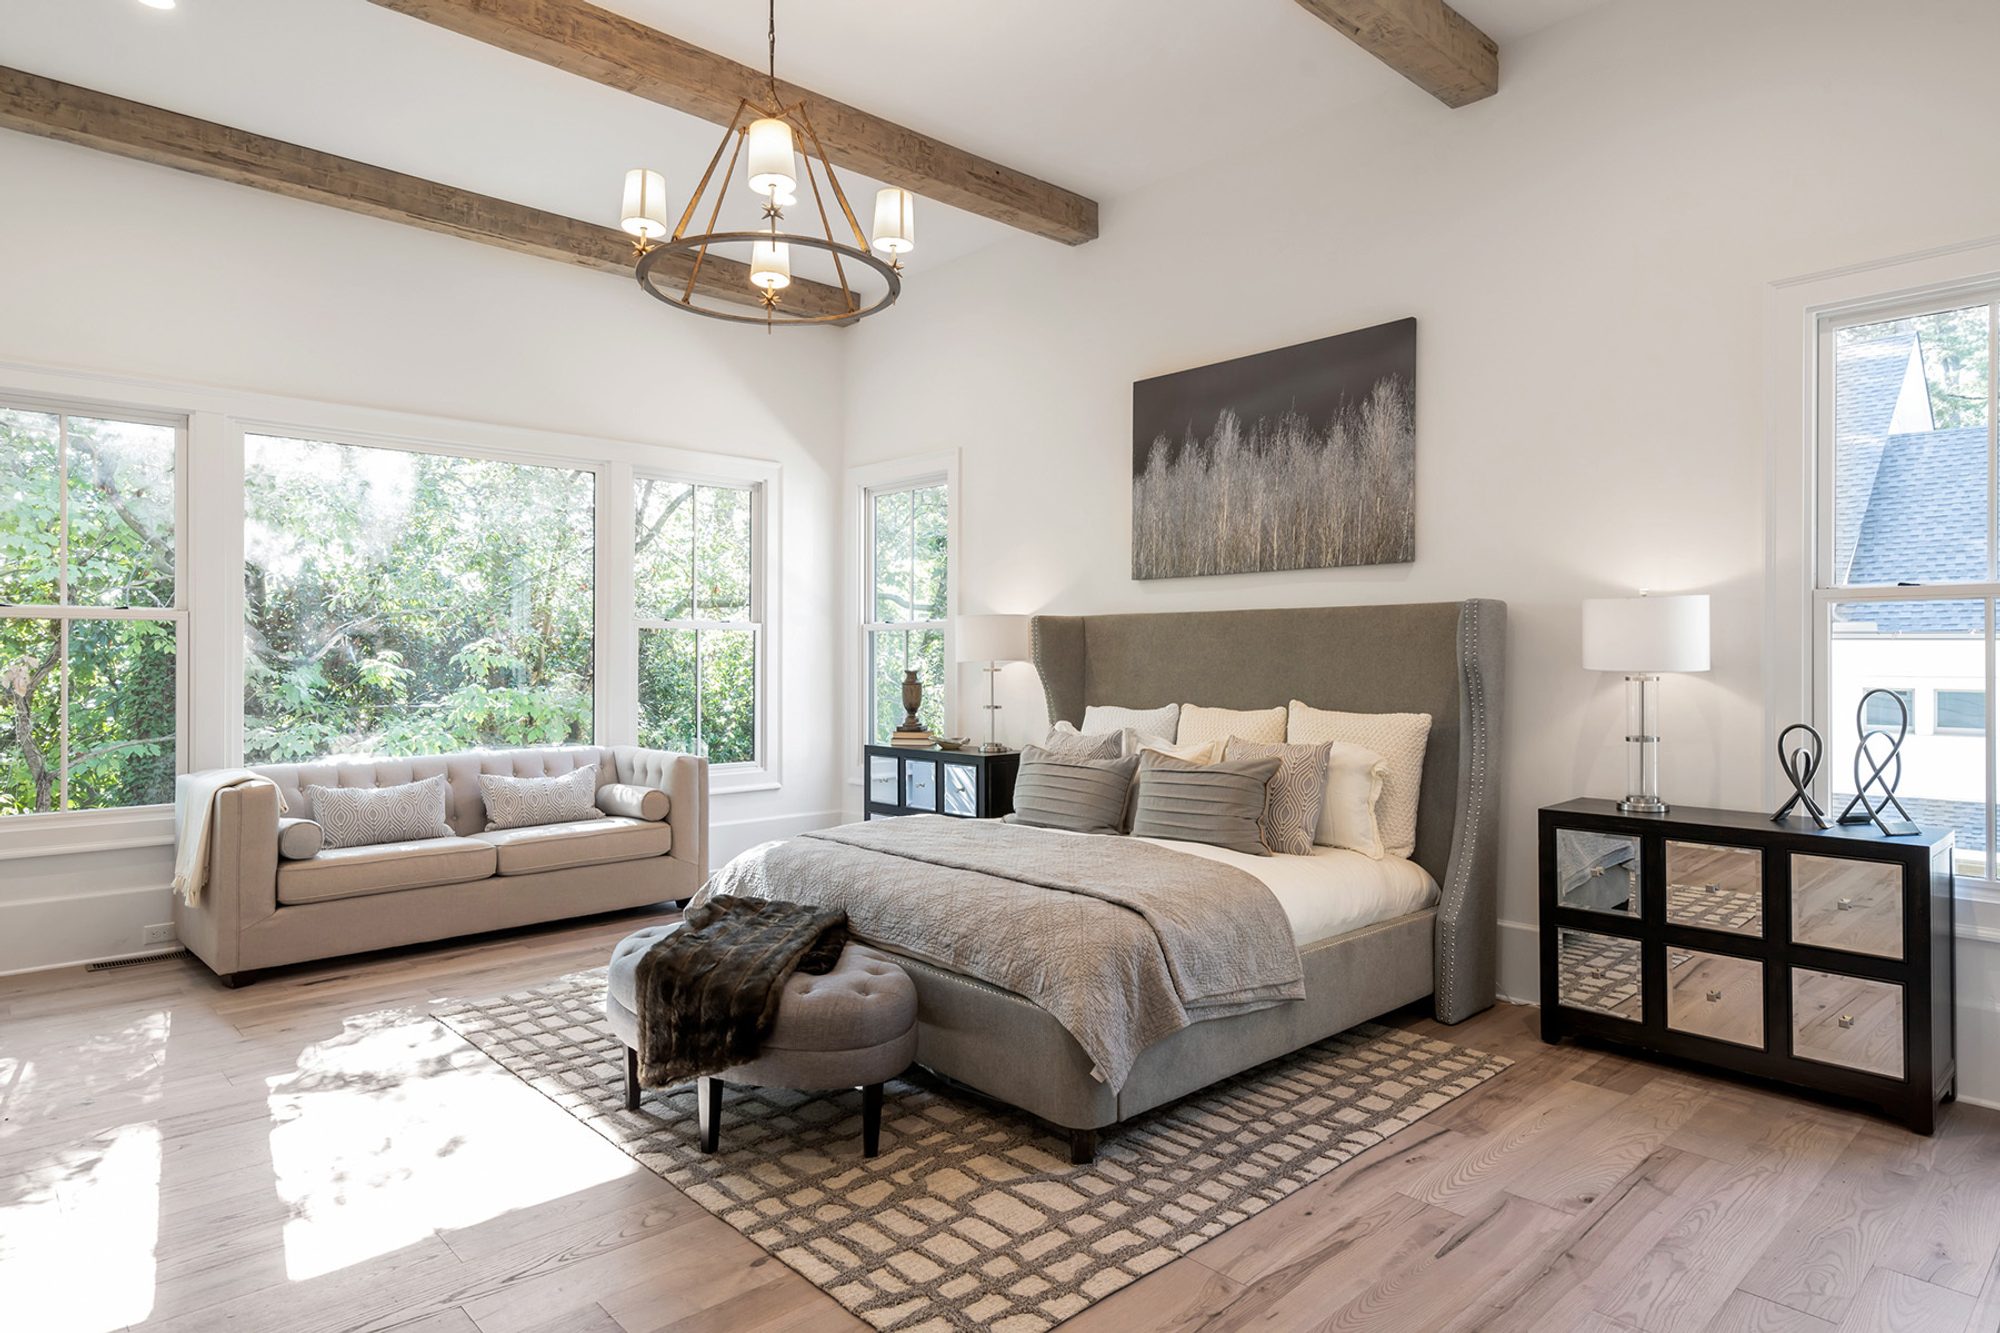
Bleached exposed ceiling beams to match the light grayish wood floors.
DIY Homemade Wood Bleach
There are premixed wood bleaches on the market but they’re all overpriced in my opinion. The solution I like to use is made from two very basic and cheap products that you may actually already have in your home. Regular household hydrogen peroxide and lye.
If you don’t have the ingredients then you can pick up hydrogen peroxide at any convenience or drug store like CVS. Lye is at your local Home Depot in the plumbing isle. It’s typically used to unclog pipes.
This is a very simple process involving soaking your wood in peroxide and then a lye/water solution.
Step 1. Mixing The Lye & Water Solution
Fill a container with 1 qt of water. It’s important that you use a plastic or glass container and not metal. Then slowly added 3 tablespoons of lye to the water. Stir the water slowly between each tablespoon.
Vary the amount of solution you make based on the wood your bleaching.
Important: When handling or working with lye, you should always wear gloves and eye protection. Also do this in an area with good ventilation and read the instructions and warnings on the label. Never pour water into the lye and don’t pour a bunch of lye into the water at one time. This is something you’ll want to do slowly. Do not mix lye into your peroxide.
Step 2. Apply The Peroxide To Your Wood
Once the lye and water solution is ready to go, you pour a bit of hydrogen peroxide all by itself onto the red oak. You don’t pour any lye onto the wood yet, just the straight peroxide.Make sure to get the wood soaked with peroxide. Make sure not to miss any spots.
Step3. Brush On The Lye
After the wood is soaked in peroxide you spread the lye solution all over the wood with a foam brush. Make sure you get a good thick coverage.
Step 4. Dry
Once the wood has been soaked in peroxide and then lye, set it out and let it dry in the sun.
Step 5. Rinse the Wood
After the wood has completely dried you may notice a subtle yellow tint. Don’t worry, this is just a bit of residue left behind from the lye solution. You can try rinsing once with a simple water and white vinegar solution. The mild acid will help remove all the lye from your wood.
Using clean water, rinse the surface of the wood and wipe it dry with a towel. Then let it completely dry again.
This process will remove most of the reddish coloring found within the wood.
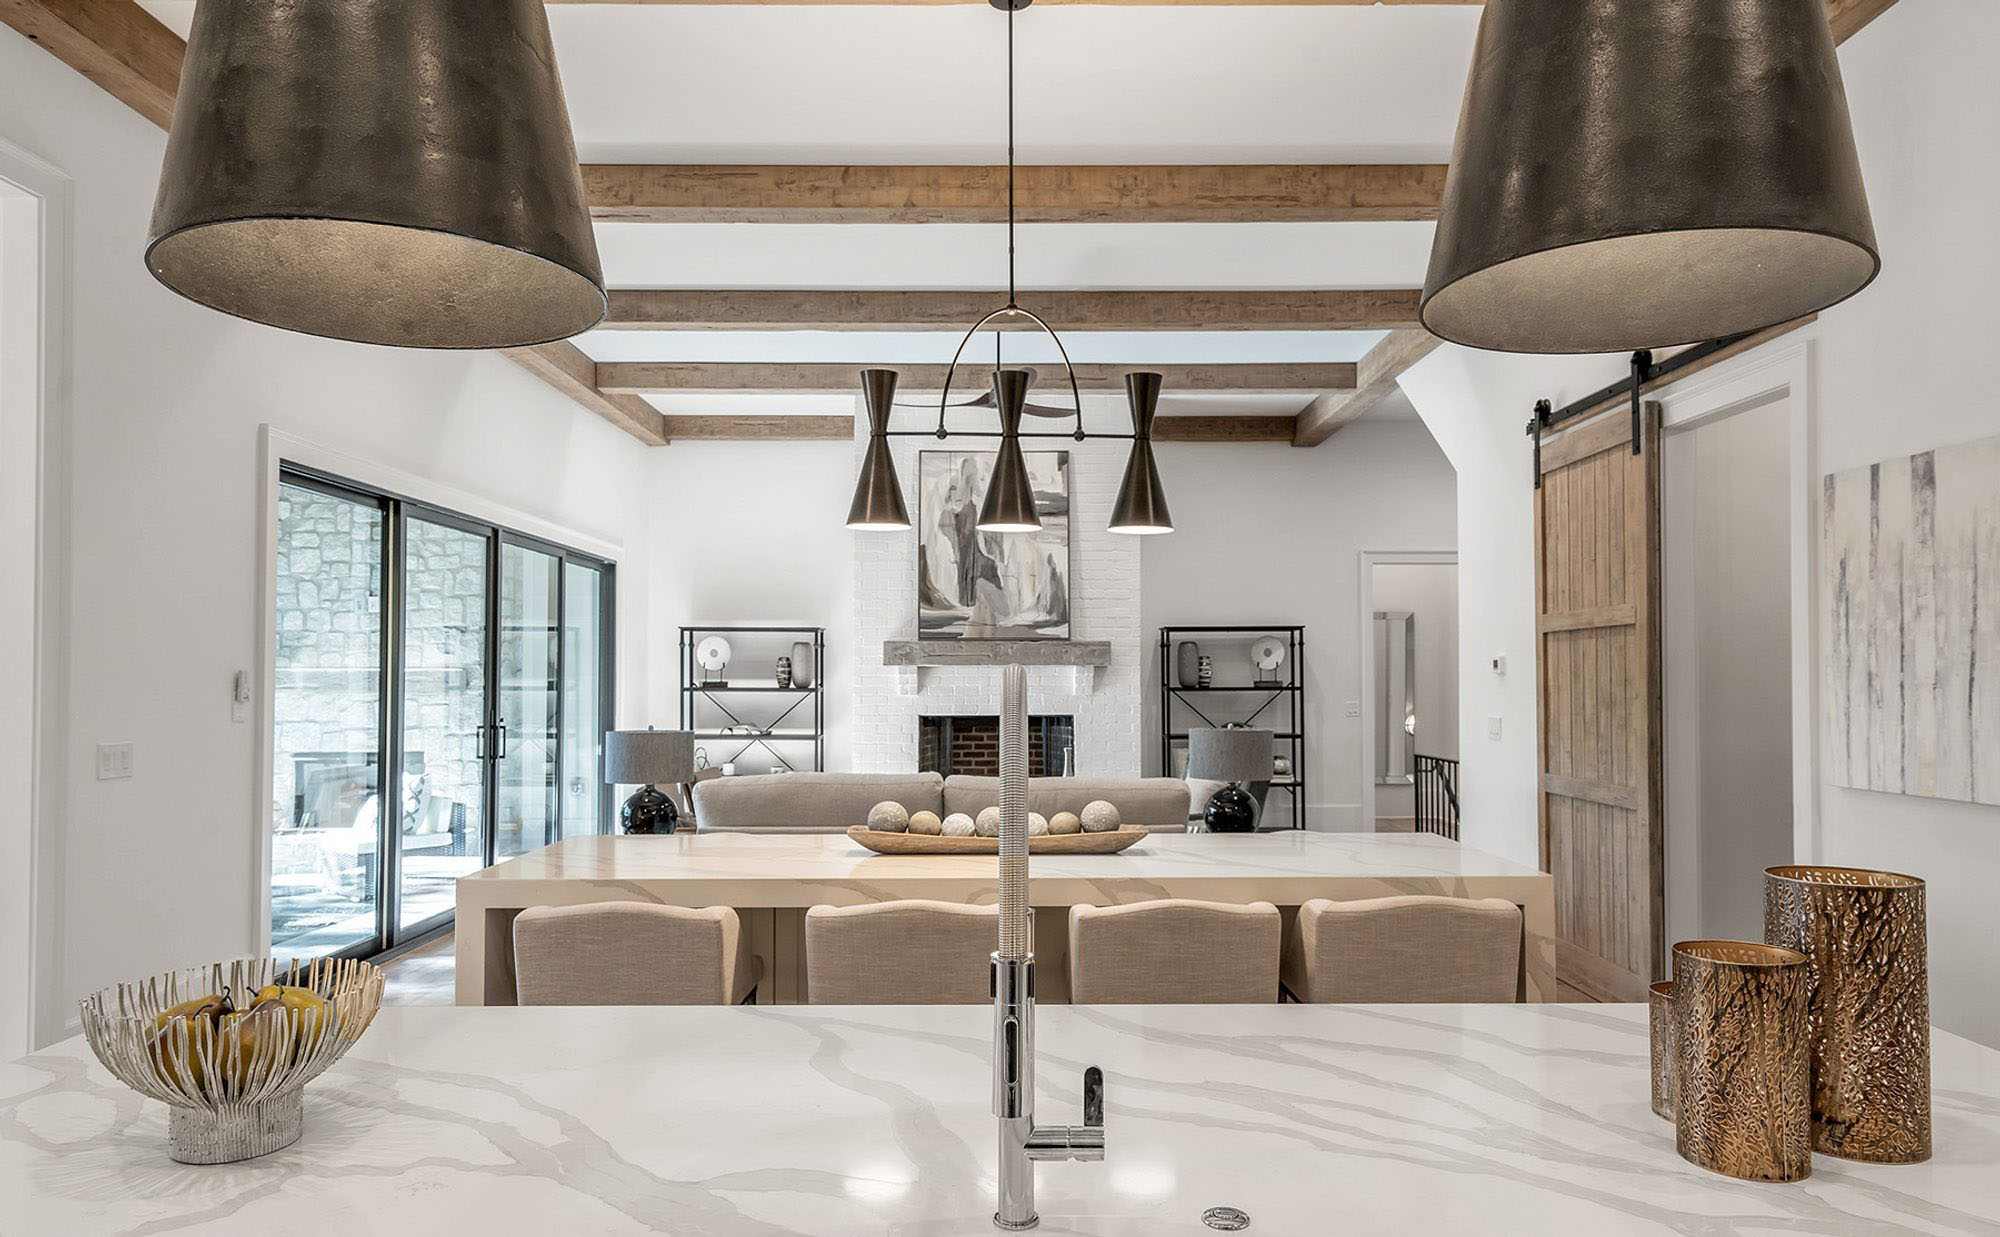
Bleached sliding barn wood doors to match the light and natural wood floors.
Store Bought Wood Bleach
Store bought solutions are a great way how to lighten red oak. The brand of store bought wood bleach I’d recommend is called Wood-Kote. It comes in two bottles, one with the lye and the other with peroxide
This solution involves mixing equal parts of the two liquids in a glass or plastic container together before applying it to the wood. Never put either chemical into a metal container. This is different from the home made solution which applies the two parts separately.
Step 1. Mix The Solution
Mix equal parts of each solution into the new container. Like we’ve already said,make sure the container is either glass or plastic and never metal. Once mixed, a chemical reaction begins.
Important: When handling or working with lye, you should always wear gloves and eye protection. Also do this in an area with good ventilation and read the instructions and warnings on the label. Never pour water into the lye and don’t pour a bunch of lye into the water at one time. This is something you’ll want to do slowly. Do not mix lye into your peroxide.
Step 2. Apply The Solution To Your Wood
Quickly apply the mixed solution to your wood. A sponge brush makes a good applicator. Keep the surface evenly wet to minimize streaking and get the wood really soaked.
Step 3. Dry
Once the wood is evenly covered and totally soaked let it sit and dry. I like to put my wood out in the sun. A little heat and fresh air helps dry out the wood a little quicker but letting it sit in the garage will dry it just as well.
Step 4. Rinse The Wood
After the wood has completely dried you may notice a subtle yellow tint. Don’t worry, this is just a bit of residue left behind from the lye solution. You can try rinsing once with a simple water and white vinegar solution. The mild acid will help remove all the lye from your wood.
Using clean water, rinse the surface of the wood and wipe it dry with a towel. Then let it completely dry again.
This process will remove most of the reddish coloring found within the wood.
Repeat As Needed
After the wood dries, assess the color. You can bleach wood multiple times with either solution to get the color you want. Multiple bleaches will remove more and more color and shouldn’t damage the wood.
Keep in mind that both solutions only affects the top layer of the wood. If you rout, cut or deep sand the wood later you’ll reveal inside coloring which means you’ll have to bleach all over again. For this reason make sure you only bleach wood after it’s been cut, shaped or deep sanded. Light sanding is OK.
Allow the wood to dry thoroughly. Very lightly sand with 320 or 400 grit finish sandpaper. Sand just enough to remove the fuzzy grain from the surface but not penetrate into the wood.
When You Should Bleach Wood
Any time you want your wood to be a lighter shade then what it is you can bleach it. Both of these methods are simply a way to strip coloring out of the wood which makes it a more bare color. Completely bleached wood is a very grey color, which for some, is exactly what they’re going for.
The current trend in home design is muted wood floors, but in older homes a lot of wood coloring was used. Especially red. If you want to re-finish the floors it’s not enough just to sand them down. You may also need to strip some of the coloring to make them more modern.
- When you want to make dark wood lighter. In this case, removing some of the color might make it more suitable, or would allow you to stain the wood to the required shade.
- When you have several pieces of the same wood but they vary in color. In this case, you can bleach one or more of the boards to match the others. Or, you might bleach all the boards and stain them to a consistent color.
- When you want to stain one wood to look like another. Removing the natural color from a wood makes matching colors easier. If you bleach both woods, you can stain them both the same color.
- When you want to color match. If your building a shelf for example, or installing exposed wood beams and want to match the floors it can be a challenge. Bleaching some or all of the wood so you can color match is a great solution.
There are lots of reasons you should consider bleaching your wood. And they all have to do with obtaining the desired color.
How To Neutralize Red Tones In Wood Without Bleach
If you don’t want to bleach your red oak but still want it to look a little lighter there is a way. It’s a trick of the eye and very subtle but it works and doesn’t require any bleaches or chemicals of any kind. I think of this as how to neutralize red oak rather than stripping it’s color and replacing it with something else.
Let’s take a look at some basic color theory. If you take a look at the color wheel you’ll notice that green is opposite of red. This means that adding a little green to a stain will help neutralize or hide the red in your red oak. Also, any time you mix a primary color with its opposite on the color wheel, you get brown. And that’s just the color we’re trying to achieve.
This alternative method for how to lighten red oak works best when staining the wood for the first time. The slight amount of green in your stain works with the natural red in the wood which produces a lighter, more brown coloring.
This method isn’t as good at lightening red wood as bleaching and staining but it does achieve a good effect and doesn’t require chemicals.
Can You Lighten Red Oak Furniture?
Yes. No matter what your red oak wood is used to build, bleaching it with a hydrogen peroxide and lye solution will strip the color. It doesn’t matter if the wood is used for furniture, beams, shelves or floors. If it’s made from red oak then it can be lightened with a bleach solution.
It’s a bit harder the bleach furniture because it’s three dimensional. If you can take the furniture apart and bleach it in pieces it’ll make your life a lot easier. This isn’t always possible because wood furniture pieces are often glued together but if it’s possible you should try and disassemble things.
Be very careful around anything other than the wood. Fibers and leather can be stripped of color too so try and apply your solution to the wood only.
Make sure to sand down any top coats before you bleach the wood. If your furniture has a gloss coat it should be removed before you start bleaching.
It can be hard to apply the bleach solution evenly to a round surface but do your best. Even coverage is important if you don’t want streaks. Because of this, multiple applications are generally needed.
How To Lighten Red Oak Gallery
Here’s a small picture gallery of wood that’s been bleached and stained. Hopefully it’ll give you some ideas on what you can do with your dark wood.
Trim boards stripped with bleach and stained a gray shade to match the light floors and stone.
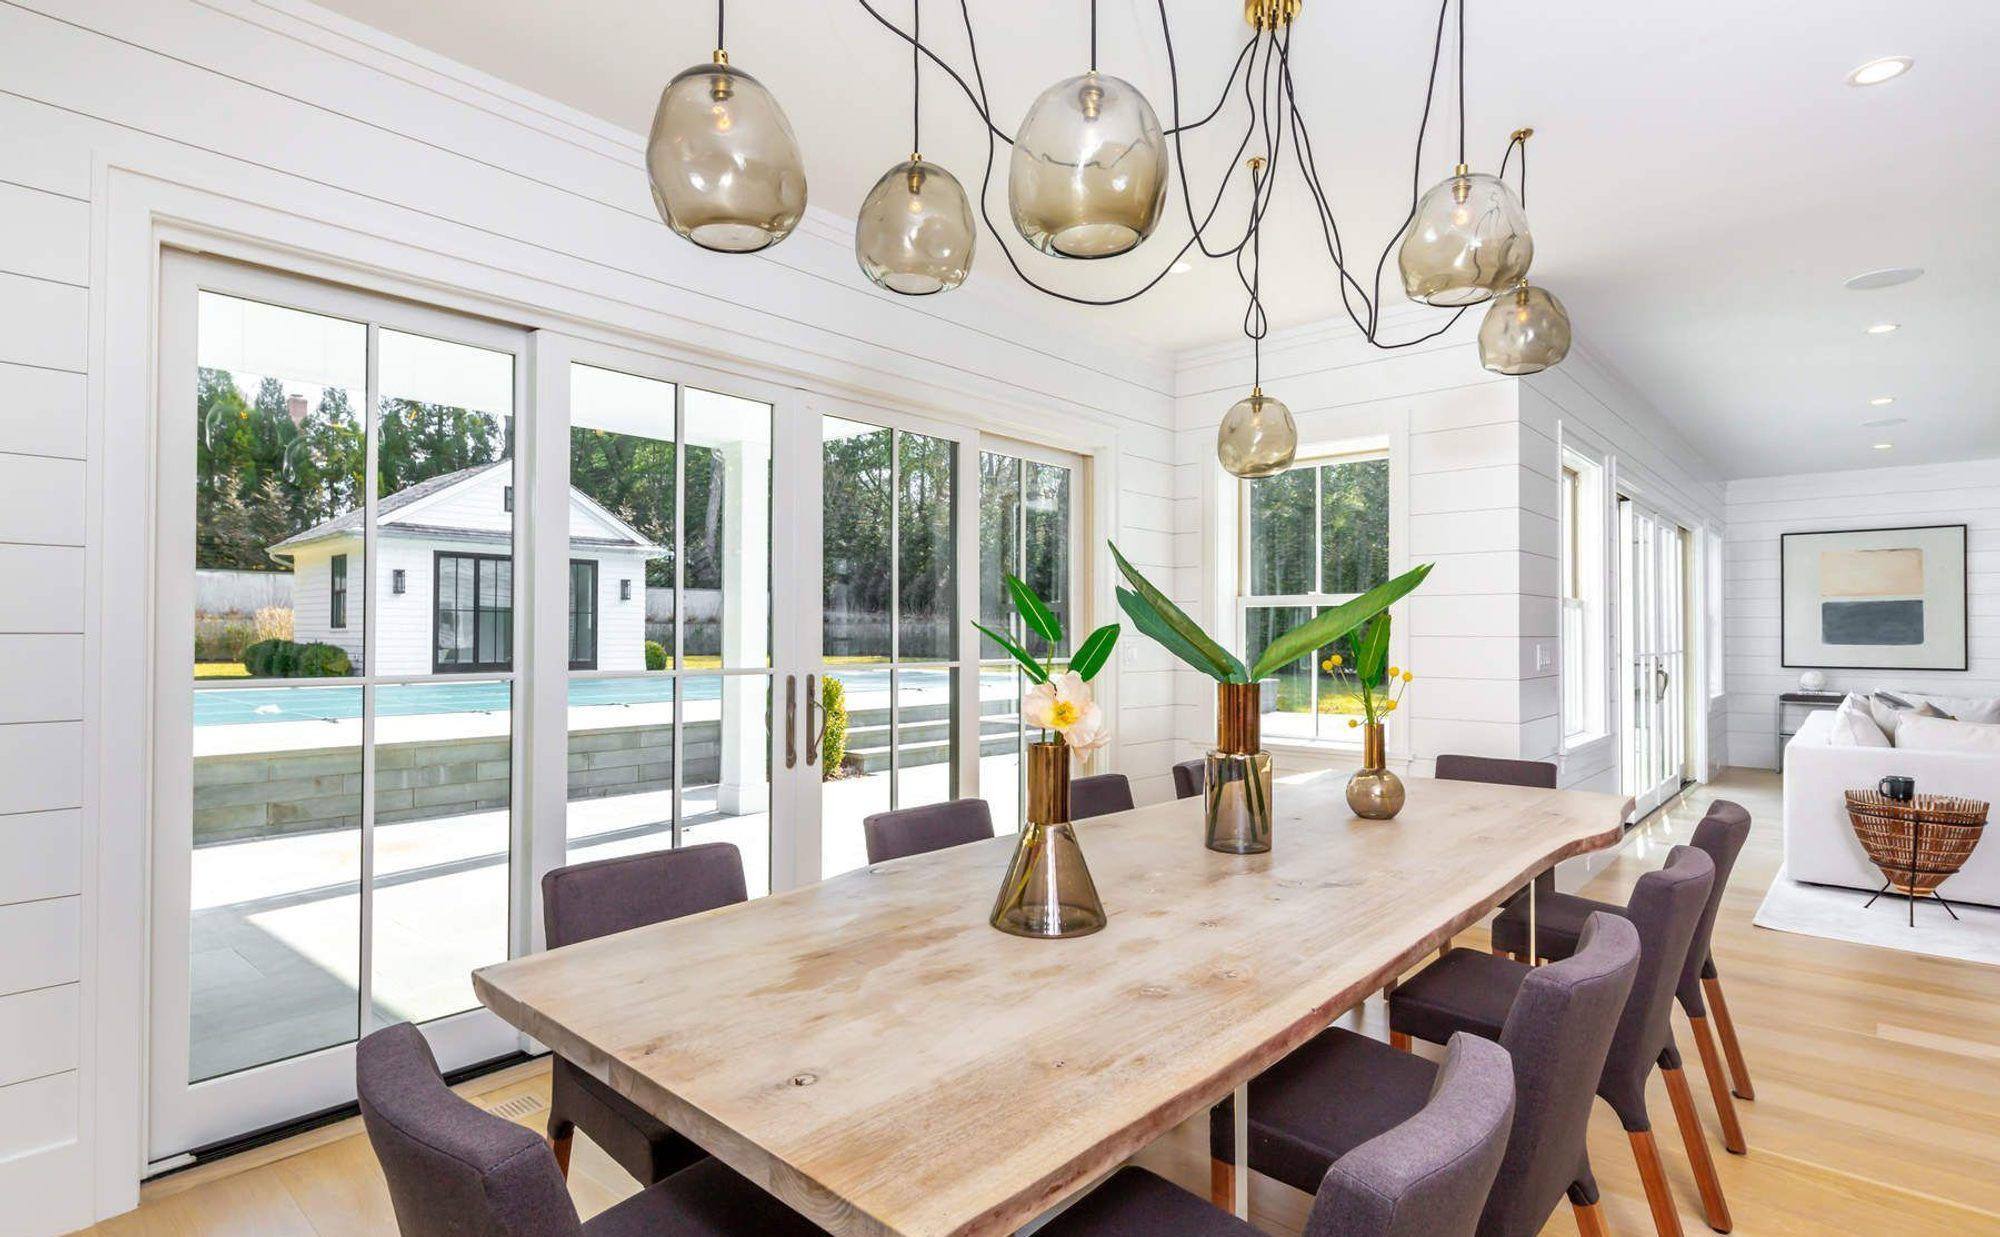
Bleach used on a wood slab kitchen table.
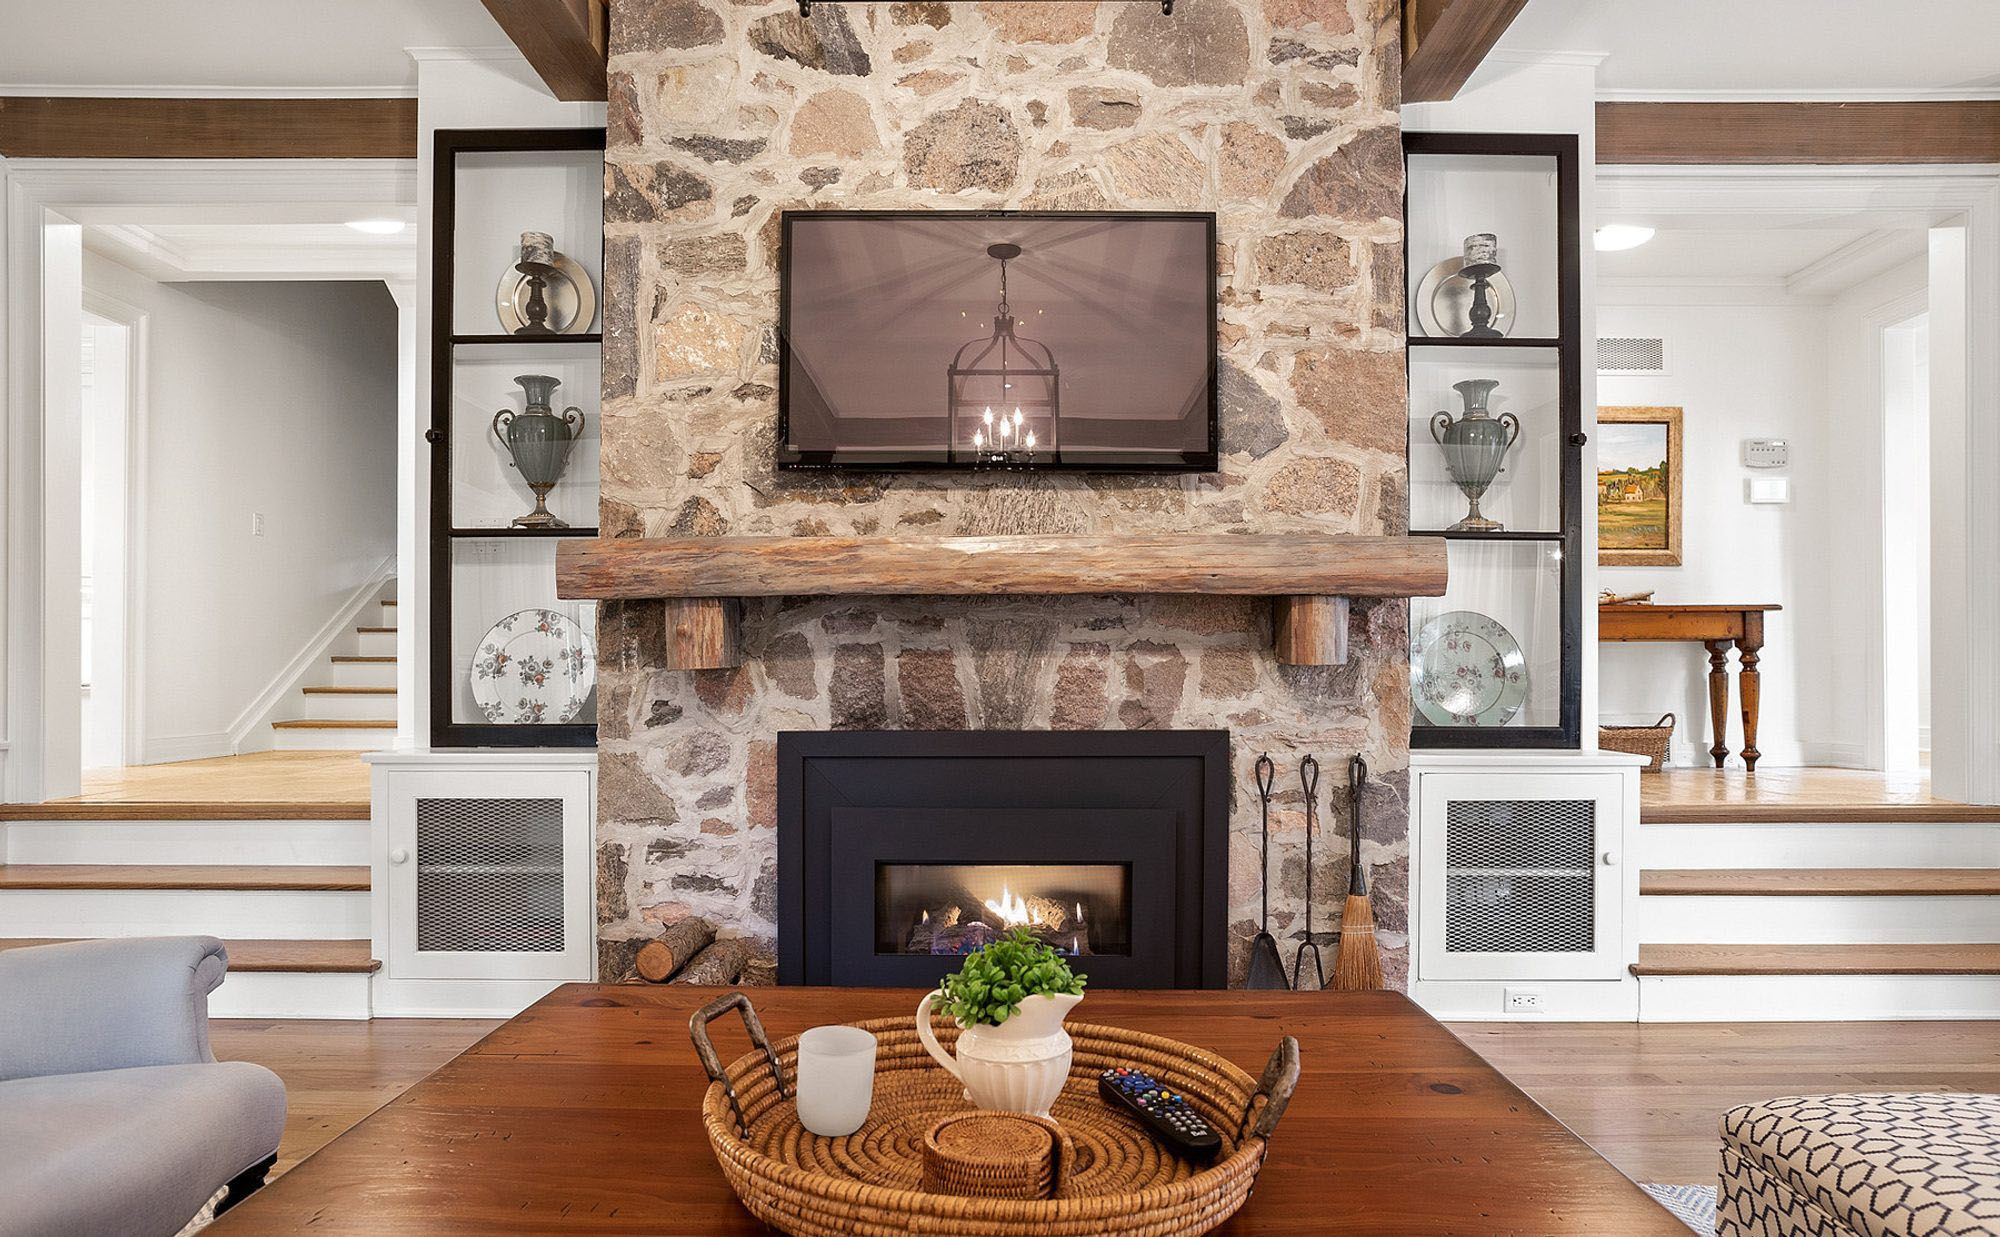
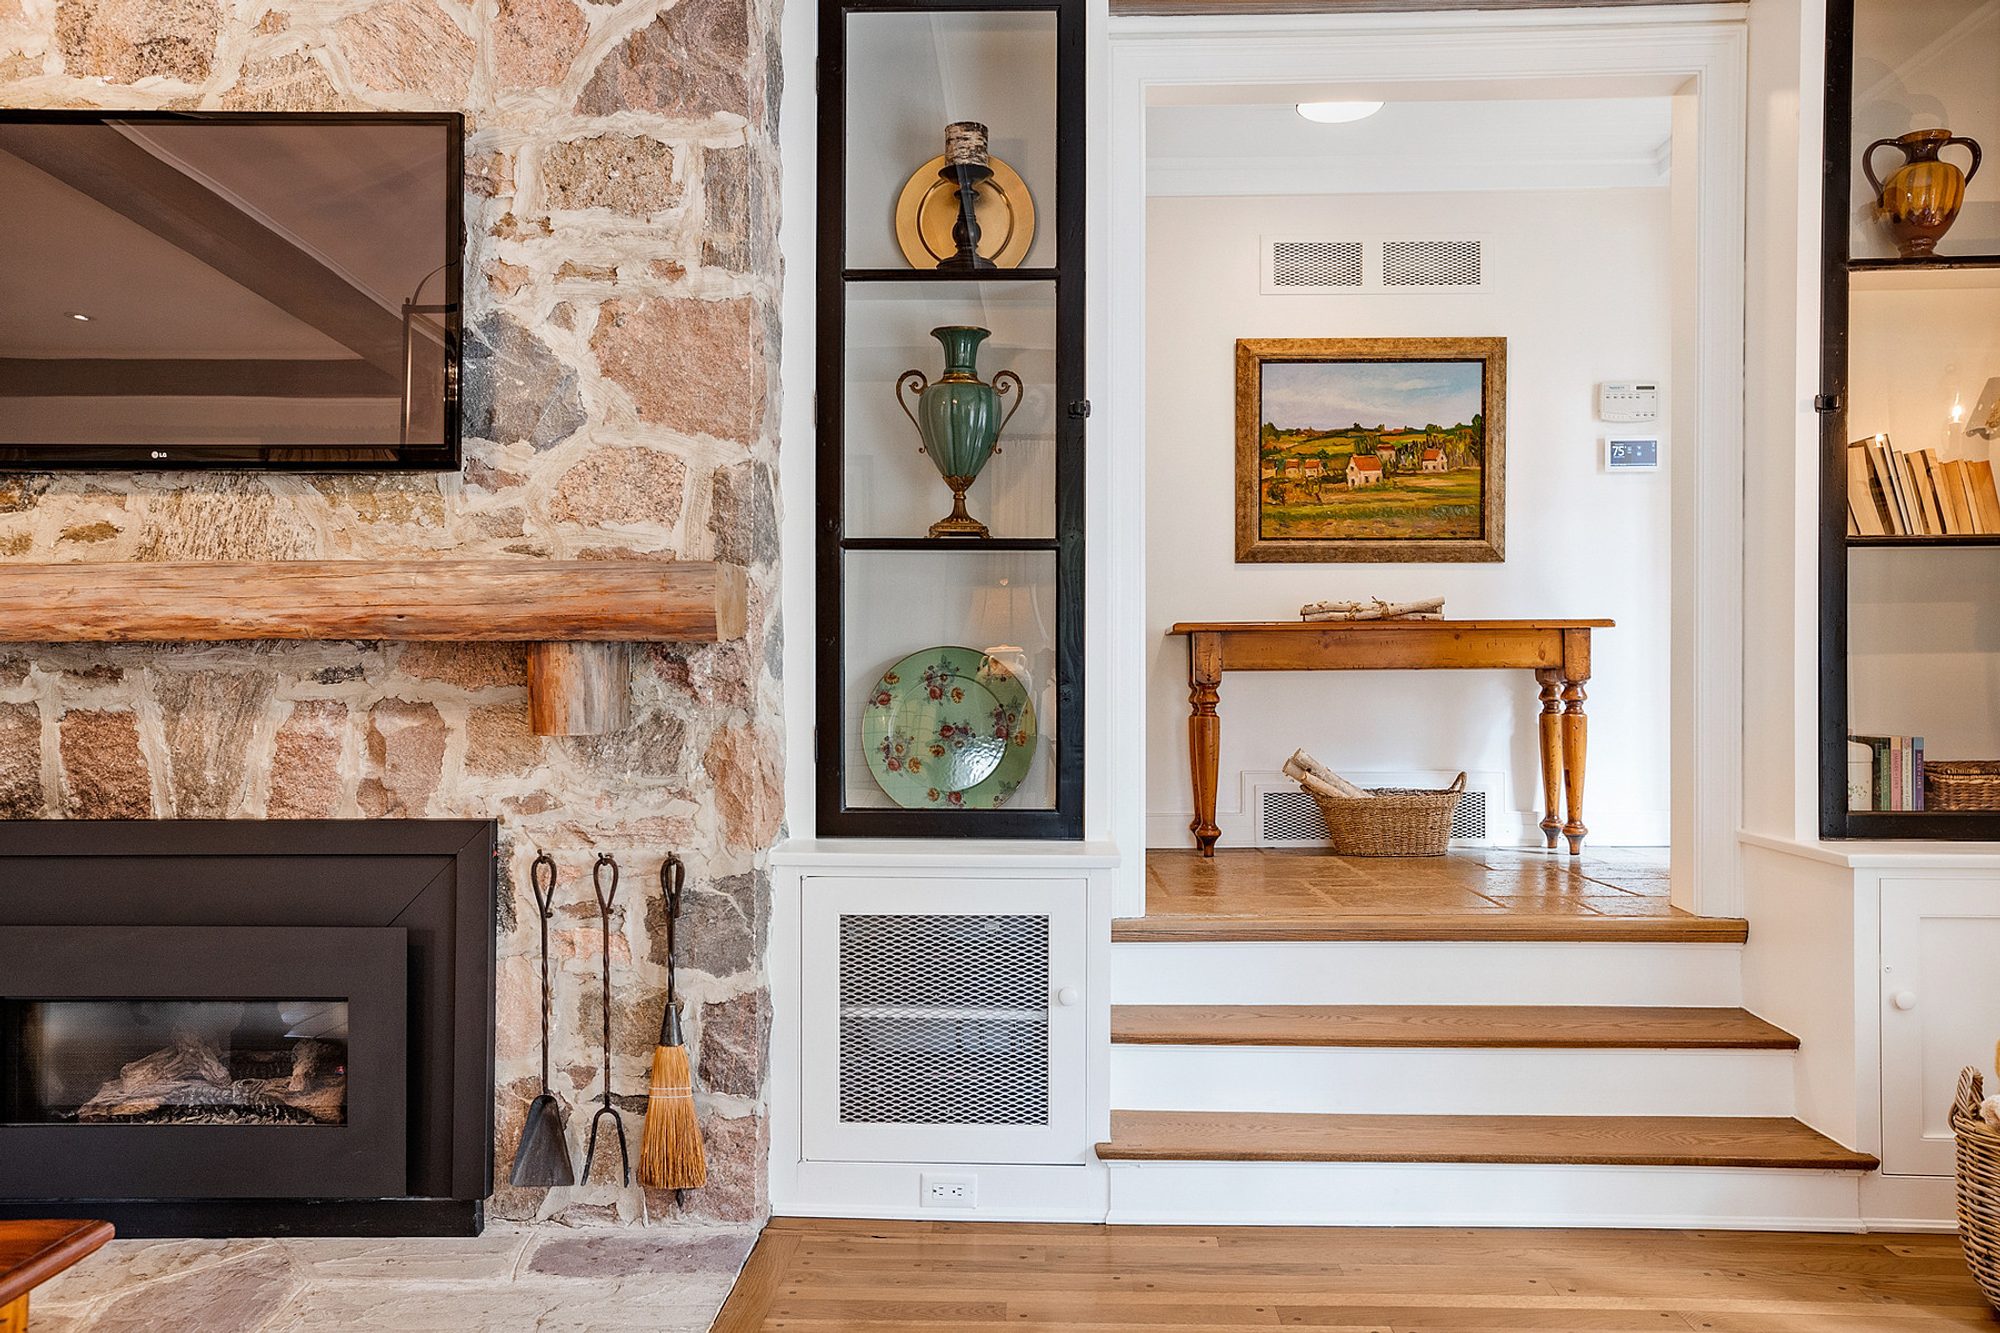
Bleach real wood fireplace mantel.
Color stripped exposed ceiling beams with matching light grayish floors.
Real wood fireplace mantel bleached to match the light wood floors.
Bleach is a great way to make woods match through the home. This house features matching exposed wood ceiling beams, interior barn doors and floors.
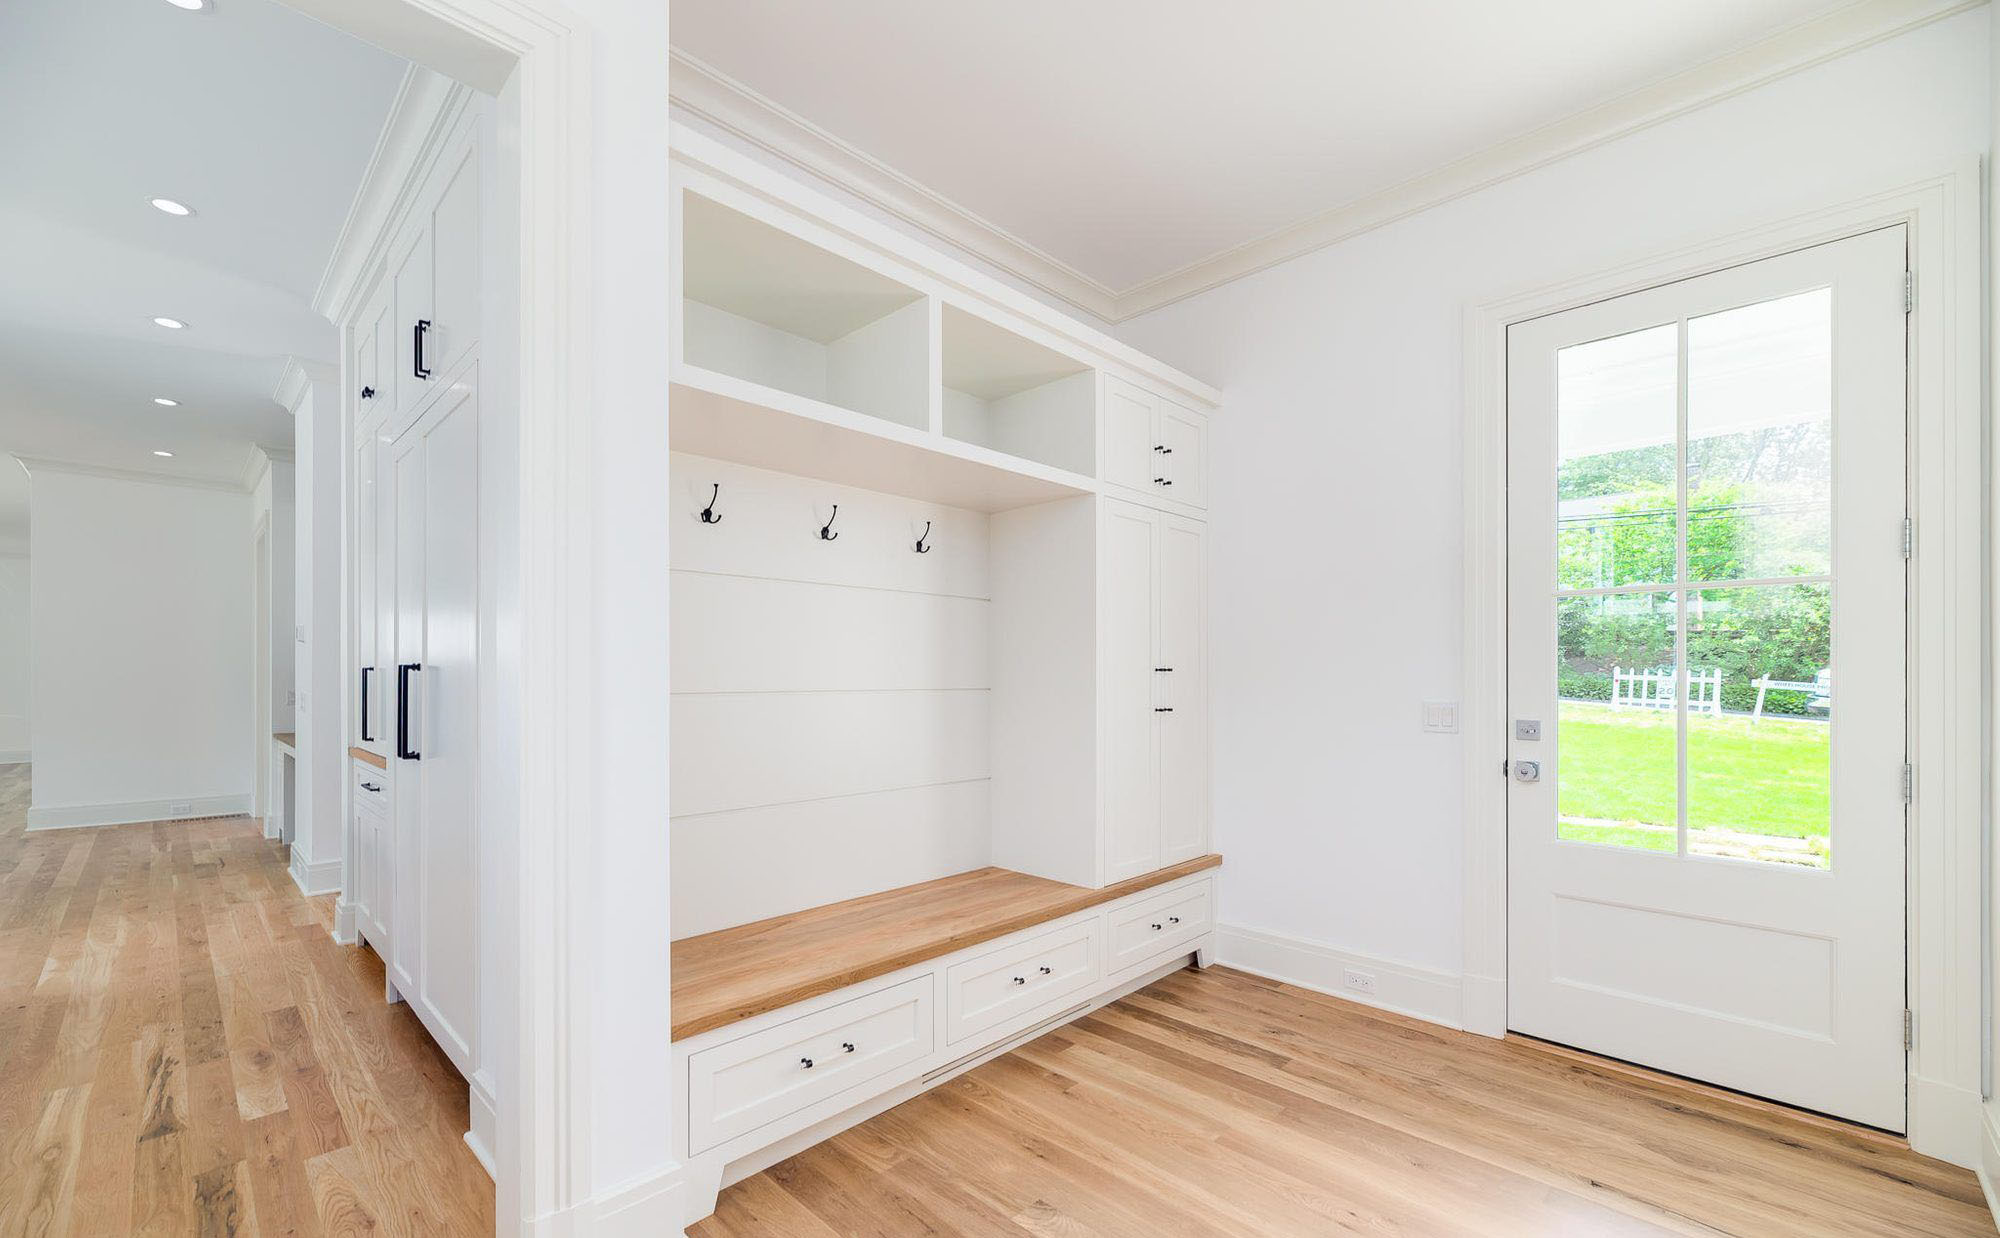
Bleached mudroom bench seat to match the natural wood floors.
Summary: How To Lighten Red Oak
A very common problem you may run into when designing, building or renovating a home is matching your wood colors. Older homes used lots of reddish woods but these days everything tends to be lighter and more muted with a natural coloring. So how do you lighten red oak? Ahead we’ll find out.
You may not realize this but it’s not that hard to take the red out of red oak. There are two basic types of coloring found in most pieces of finished wood. The first is it’s natural coloring which is found all the way through the wood. The second is man made added color like stain and varnish which is generally only a surface coloring. The good news is that both types of wood coloring is removable through the same basic processes which involves a simple solution.
That solution is a two part formula made from sodium hydroxide (caustic soda a.k.a. lye) and hydrogen peroxide.
You can buy it from the store or make it yourself at home. It’s great for removing both man made dyes and natural coloring from wood. But keep in mind the bleaching is only at the surface. If you cut or sand into the wood you’ll expose more coloring which will need to be bleached again.
Working with chemicals can pose health and safety hazards. Be sure to read the manufacturer’s instructions and warnings beforehand. And always wear rubber gloves and eye protection. It’s a good idea to have good ventilation too.
If you have any questions or comments e-mail us any time. We’d love to hear from you.
