Which Trowel Size Do I Use?
Tile trowels come in a variety of shapes and sizes. Which trowel size you should use depends on the size of the tile you’re installing. The larger the tile the larger the trowel you should use. And vice versa, the smaller the tile the smaller the trowel. Tile trowels range in size from a 3/16th v-notch up to a 1/2″ square-notch. The smaller 3/16″ v-notch is designed for small wall tiles which don’t need much adhesive to hold them in place. While the larger 1/2″ square-notch is for 16″ x 16″ and larger floor tile. Floor tiles require a thick thinset bed to both hold them in place and support the weight of people walking atop them.
Where the tiles will be set, on the floor or on the walls or ceilings, is another very important factor when choosing the right trowel size. When setting tiles on the floor, the mortar bed should be thicker because it supports the weight above. However, walls and ceilings typically require a thinner layer of sticky adhesive to hold them in place because they don’t have to bear any weight.
The final consideration is how flat and level the surface is. If you’re laying tile on a floor that’s uneven or slopes, you may need a thicker trowel to fill in some of those low spots or to back butter a tile or two.
The four most common trowel sizes we use to install tile are:
- 3/16″ V-notch trowel is designed for very small wall and ceiling tiles 2″ and under.
- 1/4″ Square-notch is for tiles up to 16″.
- 1/4″ V-notch trowel is for wall and ceiling tile up to 6″.
- 1/2″ Square-notch trowels are for large tiles 16″ and above.
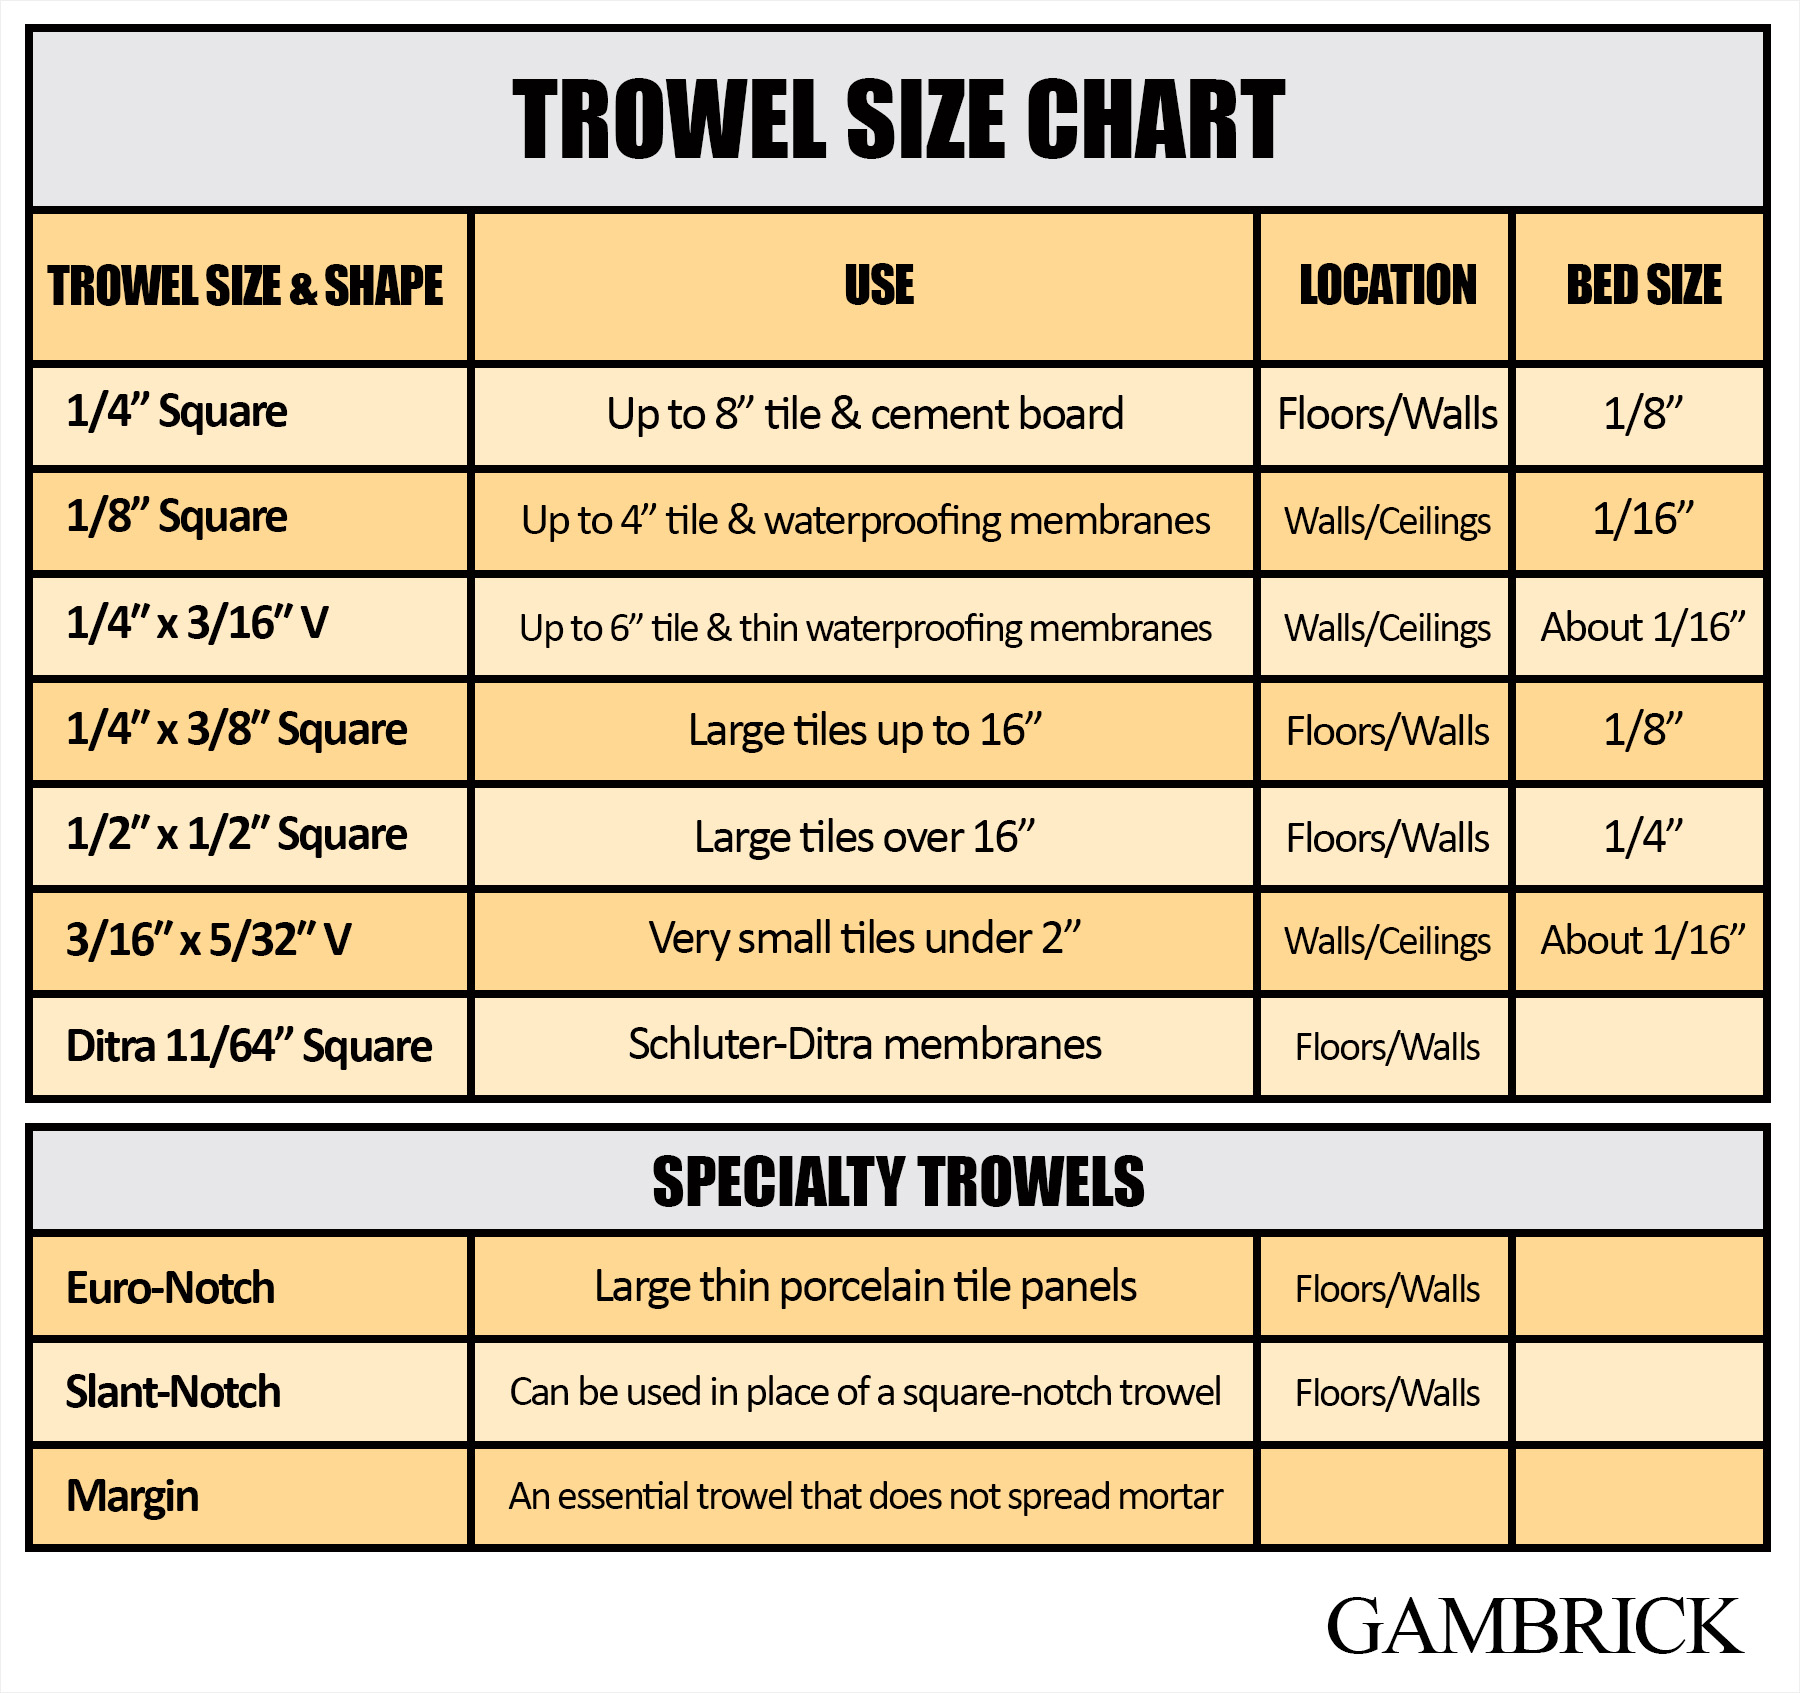
Trowel Size Chart
As long as your trowel produces adequate mortar coverage and the mortar bed is thick enough to support the weight above, your trowel size should be fine. But there are some general guidelines tile guys like me use when choosing the right size trowel for a job.
| Trowel Size & Notch Shape | Tile Size |
Location | Mortar Bed Size |
| 1/4″ x 1/4″ Square-notch | 4″ to 8″ | Floors & Walls | 1/8″ |
| 1/8″ x 1/8″ Square-notch | Up to 4″ | Walls & Ceilings | 1/16″ |
| 1/4″ x 3/16″ V-notch | Up to 6″ | Walls & Ceilings | About 1/16″ |
| 1/4″ x 3/8″ Square-notch | Large tiles up to 16″ | Floors & Walls | 1/8″ |
| 1/2″ x 1/2″ Square-notch | Large tiles over 16″ | Floors & Walls | 1/4″ |
| 3/16″ x 5/32″ V-notch | Very small tiles under 2″ | Walls & Ceilings | About 1/16″ |
- Small ceramic tiles and mosaics: Use V-notched trowels on both walls and floors. Use a 3/16 ” x 5/32″ trowel for tiles with less than 2″ of width and 1/4″ x 3/16″ for tiles up to 4″.
- Floor tiles: Use square-notched or U-notched trowels for all floor tiles. A 1/4″ trowel is used for 4″ to 8″ floor tiles. For floor tiles up to 16″, use a 1/4″ x 3/8″ trowel. And for floor tiles larger than 16″ use a 1/2″ trowel.
- Wall tiles: For standard 4″ to 6″ wall tiles use a 1/4″ V-notched trowel. If the wall tiles are larger than 6″ use a 1/4 square-notch trowel.
If your tiles are uneven, such as natural stone, or the surface isn’t perfectly flat, back butter the tiles and/or use a thicker trowel.
Why Does Trowel Size & Shape Matter?
The size of your tile trowel matters because it determines how much thinset will be applied to the substrate. The larger the trowel notches, the more adhesive is applied when you spread. In general, larger tiles require a larger trowel size while smaller tiles require a smaller trowel size.
The right trowel size is effected by where you’re installing the tiles too. Floor tiles require a larger trowel size because the thinset must bear the weight placed atop the tiles. However, wall and ceiling tiles require a smaller trowel because no weight is placed atop them.
The condition of the tile surface and substrate is another factor to consider. If your tiles are really flat and even you can use a thinner adhesive bed. However, if the tiles are uneven you need more adhesive to fill in all the low spots.
And the same is true for your substrate. The flatter and more level the surface, the smaller your trowel can be.
The notch shape is another very important factor. Different shaped notches leave varying amounts of glue on the substrate even if the notch size is the same. For example, a 1/4″ V-notch trowel leaves half the amount of adhesive on a substrate vs a 1/2″ square-notch trowel. This is due to the notch shape, not its size.
Lastly, the purpose of the notches are to give thinset a place to collapse into once a tile is laid and pressed down. This creates even coverage on the back of the tile and substrate.
What’s The Difference Between V, U, Square, & Slanted Notches?
The difference between a V, U, Square and slanted notch is the amount of thinset spread out by the trowel. For example, a 1/4″ square-notch trowel spreads twice as much adhesive as a 1/4″ v-notch trowel notch even though they’re both the same size. When determining how much adhesive is spread by a trowel, both the size of the notch and its shape play an important role.
- V-notch trowels spread the least amount of adhesive onto a surface because a V-shape is the smallest notch.
- U-notch trowels spread a medium amount of adhesive onto a surface. A U-shape is larger than a V but smaller than a square.
- Square-notch trowels spread more adhesive than U and V-notch trowels because a square shape is the largest notch.
- Slanted-notch trowels spread about the same amount of adhesive as a square-notch trowel.
How the thinset lies after you’ve spread it with a trowel is also effected by the notch shape.
- Square and slanted notch trowels spread about the same amount of glue. But the rows of thinset left by a slanted-notch trowel flop over instead of standing upright. This tends to provide better adhesion even though the amount of thinset spread is about the same.
- If you inspect the 1/4″ v-notch and the 1/4″ square-notch trowels, you’ll notice that the V-shape will spread less thinset than the same-sized square-notch.This makes it better for wall and ceiling tiles.
- The U-notch spreads out more than the v-notch but less than the square-notch. Use a U-notch trowel if you want a little heavier wall adhesive or a little thinner floor thinset.
Trowel Coverage Is What Really Matters
How do you know which size trowel you should use? By the coverage it provides. Adhesive coverage is what really matters. It’s what determines the correct size trowel and notch shape for the tile you’re installing.
Proper adhesive coverage means a minimum of 85% total coverage beneath a tile for a dry area installation and 95% minimum total coverage in a wet area. You also need complete 100% coverage beneath all four corners.
Thickness also matters too based on where you’re installing the tiles. Floor tiles require a thicker mortar bed because they carry weight. Wall and ceiling tiles don’t.
The minimum mortar thickness for floor tiles after installation using conventional thinset mortars is 3/32”, with a maximum thickness of 1/4”. However the general recommended size by tile Pros is 3/16″.
When choosing the right trowel size, you need enough thickness to support the tile and proper coverage. When in doubt, always choose a bigger trowel or notch shape than you need.
More adhesive is generally OK, but not enough isn’t.
How Do I Know What Size Trowel To Use?
As a rule, the larger the tile the larger the trowel. It’s always better to use a larger trowel rather than a trowel that’s too small. A little extra thinset beneath a tile is OK but not enough can cause cracks and popped tiles.
There is no standard size trowel that’s best for every tile installation. Which trowel size is best depends on the size and type of tile you’re installing and the surface you’re working on.
Each type of tile may require a differently sized trowel even if they’re the same size. The dimensions of the tile, its weight, how flat or cupped it is and the surface quality all ply a role in determining the correct trowel size.
For example, two different 16” x 16” tiles for two different floors may need different size trowel. Although they’re the same dimension, their weight, width, amount of cupping and the surface quality all effect the trowel size. If one of the tiles is flat with very little cupping and the floor is level, you may only need a 3/8” square-notched trowel. However, if the tile has a lot of cupping and/or the floor is uneven you may need to use a larger 1/2” square-notched tile trowel to get proper coverage.
Proper adhesive coverage means a minimum of 85% total coverage beneath a tile for a dry area installation and 95% minimum total coverage in a wet area. You also need complete 100% coverage beneath all four corners.
When in doubt, use a trowel size slightly bigger than you think you’ll need. Too much thinset is always better than not enough.
How To Check Thinset Coverage
The right size trowel for your tile will give you the proper coverage of adhesive on the back of the tile. This means a minimum of 85% total coverage beneath a tile for a dry area installation and 95% minimum total coverage in a wet area. You also need complete 100% coverage beneath all four corners.
- To get proper coverage you need to choose the right sized trowel for the tile and surface you’re tiling.
- The trowel should give you the correct amount of coverage beneath each tile.
You can check if your trowel is providing the right amount of coverage by installing a test tile as you normally would. Then pull the tile up and check the back. There should not be any trowel lines and you should see complete coverage of thinset on both the back of the tile and the substrate.
If you see trowel lines or incomplete coverage on either the tile or substrate, you need either a larger trowel or a different notch shape.
How Much Mortar Do I Need Beneath My Tile?
The proper amount of mortar beneath a tile should provide full coverage and support without oozing out the grout lines. This means a minimum of 85% total coverage beneath a tile for a dry area installation and 95% minimum total coverage in a wet area. You also need complete 100% coverage beneath all four corners. You need a minimum of 95% total coverage beneath natural stone tiles in either wet or dry areas.
The minimum mortar thickness for floor tiles after installation using conventional thinset mortars is 3/32”, with a maximum thickness of 1/4”. However the general recommended size by tile Pros is 3/16″.
How Are Trowel Sizes Measured?
Trowel sizes are measured by the size and spacing of the trowel teeth. This tells you how much thinset the trowel will leave on the surface when you spread it out. Both the trowel’s tooth shape and spacing determines how much thinset is applied by the trowel. The larger the trowel and tooth shape the more thinset will be left between the tile and substrate.
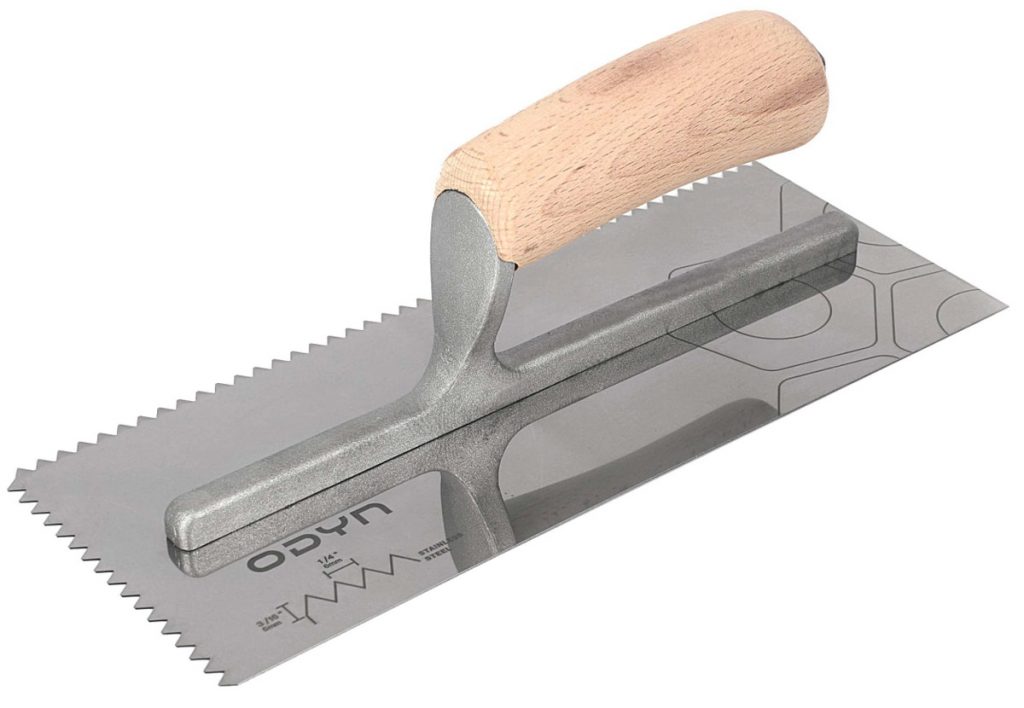
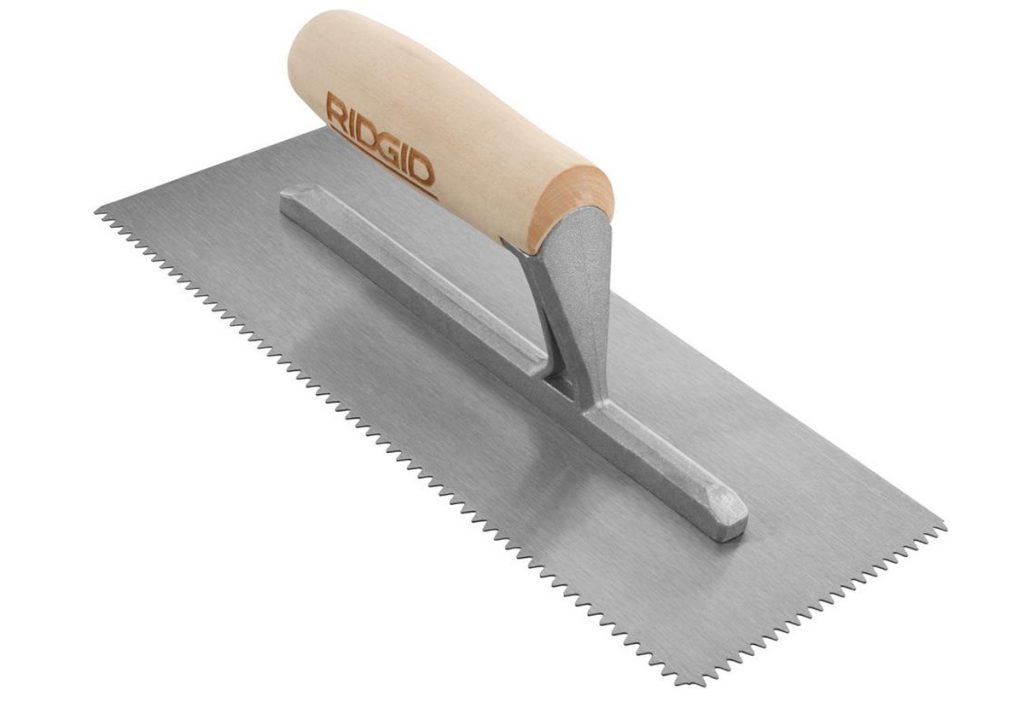
Square-Notch Trowels
When you buy a square-notch tile trowel there are two dimensions: the first number is the width of the notches and the distance between teeth. The second number is the depth of the notch. If there’s a third number specified it’s referring to the distance between notches.
- A 1/2” x 1/2” square-notched trowel will leave 1/2” wide x 1/2 tall ridges of thinset on the substrate with 1/2” spaces between each ridge.
- A tile trowel with only one measurement means both measurements are the same. For example, 1/2″ x 1/2″ trowels are simply refereed to as a 1/2″ trowel.
- A 1/4” x 3/8” square-notched trowel will leave 1/4” wide by 3/8” high ridges of thinset on the substrate, with 1/4” spaces between ridges.
Square notch trowels leave the most thinset on the substrate vs V-notch and U-notch trowels. They’re most commonly used for laying floor tiles and really large wall tiles or stone slabs.
U-Notch Trowels
U-notched trowels typically have just one number. This is both the width and depth of the teeth.
When you spread thinset with a U-notched trowel, it leaves half-round ridges on the substrate. The height of the ridges and the space between each ridge will be the size of the trowel.
- Because U-notch trowels are circular shaped at the top, they leave slightly less thinset on the substrate vs a square-notch trowel and slight more than a V-notch.
- U-notch trowels are a transition size between V-notch and square-notch trowels. They can be used on both a wall or floor. If you need a little more wall adhesive, you can switch to a U-notch instead of a V-notch rather than using a larger V-notch.
- You can do the opposite if you’re laying floor tile. When you want slightly less thinset switch to a U-notch instead of a Square-notch rather than using a smaller square-notch trowel.
V-Notch Trowels
V-notched trowels typically have just one number. This is both the width and depth of the teeth.
When you spread thinset with a V-notched trowel, it leaves triangle shaped ridges on the substrate. The height of the ridges and the space between each ridge will be the size of the trowel.
V-notch trowels are the smallest tile trowel and are only used for wall and ceiling tiles.
Notched Trowel Size Guide
Notched tile trowels come in a variety of sizes with different shaped notches. The size of the trowel and the shape of the notch help determine how much adhesive is applied to a substrate by the trowel.
If a trowel has two sizes, the first number is the width of the notch and the second is its depth. When a trowel has just a single dimension, it means the width and depth of the notch are the same size. If there’s a third number it’s referring to the distance between notches.
Here are some general rules about tile trowel shapes to keep in mind:
- V-notch is the smallest size notch shape and used primarily for walls and ceilings.
- U-notch trowels are in between V-notch and square-notch trowels. They can be used on walls, ceilings or floors.
- Square-notch trowels are larger than both V-notch and U-notch trowels. They’re primarily used on floors but can also be used on walls and ceilings.
- Slanted-notch trowels leave about the same amount of thinset on a substrate as square-notch. However, because of how the ridges collapse, many tipe Pros believe the adhesion is better.
In the next section, we’ll discuss the most popular trowel sizes and how they’re generally used.
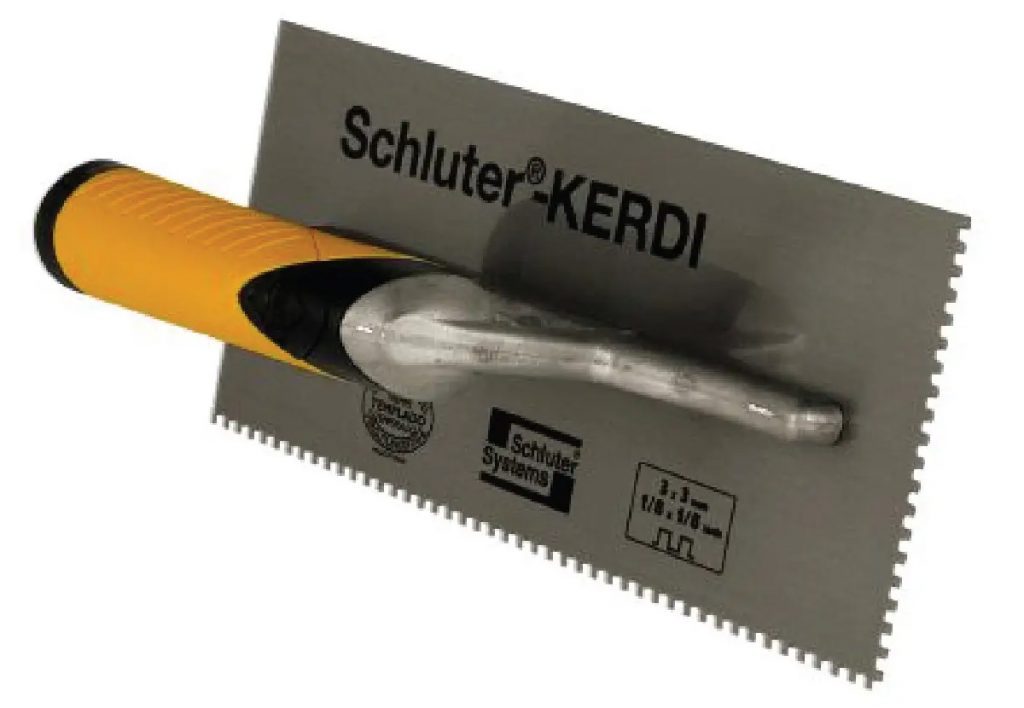
1/8″ x 1/8″ Square-Notch Kerdi Trowel
The 1/8″ x 1/8″ square-notch trowel is a standard size pretty much every tile Pro has in their bag. It’s about the smallest square-notch trowel size that’s used for wall and ceiling tiles and some waterproofing membranes. But it’s too small for floor tile.
- It can be used on any type of tile or natural stone including glass.
- Works best with certain glues and pre-mixed tile adhesives.
When a tile is fully compressed, an 1/8″ x 1/8″ square-notch trowel creates a 1/16″ deep mortar bed. This is only thick enough for small and light tiles. I wouldn’t use it for anything larger than a 4″ x 4″ tile.
Schluter Systems, the manufacturer of waterproofing membranes, has its own Kerdi Trowel for installing Kerdi Shower Systems. The Kerdi Trowel is simply a 1/8 x 1/8 inch square notch trowel that’s manufactured by Kerdi.
1/4″ x 3/16″ V-Notch Trowel
The 1/4″ x 3/16″ v-notch trowel is another standard size most tile Pro use on a regular basis. It’s great for wall and ceiling tiles as well as some thin waterproofing membranes. It’s also used for some uncoupling membranes. Always check with the manufacturer of your waterproofing membrane when choosing the right trowel size.
- This size is perfect for thin tiles no larger than 6″ x 6″. Try it when laying mosaics, glass, hex or penny shaped tiles.
- Works best with certain glues and pre-mixed tile adhesives.
A 1/4″ x 3/16″ v-notch trowel creates a 1/16″ deep mortar bed when compressed. This is only thick enough for small and light tiles.
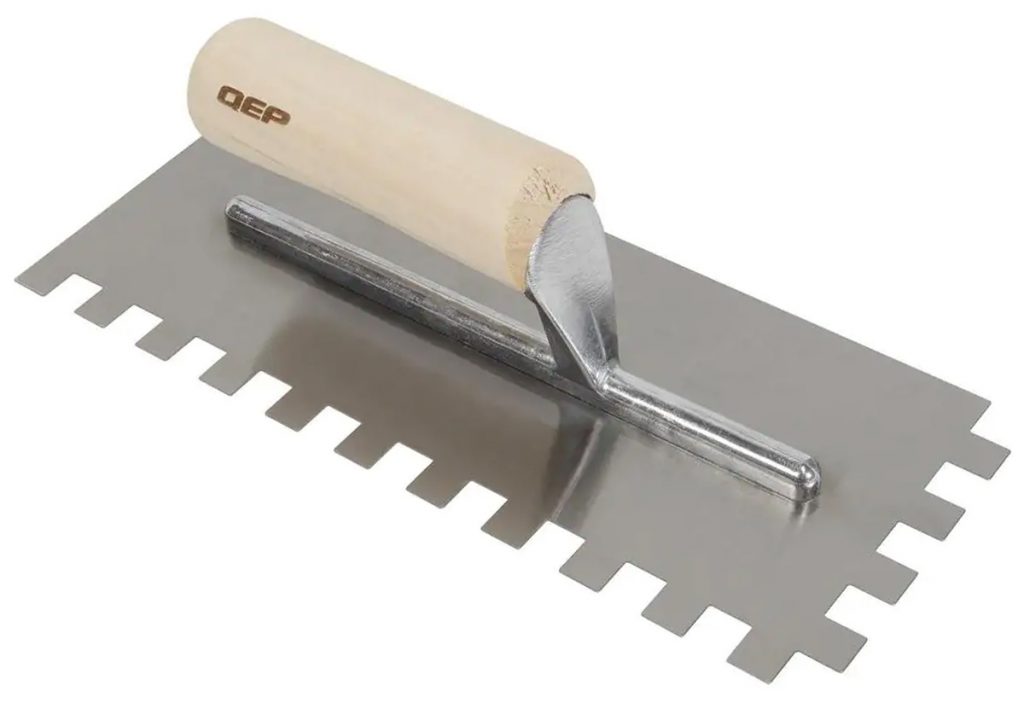
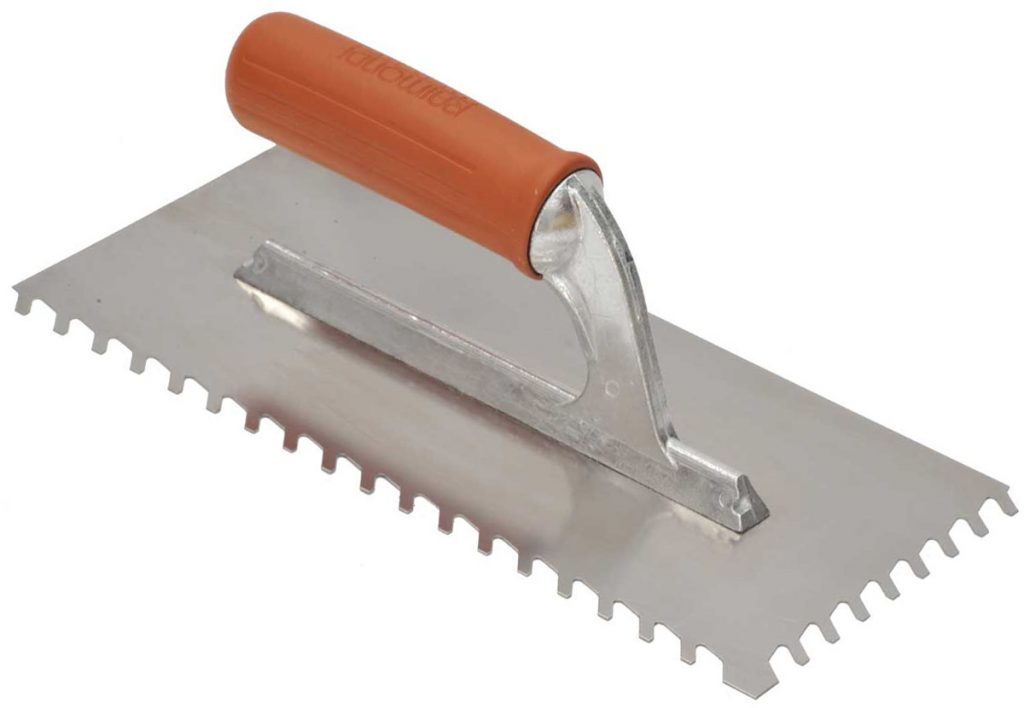
1/4″ x 1/4″ Square-Notch Trowel
The 1/4″ x 1/4″ square-notch trowel is the most commonly used size tile installers use.
We use it for the following:
- Floor tiles no larger than 6 to 8 inches.
- If the tiles have cupping use a thicker trowel. This size is best when the floor and tile are very flat.
- Works best with pre-mixed tile adhesives or thinset.
- Cement board
- Certain uncoupling membranes
- Mosaic tiles in the 2-4 inch range
- Glass mosaic tiles
- Subway tile and other ceramic tiles up to 6×6 inches
- Pebble tile
A 1/4″ x 1/4″ square-notch trowel creates a 1/8″ deep mortar bed when compressed. This is only thick enough for smaller floor tiles on an even substrate.
The Ditra-Heat Trowel is a 1/4″ x 1/4″ square notch trowel that’s used with Ditra-Heat, Ditra-Heat Duo, and Ditra XL.
3/16″ x 5/32″ V-Notch Trowel
The 3/16″ x 5/32″ v-notch trowel is used to install small wall tiles under 2″ wide. These usually include fine borders, trim tiles and mosaics that aren’t on a screen.
A 3/16″ x 5/32″ v-notch trowel creates slightly less than a 1/8″ deep mortar bed when compressed. This is only thick enough for small walls tiles on an even surface.
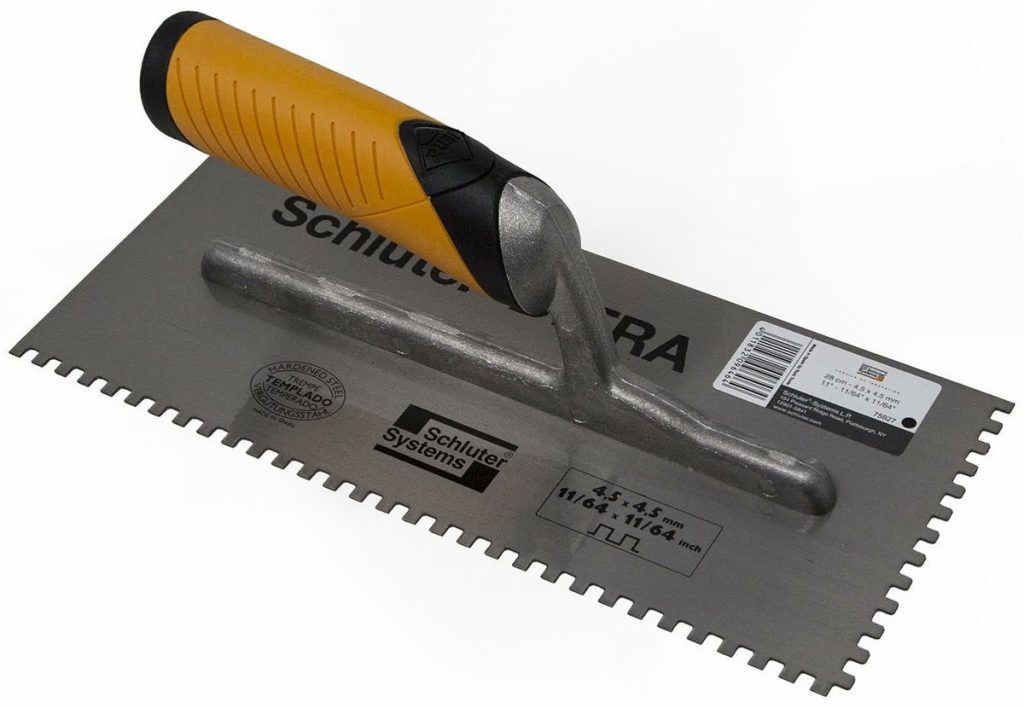
Ditra 11/64″ x 11/64″ Square-Notch Trowel
The Ditra 11/64″ x 11/64″ square-notch is another trowel size used to install certain Schluter-Ditra membranes.
If you’re working in the tile or bathroom remodeling industry, you should get to know Schluter-Ditra products. They make some of the best waterproofing membranes in the business and their trowels are top notch.
1/4″ x 3/8″ Square-Notch Trowel
The 1/4″ x 3/8″ square-notch trowel is great for installing large tiles like 12″ x 12″ or 16″ x 16″ or long subway tiles like 4″ x 12″ or 4″ x 16″. It’s also used for some of the thicker uncoupling heat membranes.
While this is not a standard size trowel, it comes in handy for certain applications and is worth owning.
A 1/4″ x 3/8″ square-notch trowel creates about a 1/8″ deep mortar bed when compressed.
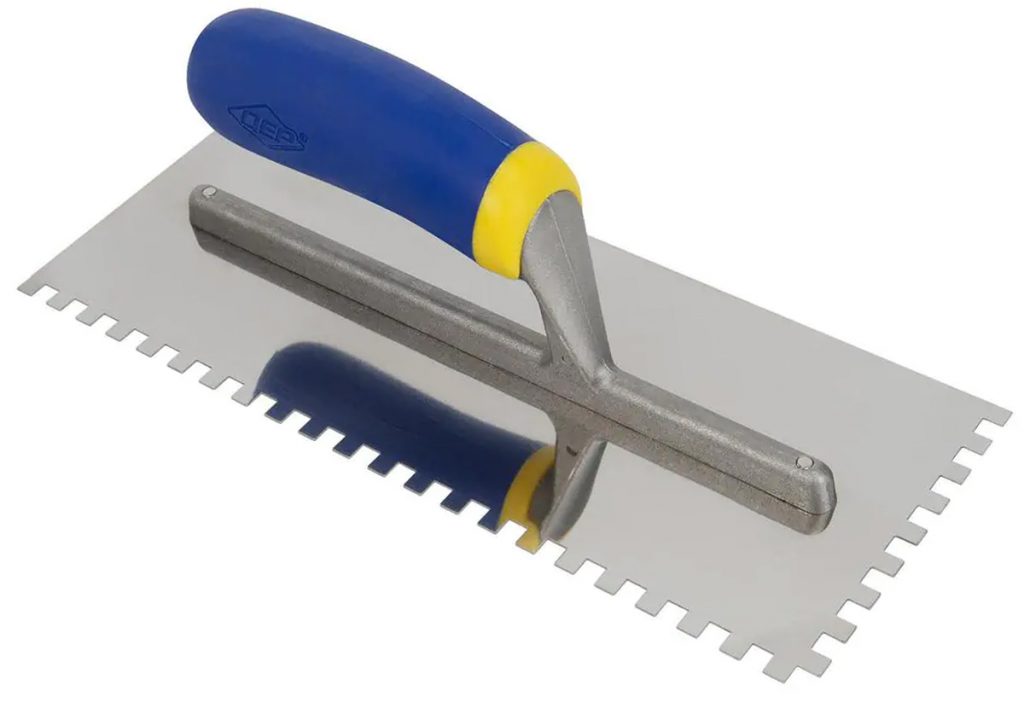
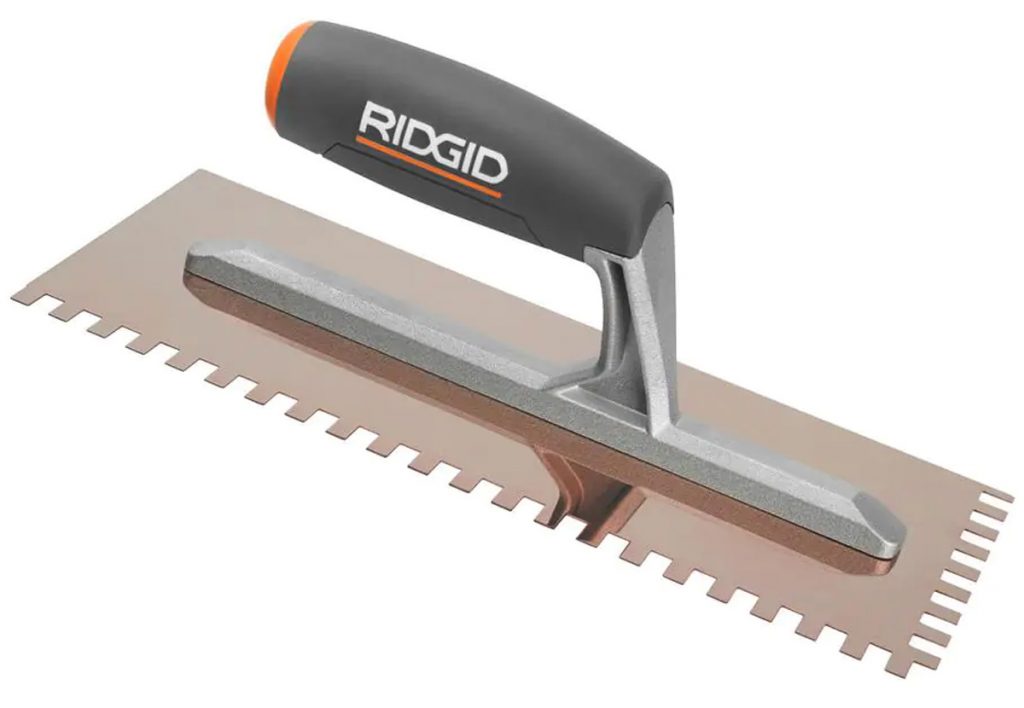
1/2″ x 1/2″ Square-Notch Trowel
The 1/2″ x 1/2″ square notch trowel is used for large tiles and stone slabs. Use it to set tiles that are 16 inches and larger. Although it’s not an everyday trowel for most tile installers, it’s a must have for when you need to set large tiles and slabs.
A large trowel comes in handy for smaller size tiles and stone when the surface is uneven. For example, setting outdoor tile on an uneven concrete surface. You need a thicker mortar bed in this case to make up for the uneven surface.
A 1/2″ x 1/2″ square-notch trowel creates about a 1/4″ deep mortar bed when compressed.
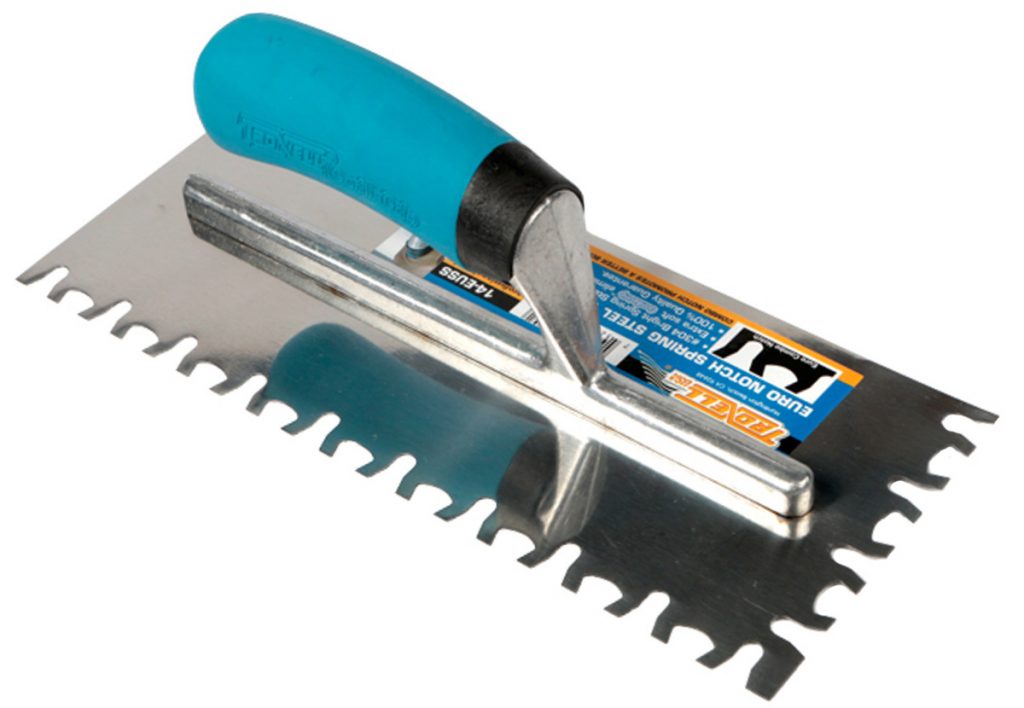
Euro-Notch Trowel
The euro-notched trowel has a unique varying notch design that collapses the ridges in a different way than conventional V, U and Square shaped notches. It’s definitely not an everyday trowel for setting tile. But is does have it’s uses. We use it primarily to set thin but large porcelain tile panels.
Slant-Notched Trowel
Slant notched trowels are designed to collapse the mortar ridges more efficiently than a square or U-notch trowel. When a tile is depressed down onto the mortar, the ridges collapse more evenly into the gaps because of the shape created by the slanted notch.
Some Pros believe a slant-notch trowel creates better and more even coverage between the tile and substrate. I’ve tried them and don’t notice a difference between slant-notch and square-notch trowels.
- They leave more mortar on the substrate than U-notch and v-notch trowels.
- For use on medium to large size floor tiles and stone slabs.
Give one a try and see what you think. Most home improvement stores don’t stock them but they’re readily available online.
Margin Trowel
A margin trowel is not used to spread mortar like other tile trowels. However, its a standard tool in every tile installers bag that’s used for a variety of tasks. I have never done a tile job without bringing a margin trowel with me and consider them an essential tool for tiling.
- Scoop mortar out of a bucket
- Clean mortar off the sides of a bucket
- Mixing
- Cleaning
- Lifting
- Prying
- Spreading
Margin trowels come in a few different sizes but the 5 to 6 inch is the most popular.
Which Trowel Size Is Best?
Determining which trowel size is best for a tile installation depends on both the tile and the substrate. You should consider the dimensions of the tile, its weight, the surface condition of the tile and the substrate.
First, determine how much thinset mortar you want beneath the tile once the tile is installed. For example, if you want 1/4″ of thinset beneath your tile, you need at least a 1/2″ square-notch trowel.
Here are some tips I use to help me choose the right trowel size:
- Inspect the tile to see how much cupping (variation) there is. The flatter the tile the thinner the thinset bed you need. On the other hand, the more variation there is the thicker the thinset bed should be.
- The more uneven the floor the larger your trowel should be. A thicker thinset bed helps level out uneven surfaces.
- Larger, heavier tile need larger trowels.
- Bigger trowels, like square or slant-notch are best for floor tiles.
- Smaller V-notch trowels are better for walls and ceilings.
- U-notch trowels are a transition between square and V-notch trowels.
- When in doubt, use a larger trowel size or shape than you think you’ll need.
- More thinset is always better than not enough.
How Much Thinset Will A Trowel Leave Under The Tile?
The trowel size and shape determines how much thinset will be spread on the substrate. A tile trowel leaves ridges of thinset on a substrate. The size of the ridges and the spaces between ridges are both determined by the trowel size and shape. When you press tile into a bed of thinset, the ridges collapse into the spaces between them which spreads the thinset out evenly between the tile and substrate.
Using a 1/2″ square-notched trowel, it leaves 1/2″ wide x 1/2″ tall thinset ridges with 1/2″ spaces between ridges. When you lay a tile into the thinset, the ridges collapse into the spaces evenly. This creates a 1/4″ thinset bed.
Since the spaces between the ridges have the same size as the ridges themselves, the thinset bed will be half the size of the ridge when a tile is installed.
Using a U-notched trowel is different. The tile bed size will be a little over 1/3 the size of the trowel teeth after the tile is installed. So a 3/8” U-notched trowel leaves a 1/8” bed of thinset between the tile and substrate.
A V-notch trowel collapses even more than a square-notch or U-notch trowel. Pressing a tile into thinset spread by a V-notch trowel creates a tile bed about 1/4 the size of the trowel.
Tips For Troweling Mortar
The goal of spreading adhesive, mortar, thinset, glue, or whatever substance you’re using to install stone or tile, is thorough and even coverage. You need enough mortar to support the tile and even coverage.
This means a minimum of 85% total coverage beneath a tile for a dry area installation and 95% minimum total coverage in a wet area. You also need complete 100% coverage beneath all four corners. You need a minimum of 95% total coverage beneath natural stone tiles in either wet or dry areas.
The minimum mortar thickness for floor tiles after installation using conventional thinset mortars is 3/32”, with a maximum thickness of 1/4”. However the general recommended size by tile Pros is 3/16″.
To achieve the right thickness mortar and adequate coverage takes the right size trowel and using it correctly. Here are some tips on how to do that.
Directional Troweling
The best way to spread mortar is by swiping in one direction. When you then install the tile and press it down into the mortar bed, the ridges created by the notch trowel will collapse. This is what forms an even and level mortar bed with adequate coverage.
If you swipe mortar onto the substrate in different directions, the ridges will have a harder time collapsing properly. The result could be an uneven mortar bed and poor coverage.
Additionally, when installing a rectangular subway tile, the direction of the notches should be perpendicular to the long direction of the tile.
Back Buttering Tile
Back buttering is a tiling technique that helps achieve better coverage on your tiles. To back butter, simply apply mortar to the back of the tile with your notch trowel and then wipe it off with the flat side. This presses mortar into all the uneven spaces on the back of your tile which creates a better bond when you depress it into the mortar bed.
Back buttering is more effective when installing natural stone or tiles with a very uneven surface. If the tiles are very straight, level and smooth, it doesn’t do much.
What back buttering does:
- Presses mortar into the uneven spaces on the back of the tile
- Helps create more even coverage with the mortar bed
- Most effective when the back of the tile is uneven
- Doesn;t do much when the tiles are super flat and level
Back buttering should be done on any tile that’s 12×12 and larger or made from natural stone.
FAQ About Tile Notch Trowels
Here are some of the most frequently asked questions we receive about tile trowel sizes. If you have any more let us know by email and we’ll add your question to the list.
What trowel size is best for subway tile?
It depends on the size of the subway tile and where you’re installing it. A 1/4 inch x 1/4 inch square-notch trowel is the most common trowel I use for installing subway tiles on a floor or wall. But for smaller subway tiles being installed on a wall you can use a v-notch trowel instead.
I wouldn’t use a trowel much smaller than 1/4″ x 1/4″ square-notch for floor tile because they carry weight.
What size trowel for 12×12 wall tile?
I use my 1/4″ x 1/4″ square-notch trowel to install 12″ x 12″ tile on a wall. This is fairly large size for a wall tile so make sure to back butter the tiles before you install them. Inspect the walls before you install tiles. If the wall has uneven spots I’ll sometime back butter the wall in addition to the tiles. This helps create a better bond between the tile and substrate with more adequate coverage.
What trowel size is best for 12×24 inch tile?
I use a large 1/2 inch x 1/2 inch square-notch trowel for 12″ × 24″ tile. Tiles this size are generally installed on the floor so a larger trowel is typically needed. Especially if the floor or tile back is uneven. But if the tiles and floor are super smooth and level you can use a slightly smaller trowel.
If the tiles are being installed on a wall you can use a 1/4″ x 1/4″ square-notch trowel instead.
Make sure to back butter the tiles for the best possible bond with the tile bed.
What trowel size is best for mosaic tile?
I use my 1/4 inch x 1/4 inch square-notch trowel for 2 to 3 inch mosaic tiles that come in sheets if they’re being installed on the floor or walls.
What size trowel is best for 6×24 tile?
I use a large 1/2 inch x 1/2 inch square-notch trowel for 6″ × 24″ tile. Tiles this size are generally installed on the floor so a larger trowel is typically needed. Especially if the floor or tile back is uneven. But if the tiles and floor are super smooth and level you can use a slightly smaller trowel.
If the tiles are being installed on a wall you can use a 1/4″ x 1/4″ square-notch trowel instead.
Make sure to back butter the tiles for the best possible bond with the tile bed.
What size trowel is best for 6×36 tile?
I use a large 1/2 inch x 1/2 inch square-notch trowel for 6″ × 36″ tile. Tiles this size are generally installed on the floor so a larger trowel is typically needed. Especially if the floor or tile back is uneven. But if the tiles and floor are super smooth and level you can use a slightly smaller trowel.
If the tiles are being installed on a wall you can use a 1/4″ x 1/4″ square-notch trowel instead.
Make sure to back butter the tiles for the best possible bond with the tile bed.
What size trowel is best for a penny tile floor?
I use a 1/4 inch x 3/16 inch V-notch trowel for installing penny-round tiles. A 3/16 inch x 3/16 inch square-notch trowel trowel also works really well.
Square-notch vs U-notch tile trowels
Square-notch trowels are the standard I use for most walls and floors. But I occasionally switch to a u-notch if I want just a little less adhesive applied to the substrate. A u-notch trowel will apply a little less adhesive than a square-notch and a little more than a v-notch. I rarely use them on floors but they come in hand on some walls.
If you’re installing wall tile, usually with a v-notch trowel, but want just a touch more adhesive, it’s usually better to use a u-notch vs a square-notch. The same is true in reverse for installing floor tiles. If I want a little less adhesive on the floors than my square-notch applies, I might switch to a u-notch but almost never use my v-notch.
Summary: Which Trowel Size Do I Use?
Tile trowels come in a variety of shapes and sizes. Which trowel size you should use depends on the size of the tile you’re installing. The larger the tile the larger the trowel you should use. And vice versa, the smaller the tile the smaller the trowel. Tile trowels range in size from a 3/16th v-notch up to a 1/2″ square-notch. The smaller 3/16″ v-notch is designed for small wall tiles which don’t need much adhesive to hold them in place. While the larger 1/2″ square-notch is for 16″ x 16″ and larger floor tile. Floor tiles require a thick thinset bed to both hold them in place and support the weight of people walking atop them.
Where the tiles will be set, on the floor or on the walls or ceilings, is another very important factor when choosing the right trowel size. When setting tiles on the floor, the mortar bed should be thicker because it supports the weight above. However, walls and ceilings typically require a thinner layer of sticky adhesive to hold them in place because they don’t have to bear weight.
The final consideration is how flat and level the surface is. If you’re laying tile on a floor that’s uneven or slopes, you may need a thicker trowel to fill in some of those low spots.
The four most common trowel sizes we use are:
- 3/16″ V-notch trowel is designed for standard 4″ x 4″ and smaller wall and ceiling tile.
- 1/4″ Square-notch is for up to 8″ x 8″ tile.
- 1/4″ x 3/8″ Square-notch trowel is for 8″ x 8″ up to 13″ x 13″ tile.
- 1/2″ Square-notch trowel is for 16″ x 16″ and larger floor tiles.
If you have any questions choosing the right trowel size, email any time.