How To Waterproof Plywood
Plywood is a fantastic building material with all sorts of applications. Almost all homes use plywood for wall and roof sheathing or as a subfloor. It’s strong, durable, easy to work with and very versatile. But it does have a few drawbacks. The biggest being plywood is not usually considered waterproof. There are water resistant forms of plywood such as T-111 siding but that’s a specialty product. When exposed to water, plywood will swell and become brittle. It can also grow mold and mildew. If you have plywood that may become exposed to water, it’s a good idea to water proof it. This can help you avoid costly repairs in the future. So how do you waterproof plywood?
Waterproofing plywood is a simple process that can avoid potential damage in the future. You can waterproof plywood with a few different materials that are applied to the surface. These range from waterproof paint to oil and varnish to fiberglass. Waterproofing extends the life of plywood by preventing rot, mold, mildew, swelling, deterioration, warping, and splitting. Waterproofing creates a barrier between the water and wood which prevents absorption and damage.
In this article, we’ll discuss how to waterproof plywood in a variety of ways.
Is Plywood Waterproof?
Plywood is considered water-resistant but not waterproof. Small amounts of water on the surface won’t affect it, but prolonged exposure to moisture can be disastrous. This is especially true along the edges where water absorbs more easily.
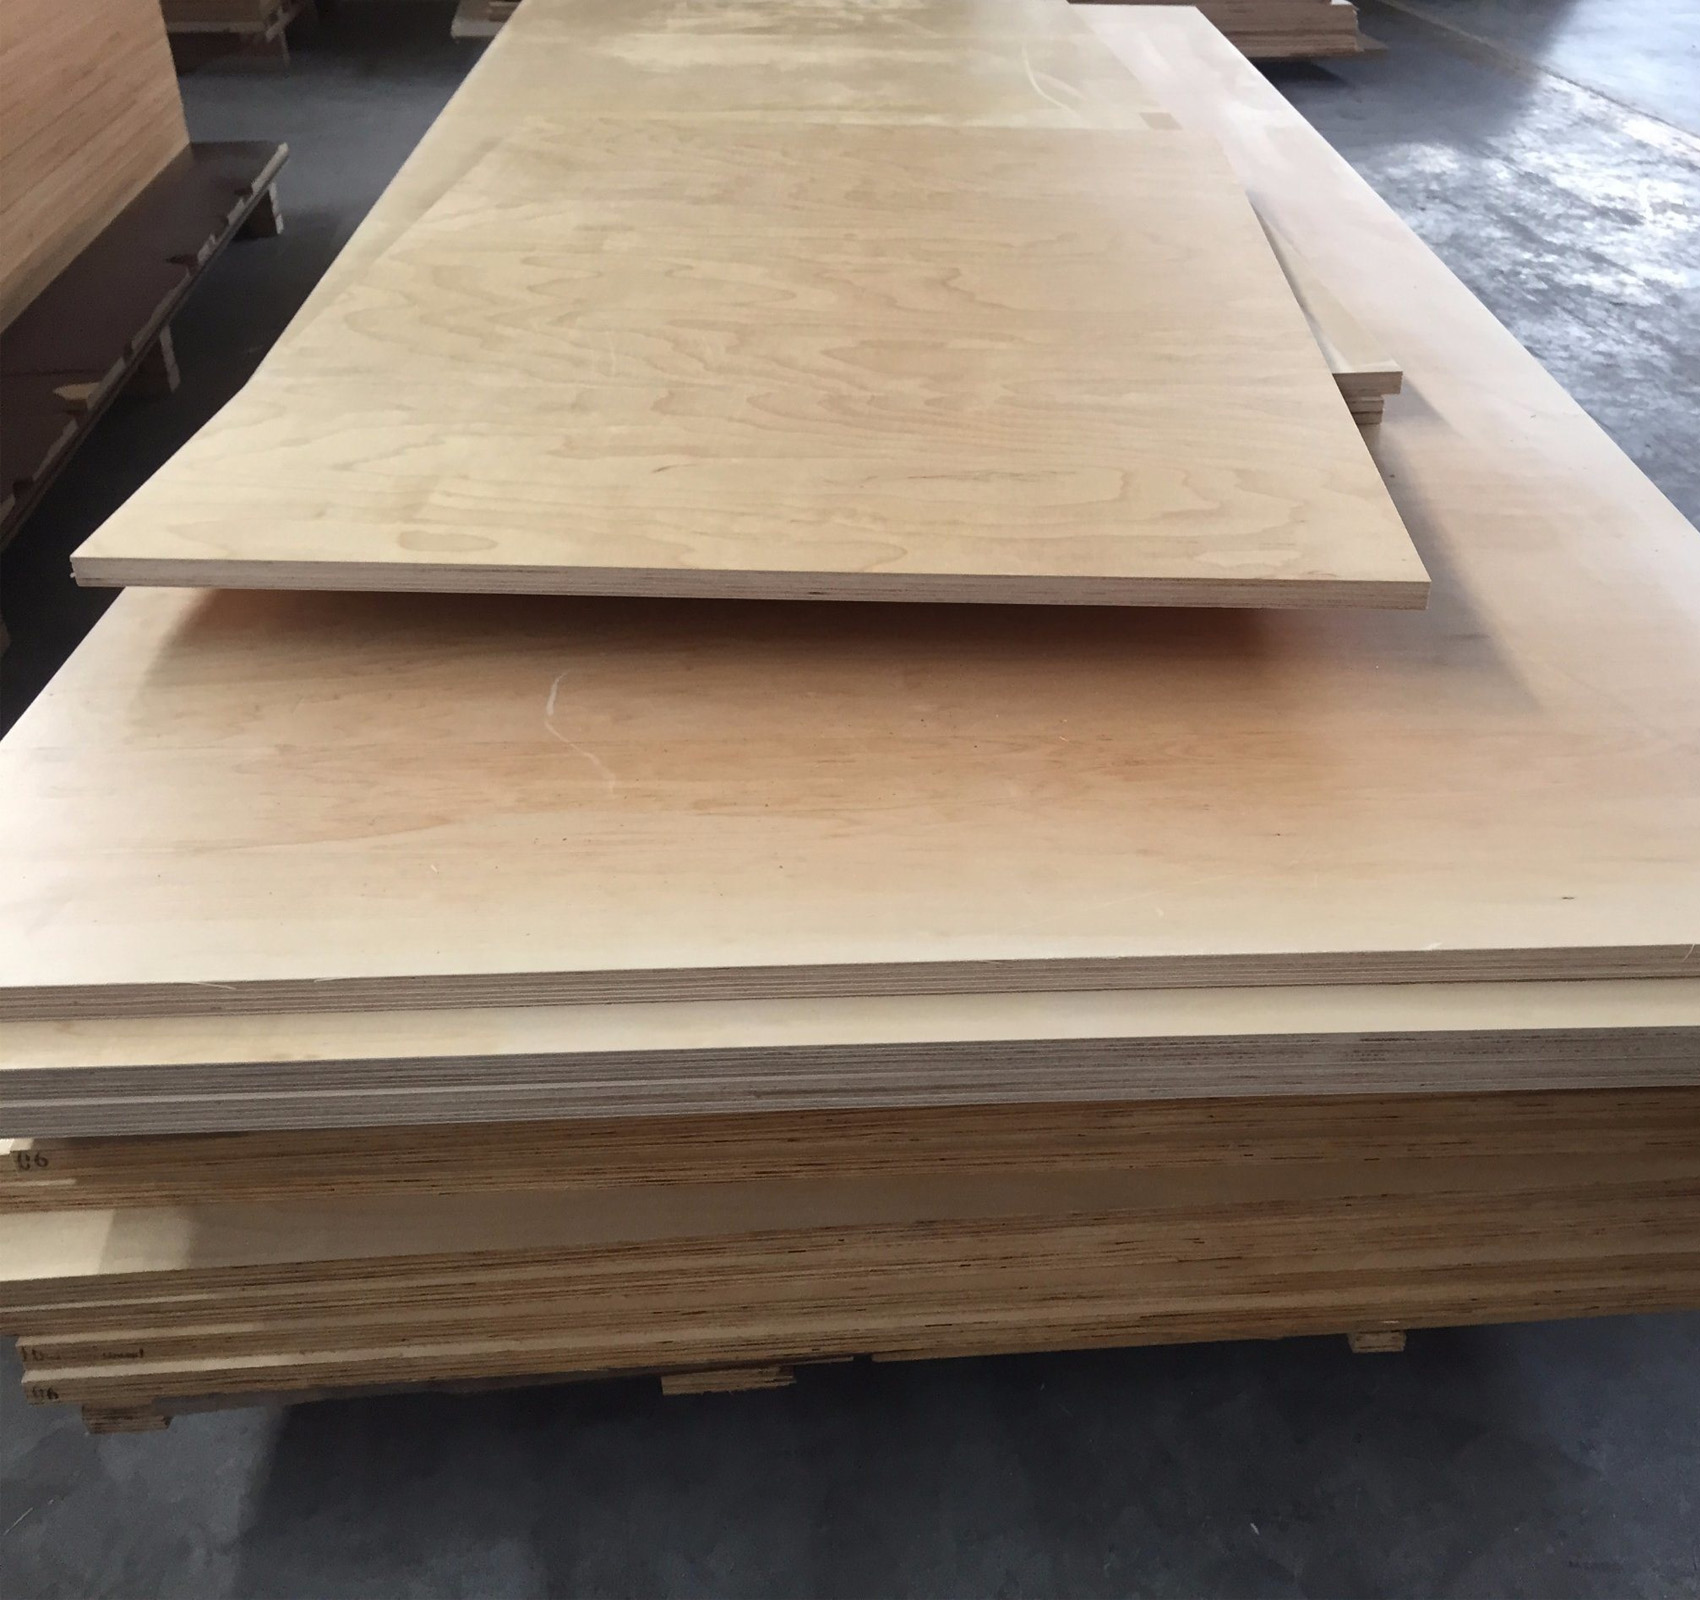
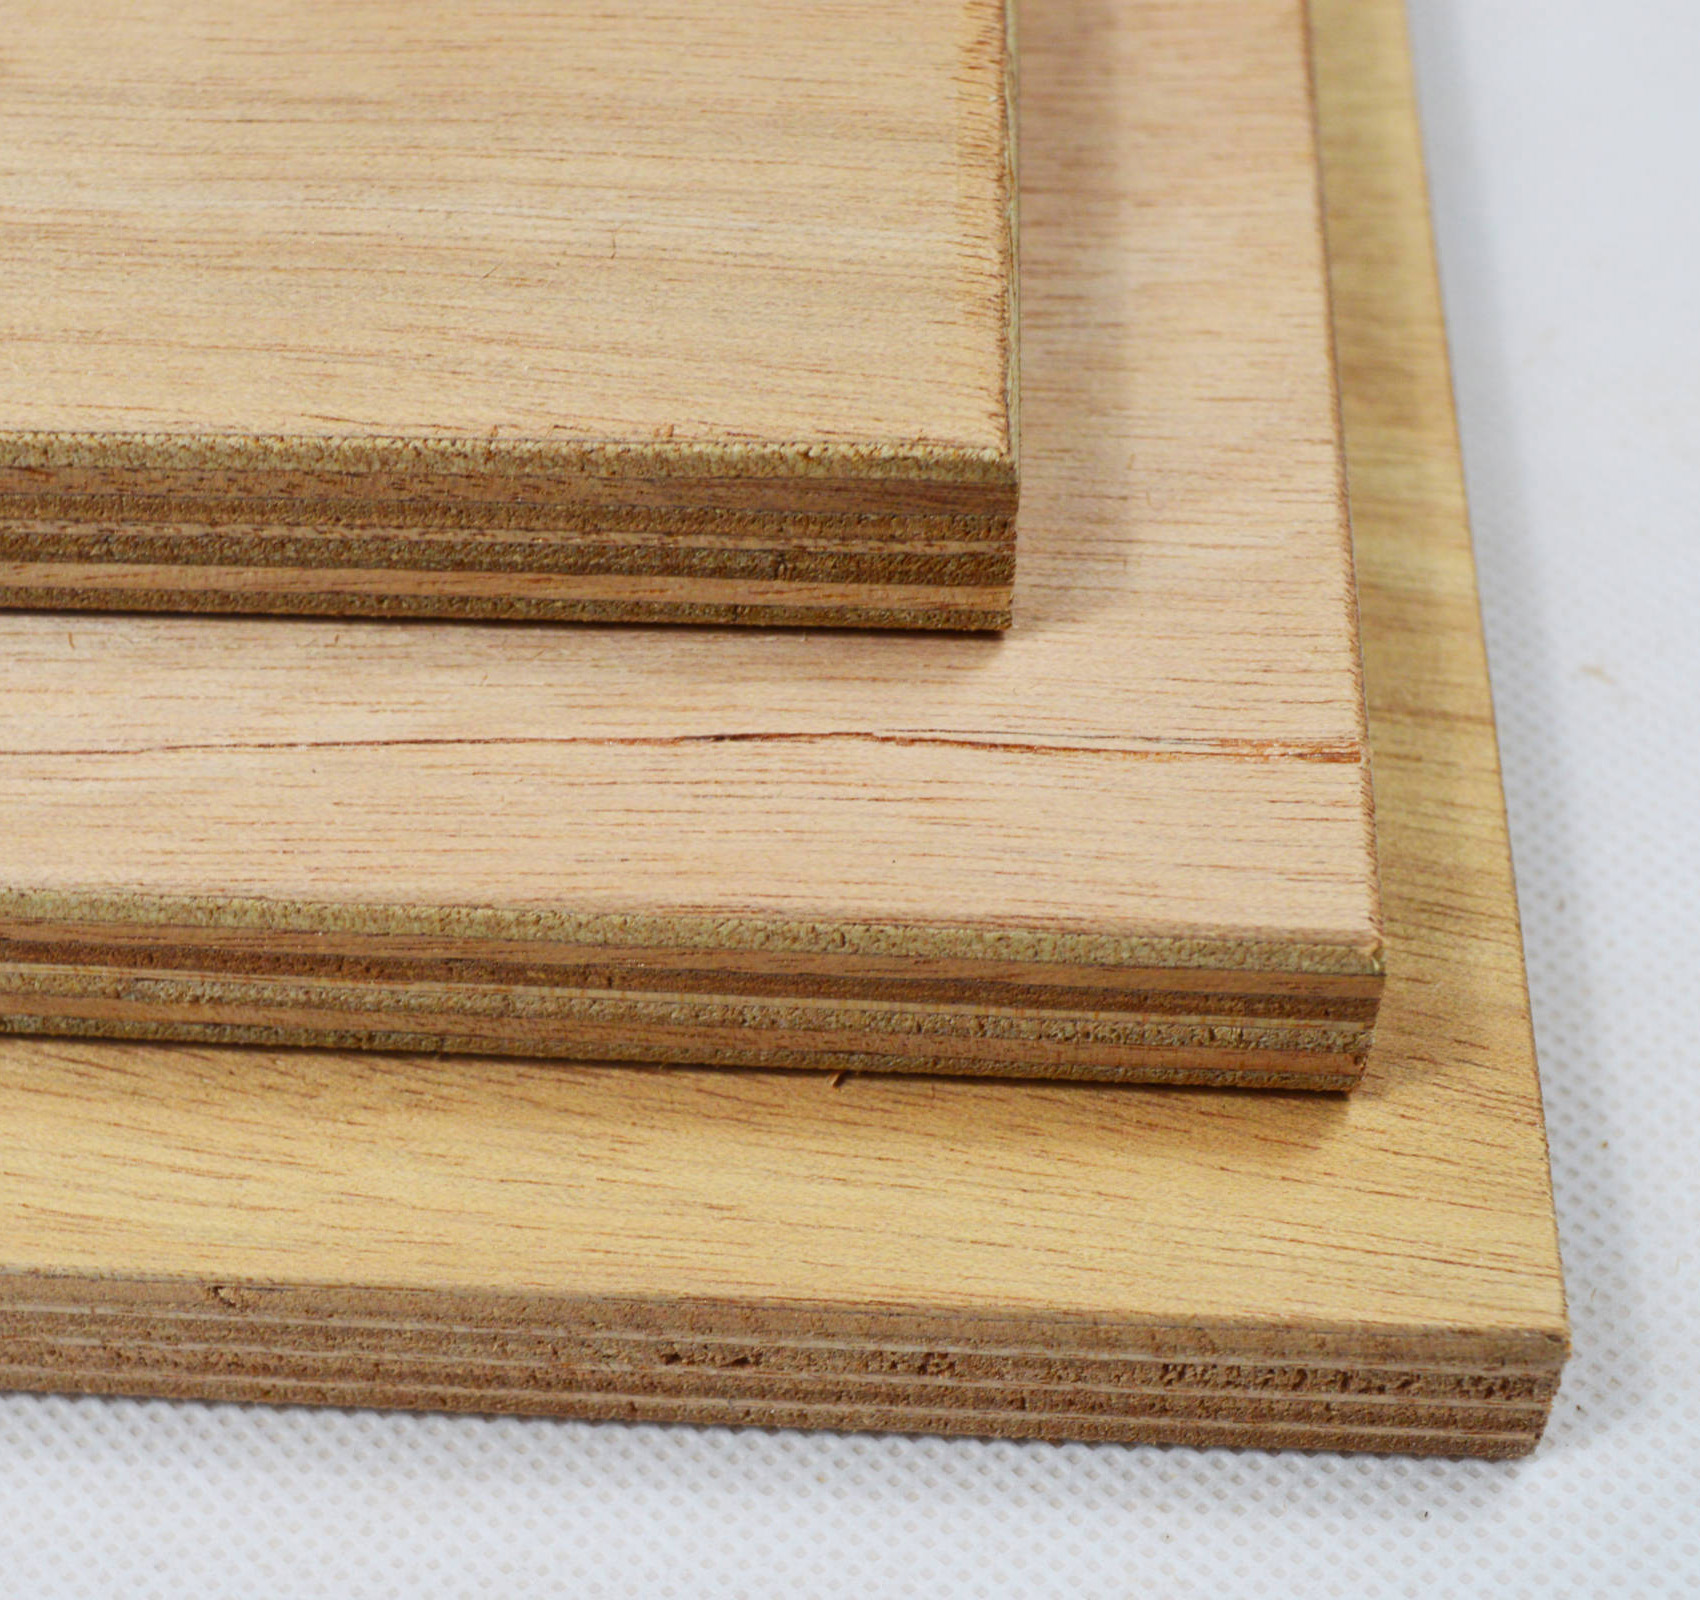
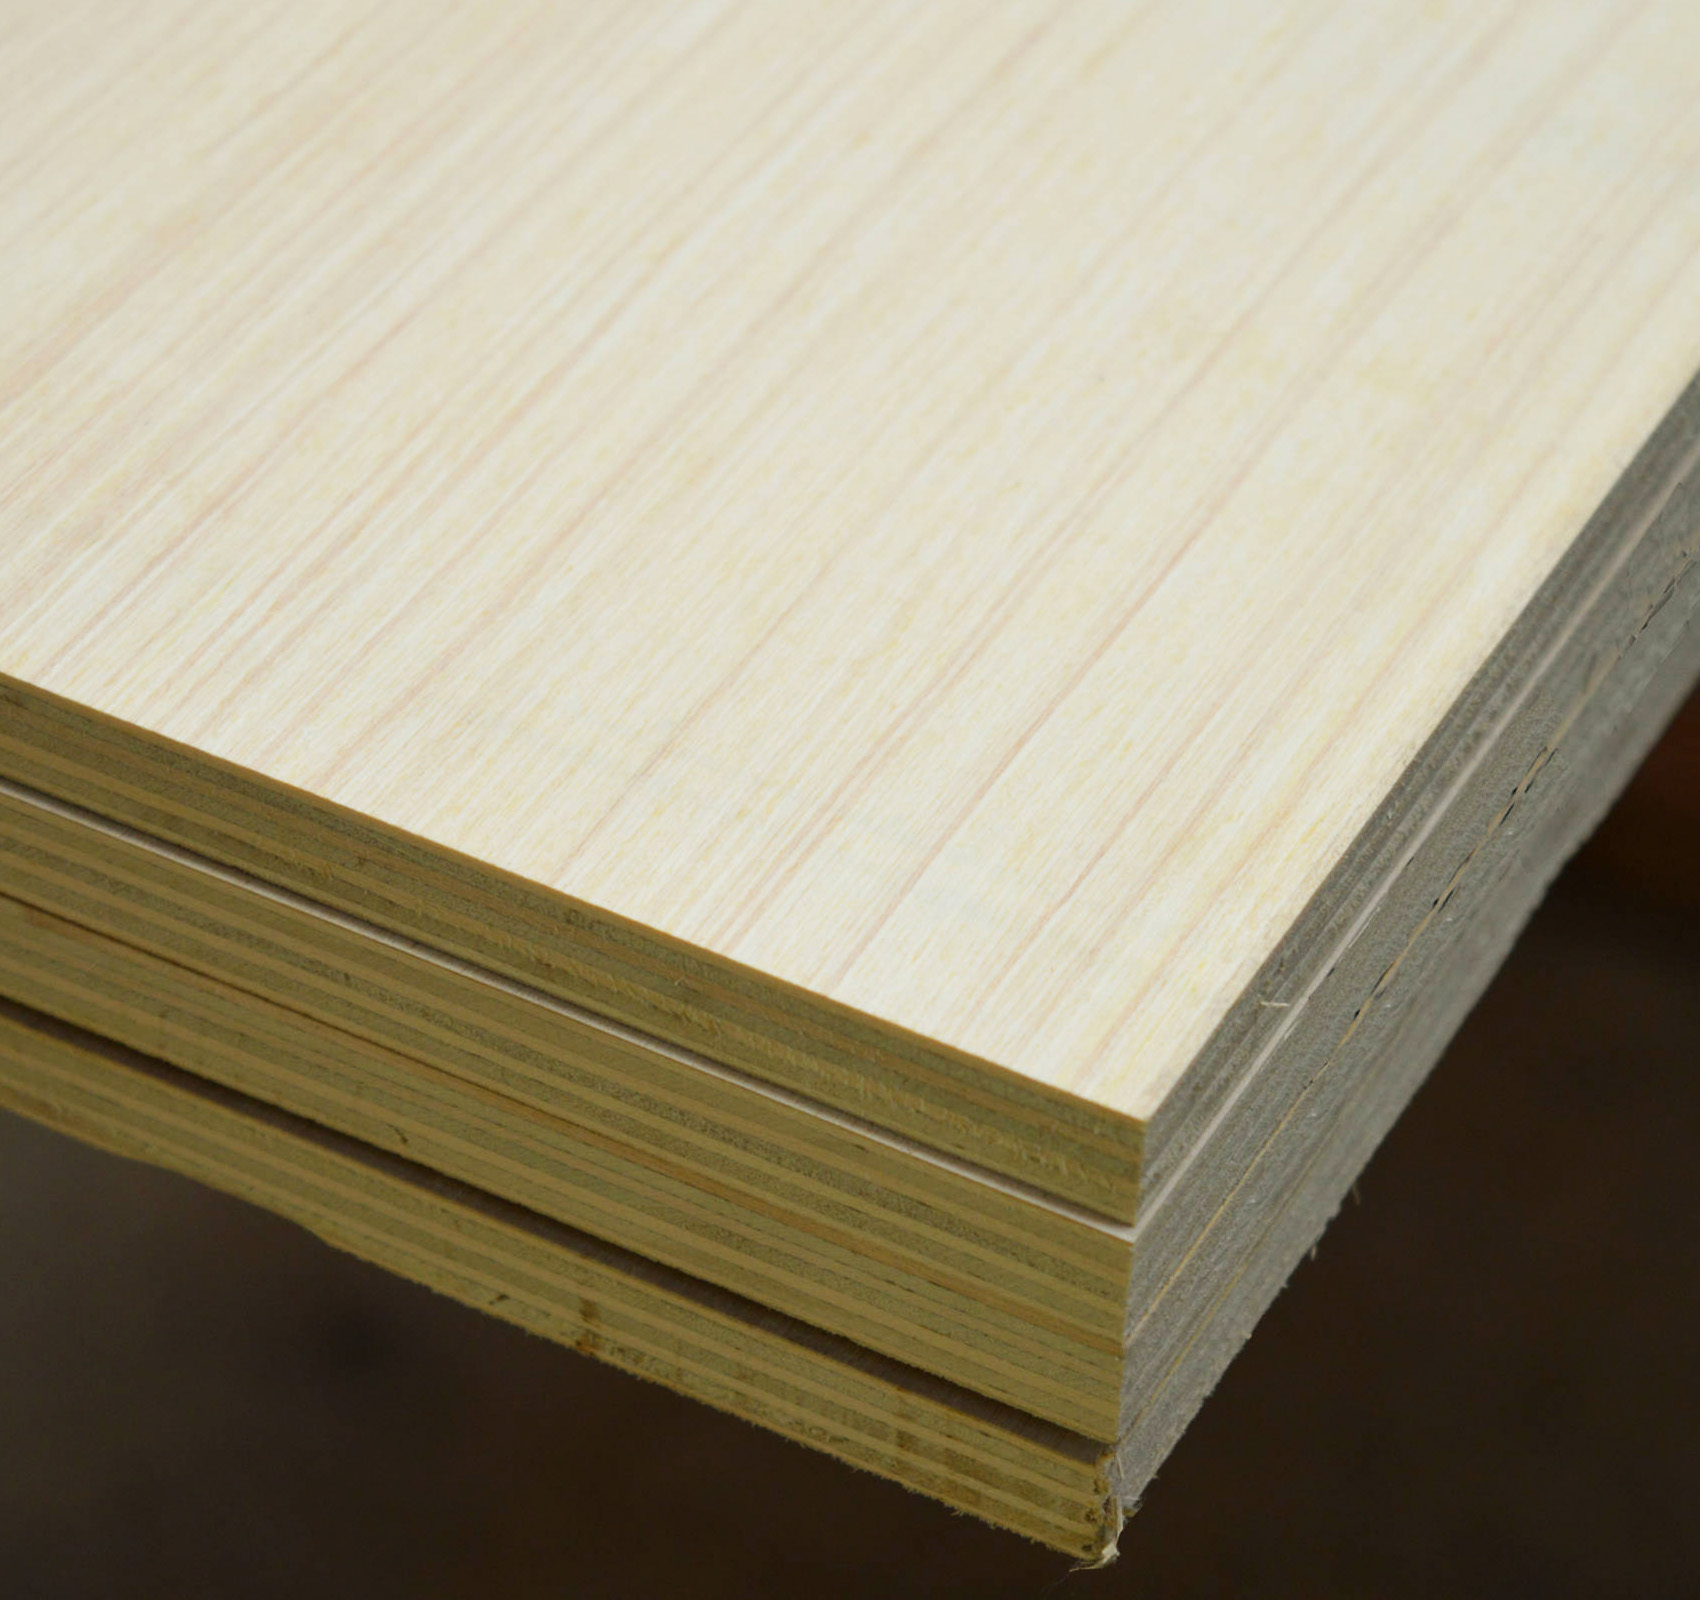
Plywood is made of thin wood veneers layered and glued together using pressure and heat. It’s a very strong material, but if moisture seeps into its layers they can separate or split.
During manufacturing, the wood is treated with water which makes it expand. After the layers are pressed together and heated, the water is squeezed out which makes the plywood contract and bond tightly together. If plywood later absorbs water, the bonding process can reverse which separates the layers. They can peel apart into individual veneers which destroys the plywood.
Plywood is more vulnerable to water than regular wood because it’s not solid. Water makes the individual wood layers expand again which over time can peel them apart. The glue that holds the veneers together isn’t strong enough to resist the pressure created by water. Depending on the amount of water the plywood is exposed to, the type of plywood, and how thick it is, damage can take years, or just a few weeks to occur.
When plywood gets wet it reacts differently than solid wood. When a wood beam gets wet it can soak up water and swell, but it doesn’t lose its integrity because it’s a solid piece of wood. But plywood is a composite material made from multiple glued together layers. When the layers start to separate it peels apart like an onion.
Splitting, rot, warping, mold and mildew can also occur in wet plywood.
Areas where fasteners are used can come weaken and come apart which loosens the plywood.
Why Is Plywood Vulnerable To Water?
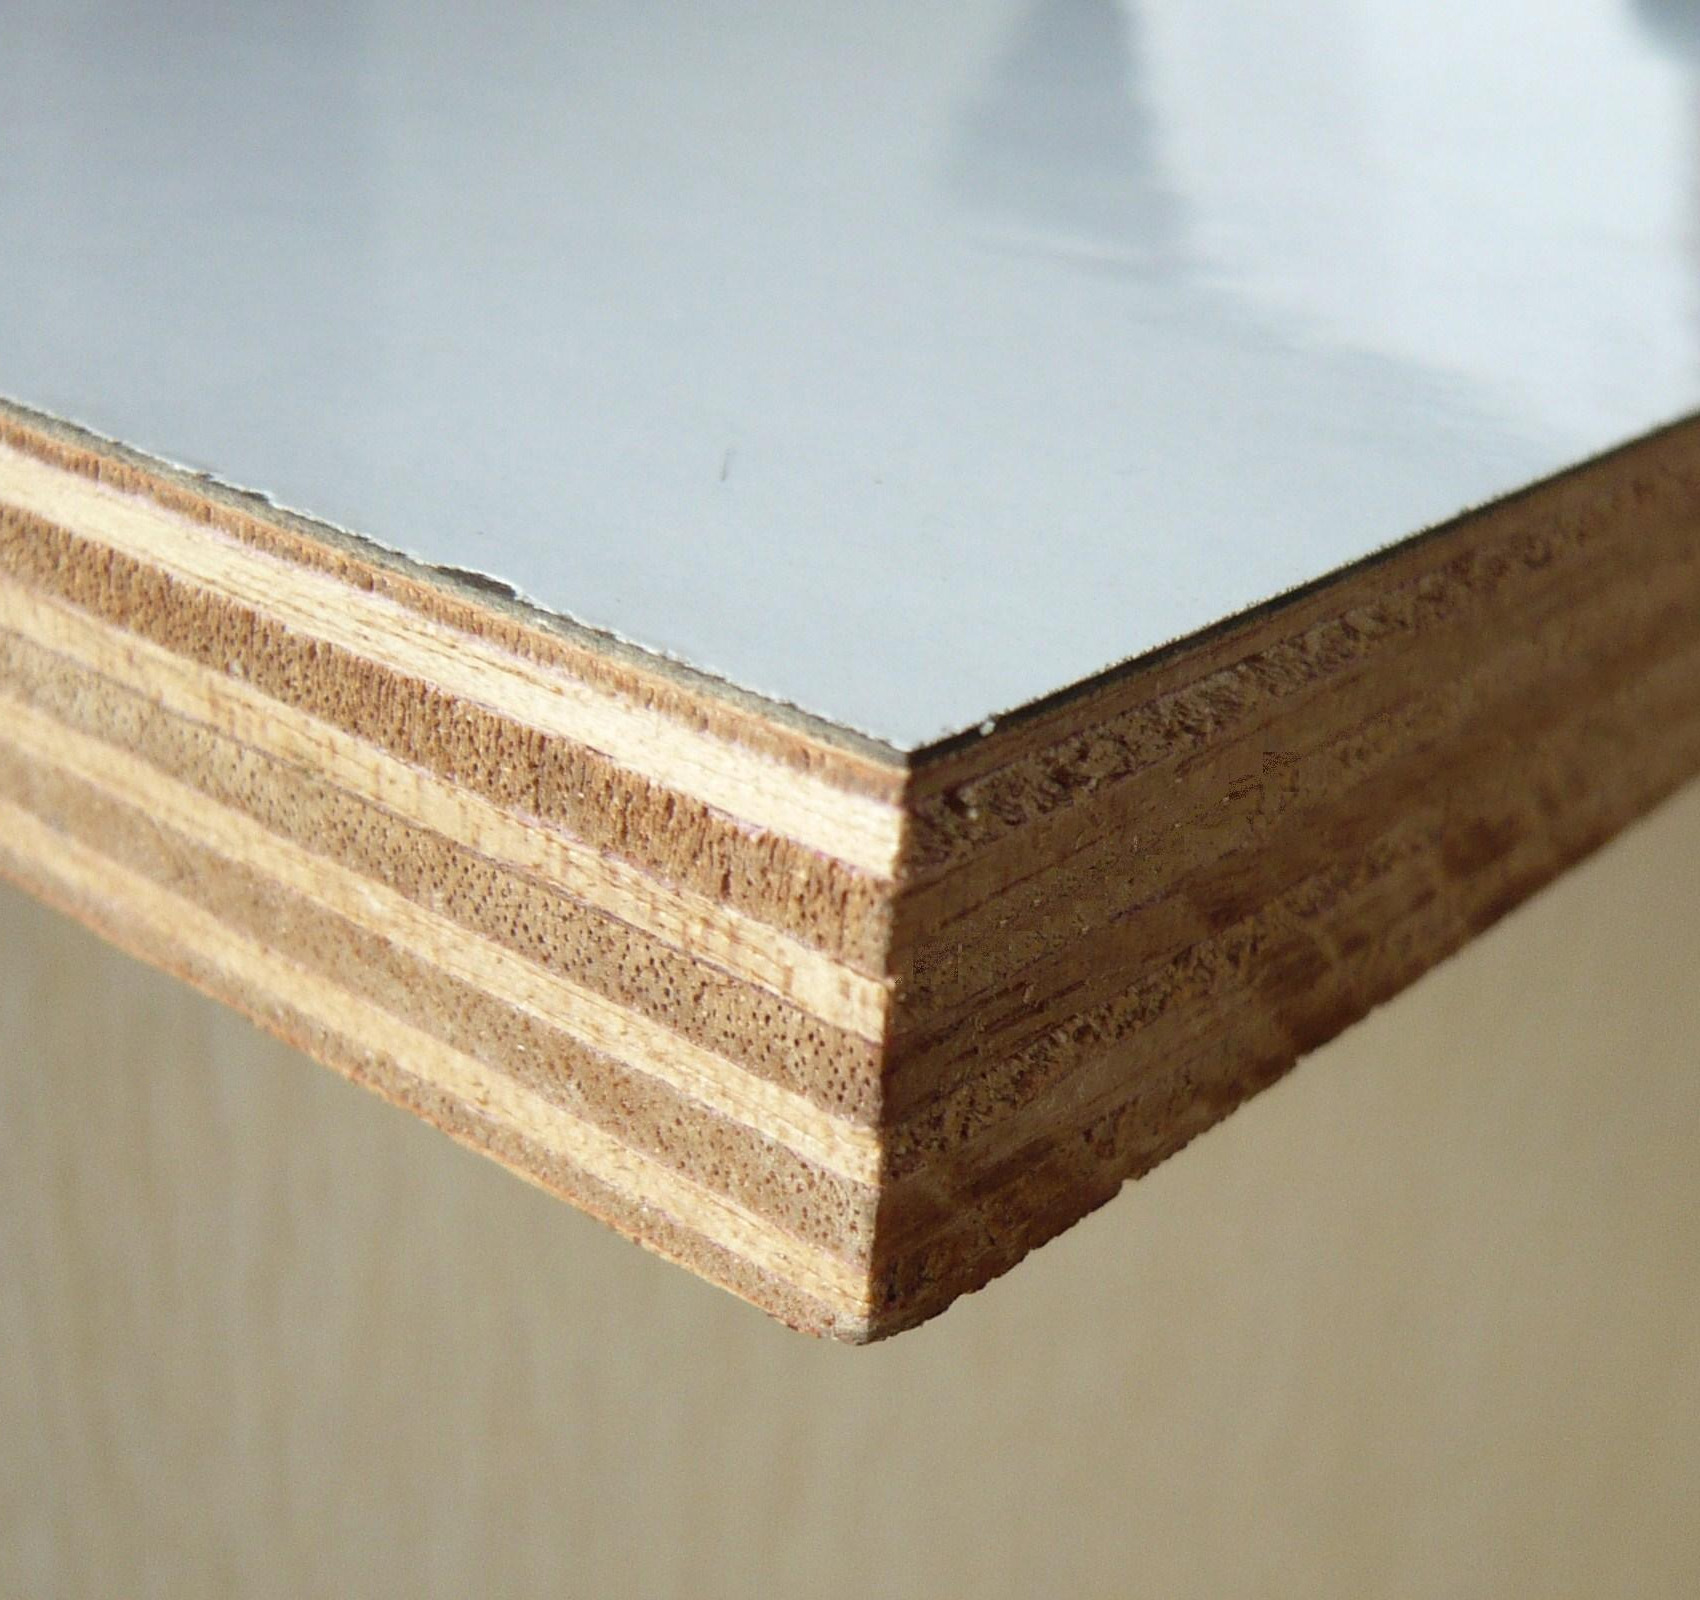
Most types of plywood deal with surface water just fine as long as it’s dried up quickly. Plywood layers are dense so water doesn’t penetrate into the wood easily. But the edges are a different story. It’s at the edges where water can seep into the layers and cause damage. This is also true of any holes or cuts which include nails or screws. Anything that punctures the face of your plywood can potentially cause water damage.
Plywood is much different than solid wood. When wood gets wet, it may soak up water but it doesn’t generally fall apart. This is because wood beams are solid. But plywood is made from layer of thin wood veneer that are glued and pressed together. So when plywood absorbs water these layers can come apart. It’s like peeling an onion. The plywood will absorb water, swell and pull apart. This destroys the strength and durability of the plywood.
Rot, mold, mildew and deterioration can also occur when moisture absorbs into plywood and doesn’t dry. It’s a very bad idea to let water absorb into plywood for long periods of time. This is why builders use so many layers of moisture protection such as a house wrap, flashing, tape, trim and siding.
Water can weaken the areas where screws or nails are used to secure plywood to a wall. In some cases plywood sheathing can come right off a wall or roof.
Warping results from water absorption too. Bent or curved plywood looks horrible and is useless as a building material.
Can Plywood Be Made Waterproof?
Yes. Plywood is naturally water resistant so it isn’t that hard to waterproof. It’s a porous material which means it easily bonds with sealants and paints. When waterproofed, plywood can be used outdoors and in marine environments.
Some types of plywood come pre-treated at the factory with waterproofing chemicals. They appear greenish in color and are sometimes referred to as marine plywood. While I don’t consider them 100% waterproof like plastic, the treatment is very effective at preventing water damage.
Waterproofing your plywood is very important because it can prevent future damage.
Since plywood is typically used in 4×8 sheets rather than thin boards, one damaged sheet effects a large area. If a sheet of plywood becomes water damaged, you could end up replacing a large section of wall, roof or floor.
If your trying to waterproof plywood for exterior use, remember to also apply lots of waterproofing to the edges. This is where the majority of water damage occurs.
The Benefits Of Waterproofing Plywood
So what are the benefits of sealing plywood? Here are a few ways that waterproofing your plywood can help:
Waterproof Plywood Provides Overall Protection
Untreated solid wood left outside only lasts about 2 to 5 years. This will vary based on how much water and sun exposure the wood gets. However, with properly waterproofed plywood, you can expect 20 to 40 years of use.
Since plywood is less moisture resistant than solid wood, you can expect it to fail even quicker if left exposed and unsealed. But again, the speed will depend on it’s exposure.
The same is true indoors. A water leak onto plywood is just as deadly as rain. The plywood doesn’t know where the water is coming from. In areas where you may experience a leak, it’s a good idea to waterproof the plywood just in case.
In general, plywood is covered by other materials. From the outside, your plywood sheathing should have a house wrap like Tyvek, flashing, caulk, tape, siding, paint, roofing etc. Lot’s of materials keep plywood dry from exterior moisture. Inside the house, plywood is protected by things like finished walls and flooring.
If you have exposed plywood either inside or outside the house you should waterproof it to prevent damage. Think of Waterproofing as a good overall protection against water damage of all types.
Waterproof Plywood Resists Rot
Even if the plywood doesn’t split apart into individual veneers, prolonged water exposure can still cause rot.
Wood rot looks bad, smells bad and drastically weakens the material.If you find rot in your plywood, the area needs to be immediately cut out and replaced. You should also investigate the cause of the water damage and prevent it from happening again.
Waterproofing your plywood can help stop rot by preventing water absorption.
Waterproof Plywood Resists Dry Rot
Dry rot and rot are similar but have different root causes. The good news is waterproofing can help prevent them both from happening.
Dry rot occurs when microscopic fungi grows on the surface of the plywood. It doesn’t require much moisture either. The damage happens after the wood has dried out but the fungi have already started growing. That’s why it’s called dry rot. For this reason it’s very important to prevent the fungi from initially growing. Waterproofing can help.
When you waterproof a sheet of plywood, the tiny pores on the surface are filled. Since the pores are filled, fungi doesn’t have a place to take hold and grow. When moisture hits the waterproofing layer it beads up and runs off the surface. It’s never allowed to sit or absorb into the wood.
Waterproofing Plywood Resists UV Damage
Repeated exposure to moisture and heat can warp the plywood.
After a single rain, untreated plywood sheets left outside can start to warp. It doesn’t take long. Moisture is generally cool and causes some swelling in the wood. UV rays are hot which cause the wood to dry out and expand. This process warps the wood. Over the coarse of a few weeks, a totally flat piece of plywood can be badly warped and unusable.
UV rays also cause the wood to break down and deteriorate. Have you ever seen an untreated piece of wood left out in the sun over a summer. It becomes grey and brittle. Weatherproofing can prevent this. Most waterproofing methods also contain some amount of UV protection which can be a big help.
For this reason,waterproofing any wood that’s left outside is a good idea. It will not only prevent water damage but also UV.
Treated Plywood Helps Prevent Splitting
Splitting is one of the most damaging effects of water exposure. It causes the thin plywood veneer layers to separate which destroys the plywood. What makes plywood so strong are the multiple thin layers of wood veneer glued together with alternating grains. When they start to separate, plywood sheets lose a lot of their strength.
Splitting can sometimes be hard to see if the wood is installed. In some cases the screws or nails will still hold the sheet in place while it’s coming apart. That’s why it’s so important to waterproof the plywood and prevent it from happening. You may not notice the plywood has lost it’s strength until it’s too late.
Waterproofing prevents absorption which then stops splitting. If the plywood doesn’t take on water the veneers won’t split apart.
Waterproof Plywood Resists Mold
Another huge problem is mold or mildew growth. Fungi of all kinds just loves moist areas to grow. When the inside of your plywood gets and stays wet, it’s a breeding ground for all sorts of molds. This can be a big problem if that plywood is on your house because mold can be a big health issue.
Waterproofing the plywood prevents water absorption which then stops mold growth. If the water can’t absorb into the plywood then mold won’t have a place to grow.
Mold growth spreads quickly and can cause serious damage to a house. Anywhere it’s found needs to be cleaned or redone. I’ve seen houses completely destroyed by mold that started inside untreated, exposed plywood.
Make sure you take water protection seriously and waterproof any exposed plywood.
Treating Plywood Helps Prevent Swelling
As plywood absorbs water it swells. If you see swollen plywood it’s a sure sign that your absorbing water. It’s very important that you dry the plywood out immediately and fix whatever the problem is.
A single bout of swelling doesn’t always warrant replacing the entire sheet. But over time, a sheet of plywood can be completely destroyed. I’ve seen plywood sheets swell a 1/4 inch which makes them unusable in construction work. Not to mention a sheet of swollen plywood is very ugly. If you have swollen plywood, inspect it carefully after the plywood has dried to determine if it needs replacement.
Waterproofing is very important around the edges. This is where most of the water will absorb into the veneer layers.
Should All Plywood Be Waterproof?
Before you waterproof a sheet of plywood, determine where it will be used. There are different water concerns for indoor vs outdoor plywood. The method of waterproofing you use should be tailored to the type of water the plywood will be exposed to.
- Exterior plywood has to deal with heavy water from snow, ice and rain. But that’s not the case with indoor plywood.
- Indoor plywood deals more with humidity and dampness in the air or steam. This is a very different type of water and needs a different kind of waterproofing.
If you’re using plywood in an indoor area that sees moisture rather than water droplets, you probably need an anti-fungal preservative and not a full waterproofing. This will prevent the type of damage indoor plywood is most susceptible to.
Outdoor plywood deals with heavy water droplets from rain, snow, ice and standing water. That typically requires something far more extensive like a waterproofing layer.
If your plywood will be submerged in water you need a waterproof marine plywood that’s been treated at the factory.
Choosing The Right Type Of Waterproofing
There are several different kinds of waterproofing materials and methods that can be used on plywood. Make sure you use the one that’s most suitable for your plywood’s application. There’s isn’t a one size fits all answer for which method is best.
The waterproofing material we most often use on plywood is either a spray-on or paint-on material.Here are the most common we use.
- Liquid Latex is applied to the plywood when it’s wet. As the material dries, it creates a layer that protects against moisture. Latex can be purchased at nearly any hardware store and is easy to apply. Simply put it on and wait for it to be completely dry. Typically we spray it on.
- Epoxy is the most common roll on waterproofing we use. It’s rolled and brushed on. Epoxy dries hard which makes the plywood stiff and more durable.
- Oils can also be applied with a brush or roller.
- Paint is probably the most common waterproofing material we use. Stick with water based. It’s a great sealant but needs reapplication every few years.
There are also membrane systems and sheet plastics that can act as a waterproofing system. Again, use the waterproofing system that works best for your particular project.
How To Seal Plywood For Outdoor Use
Waterproofing plywood is very easy to do. The waterproofing material is applied to the exterior facing surface of the plywood and the edges. It penetrates into the plywood’s pores and seals them so water can’t penetrate. Sealers are basically a layer of protection that sits between the water and plywood.
When water hits the sealer, it beads up and runs off. But it doesn’t absorb into the wood.
With proper application, each waterproofing method is more or less equally effective. That can make it hard to find the best way to seal plywood because each method is pretty good.
Let’s take a look at the top 6 methods you can use to waterproof plywood:
Epoxy Sealer
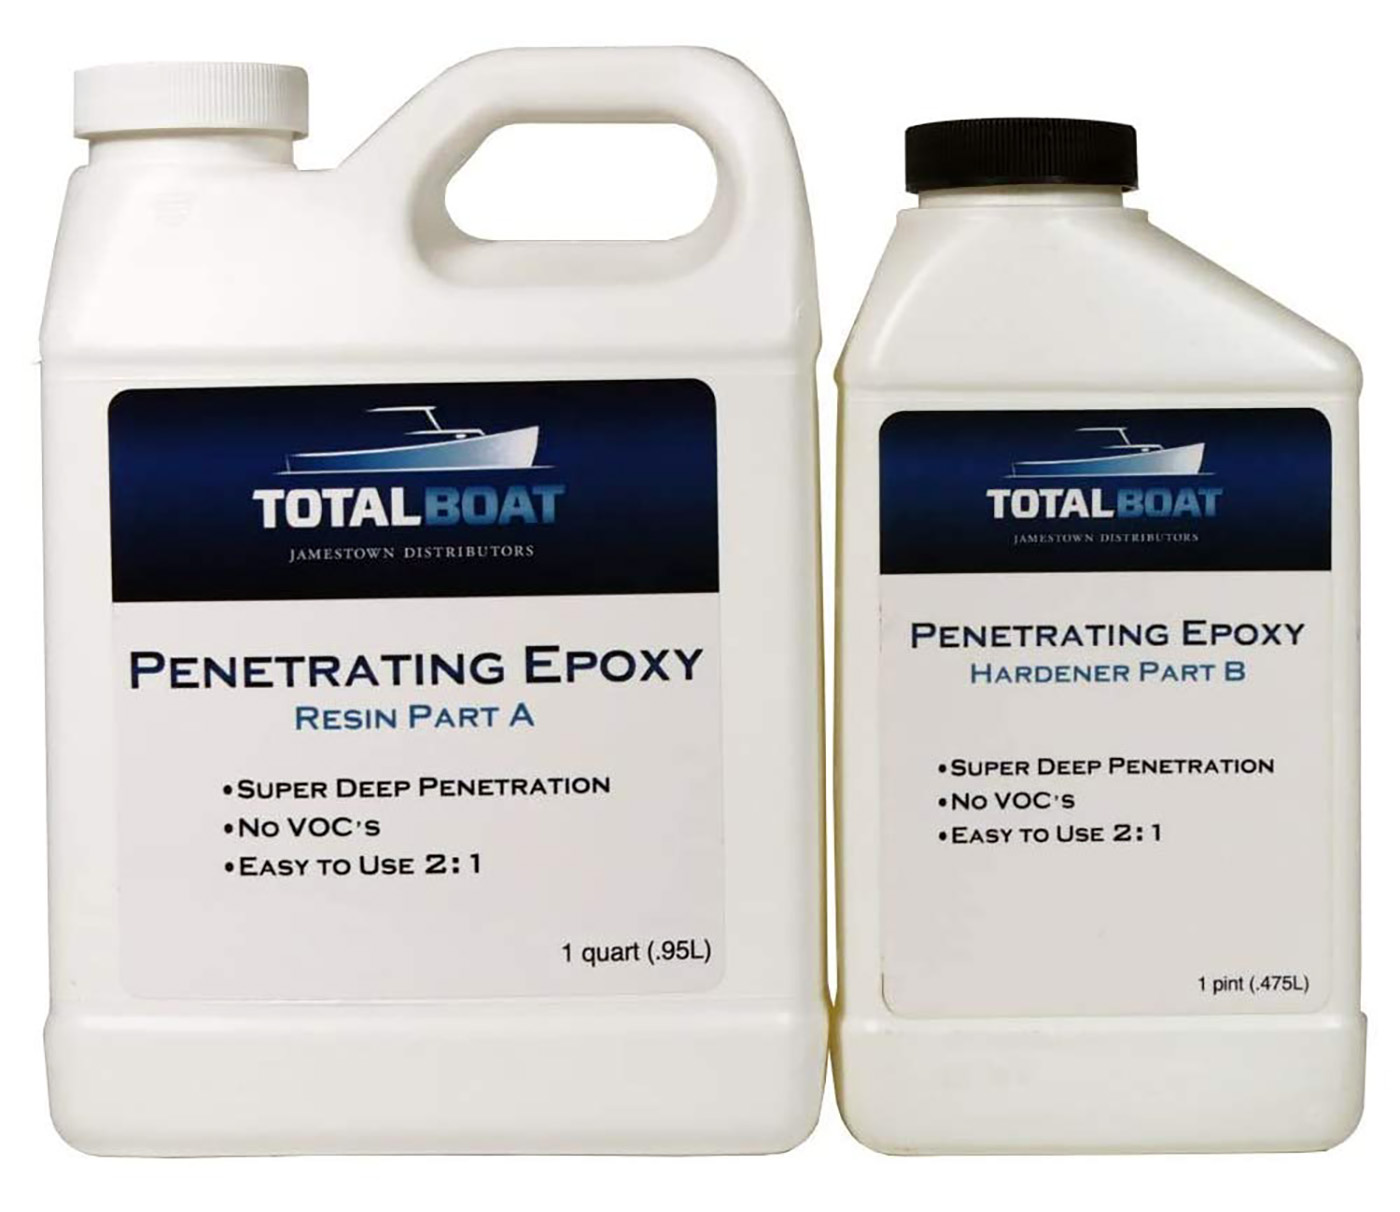
Epoxy sealers are the most popular way to seal and waterproof plywood. The epoxy I use is called TotalBoat. It’s a two part epoxy made by mixing together a resin and a hardener. Once the epoxy is mixed, it’s applied by a brush or roller to the plywood.
The advantage epoxy provides is that it makes the plywood stronger in addition to waterproof. Epoxy dries to form a tough, hard outer layer that’s resistant to scratches and dents as well as moisture.
Epoxy soaks into the surface of the plywood and provides a tough outer shell. It typically goes on clear which preserves the natural look of the wood. Make sure to apply epoxy to the edges of the plywood because that’s where it’s most susceptible to water damage.
If you want color then scuff up the epoxy coating with some sandpaper. Go over the entire surface lightly. Avoid sanding too hard or you’ll remove the epoxy layer. Once the epoxy shell is scuffed you can apply a coat of paint. This adds even more waterproofing and protection.
One of the downsides to using epoxy is also a benefit, it dries hard. This eliminates the woods natural flexibility. If you need your plywood to flex a bit then epoxy probably isn’t the best choice of sealer.
Buy TotalBoat Epoxy Sealer HERE On Amazon
Drying Oil
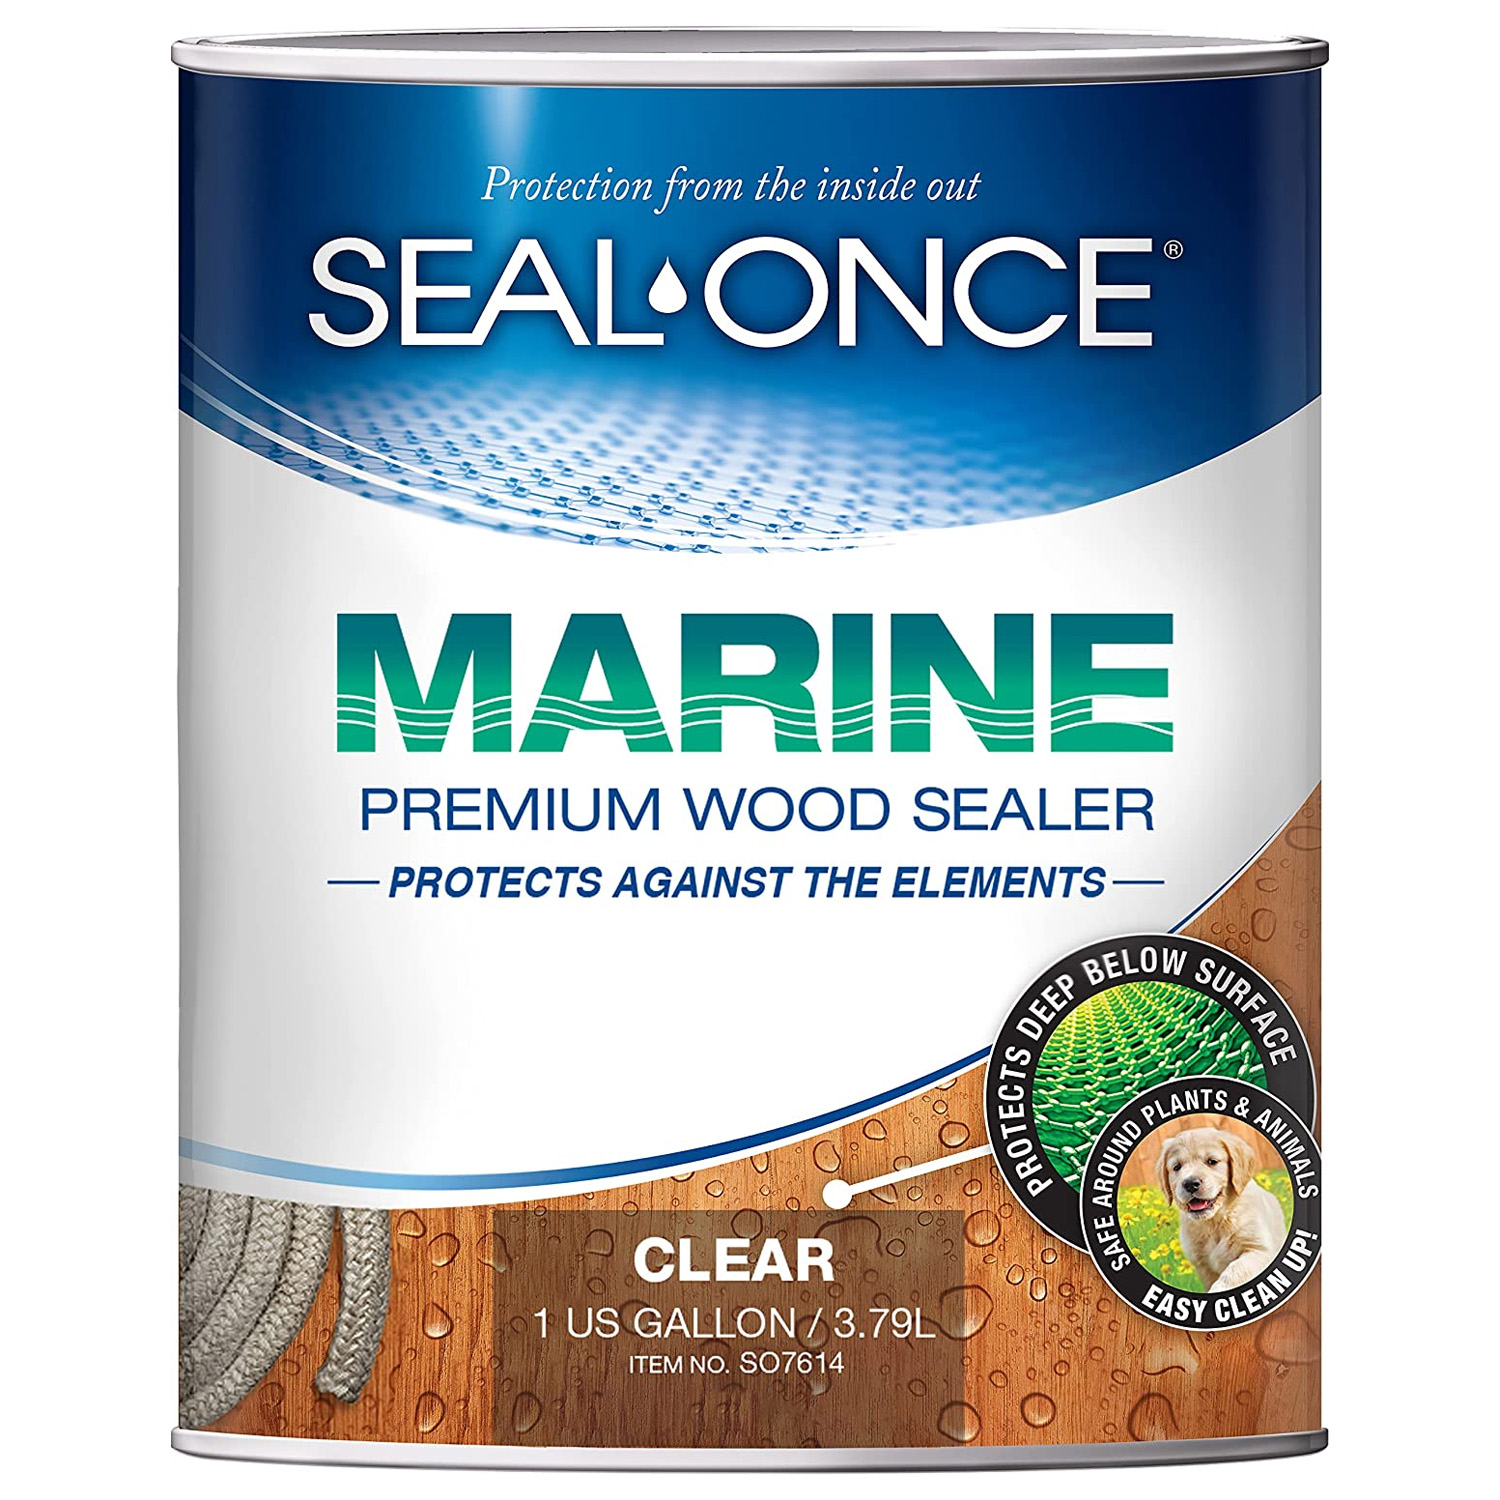
Drying oil is a great waterproofing material for outdoor and marine use because it allows the plywood to keep some of its natural moisture and flexibility. It soaks in and provides an effective thin coat of protection. In some cases flexibility can be a big benefit.
If you’re using plywood in a high-moisture area, like a dock, boat, or humid environment, drying oil may be a better choice. It works differently from epoxy, paint, and other sealers because it protects the wood against water deterioration rather than blocking water from the wood. It’s a more natural sealer that protects while allowing the wood to behave like wood.
This means it will extend the life of your plywood without making it 100% waterproof.
Another benefit to drying oil is the appearance. It’s a very natural look that retains and sometimes even enhances the color of the wood. If you want your plywood to look more natural then oil is a good waterproofing option.
Because drying oil allows some water to penetrate into the wood, I recommend reapplication over time.
Buy Seal Once Oil Sealer HERE On Amazon
Wood Protection Cream
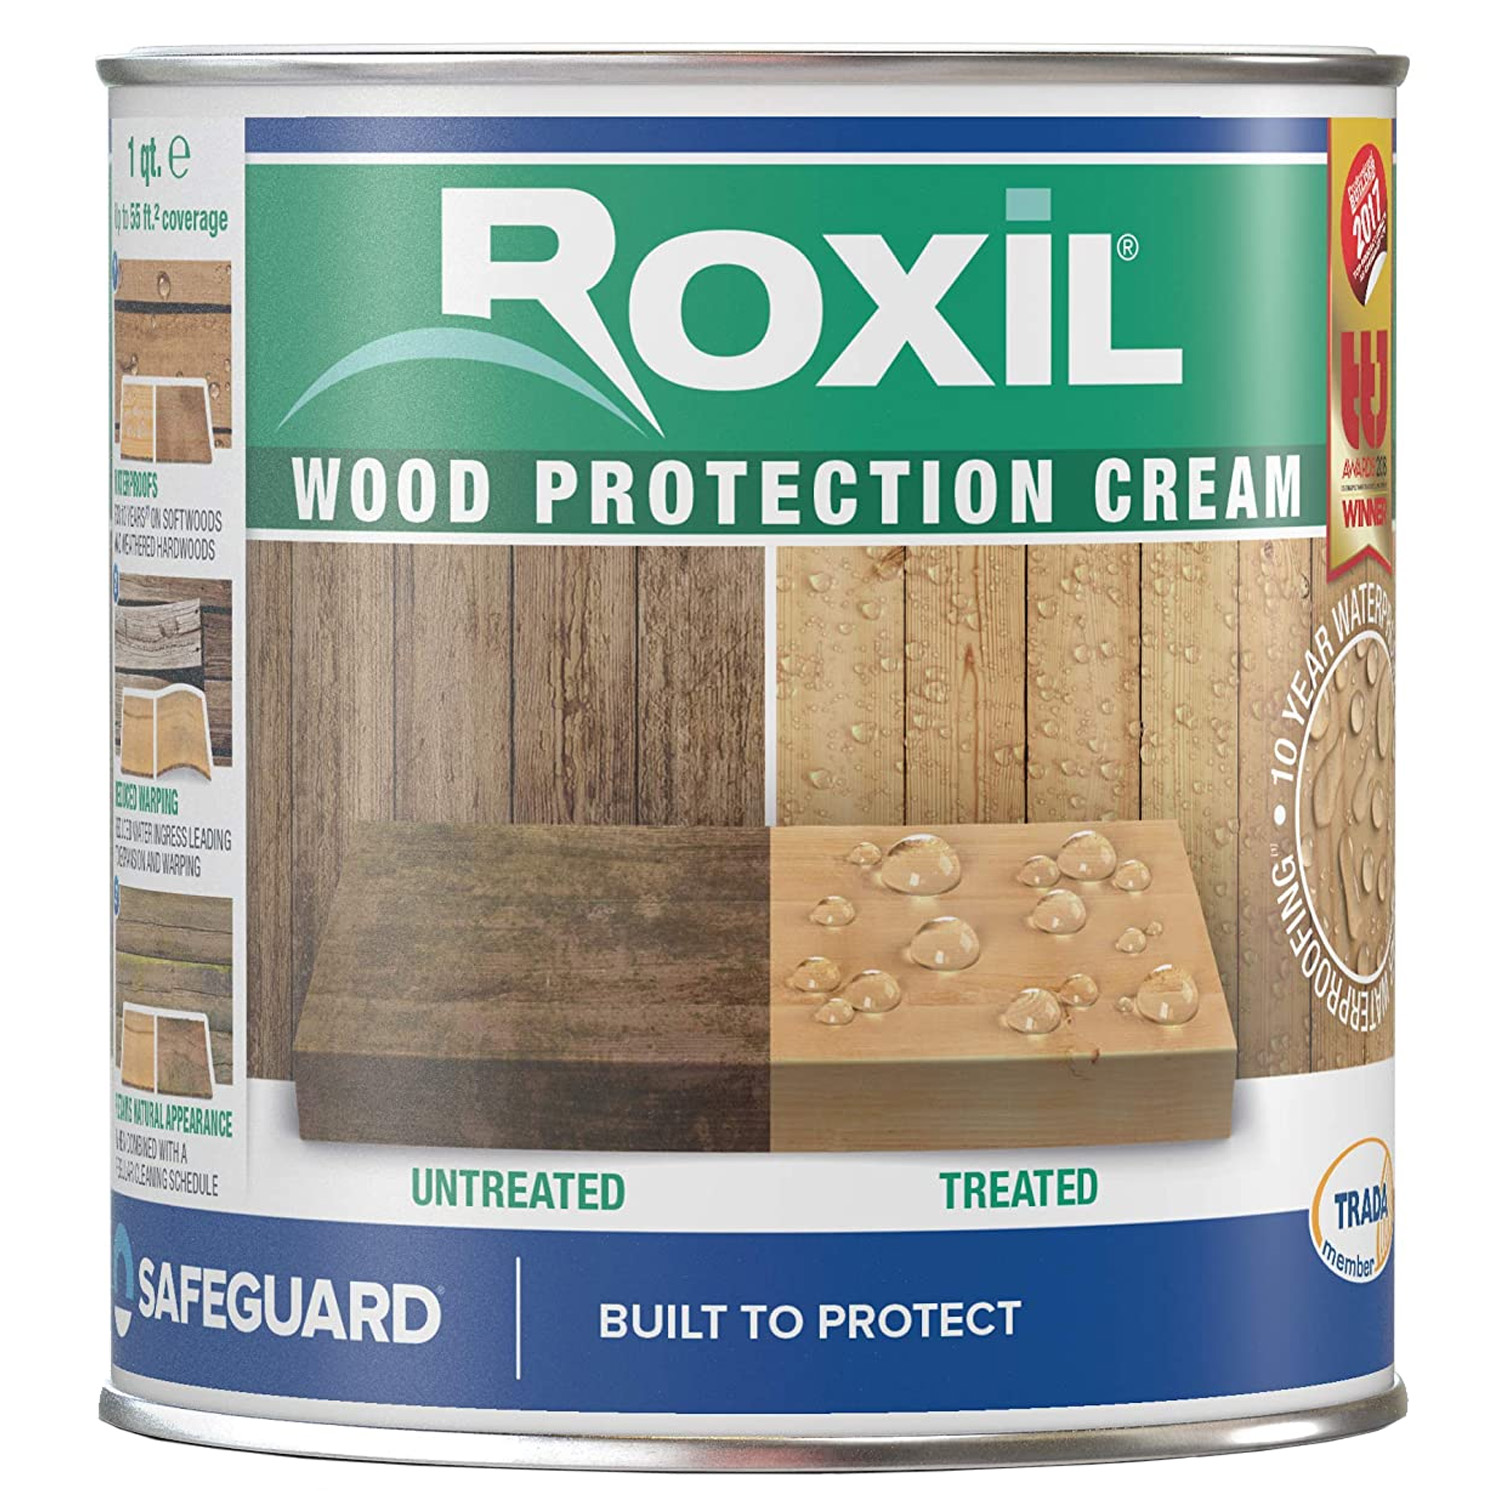
Roxil Wood Protection Cream is a silicone cream emulsion designed to waterproof wood with a single coat. The unique cream formula is applied in a single coat directly to unpainted wood using a brush or roller. After application, the cream absorbs into the wood and creates an invisible waterproof barrier.
Apply wood protection cream to plywood using a brush for the flat surfaces and a brush for the edges. Make sure to go heavy on the edges because this is where plywood is most susceptible to damage.
- Will weatherproof wood for 10 years with a single coat
- Improved resistance to warping and cracking
- Breathable
- Creates an invisible waterproof barrier that protects the wood
- Because it’s a cream there are no drips which makes application neater
- Covers approximately 130 to 200 sq. ft. per gallon or 45 to 55 sq. ft. per quart
- Better than epoxy because the wood stays flexible
Roxil Wood Protection Cream is easy to apply and results in complete and even coverage with no drips.
Only a single coat of Roxil Wood Protection Cream is needed to protect plywood for up to 10 years.
The cream allows for a quick and accurate application, with no splashing or run off. To ensure best results, the wood should first be cleaned and dry.
Buy Roxil Wood Protection Cream HERE On Amazon
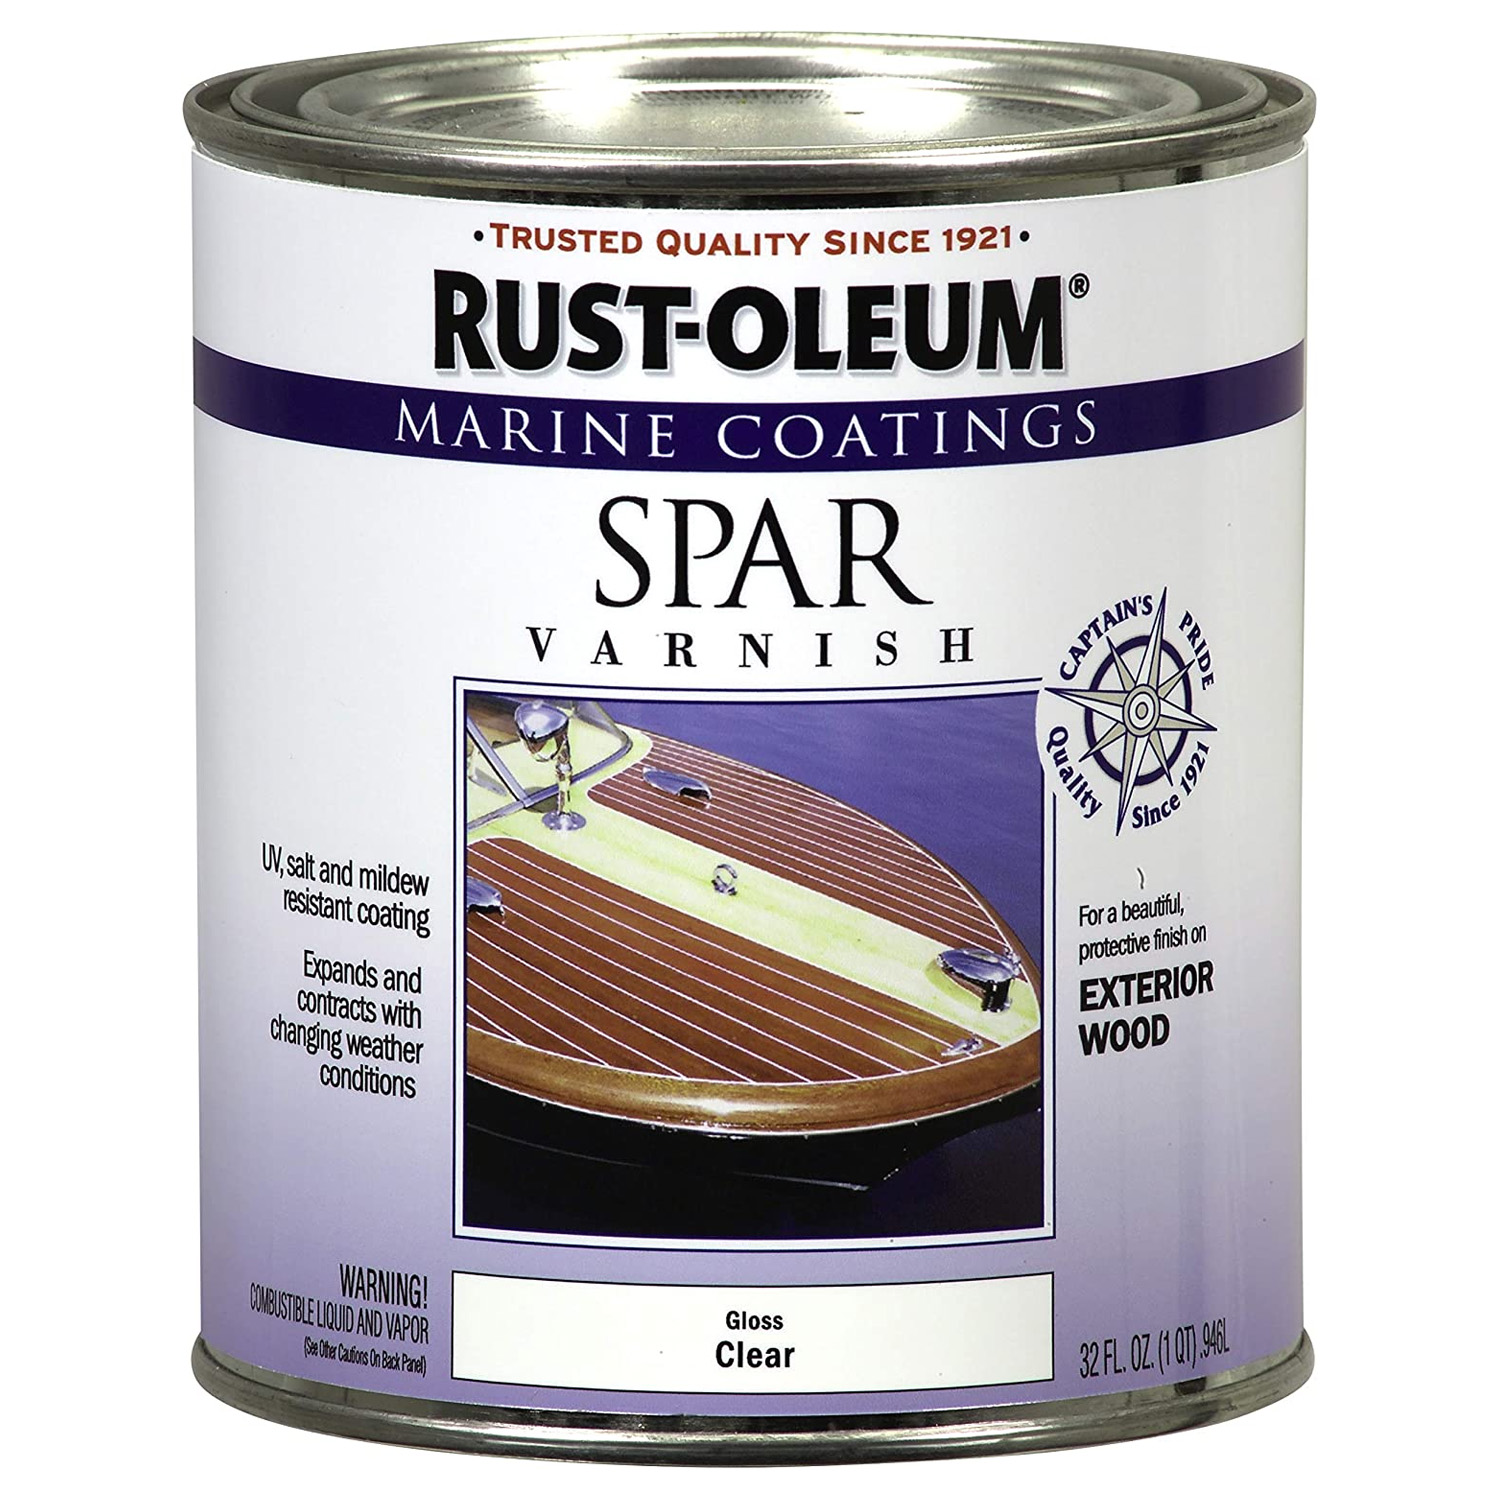
Varnish
Varnish is a great way to seal and waterproof plywood without adding a noticeable coating. It goes on extremely thin and is in some cases unnoticeable.
The term “Varnish” refers to any mixture or resin that’s brushed on thin and cures to form a hard coating. It’s not as thick as epoxy or as noticeable as paint but still has many of the same qualities as a waterproofing material.
- Ideal for use on exterior wood surfaces above the water line like plywood
- Oil-based formula expands and contracts with changing weather conditions
- Dries to the touch in 2 hours and covers up to 150 sq. ft.
- Durable coating provides excellent resistance to UV, salt and mildew
- Clear varnish leaves a gloss finish with high protection
- More durable than conventional wood finishes
- Easy to apply with a roller and/or brush
Varnishes come in different finishes just like paint. The most common are gloss, semi gloss or flat. Flat is the most natural and in some cases can’t be detected once it dries.
Varnish is typically used above the water line to protect wood. As long as it isn’t fully submerged in water, it will protect the plywood against moisture, salt, mildew and some UV damage.
Buy Rust-Oleum Spar Varnish HERE On Amazon
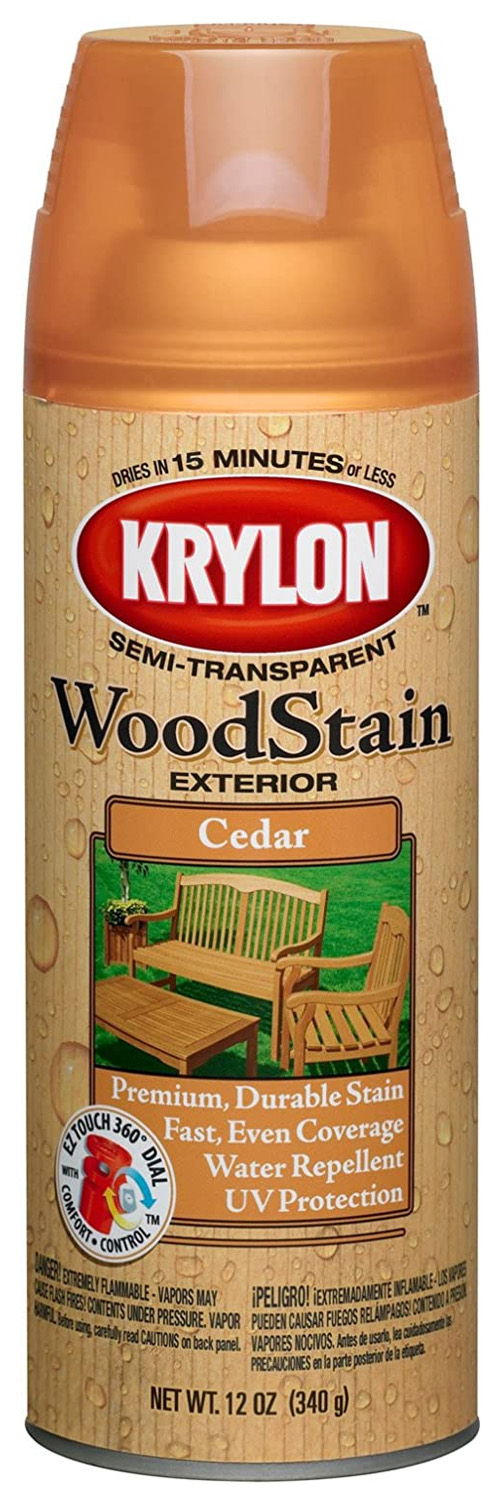
Spray On Stain
A great way to waterproof a sheet of plywood is with a spray on water resistant stain. Spray on waterproofing sealants are easier to apply that paint on sealants and require less equipment. You don’t need rollers, brushes, pans or your own paint sprayer. Simply buy a can of Krylon Wood Stain Sealant and start waterproofing.
Make sure to apply spray sealant evenly on a clean and dry sheet of plywood.
- Stain adds durability to the wood
- Water repellent and UV fade protection
- Fast, even coverage
Krylon exterior wood stain is the only exterior wood stain sealant that comes in a spray can. It goes on smooth and leaves an attractive finish with a little bit of color. The stain not only protects against water but also UV damage. And it’s semi transparent so you can still see some of the natural grain of the plywood.
The spray can is easy to use and provides even coverage. Just shake the can, twist the cap, point and spray.
Buy Krylon Wood Stain Sealer HERE On Amazon
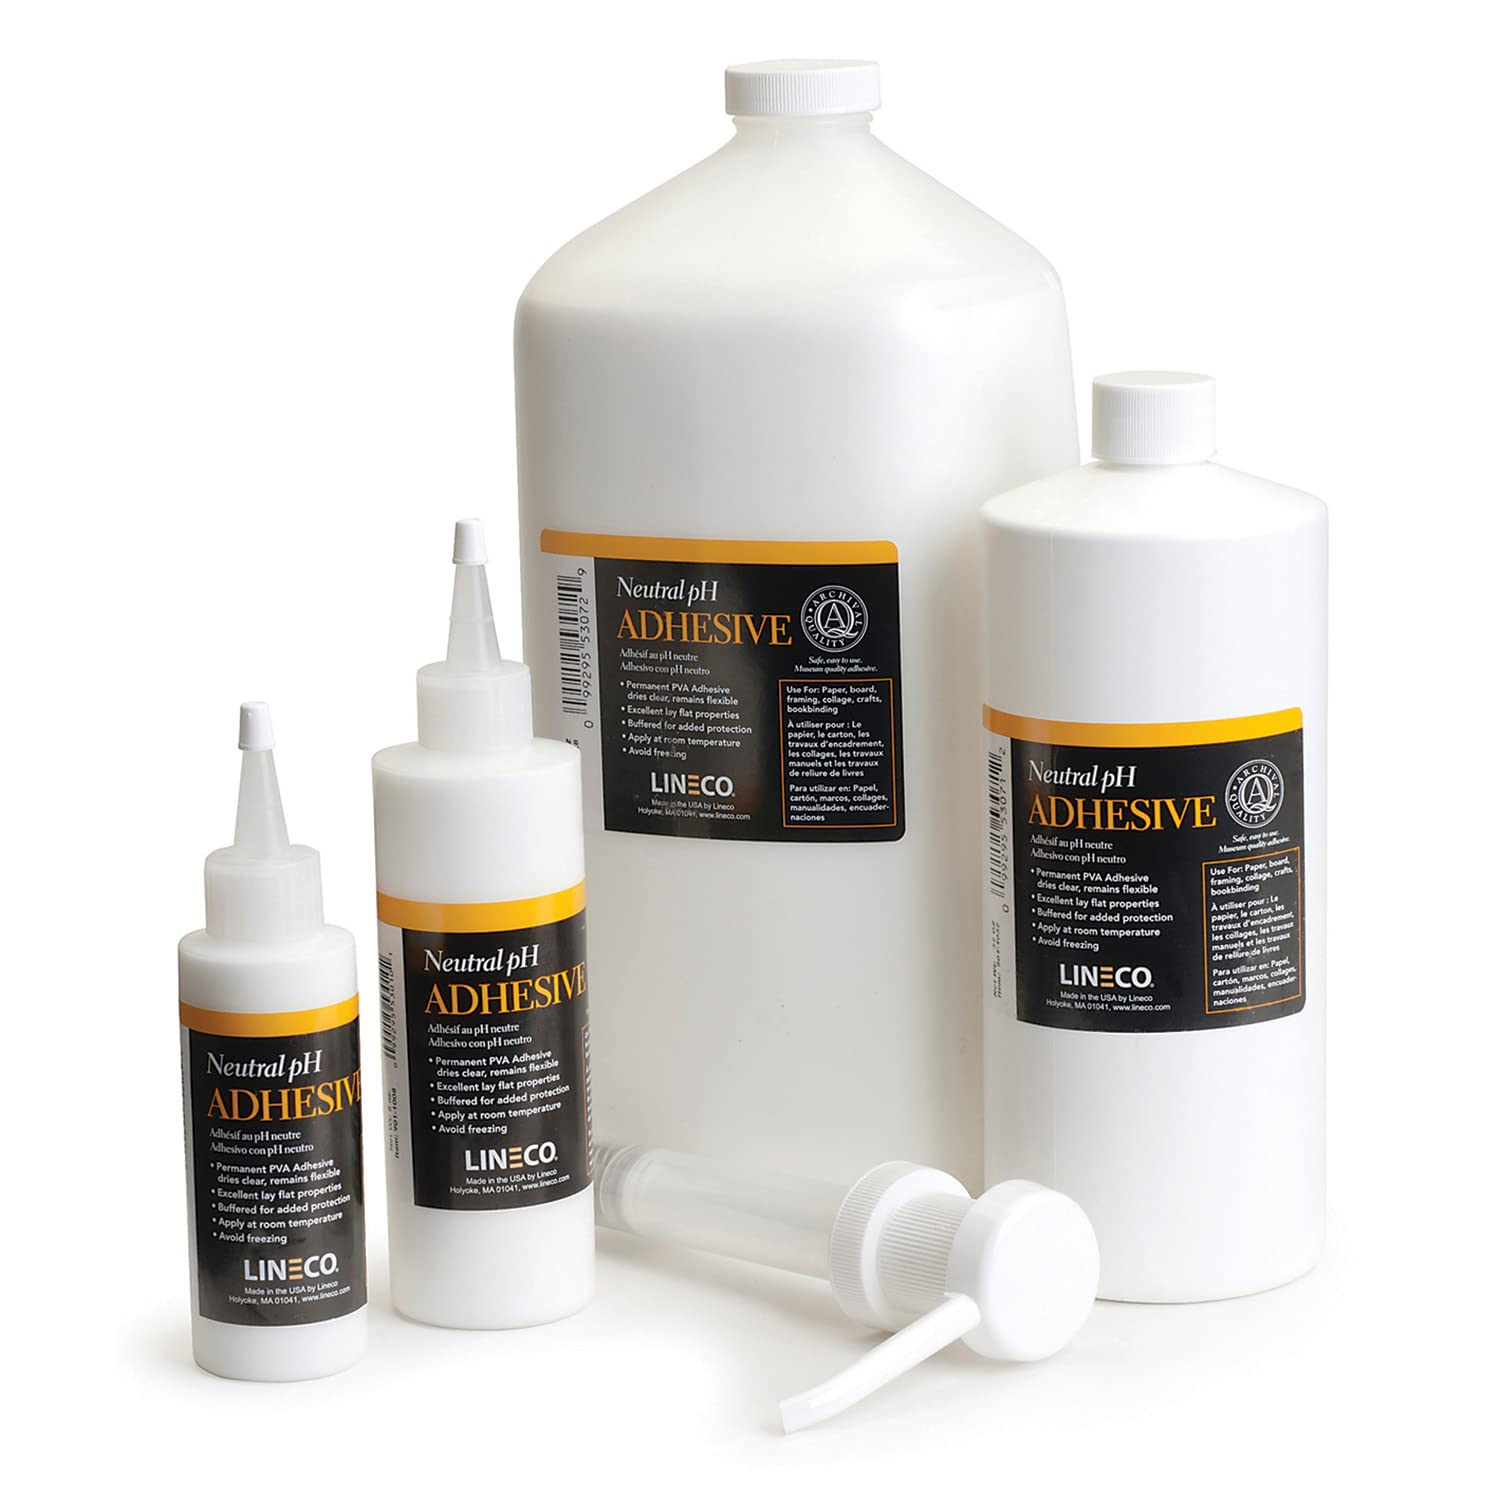
PVA
PVA (Polyvinyl Acetate) is a type of glue that’s traditionally been used for things like book binding. It dries thin and clear, bonds well to plywood, and is completely waterproof which makes it a good option.
If you want to try PVA, I recommend diluting it with water before applying it. You want the PVA to be thin enough to absorb into the plywood pores before it dries. Too thick and all you’ll get is a surface layer. Thinner also makes PVA easier to apply with a brush or roller.
It’s sticky until dry so make sure to be careful as you apply it. It’s easy to get things like dust, hairs or dirt stuck in the PVA layer if your not careful.
Buy PVA Sealant HERE On Amazon
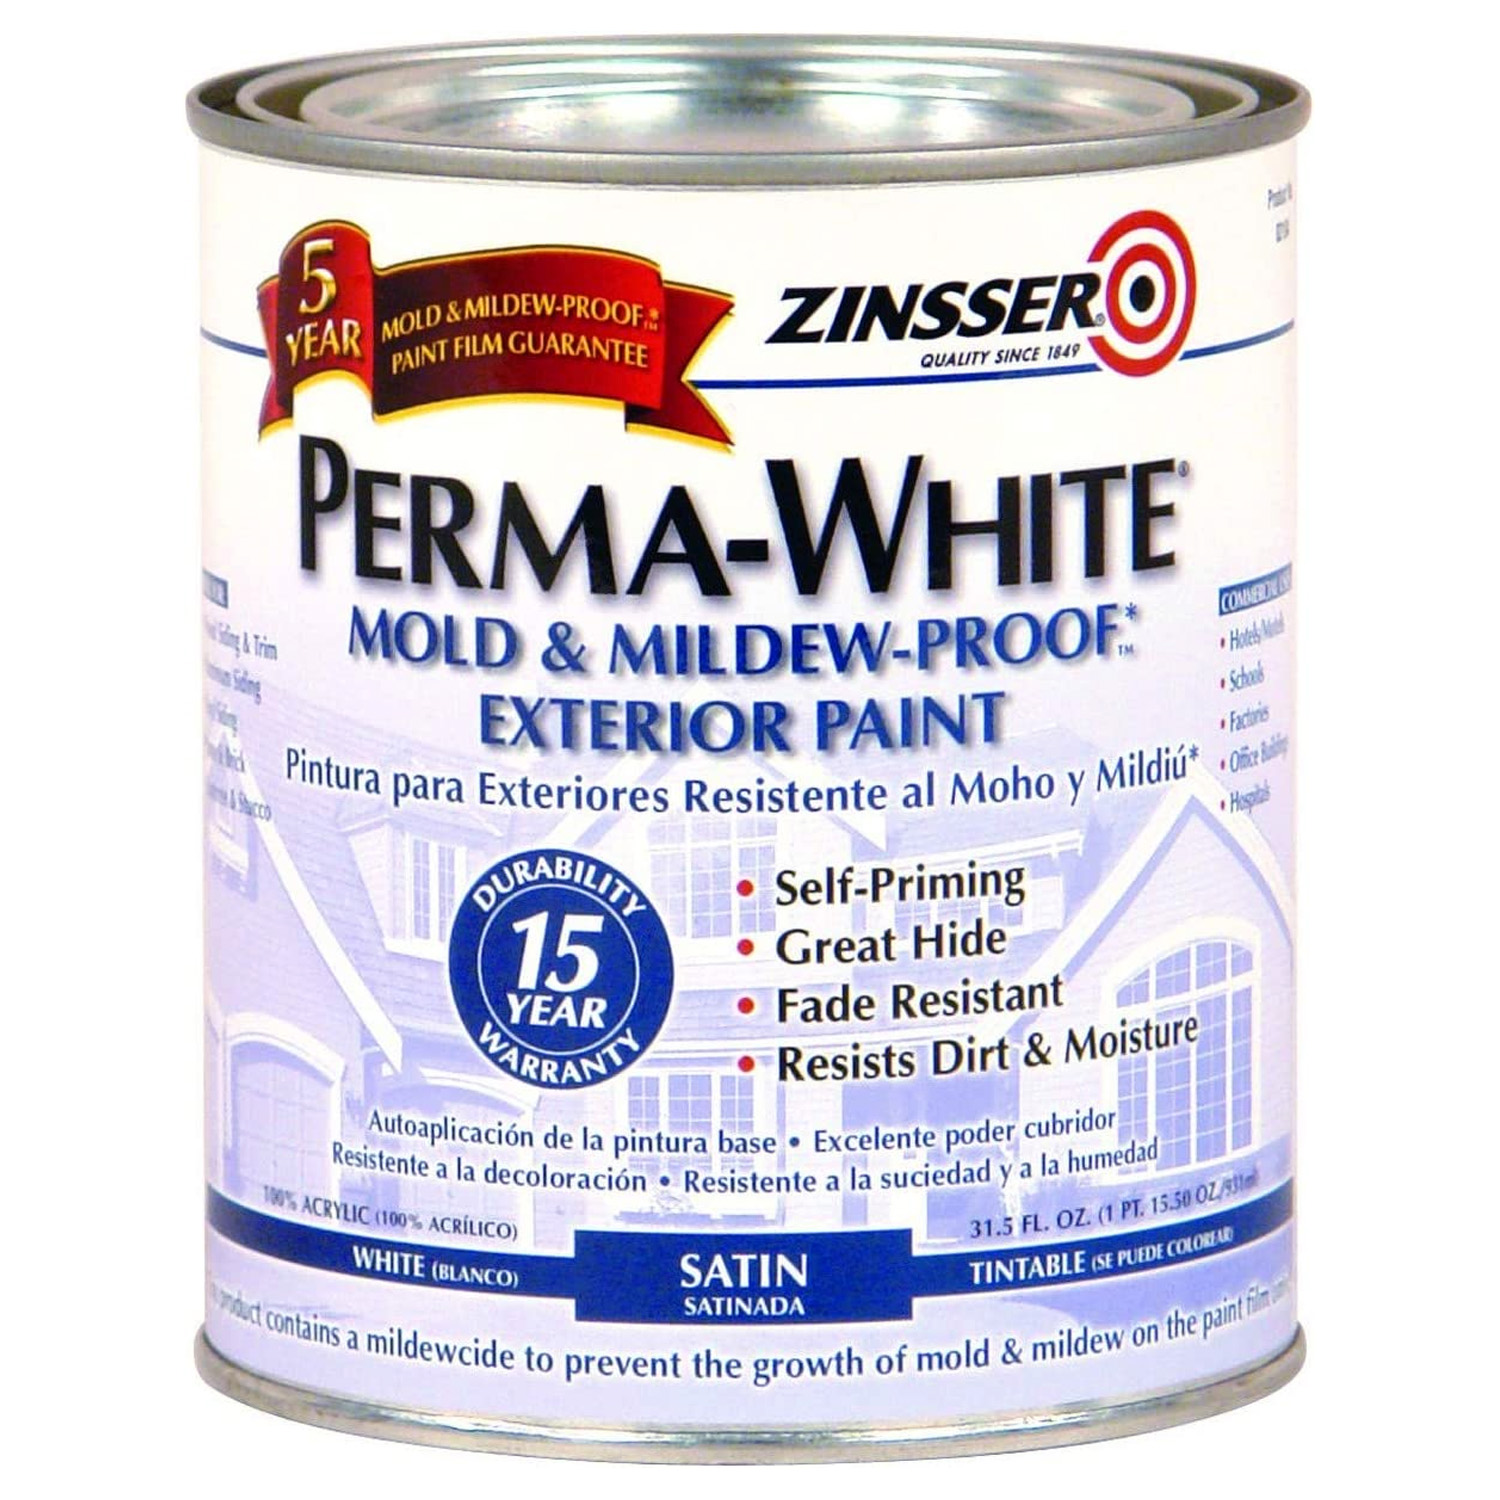
Waterproof Exterior Wood Paint
Waterproofing exterior wood with paint has been done for hundreds of years. Paint coats the plywood which prevents water from penetrating into the wood. Combine waterproof exterior paint with a good quality primer for even more protection and a smoother paint job.
One of the great things about waterproofing plywood with paint instead of sealers is that you also gain the benefit of color. Unless you want the look of wood, consider paint as an effective way to waterproof a sheet of plywood.
- The paint must be for wood and exterior grade
- Apply at least 2 thin coats
- paint works best when combined with a primer
- Apply paint with a sprayer, roller and/or a brush
- Make sure to paint the edges and the plywood surface
- Apply paint over a clean and dry sheet of plywood
Paints work outdoors, but they typically need touching up or repainting every few years. If applied correctly they shouldn’t crack or peel, but they may fade. To limit fading, buy a paint with some UV protection or paint on a UV resistant sealer over the paint.
White exterior waterproof paint can be tinted to thousands of shades. This provides versatility and options no other plywood sealer can match.
Buy Waterproof Exterior Paint HERE On Amazon
How To Waterproof Plywood
In order to use plywood outdoors, seal and waterproof it by applying multiple thin layers of an epoxy sealant, varnish, wood protection cream, spray-on stain, waterproof exterior grade paint, PVA, or drying oils like Thompson’s WaterSeal.
Lightly sand the plywood with a fine to medium grit sandpaper and clean it thoroughly before sealing it one side at a time. Allow the recommended drying time between each coat. Apply thin coats of sealant to each side and the edges. Pay special attention to the edges because this is where most plywood has water issues.
Here is a list of items you may need in addition to your choice of sealant:
- A spray bottle, brush and/or roller
- Clean rags or cloths
- A waterproof sealant
- A pair of cleaning gloves
- Protective face mask
- Drop cloth
- Safety goggles
- Medium and/or fine-grit sandpaper
Sealing plywood is easy to do and makes a great DIY project. In the net section we’ll explain how to do it step by step.
Step 1: Prepare The Plywood
Before you apply any sealer, the plywood needs to be prepared. It doesn’t matter what sealant material you choose, the preparation is always the same.
- Clean the surface of the plywood with a soft brush or dry cloth. Remove dirty spots, grime, glue, etc. What you want is a clean wood surface.
- Use wood filler to fill in any rough spots or damage to the surface. Cuts, dents or holes should all be sealed. Anything where moisture can penetrate into the veneer layers of the wood. This will give the plywood a flat and smooth surface which prevents gaps in the waterproofing layer.
- Let the wood filler completely dry and harden before doing anything else. Make sure the filler is applied smooth. If it’s rough or uneven you can use a little sandpaper to smooth out the filler.
- Once the wood filler dries, wipe the plywood with a damp cloth. A small amount of moisture will raise the wood’s grain a bit and remove fine dust and pollen. You don’t want the cloth to be wet and you don’t want to wet the plywood. Just get it a little damp. If you see water running down the plywood from your cloth then your using too much water.
- The final step is to lightly sand the plywood with medium 60-100 grit sandpaper. This helps smooth the sheet and removes any rough spots that could interfere with the sealer and waterproofing. Remember this is just a light sanding, don’t use too much pressure.
Step 2: Apply The Waterproofing
Most waterproofing materials can be applied with a brush or roller but some require a sprayer. Special equipment isn’t needed, if it’s good enough for paint then it’s OK for applying a sealant.
Apply the sealer in thin even coats just like you would paint. Apply adequate and even coverage. Add coats as needed until the entire surface is covered. Always let the previous coat dry before adding another coat.
Always make sure the plywood is completely dry before you seal it. Never apply a sealer onto wet plywood.
Don’t forget the edges. Apply a thicker amount to the edges because the sealant will soak in and this is where water can easily penetrate and absorb.
If you’re using a spray method, carefully read the manufacturer’s instructions. Improper use of spray on sealer can make them ineffective. You want an even coverage just like paint or rolled on sealers.
- Make sure you don’t spray the sealer on unevenly. This will create an unattractive finish.
- Read the direction on how to work the sprayer. Sprayers can spit out blotches of paint or sealer if you don’t use them correctly.
- I recommend hiring a Pro if your not familiar with how sprayers work.
Spray-on sealers can be harder to see and control than brushed or rolled on sealers so experience can help. Pay attention to where your spraying as you apply the sealer. I like to use either up and down or side to side motions in the same way I use a roller. This helps me control how much and where I’m applying the waterproofing.
Pro Tip: Whenever I waterproof plywood with a sprayer I use a brush for the edges. Edges take more sealant to waterproof because it soaks in and using a sprayer can get material everywhere.
Step 3: Let The Waterproofing Dry
Give the plywood at least a few hours to dry. Read the directions. Different waterproofing materials will have different dry times. I like to wait 24 hours just to be sure because that’s enough no matter what method I use.
Once the plywood is completely dry you can install it.
After it’s installed, add a bit of sealer over the screws or nails to ensure they stay watertight. This is an area where water can penetrate because the surface is broken. Caulk or silicone is great at sealing these areas too.
Step 4: Check Your Work.
Check the plywood sheets out after the first rain to make sure they’re not absorbing water. Then check them every few months. Water absorption is usually easy to spot so all you’ll need to do is look the plywood over. Sometimes I’ll feel the edges because this is where water likes to penetrate.
If you find any water then you need to dry the plywood and reapply sealer. Don’t apply new sealer onto wet plywood.
How To Seal Plywood Edges
Because plywood is made of several thin layers, the edges are very vulnerable to water. Generally the surface of plywood is naturally water resistant, but the edges absorb moisture like a sponge.
When water is absorbed into the plywood edge it can damage the wood much faster. The edges are an easy way for water to get directly in between the plywood veneer sheets. For this reason it’s very important to seal and waterproof them.
Sealing plywood edges is very simple,
- Apply several coats of waterproofing with a brush. Edges will soak up more sealant than the surface so you’ll need more per inch.
- Allow each coat to dry before you apply the next.
- The edges will soak up the varnish quickly so use several coats.
- It’s OK to go thicker around the edges.
- Watch for and clean up drips.
- You can use a roller on the edges too but it will drip easier. A brush is your best bet.
Which Plywood Is Best For Outdoor Use?
Plywood comes in a wide variety of designs and they’re not all equal in terms of waterproofing.
- Some plywood is pre-treated for waterproofing at the factory so you don’t have to worry about waterproofing it yourself. It appears greenish and is commonly referred to as marine plywood. This is the most waterproof plywood you can buy. Marine plywood is also called ABX.
- CDX is another very common plywood that’s used for exterior use. It’s made of rough, lower-quality wood that is heavily treated for water resistance. It can be used as a siding material if sealed or painted.
- T-111. This is another exterior grade plywood that’s designed to be used as a siding. It’s most commonly used on barns and should also be sealed or painted.
- All other forms of plywood should be waterproofed before being used outdoors.
- I recommend sealing or waterproofing all plywood unless waterproofing has been applied at the factory. The only difference is how much you should apply.
Marine grade ABX plywood is higher quality and has the best waterproofing of any plywood. As the name implies, marine grade plywood is designed for decks, boardwalks, and other waterfront areas that are routinely exposed to water.
If you’re planning on painting the plywood then choose sheets that are smooth.
- CDX is great but it’s rough but can still work if you fill large gaps with filler and sand it down.
- T-111 is water resistant but has lines like wainscoting.
- I prefer factory sealed plywood for exterior use like ABX. It’s smoother and doesn’t need additional treatment but it’s expensive.
Types Of Waterproof Plywood
Plywood is graded on an A-D system. A is the highest and D is the lowest grade but this has nothing to do with waterproofing. Some A grades are easily damaged by water.
The first letter represents the front face and the second letter the back face. The back is typically more coarse.
The third letter represents the type of glue used to bond the layers.
These letters signify the appearance of the wood veneer, not it’s strength. So, ABX looks much nicer than CDX, but they both have similar strength and water resistance levels.
Below is a list of waterproof plywood and their recommended uses.
ABX Plywood
ABX plywood is also referred to as marine-grade plywood. It’s a smooth, strong plywood that resists water. It’s intended for marine use, but is great for any exterior location. ABX is specially treated for high salt and mildew resistance since it’s for marine use. It has the smoothest, most appealing surface of any plywood, which is signified by the “AB” grade.
ACX Plywood
ACX is waterproof plywood. It has just as nice a finish as ABX but doesn’t have the marine-specific treatment. It’s waterproof, durable, and great for exterior use.
ADX Plywood
ADX is pretty much the same as ACX, but the back face of the sheet is rough. For this reason it’s cheaper because only the front face has a high grade. It’s waterproof and great for use in exterior applications where you’ll only see one side of the plywood.
BWP Plywood
The letters in this plywood stand for Boiling Water Proof. This is extremely durable plywood that will even stay strong in boiling water. Builders use it in kitchens or bathrooms where hot water and steam will be present such as in a steam room. It’s waterproof but not a very common material.
MR Grade Plywood
The “MR” stands for “moisture resistant.” This is a very good indoor use plywood. It isn’t completely waterproof but works well in humid or damp areas such as a laundry room.
BWR Grade Plywood
BWR plywood stand for “Boiling Water Resistant.” It holds up well against steam and hot water but it’s not waterproof. It’s best for use where occasional steam may be present such as on cabinets by a stove.
CDX Grade Plywood
This is probably the most common plywood used outdoors because it’s stocked at any Home Depot or Lowes. The face is a C grade which means it’s rough but it’s durable and affordable.
T-111 Grade Plywood
T-111 is a plywood specifically designed to be used as a siding material. It generally comes treated by the factory and ready to install. I recommend sealing any nail or screw holes since it will be exposed to the elements and used as a siding. T-111 is easy to spot because it comes grooved like soffit. Typically it’s used to side barns and sheds.
FAQ
In the next section we’ll answer all the most common questions we receive about how to waterproof plywood. If your question isn’t already answered in the sections above, hopefully it will be here.
What Can I Coat Plywood With To Make It Waterproof?
An epoxy sealer is the most popular way to seal and waterproof plywood. The epoxy is can be found in either paint or spray forms. Apply it either with a paint roller and brush or a sprayer. Make sure to pay special attention to the edges because this is where most water absorbs into a plywood sheet. Use the brush or sprayer to soak epoxy deep into the wood.
The advantage that epoxy provides over other waterproofing methods is that it makes the plywood stronger in addition to waterproof.
The next best way to waterproof plywood is paint. Make sure you use a waterproof exterior grade paint. Apply it with a paint roller and brush or a sprayer in the same way as epoxy.
You could also try varnish, drying oil or a wood protection cream. They all work really well and have their own pros vs cons.
Finally PVA glue or spray stain can also waterproof a sheet of plywood.
How Can I Waterproof Cheap Plywood?
The best way to waterproof cheap plywood is with waterproof exterior paint. Paint is also fairly cheap, easy to apply and works great as a sealant. Apply two or more thin coats of paint to plywood after its been lightly sanded and cleaned. make sure the plywood is completely dry and don;t forget to paint the edges. In addition to sealing the plywood, exterior paint comes in thousands of colors.
If you want to preserve the natural look of plywood, the best way to waterproof it is with a spray stain. A can is enough for a sheet of plywood and only costs a few dollars. Spray stain is easy to use, just twist the cap, shake the can and start spraying.
Does Staining Plywood Make It Waterproof?
Yes, staining plywood makes it waterproof, but you have to choose the right kind of stain. Not all stains will waterproof wood. When you shop for a stain, make sure it says waterproof or water resistant on the label and look for one with some UV protection. Before you apply the stain, lightly sand and clean the plywood. Also make sure the wood is dry and for even better result, use a conditioning oil.
Apply stain with either a sprayer, roller and/or brush or a spray can. Apply extra stain to the edges because this is where plywood is most susceptible to water damage.
Can I Waterproof Plywood With Fiberglass
A great way to waterproof plywood is with fiberglass. This is such a fantastic material that it can be used to create a roof, deck or shower. It’s also used to create boats and other fully submerged wooden structures.
Fiberglass is applied directly to clean plywood with resins that harden it into a tough shell. When dry, fiberglass is completely waterproof.
The downside to using fiberglass is how stiff the material is. The plywood needs to be very thick because any flexing can crack the fiberglass which renders it useless. For this reason we use double 3/4 inch thick plywood for all of our fiberglass showers, roofs or decks.
It’s also an expensive material to install. Fiberglass resins can be very bad for your health so make sue to wear protective gear when installing them.
Can I Waterproof Plywood With A Rubber Membrane
Membranes are another way to waterproof plywood. Rubber is 100% waterproof. It comes in sheets that gets rolled out over the plywood. Glues are used to bond excess membrane areas together. Basically, a membrane works just like fiberglass. It creates a protective coating around all the plywood which keeps water out.
Membranes aren’t as durable or expensive as fiberglass, however they’re a lot cheaper and easier to install. And rubber is flexible so some movement in the plywood is OK.
Typically we use rubber membranes to seal plywood along with other materials. For example, we’ll build a shower with a rubber membrane to protect the plywood subfloor but cover it with mud. The mud-floor goes on top of the membrane and then tile. Fiberglass can be used as a finished flooring but membranes can’t.
Can I Make Plywood Waterproof?
Yes. Plywood is naturally water resistant and can be made waterproof. It’s a porous material which means it easily bonds with sealants and paints. When waterproofed, plywood can be used outdoors and in marine environments. To make plywood waterproof, coat it with varnish, waterproof exterior paint, a spray stain, PVA glue, an epoxy sealer, drying oil or wood protection cream.
Each type of plywood waterproofing has its own pros & cons so choose the one that best fits your project.
Some types of plywood come pre-treated at the factory with waterproofing chemicals. They appear greenish in color and are sometimes referred to as marine plywood. While I don’t consider them 100% waterproof like plastic, the treatment is very effective at preventing water damage.
Waterproofing your plywood is very important because it can prevent future damage.
Since plywood is typically used in 4×8 sheets rather than thin boards, one damaged sheet effects a large area. If a sheet of plywood becomes water damaged, you could end up replacing a large section of wall, roof or floor.
If your trying to waterproof plywood for exterior use, remember to also apply lots of waterproofing to the edges. This is where the majority of water damage occurs.
What Can I Use To Waterproof Plywood?
You can use exterior waterproof paint, varnish, drying oils, PVA glue, spray stain, wood protection cream or an epoxy sealer to waterproof plywood. Each method has its own pros vs cons so choose the one that best fits your project.
Whichever waterproofing method you choose, make sure you sand the plywood lightly and clean it before applying the sealant. Also make sure the plywood is completely dry.
What Is The Best Waterproofing For Plywood?
An epoxy sealer is the best way to waterproof a sheet of plywood because it not only seals the wood but also creates a protective shell. The clear, viscous liquid dries into a hard shell covering the entire surface of the plywood which keeps water out.
I recommend using a two part epoxy that you mix yourself on site and then apply using a roller and brush.
Varnish, wood protecting cream and drying oils are also excellent ways to waterproof plywood and just as effective as epoxy. And they have the advantage of keeping the wood’s flexibility. Epoxy is a great product but it makes the plywood stiff.
Paint is one of my favorite ways to waterproof plywood but it changes the color of the wood. This can be seen as both an advantage and a disadvantage depending on the look you want.
Spray stain is another great way to waterproof plywood and it comes in an easy to use spray can. I use spray stain for small projects.
Last is PVA glue. It’s a pretty good method to waterproof small sheets of plywood.
Which Plywood Is best For Outdoor Use?
The best plywood for outdoor projects is marine grade, T-111 or ACX plywood. All 3 are designed to withstand water and outside weather conditions like snow and ice. In addition to having resistance to water and the elements, you can add waterproofing with paint, varnish, epoxy, creams, etc.
If your outdoor plywood will be submerged in water or has ground contact, use marine grade plywood which is treated with chemicals to resist large amounts of water.
Can I Use Flex Seal On Plywood?
No, you should not use Flex Seal on plywood. While Flex Seal is water-resistant, it is not watertight. Flex Seal is good for sealing small areas at a time but not an entire 4×8 sheet of plywood. It’s also not a great long term solution for water protection. I use it more as a quick spot fix than a true waterproofing method that needs to last outdoors and in the elements for an entire season.
However, if your plywood has a small area that needs waterproofing for a short time, Flex Seal is a great product for a spot treatment.
How Long Will Untreated Plywood Last Outside?
How long untreated plywood will last outdoors depends on the type of plywood, weather conditions and temperature. I’ve seen indoor finished plywood left outside be completely destroyed after a single rain. But on average you can expect plywood to last anywhere from a few weeks to a few months.
Other factors like sun can also damage plywood left outside. Untreated plywood has no natural UV protection and will dry out, warp, buckle or come apart when left in direct sunlight for too long.
Expansion and contraction can also damage plywood left outside. If your area sees hot days and cold night, this can cause the plywood veneers to start loosening.
Can I Use Thompson Water Seal On Plywood?
Yes, Thompson’s Water Seal is a type of drying oil and is one of the best weatherproofing sealers you can use on plywood. The sealant is safe to use on plywood and provides an excellent protective coat to water. Apply it generously to the front, back and edges of your plywood using a sprayer, roller and/or brush.
Thompson’s Water Seal can also be used on marine plywood wood for even more protection.
Final Thoughts
Properly Sealing and waterproof plywood is very important if you want to prevent water damage. It’s a simple process that doesn’t cost a fortune to do, but can save a bundle down the road.I highly recommend sealing and waterproofing all your exterior plywood, and even some interior plywood, if it’s not applied at the factory.
Buy the correct plywood for the project your working on. If you need exterior plywood then buy a product that comes ready from the factory. It’ll cost a bit more to buy but the long terms savings are usually worth it. You won;t have to worry about sealing and waterproofing the plywood yourself or maintenance.
Summary: How To Waterproof Plywood
Plywood is a fantastic building material with all sorts of applications. Almost all homes use plywood for wall and roof sheathing or as a subfloor. It’s strong, durable, easy to work with and very versatile. But it does have a few drawbacks. The biggest being plywood is not usually considered waterproof. There are water resistant forms of plywood such as T-111 siding but that’s a specialty product. When exposed to water, plywood will swell and become brittle. It can also grow mold and mildew. If you have plywood that may become exposed to water, it’s a good idea to water proof it. This can help you avoid costly repairs in the future. So how do you waterproof plywood?
Waterproofing plywood is a simple process that can avoid potential damage in the future. You can waterproof plywood with a few different materials that are applied to the surface. These range from waterproof paint to oil and varnish to fiberglass. Waterproofing extends the life of plywood by preventing rot, mold, mildew, swelling, deterioration, warping, and splitting. Waterproofing creates a barrier between the water and wood which prevents absorption and damage.
If you have any questions or comments about how to waterproof plywood, Email any time.