How To Seal Concrete Like A Pro
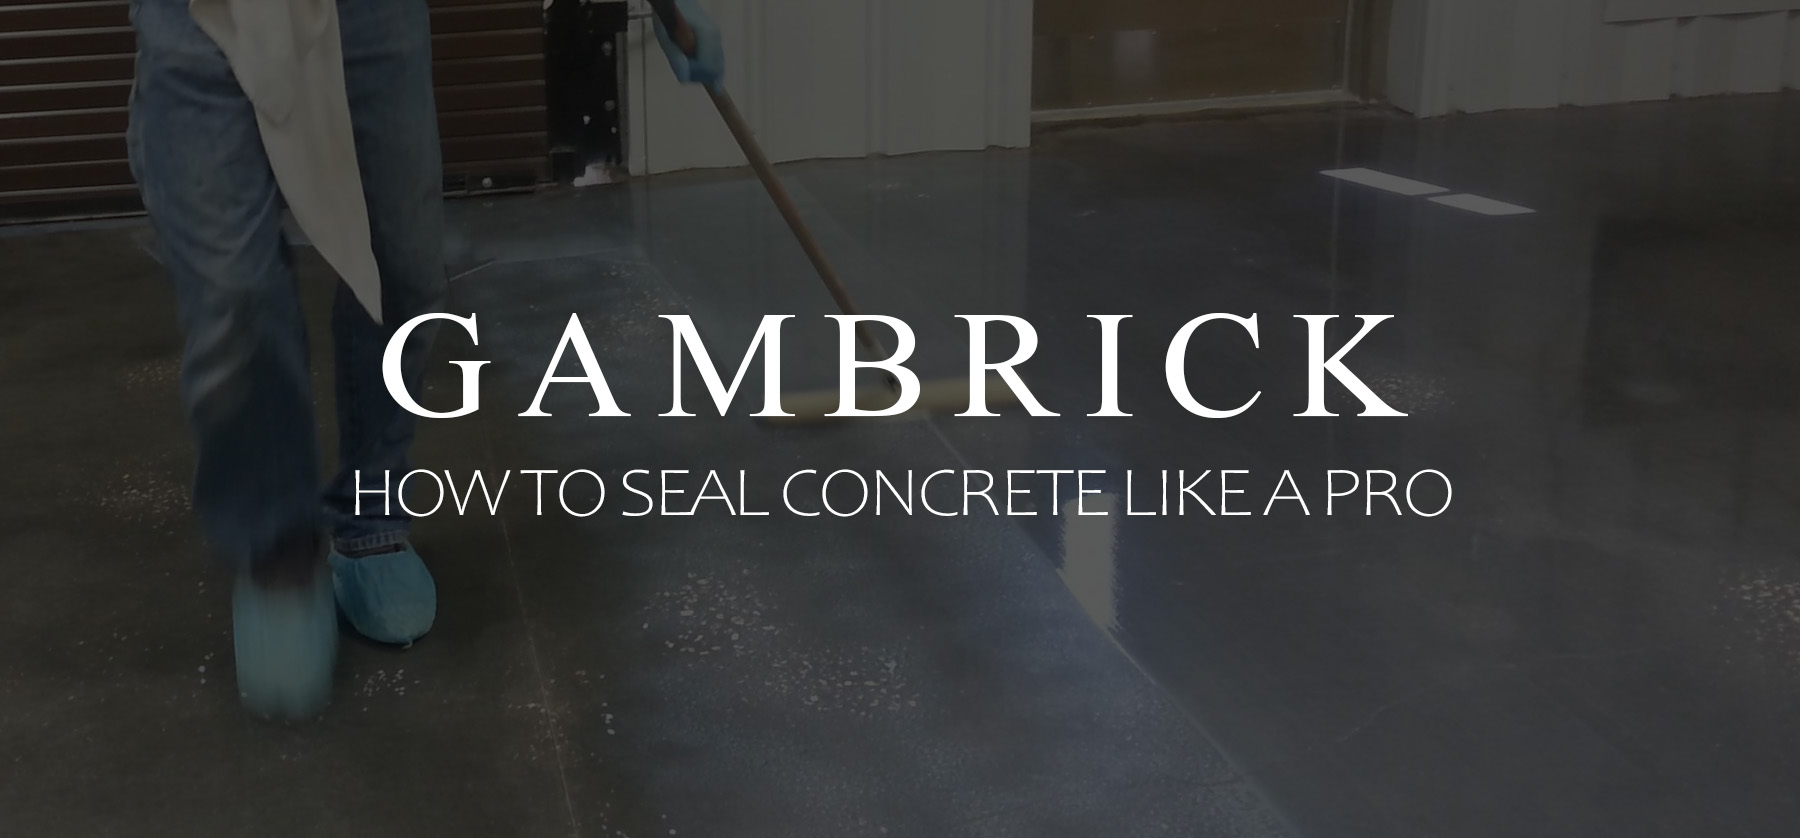
I’ve been a mason for over 25 years and can tell you firsthand how important sealing your concrete can be. It’s easy to do, fairly cheap, and significantly increases the lifespan of your concrete. The best way to apply it is with a regular paint roller and brush. Use cheap nylon brushes instead of expensive paint brushes because they’ll get chewed up by the gritty concrete. Thick rollers also work best. They absorb more sealant and are able to penetrate into the concrete’s pores. When applying sealant, cover entire areas in a single pass so you don’t leave lines. Usually I section my slabs based on where the relief joints are.
Concrete is strong, durable, resistant to the elements, easy to work with and fairly cheap. But for all concrete’s advantages, it does have a few faults. It’s a porous material that’s prone to water retention, mold, mildew. color fading and cracks. All of which can be prevented by sealing it.
Concrete doesn’t need to be sealed, but it greatly improves the durability and strength of your concrete. It also helps prevent stains, fading, cracks, mold, mildew, dirt, sun damage and discoloration. Sealers work by penetrating into concrete pores and sitting atop the surface. This thin surface layer blocks damaging elements like dirt, stains, water and sun from getting to the concrete.
Concrete paint is a type of sealer. A sealer is any protective layer that sits between potential damage and your concrete.
Use a tough concrete roller and brush to apply sealer. Concrete is very gritty and will chew up supplies meant for painting walls and flat surfaces.
If you have a concrete patio you want to protect, I highly recommend using a good quality sealer at least once a year.
Choose The Right Concrete Sealer
Concrete sealers come in a variety of types that each work well in different situations. The most common sealers are acrylic, epoxy, polythene, and silane/siloxane sealers. Below we’ll look in detail at what each one does.
- Acrylic Sealer. Acrylic sealers are very thin and add a protective layer to your concrete. In direct sunlight they can turn yellowish and will not hold up well outside which is why they’re almost exclusively used indoors. Acrylics can be sprayed or painted on.
- Epoxy Sealer. Epoxies offer a thicker, more durable layer of protection for your concrete. Although they take longer to apply and cost more than acrylics. They’re highly customizable which allows you you to change the color and look of your concrete. Epoxy sealers are non slip and scratch resistant. They’re applied through pouring and squeegeeing across the floor.
- Polythene Sealer. A great sealer to use in small quantities like on a concrete countertop. They resist oil, grease, and other stains, as well as UV light damage. Generally applied with a sprayer. Very expensive compared to other concrete sealers.
- Silane/Siloxane Sealer. These are penetrating sealers that soak into the pores of your concrete and provide additional protection. The side effect is that they darken the concrete. They make concrete stronger and harder and can easily be sprayed through a sprayer but they’re an expensive option.
Each of these sealers protects concrete in different ways. Choose the one that offers the best protection for your particular situation. Here’s a breakdown of which sealer we use and where.
- Indoor Concrete: Acrylic
- Outdoor Concrete: Epoxy
- Concrete Countertops: Polythene
- Commercial Concrete: Silane/Siloxane
Buying Concrete Sealer
When buying a sealer, make sure you get enough to cover the surface your sealing. It’s important to seal the entire surface each time you apply the sealant or else you could see lines from the overlapping coats. If your concrete is very porous, you’ll need more than suggested because of how much sealer the pores absorb.
Another important thing to consider when buying a sealer is the gloss. Many concrete sealers include gloss just like paint.
Penetrating sealers have almost no gloss because they soaked into the concrete. Water-based sealers generally provide a medium amount of gloss. Solvent-based sealers come in high gloss.
A popular choice is to use a gloss level for your concrete very similar to the paint in your house. Large flat areas like a patio are either flat or eggshell with trim and special features getting a little more gloss. Semi gloss is usually enough. We rarely use any high gloss finishes.
Vary the gloss level based on where the concrete is.
- Inside concrete generally has a slightly higher gloss level because floors look nice with a wet and polished look. They also don;t see the same wear and tear as exterior concrete so the gloss lasts longer.
- Outside concrete tends to have a flat finish unless it’s stamped and colored. In that case more gloss is typically used.
- Concrete countertops vary based on the look and style of the house. They range from flat to high gloss.
- Commercial concrete floors typically have a flat or eggshell finish.
Some sealers can darken the color of your concrete so take that into consideration when buying a sealer.
Clear Off Dirt & Stains
Clearing the concrete before you seal it is very important. This includes not only the surface but also inside it’s pores. If you don’t clean it thoroughly, anything that’s no cleaned off will be sealed in.
Start by sweeping off the surface. A leaf blower is good for this as well. Get off all the dirt, leaves, pollen, etc.
Once the concrete is free of all the surface dirt and debris, start washing. A power washer is a great way to clean concrete. Just make sure not to use too much pressure. Vary it based on the age and condition of your concrete. I like to use some soap or a detergent with my power washer.
You could also use soap and a scrub brush. Soap and scrub spots until stains lift up and wash off.
Stain removers can also be used for hard to get out spots. Buy a remover that’s specifically designed for concrete. Also get one that’s meant for the type of stain you have. If your problem is grease then get a grease remover.
It’s important to get the concrete as clean as you can. Spend the extra time to really scrub those spots because if you don’t they’ll be sealed in.
Remove The Old Sealer
You can sometimes seal over an old coat of sealant depending on the type that was used before and what your using now, but it’s not recommended.
Sealing over an old sealant coat can cause the new coating to bond improperly. In other words it won’t stick to the concrete like it should. This can lead to cracking and peeling. Ideally a sealer should be applied to fresh concrete so that it can penetrate into the pores and bind to the surface. Free from dirt, debris, mold, mildew, stains, etc. You want sealer applied right to concrete.
If your not sure whether or not the concrete has been sealed there’s a very simple test you can do. spray some water on the concrete, if it soaks in that means it’s not sealed. When you spray a sealer you’ll notice that the water forms into droplets instead of absorbing into the concrete. This looks just like a freshly waxed car or sealed granite countertop.
Most sealers will degrade over time and need to be replaced. Acid etching is a great way to get rid of the old sealer and it’s very easy to do. Dilute some muriatic acid in water and spray it onto the concrete. Let it sit for a minute or two and then scrub it off with a brush. Finally, rinse the acid off and allow the concrete to dry completely.
You can buy muriatic acid online or at most home improvement stores. The solution I start with is 1 part acid to 9 parts water. Washing the acid and sealer off shouldn’t damage the surrounding grass or landscaping.
Repair The Cracks
Repairing your concrete surface before sealing is another important step to take. Repairing the cracks makes concrete look better, last longer and be safer. But it’s also much better for the sealant. If you don’t repair the cracks before you seal then you’ll waste a lot of sealer. It’ll seep into the cracks and won’t actually seal properly. Especially if those cracks are deep.
Different types of cracks require different levels of repair. Let’s look at the most common types.
- Small. Tiny hairline cracks are very common in concrete. They’re generally caused by shrinkage that occurs during curing. They commonly referred to as hairline cracks. It’s OK to seal right over these.
- Medium. A medium size crack would be anything under a 1/2″. Seal cracks of this size with caulk. Buy an approved concrete caulk that can expand and contract and won;t dry up in the outdoors.
- Large. If the crack is larger than 1/2″ you should repair it with new cement. You can buy cement in a tube and squirt it right into the crack. Or you can mix a small batch and shoot it in with a grout bag.
- Huge. If the crack is really big and at an edge then you may have to break it off and pour new concrete. If it’s not at an edge then fill the gap with new cement or concrete with small aggregate.
Caulk generally takes about 20-30 minutes to harden but an hour or 2 to dry completely. Give it time to dry before you apply sealant. Wait about a day for cement or concrete repairs to dry.
Consider the color of your repair work. Any repairs you make will be visible through the sealer and if your adding color, it will absorb differently then the original concrete.
Where Safety Equipment
Before you start sealing, put on some protective gear. Don’t get sealer in your eyes or on your skin. Where gloves and glasses. Open the windows and get good ventilation if your working inside.
In general sealing concrete isn’t considered dangerous. But it’s always important to take the necessary safety precautions.
Apply A Thin Coat Of Sealer
Before you start sealing any outside concrete, make sure the weather is sunny and not raining. The optimal temperature is between 40 and 85 degrees Fahrenheit. Don’t seal concrete if it’s wet, too cold or too hot.
Prepare the sealer according to the instructions on its package. In general, sealer is rolled on with a standard paint roller or sprayed on with a paint sprayer. However Polythene sealant is generally applied with a simple pump sprayer and Silane/Siloxane sealers are applied with a squeegee. A paint brush can also be used for any type of sealer.
No matter which method your using, always use maximum and thorough coverage. The typical coverage rate is 250 to 300 square feet per gallon. But this depends a lot on the porosity of the concrete.
Applying a very thin coat of sealer. Be sure to wait for it to dry before applying the second coat.Make sure to apply the first coat in a single direction. For example up and down, north and south, left to right, etc. It doesn’t really matter which direction you choose as long as it’s consistent. The second and future coats will be applied in a different direction. Multiple thin coats applied in different directions ensure the more thorough and complete application.
Read the directions for best usage and amounts.
Apply A Thin Second Coat
The second thin cat should be applied in the opposite direction as the first.Use the same method to apply the second coat as the first. For example, if you rolled on the first coat then roll on the second one too.
Be sure to apply the sealer evenly. You don’t want thick spots of sealer. The reason we apply coats of sealer in different directions is because concrete is porous. It may look flat but when you get up close you’ll see lots of pores and bumps. The best way to coat all these imperfections is by applying the sealer from different angles.
You may need to wait a few hours to apply the second coat while some can be applied in just a few minutes. Read the directions carefully.
Make sure not to step on wet sealer.
Thin coats are important because it ensures the sealant doesn’t pool up or create uneven areas. You’ll be able to see the built up sealer if you apply it too thick.
Let It Dry
It’s very important to let your concrete and sealer dry during installation. Here are the most important times it’s recommended.
- After you have washed or scrubbed the concrete clean, make sure it’s very dry before applying sealer. This can take as much as a day or two. Any moisture trapped inside the concrete will be locked in once you seal it.
- Drying between coats is very important. You don’t want to apply a new coat until the prior one is totally dry.
- Drying at the very end after all the sealant coats are applied is also very important. This could take up to 3 days. Usually, epoxy and acrylic sealers take about 48 hours to fully cure while a penetrating sealer only takes around 8 hours.
When in doubt, give the concrete more time to dry. After 2-3 days, normal foot traffic will be fine on most surfaces and you can start to put out your furniture.
Concrete Drying
The concrete itself has to dry out too.
If you just poured a fresh slab of concrete and want to seal it, be sure to wait the entire 28 days. The concrete should be fully cured and as dry as possible. Sealing it too soon can interrupt the curing process which weakens the concrete and leads to cracks.
Once the concrete has cured and dried thoroughly it’s safe to seal.
Sealing Expansion Joints
You may be wondering what to do when it comes to the expansion joints. Should you seal them too? While this isn’t typically an issue with indoor concrete, almost every outdoor concrete slab has them. Most large slabs like driveways, patios, walkways and sidewalks are separated into smaller sections to stop them from cracking. These cuts in the slab are called expansion joints because they allow room for the slabs to expand and contract without breaking.
Expansion joints are a very important part of a concrete structure. All concrete expands and contracts with temperature changes and moves with the Earth or vibrations. Without expansion joints allowing for some movement the concrete could easily crack.
I recommend you seal the joints either at the same time or after the concrete has fully dried. Sometimes we use a different sealer on joints so it makes sense to do them separately.
Again, choose a day when the outdoor temperature is between 40 and 85 degrees and dry. Make sure the joints are clean and dry before applying any sealant. Brush out any debris and wash the joints just like you do the concrete. And make sure they’re totally dry before applying sealer.
The material used inside the expansion joint can vary quite a bit. Some people use fiber and some caulk. Buy a sealer that’s specifically designed for use on the material that is used inside your joints.
Why Seal Concrete?
Sealing is a great way to protect your concrete. It’s a big investment and should be taken care of if you want to get the most out of it.
- Sealers increase the concrete’s durability.
- Protects against water damage, mold and mildew.
- Helps prevent water damage and cracks.
- Makes the concrete stain resistant.
- Enhances concrete’s color and adds optional gloss.
- Protects against harmful sun damage and fading.
- Extends the life of your concrete.
Sealers also help reduce the chance of damage caused by the freeze-thaw cycle. They prevent the concrete from retaining water which can later freeze, expand and crack the concrete.
Stains are a major problem with concrete. Whether it’s oil, grease, dirt or food, a sealant helps keep spills off the concrete.
Some sealants provide additional grip which can be a big benefit around a pool.
A sealant layer also helps keep the concrete clean. Water, dirt, pollen, dust, etc. are much easier to sweep or blow off the concrete since they can’t stick or penetrate into the concrete’s pores. This is very similar to a freshly waxed car. Dust and pollen can’t build up because of the wax.
Salt is a big problem for concrete. It soaks into and breaks down the concrete. A sealant layer helps keep salt out of the concrete.
Summary: How To Seal Concrete Like A Pro
I’ve been a mason for over 25 years and can tell you firsthand how important sealing your concrete can be. It’s easy to do, fairly cheap, and significantly increases the lifespan of your concrete. The best way to apply it is with a regular paint roller and brush. Use cheap nylon brushes instead of expensive paint brushes because they’ll get chewed up by the gritty concrete. Thick rollers also work best. They absorb more sealant and are able to penetrate into the concrete’s pores. When applying sealant, cover entire areas in a single pass so you don’t leave lines. Usually I section my slabs based on where the relief joints are.
Concrete is strong, durable, resistant to the elements, easy to work with and fairly cheap. But for all concrete’s advantages, it does have a few faults. It’s a porous material that’s prone to water retention, mold, mildew. color fading and cracks. All of which can be prevented by sealing it.
Concrete doesn’t need to be sealed, but it greatly improves the durability and strength of your concrete. It also helps prevent stains, fading, cracks, mold, mildew, dirt, sun damage and discoloration. Sealers work by penetrating into concrete pores and sitting atop the surface. This thin surface layer blocks damaging elements like dirt, stains, water and sun from getting to the concrete.
Concrete paint is a type of sealer. A sealer is any protective layer that sits between potential damage and your concrete.
Use a tough concrete roller and brush to apply sealer. Concrete is very gritty and will chew up supplies meant for painting walls and flat surfaces.
If you have any questions or comments email us any time.

John Mazzuca | About | More Posts |
Custom Home Builder
John Mazzuca is a custom home designer and builder at Gambrick with over 25 years experience in the construction industry. John has designed, built and/or remodeled hundreds of homes, small buildings, and commercial projects. He writes about business, real estate, home building, and household electronics. His work has been featured in Fox Business, Better Homes & Garden, House Beautiful, and more.