How To Remove A Ring Doorbell
To remove Ring Doorbell, turn off the power if it’s hard wired > unscrew the faceplate > remove the doorbell from the wall > disconnect the wires > remove the mount.
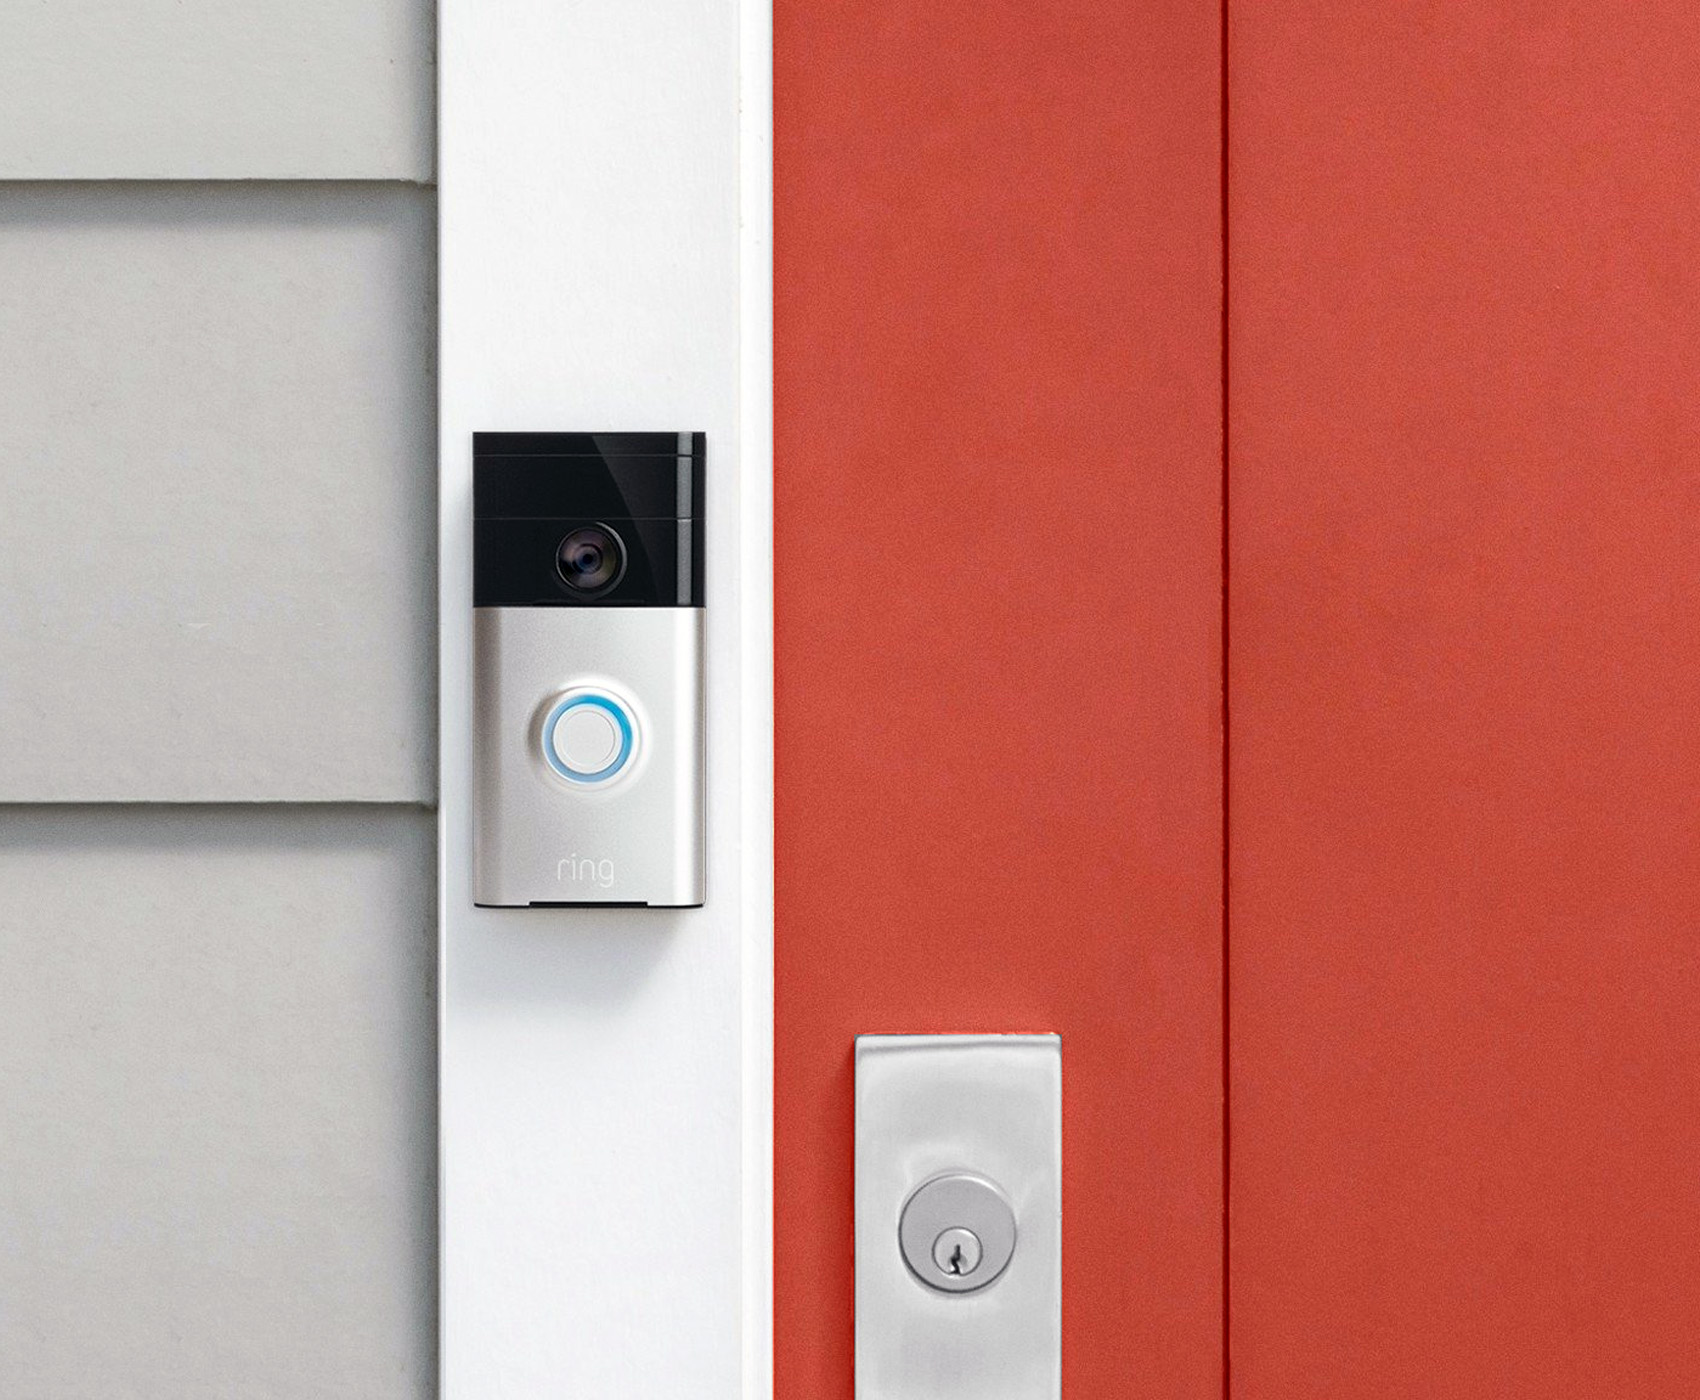
Ring Video Doorbells are smart devices that do a lot more than a standard doorbell. They have a security camera built in that notifies you by WiFi whenever someone approaches the door or rings the bell. They also include a 2-way speaker so you can talk to the person at your door, motion detection, and cloud storage for recorded video. A Ring Doorbell can help secure your home whether you’re at home or not.
There are a variety of Ring models, and all are fairly easy to install and remove when you need to.
Knowing how to remove a Ring Doorbell when you need to charge or maintain the device is important. You may also need to remove it if you’re moving or relocating the device to another door. Luckily it’s a fairly easy process.
Here’s how to do it:
- Turn off the power: Make sure the doorbell’s power is switched off at the breaker.
- Unscrew the faceplate: Remove the front cover by unscrewing it with the special Ring screwdriver or a T6 Torx head screwdriver.
- Optional: Take out the battery if your model has one by pressing the silver button at the bottom of the device.
- Remove the doorbell from the wall: Take the doorbell off the wall where it’s mounted by removing the 4 Phillips head mounting screws.
- Disconnect the wires: Safely detach the wires connected to the doorbell.
If you decide to permanently remove the doorbell, you’ll have to deal with the doorbell wiring. This includes installing a new doorbell, capping and placing the wires in a exterior waterproof electrical box or removing them altogether.
Why Remove A Ring Video Doorbell
Ring Video Doorbells combine doorbell functionality with advanced home security features. They offer numerous benefits to homeowners, like the ability to view and communicate with visitors at your front door through the Ring app in real-time, motion detection, cloud storage, and infrared.
There are various reasons why you might want to remove your Ring Doorbell, which includes:
- You may want to relocate it.
- Switch to a different Ring model.
- Charge the Device.
- Maintenance.
- Adjust the doorbell’s angle or height.
Charging is the most common reason I remove my Ring Video Doorbell because I have a battery-powered model. Generally, my battery needs replacing every 6 months or so. However, you won’t have to worry about recharging if you have a wired model.
It usually takes me a few hours to fully recharge a low battery, including removing the battery from the device, connecting it to the micro-USB cable, and then reinstalling it.
How to Remove a Ring Doorbell
Ring makes a variety of video doorbell models. Each comes with a removable faceplate secured by a single screw to prevent theft. There’s a special screwdriver included in the package that unscrews the screw. However, if you lose it, you can use a T6 Torx bit instead.
Hard wired Ring Doorbells are harder to remove than battery powered models because you have to turn off the power due to their Ethernet cable. Battery powered models can be removed with the power on because they work via WiFi and have no physical cable attached to them.
For a list of the best video doorbells that don’t use WiFi, click the link.
Removing the faceplate may be slightly different depending on the model, but the following steps generally apply to all units:
Step 1: Turn off the power:
If your Ring doorbell is wired, turning off the power before removing it is very important for safety reasons. Here’s how:
- Locate the breaker that controls your doorbell wiring on the main electrical panel of your home.
- Turn off the specific breaker for the doorbell wiring.
If your doorbell breaker isn’t clearly labeled, you can either switch off the main breaker for the entire home or flip breakers one at a time until you find the right one. In most homes, the doorbell won’t have its own dedicated breaker because it’s a low-voltage system.
To learn more about how to turn a Ring Doorbell off, click the link.
Step 2: Remove the Faceplate Cover
The faceplate cover of a Ring doorbell serves multiple purposes. It protects the internal components, conceals the mounting screws, and enhances the doorbell’s appearance. While the removal process is similar for most models, there are exceptions for the Wired and Elite units, as the Elite model doesn’t have a faceplate cover.
For the Ring doorbell (2nd Generation), Pro, Pro 2, and battery-powered models 2 through 4, the faceplate covers about three-fourths of the doorbell and is secured with a single “security screw” at the bottom.
To remove the faceplate cover:
- Use the screwdriver provided by Ring with a two-sided bit (Phillips head and Torx bit).
- Locate the security screw at the bottom of the base plate and unscrew it.
- Gently pull the bottom of the faceplate upward and outward at a roughly 45-degree angle to detach it from the holding tabs.
Note: If the screwdriver is missing, you can use a T6 Torx bit with a different screwdriver or power drill.
Removing the Faceplate of a Wired Ring Model
In the case of the wired Ring model, the faceplate wraps around the outer edge of the doorbell instead of covering the entire front surface. Unlike other models, it doesn’t use a security screw. Instead, it’s held in place by plastic tabs that can be easily clicked in and out.
To remove the faceplate:
- Hold both sides of the doorbell firmly.
- Gently push through the middle of the faceplate until it detaches from the base. Take care not to exert excessive force to avoid damaging the tabs or faceplate.
Optional: Remove the Battery
Removing the battery isn’t necessary to uninstall the entire doorbell, but you’ll need to do it in order to recharge. Once you’ve removed the faceplate cover, look for a silver rectangular tab at the bottom of the doorbell labeled “push.” Simply press this tab and slide the battery out.
When you press the silver lever, the battery will drop out the bottom of the device, so be ready to catch it.
Step 3: Remove a Ring Doorbell From a Wall
The Ring doorbell Wired, Pro, Pro 2, and battery-powered models 2 through 4 are fastened directly to the wall using four Phillips-head screws—two on each side. You have two options to remove these screws:
Use the Phillips head bit attached to the provided screwdriver.
- Alternatively, you can use your own screwdriver or power drill to remove these screws.
Removing Models Secured to Mounting Brackets
The Ring doorbell (2nd Generation) and Elite models are not directly attached to the wall. Instead, they’re clipped into a rectangular wall mount bracket. The mounting bracket is secured to the wall with four Phillips-head screws placed on the outside corners. To remove these doorbells:
- Grip the bottom of the doorbell and gently pull it upward and outward at a 45-degree angle.
- For the battery-powered Ring doorbell (2nd Generation), unscrew the mounting bracket screws and remove the bracket. You can choose to remove the screws now or wait until the next step when removing the wires.
Step 4: Removing the Wires (If Applicable)
Wired Ring doorbells are connected to two electrical wires. Depending on the installation method, the wires will either be connected to the mounting bracket or directly to the back of the unit.
In both cases, each wire is attached to a Phillips-head screw known as a “terminal screw.” For wall-mounted brackets, the terminal screw with a Phillips head is located on the front side facing you. For other models, it is located on the back. Follow these steps:
- Loosen each terminal screw using a Phillips-head screwdriver.
- Gently pull the wires out from the loosened screws.
- If the screws securing the wall mounting bracket to the wall are still in place, you can remove them now.
What Tool do You Use to Remove a Ring Doorbell
To remove a Ring Doorbell, you need a special doorbell screwdriver which comes with your Ring Doorbell or a T6 Torx head screwdriver or screw bit. You’ll also need a 8ga (5/16″) crosshead screwdriver to remove the mounting screws.
It’s very important to use the correct size screwdrivers when removing a Ring Doorbell or you’ll risk stripping the screw heads.
Can You Pull a Ring Doorbell off the Wall?
No, A Ring Doorbell can’t simply be pulled off the wall if it’s been installed properly. When installed properly, a Ring Doorbell is very secure. The doorbell or mounting bracket is secured to the home’s frame with 4 Phillips head screws. Trying to pull a Ring Doorbell off the wall by force could damage the doorbell, the mounting bracket, and possibly the home.
To remove the doorbell secured with a mounting bracket, follow these steps:
- The mounting bracket is attached to the wall using four Phillips-head screws positioned on the outside corners.
- To remove the doorbell, firmly grip the device’s bottom.
- Gently pull the doorbell upward and outward at a 45-degree angle.
- This action detaches the doorbell from the mounting bracket, allowing you to remove it.
By following these steps, you can safely and easily remove the doorbell from the mounting bracket. Remember to exercise caution and avoid applying excessive force to prevent any damage.
Does a Ring Doorbell Require a Special Screwdriver to Remove?
To remove the faceplate security screw, you will need the special screwdriver provided by Ring or T6 Torx head screwdriver or screw bit. This specific tool is necessary to unscrew the security screw on the faceplate.
To remove the mounting screws, you’ll need an 8ga (5/16″) crosshead screwdriver. This screwdriver will be used to handle the mounting screws that secure the doorbell to the wall.
Having these two tools, the T6 Torx head screwdriver and the 8ga crosshead screwdriver is essential for successfully removing the faceplate security screw and the mounting screws during the doorbell removal process. Ensure you have the correct tools handy to complete the task effectively.
Don’t use a different Phillips screwdriver other than the 8ga crosshead, or you’ll risk stripping the screws. This will make removal much harder to do.
How Do You Release a Ring Doorbell to a New Owner?
You can gift or sell your Ring doorbell to a new owner. However, there are some steps you need to take in order to do it once you’ve installed the device and paired it to your Ring account and the app.
To remove a Ring device from the Ring app for a new owner’s use, follow these steps:
- Open the Ring app on your iOS/Apple or Android device.
- Tap the three horizontal lines (≡) located at the top left corner of your Dashboard.
- Tap on “Devices” from the menu options.
- Choose the specific device you wish to release from your ownership.
- Tap on “Device Settings.”
- Scroll down and tap on “General Settings.”
- Select the option “Remove this Device.”
By following these steps in the Ring app, you can easily remove a Ring device from your account, allowing the new owner to set it up and use it under their ownership.
This is a very important step, so don’t skip it. If you don’t follow these steps, the doorbell will still be paired to your account, which means the new owner could gain access to some of your personal information and/or data.
How to Remove Ring Doorbell Without the Special Tool
Ring Doorbells come with a small orange screwdriver with a special head designed to remove the doorbell. But if you’ve lost the screwdriver, don’t worry, you can substitute a T6 Torx head screwdriver instead. You can buy them on Amazon or your local Home Depot Lowes or Hardware store.
Once you remove the faceplate with the special Ring screwdriver or T6 Torx head screwdriver, follow the remaining removal steps.
- Turn off the power: Ensure the doorbell’s power is switched off at the breaker.
- Unscrew the faceplate: Remove the front cover by unscrewing it with the special Ring screwdriver or a T6 Torx head screwdriver.
- Optional: Take out the battery if your model has one by pressing the silver button at the bottom of the device.
- Remove the doorbell from the wall: Take the doorbell off the wall where it’s mounted by removing the 4 Phillips head mounting screws.
- Disconnect the wires: Safely detach the wires connected to the doorbell.
How to Permanently Remove A Ring Video Doorbell
Permanently removing a Ring Video Doorbell is a little harder than simply adjusting its position or removing the battery because you then have to fill the mounting screw holes and deal with the wire if you have one.
Here’s a step-by-step summary of how to remove the doorbell:
- Turn off the power: Ensure the doorbell’s power is switched off at the breaker.
- Unscrew the faceplate: Remove the front cover by unscrewing it with the special Ring screwdriver or a T6 Torx head screwdriver.
- Optional: Take out the battery if your model has one by pressing the silver button at the bottom of the device.
- Remove the doorbell from the wall: Take the doorbell off the wall where it’s mounted by removing the 4 Phillips head mounting screws.
- Disconnect the wires: Safely detach the wires connected to the doorbell.
Once the doorbell is removed, you should seal the mounting screw holes with some 100% waterproof silicone. This will help prevent water and insects from penetrating into the home.
If you have a wired doorbell, you must install a new one or deal with the wiring. This could include capping the wires and placing them inside a weatherproof exterior electrical box or removing them altogether.
Next, if you decide to remove the doorbell wires, you should seal the hole with silicone.
Finally, you’ll need to make some repairs to your exterior siding. What type of repair work you’ll need depends on the type of siding you have.
Types of Ring Doorbells
Ring makes a variety of doorbell models that essentially break down into two main types, wired and wireless. They have slightly different installation and removal processes but share a lot in common. The biggest difference being wired doorbells are hard-wired into the home’s electrical system, and wireless doorbell models are not.
In total, there are eight distinct models, each with its own unique features. Here’s a breakdown of their current models:
Wired Ring Doorbells
- * Ring Doorbell Wired
- * Ring Doorbell Pro
- * Ring Doorbell Pro 2
- * Ring Doorbell Elite
Battery-Powered Ring Doorbells
- * Ring Doorbell (2nd Generation)
- * Ring Doorbell 3
- * Ring Doorbell 3 Plus
- * Ring Doorbell 4
Your existing doorbell wiring powers the wired doorbells, while the battery-powered models rely on an internal battery. However, some battery-powered units offer the flexibility to also connect to your home’s doorbell wiring if desired.
Summary: How To Remove A Ring Doorbell
To remove Ring Doorbell, turn off the power if it’s hard wired > unscrew the faceplate > remove the doorbell from the wall > disconnect the wires > remove the mount.
Ring Video Doorbells are smart devices that do a lot more than a standard doorbell. They have a security camera built in that notifies you by WiFi whenever someone approaches the door or rings the bell. They also include a 2-way speaker so you can talk to the person at your door, motion detection, and cloud storage for recorded video.
There are a variety of Ring models, and all are fairly easy to install and remove when you need to.
Knowing how to remove a Ring Doorbell when you need to charge or maintain the device is important. You may also need to remove it if you’re moving or relocating the device to another door. Luckily it’s a fairly easy process.
Here’s how to do it:
- Turn off the power: Ensure the doorbell’s power is switched off at the breaker.
- Unscrew the faceplate: Remove the front cover by unscrewing it with the special Ring screwdriver or a T6 Torx head screwdriver.
- Optional: Take out the battery if your model has one by pressing the silver button at the bottom of the device.
- Remove the doorbell from the wall: Take the doorbell off the wall where it’s mounted by removing the 4 Phillips head mounting screws.
- Disconnect the wires: Safely detach the wires connected to the doorbell.
If you decide to permanently remove the doorbell, you’ll have to deal with the doorbell wiring. This includes installing a new doorbell, capping and placing the wires in a exterior waterproof electrical box or removing them altogether.
If you have any questions or comments about how to remove a Ring Doorbell, email any time.

John Mazzuca | About | More Posts |
Custom Home Builder
John Mazzuca is a custom home designer and builder at Gambrick with over 25 years experience in the construction industry. John has designed, built and/or remodeled hundreds of homes, small buildings, and commercial projects. He writes about business, real estate, home building, and household electronics. His work has been featured in Fox Business, Better Homes & Garden, House Beautiful, and more.