How To Paint Kitchen Cabinets Like A Pro
Of all the rooms in your house to renovate, kitchens are by far the most expensive with bathrooms a close runner up. And cabinets generally make up a huge portion of that cost. Replacing the cabinets of even a small 150 sq.ft. kitchen can easily cost over $10,000. But there’s a fantastic alternative. Prep and paint them instead. When you paint kitchen cabinets the right way, they’ll look brand new for only a fraction of the cost. And because older cabinets are often made from better quality wood than new ones, you could actually end up with much better cabinets. Prep is actually the most important part of painting kitchen cabinets because the surface needs to be just right to hold the paint. Choosing the right color and finish are also crucial decisions.
Painting your kitchen cabinets can be a tough job if you don’t know what your doing. As with most DIY projects, knowledge matters. The thing Pros have that do-it-yourselfers don’t is experience. When you re-finish cabinets every day you get better at it because you learn lots of little tricks and tips along the way. You make mistakes the first time or two and then learn. We’ll we’ve gone through all those tough first, second and third steps for you having painted lots of cabinets over the years.
In this article I’ll show you the best way to paint kitchen cabinets starting from prep to finish coat along with a list of all the supplies you need and lots of tips & tricks.
Painted kitchen cabinets with an aged wood finish.
Should You Paint Your Kitchen Cabinets
The first thing you should do is examine your cabinets to make sure they can be painted. Wood cabinets are a great candidate for re-finishing because they’re easy to repair and prep for paint. However, cheap thin veneers sometimes can’t be fixed, patched, sanded, etc. which makes them much harder to paint. Here’s a few common situations that are harder to paint.
- Very thin veneer panels that are peeling
- Particleboard that’s gotten wet and is deteriorating
- Weak cabinets that can’t hold the mounting hardware
- Cabinets that are structurally coming apart
If any of these are the types of issues you’re dealing with, you may be better off replacing your kitchen cabinets rather than painting them.
However, sometimes even an old set of cabinets, no matter the condition, look better with a fresh coat of paint in a stylish color. In these cases though, you may have to not only prep the cabinets for paint but also repair them first. That’s not something we’ll be discussing in detail right now but we’re writing an article on how to repair old kitchen cabinets and will post a link when its ready.
What Type Of Paint Should You Paint Kitchen Cabinets With?
There are two types of paint that are generally used on kitchen cabinets, oil based and latex. However, for some white washed or antique looks a water based paint can be used.
- Latex Paints. Latex is a much better paint than it used to be which is why some pro are giving up on using oils. It dries quicker and is easier to clean up with nothing but water. Latex is considered more user friendly than oil based paints which makes it a great DIY option. Latex paints take longer to cure than oil-based paints. In some cases as much as three weeks and in that time they’re susceptible to damage.
- Oil Based Paints. Most pros still use oil based paint for their kitchen cabinets because they form a harder, more durable topcoat with a smoother finished surface. Oils dry faster so there’s less chance the paint can be damaged. Harder to clean up than latex and generally need a solvent instead of water. Almost all factory finished kitchen cabinets have oil based paints. It’s a high end option.
- Water Based Paints. These paints are only used to create very specific looks like white wash or antique. And even then it’s rare because you can also create these same looks with oil or latex paints. They’re super easy to clean up with just water and dry quickly. Although water based paint are not very durable which means you need a protective top coat over the paint.
Both oil and latex will provide a good finish although oil is considered higher end. If you do use a latex paint, make sure it’s a 100 percent acrylic. This offers more durability and adhesion than vinyl acrylic paints.
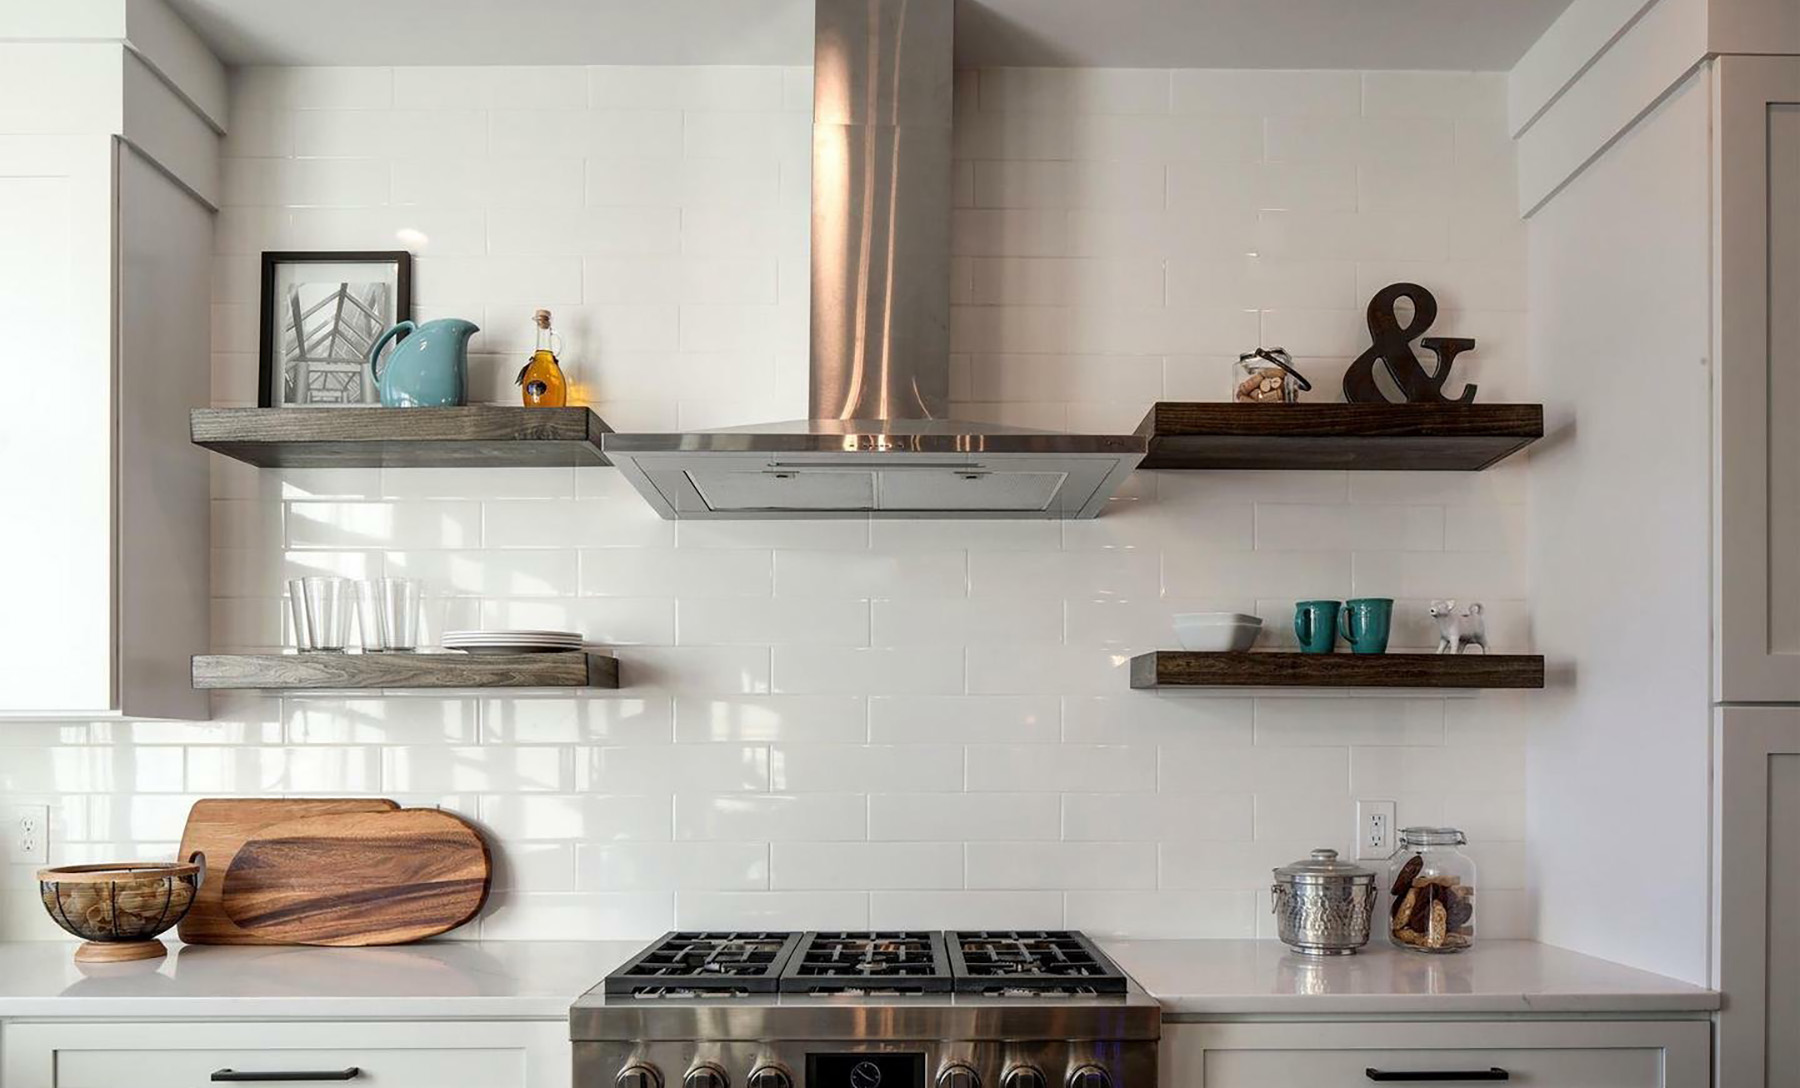
Painted white kitchen cabinets with subway tile backsplash and floating wood shelves.
Brush & Roller Vs Spray Paint
When your painting kitchens cabinets there are too main options for applying the paint. Brush/Roller vs spray.
Spray Paint. This gives the best, more professional looking finish. If you want your cabinets to be super smooth just like the factory, then use a spray gun. Because that’s whats used at the factory. But there’s a learning curve for doing it the right way. Using a spray gun isn’t easy which is why some factories use a robot these days. You’ll also need some good quality spray equipment. I suggest you rent them unless you plan on painting cabinets for a living. You should mask off anything in the kitchen that could accidentally get sprayed, including your countertops, cabinet interiors, and appliances, which is a time consuming process. Spray painting cabinets is considered a Pro level option with a superior finish when it’s done right.
Brush/Roller. This is the most common DIY option. You can get a great finish with good quality rollers and brushes. Buy a 3-4 inch wide square brush for large flat panels as well as an angled brush in the 1½-3 inch range for corners and trim pieces. Use a variety of roller sized based on the width of the panel your painting. Buy good quality rollers that give a smooth finish. Generally you don’t have to mask everything off with a brush and roller but I do recommend taping the areas where you don’t want paint.
Latex paint should be applied with a synthetic bristle brush because they don’t absorb water. Oil based paint should be applied with a natural bristle brush.
Strip The Old Finish
If the cabinets have a clear coat finish you’ll have to trip it before painting. Prep is probably the most important part of painting your kitchen cabinets. At the factory they paint bare wood or MDF that’s smooth and ready for paint. If you’ve got an old layer of clear coat or paint then your not painting on a bare surface. All that needs to be stripped away before you start.
Stripping old paint and clear coat eliminates adhesion problems for the new paint and creates a smoother finish. If you paint over a clear coat or old paint,the new paint may not bind properly which means it could chip, flake or peel.
If the old cabinets are stained without a clear coat then a good cleaning followed by a light sanding should be more than enough to prepare the surface for new paint.
Make sure to repair any damage to the cabinets that you see. Use fillers where necessary. Sand them smooth and then paint. Make sure the cabinets are very smooth before painting. If there are high or low spots you’ll see them when the paints applied.
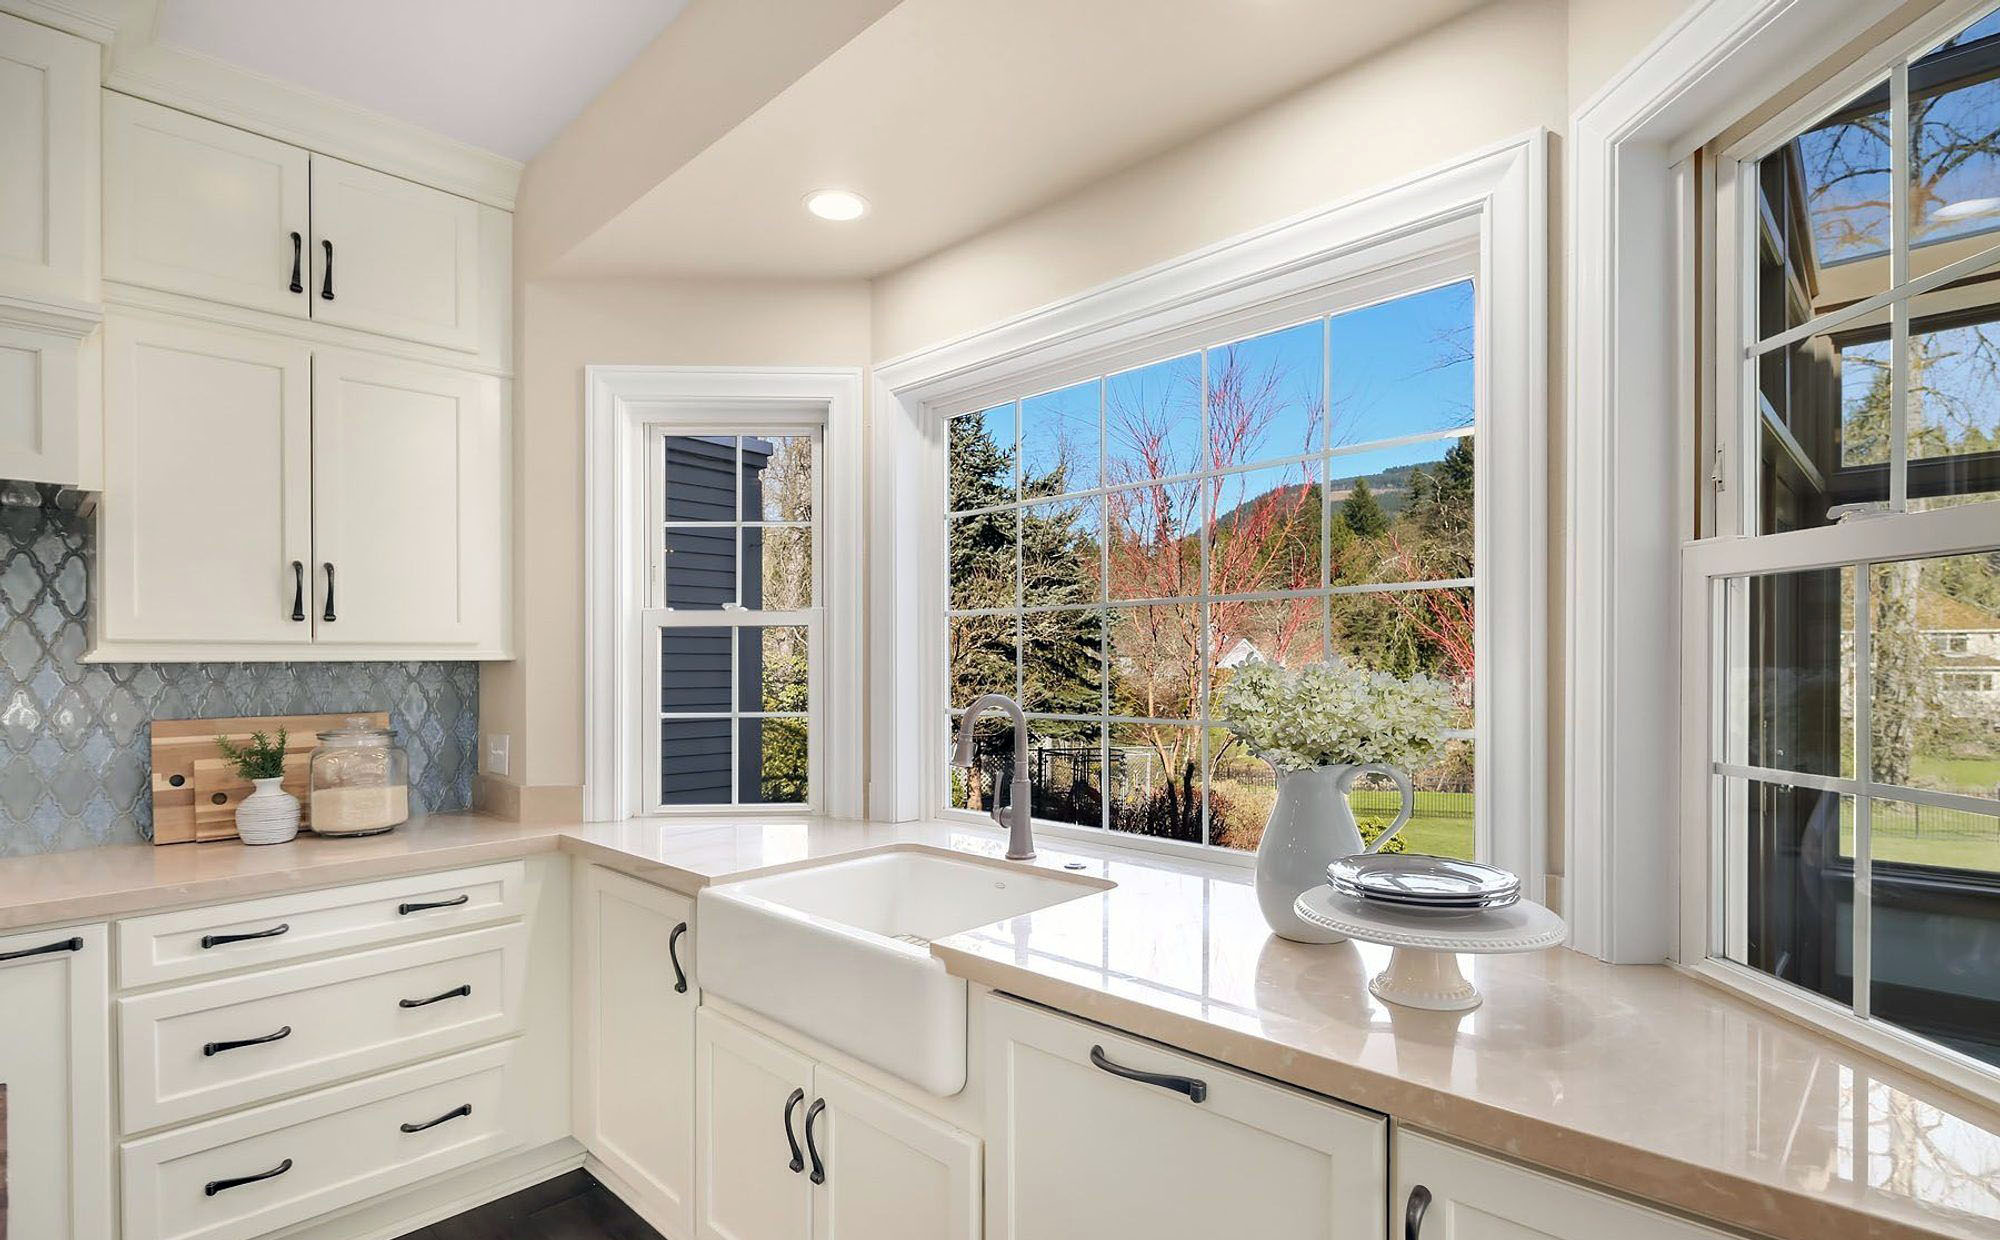
Painted white kitchen cabinets with black hardware, tan stone countertops & a white enamel farmhouse sink.
Steps For Painting Kitchen Cabinets
Lets go through the process of painting those old kitchen cabinets step by step.
Cabinet Prep
Every successful paint job lies in the prep work. Of course you still need the right paint color and type of paint along with all the necessary tools, but if you don’t prep the cabinets first, the finished product won’t turn out how you want.
It’s very, very important to prepare the surface prior to painting. But it’s also important to have a work space to do your painting. This needs to be done prior to painting otherwise you could end up with a big mess to clean.
- Start by emptying out all the cabinets.
- Mask and tape off any areas where you don’t want paint.
- Set up a worktable for painting doors, drawers, and shelves.
- Remove all the doors and drawers. You’ll need a screw driver or screw gun and the right bits to remove all the hinges and knobs.
Thoroughly Clean The Cabinets
Before you do any sanding, filling, scraping or priming, make sure the cabinets are clean of any dirt and grime. You don’t want to start the actual cabinet prep work until the cabinets are thoroughly cleaned.
- Use ordinary household cleaners to clean the cabinets, shelves and inside the drawers. As far as paint is concerned, you only have to clean the areas that are being painted. But you may as well clean everything while your at it. If regular cleaners aren’t enough, try a stronger cleaner like trisodium phosphate (TSP). Its sold at hardware and paint stores. Make sure to follow the safety precautions on the container.
- Once all the cabinets are clean, rinse them with water and wipe them dry with paper towels or a soft rag. Don’t let them sit wet and don;t use too much water. You don’t want to soak them. Just get them wet enough to be clean.
- Use a scraper to get out any gunk that you find. Some substances can get stuck on the surface and won’t com off with a simple wash.
- You can also use a soft sponge or brush on most cabinet surfaces. I like to use a sponge with a scrub pad attached and regular dish soap with warm water.
Prepare The Cabinets For Paint
Once the cabinets have been cleaned it’s time to start prep work. This generally involves removing the old clear coat and paint. If the cabinets don;t have a clear coat you can skip that step. Sometimes, if the old paint is in good condition, you can paint right over it. You only have to remove it if it’s peeling, flaking, or cracking. Inspect the cabinets to make sure which situation is right.
I don’t recommend removing old paint if there’s nothing wrong with it. It just adds unnecessary work to the job and old paint can actually be a good primer.
Always remove the clear coat. Paint doesn’t bond well to most clear coats so this could be a big problem.
Even if you keep the old paint, you should still fill all the holes, gauges and damage you find. Fill and sand just as you would bare wood.
- Put on safety gear like a mask, goggles and gloves. Also make sure prepare the cabinets in a well ventilated area.
- Use an abrasive pad dipped in liquid deglosser to scrub down the cabinets. make sure to get off any clear coats and old paint. Keep clean rags on hand to wipe off the deglosser as needed.
- If you’re relocating the hardware, fill the old screw holes with wood or auto body filler.
- Sand surfaces with the grain using 100 grit paper as you go.
- Use a combination of rough, medium and fine grit sandpaper.
- Use filler to fill any gauges, dents or damage on the cabinets.
Once your all done filling, removing and sanding, go over everything with a fine grit sandpaper. Paint likes a smooth surface.
Apply Primer
Once all the cleaning, stripping, filling, repairing and sanding is done, it’s time for primer.Even if I’m going over an old paint job I still like to use at least a very thin coat of primer. It’s good for covering up fine imperfections.
If the cabinets are stained, use a stain blocking primer. They dry quickly and cover up knots and other surface defects that might bleed through the paint. Have you ever seen white cabinets with the knots showing? That’s because they weren’t properly primed.
For the majority of cabinets a stain blocking primer shouldn’t be necessary, An oil-based or 100 percent acrylic latex primer should work just fine.
Apply the primer in very thin coats. A little goes a long way. The purpose is to cover up small surface imperfections, block base colors and stains, and provide an even surface for paint. Use as little primer as possible to achieve those goals.
- Brush or roll on the primer across the grain. Then use a brush in the opposite direction. This is called “tipping off” the primer. This is done to ensure you get full coverage.
- Make sure to use a small brush and get into all the corners and detail work. Some cabinetry has fine trim that needs priming too.
- Make sure not to use too much primer. It can build up and change the look of fine detail work. This is common in the corners.
- Don’t let primer drip or pool. Check all the small corners and edges as you go.
- I like to use sandable primer because it gives a smoother finish. Use fine grit sand paper.
Kitchen Cabinet Priming Tips
Priming is a crucial step when painting kitchen cabinets. That’s why choosing the right primer is so important. All in one primers and paint products should be avoided. They don’t do either job very well and although they’re fine for walls and trim, they’re no good for cabinets or other fine work.
Oil primer and paint adhere the best and give the longest lasting finish on cabinets. But because of VOCs, oil is banned in many states and avoided by many homeowners. A good alternative is water soluble products. Be prepared that some of these products dry quickly so you should consider including an extender that buys you the extra time you’ll need to get a smooth finish without brush marks.
If your going from a dark cabinet to light, consider tinting the primer to match the final color. This can eliminate the needs for more than two coats of paint. The paint store will do the tint for you. I recommend using 75 percent of the final color so it’s lighter then you’ll ultimately want but close.
Final Detail Work & Sanding
After your first coat of primer and a light sanding, you’ll be able to see even the smallest imperfections. A good way to do it is to run your fingers across the surface of the cabinets. Some times it’s hard to see small issues but you can still feel them. Almost all the best painters of fine surfaces which includes wood and metal work like cars, use their fingers to feel for small imperfections they can’t always see.
- After the primer is dry and an initial sanding is done, inspect the surface.
- Sand again but this time with a fine grit sanding sponge. The surface will eventually end up feeling like smooth glass.
- Inspect and run your fingers over the surface and squeeze a thin bead of latex caulk into any small imperfections you find.
- Smooth the caulk with a damp finger.
- Once the caulk is dry sand again with a sanding sponge.
- With a spray can of fast drying oil based primer, spot prime small areas that need it.
- Wait an hour, then sand the primer lightly with a fine grit paper and then a sanding sponge.
- Repeat these steps until you don’t find any imperfections.
- Vacuum the entire surfaces and wipe them down with a damp cloth. Don’t leave any sanded primer or other substances behind.
This is the final step before you actually start painting so it’s important to take your time and get the cabinets just right. If you miss a spot it will show when you apply paint. Especially if that paint has some gloss.
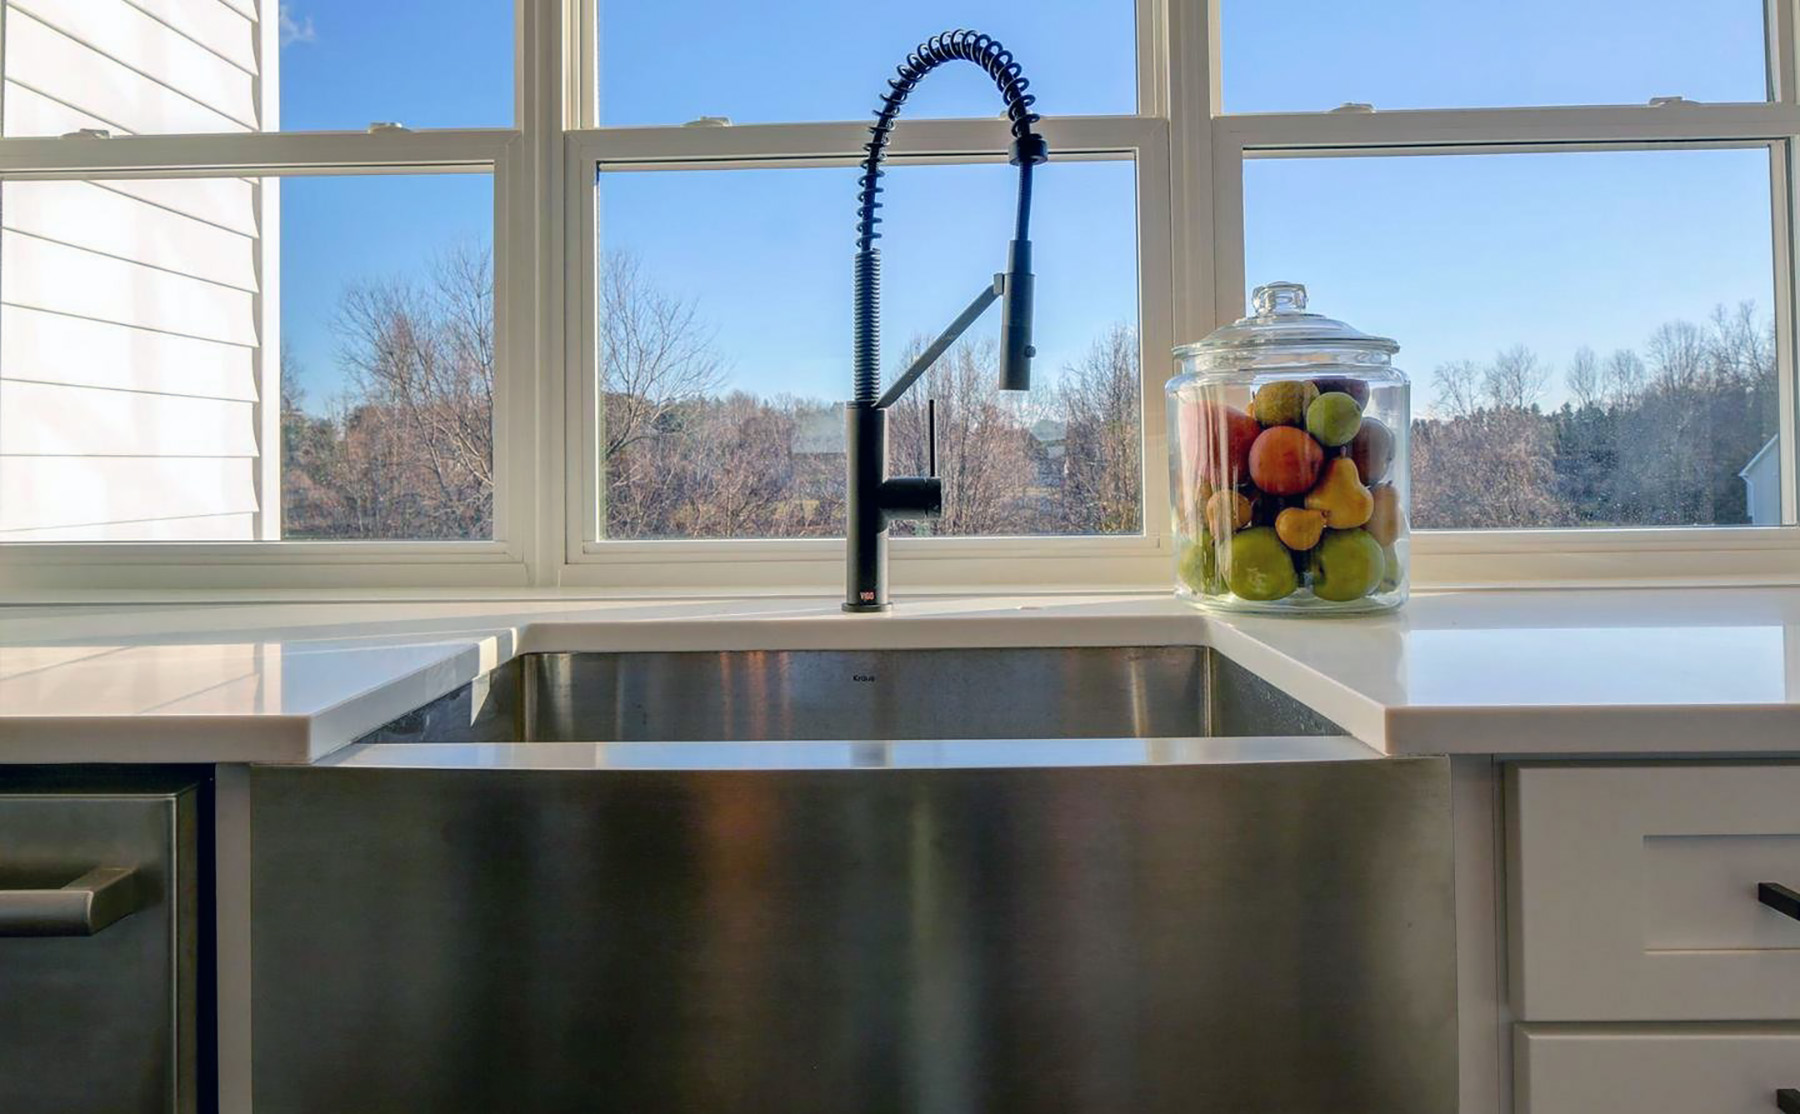
Painted white kitchen cabinets with black hardware & a stainless steel farmhouse sink.
Paint The Cabinets
You’re finally ready to start painting those old kitchen cabinets. If you’ve primed the cabinets then 2 thin coats of paint should be fine. However, if your going over old paint it could take a third coat. This of course depends on the paint your using.
I don’t recommend ever using just one coat. It’s tempting to try it which causes most people to apply a thicker coat than they should. Two thin coats is best.
- If your using a brush/roller, apply the paint across the grain, then tip it off with the grain.
- If your using a sprayer, make sure to spray evenly and far enough from the surface to avoid heavy spots. Remember, thin even coats.
- For the cabinet interior, apply the paint with the same thin even coats no matter which tool your using.
- Between coats, sand the surfaces lightly with a very fine grit sandpaper. Make sure to clean up the powder afterwards.
- When painting paneled doors, start with panels.
- Then, do the main field of the panel.
- Finally, finish with all the fine details, edges and trim.
Painting Tips
Here are a few tips and tricks that will help you paint your kitchen cabinets with as fine a surface as possible.
- A trick I like to use when spraying the doors is to hang them by a string while I paint. Insert a screw into the knob hole and hang it with some thin string. This makes it easier to spray from different angles.
- Tilt the spray gun at different angles. If you just point it straight at the cabinets you’ll miss lots of angled surfaces.
- Use very thin coats of spray paint and stand far enough away. Most amateur painters stand far too close.
- Use a good paint sprayer. Cheap equipment can spit paint which then needs to be cleaned off with a brush or roller. This can ruin the finish.
- In general use all top quality tools. Painting kitchen cabinets isn’t like a wall, trim or ceiling. The finish has to be super smooth like glass unless your going for some sort of textured look.
- Always apply multiple thin coats. Avoid the temptation to try and use just one coat. Even paints that say one coat are usually better than two.
- Sand the first coat of paint lightly before you apply the second. This helps a lot and it’s something most people avoid.
- Drips and pooling paint shouldn’t be an issue, If you see them it means your applying the paint too thick.
- When painting light colors over a dark older paint you may need a third coat. Maybe more if the old cabinets were black and new color is white. Use as many thin coats as needed.
- Don’t put too much paint on the brush or roller.
Painting kitchen cabinets is delicate work so take your time in between coats and let them fully dry.
Apply The Clear Coat
If your using a clear coat on top of the paint, this is the time to apply it. Follow all the same basic painting tips except you don’t need to sand after the first coat.
- Thin coats works best.
- If you need a second coat wait for the first to fully dry before applying it.
- Test the gloss level on a different surface. I’ve seen plenty of cabinet painting jobs ruined by using too much gloss. Less is generally more.
- Clear coats can be applied with a sprayer, brush or roller.
- Use only thin coats to avoid streaks, clumping, runs or pooling.
A thin clear coat can be a good way to protect your paint. They’re also available with some UV protection which can help if your cabinets get lots of direct sunlight. You can buy them with a matte finish which is hardly noticeable.
Be aware that every layer of paint,primer or clear coats builds up the surface a tiny amount. If your working with very delicate trim work it’s best not to overdo it with layers.
Assemble The Cabinets
Once all your paint work is done you’ll have to assemble the cabinets.
- Replace all the shelves first.
- Remove any tape or masking from the old cabinets.
- Install the hinges and knobs.
- Hang the doors in their original openings.
- Replace the drawer pulls or install new ones and reinstall each drawer.
- Finally test out each drawer and door for proper function. Adjust as needed.
Painting those old cabinets is a great way to freshen up your kitchen. But don’t forget they still need to work properly. Do all your final adjustments at the very end just as you would with new cabinetry.

Painted white kitchen cabinets with black hardware, wood ceiling beams & a white enamel farmhouse sink.
Wood Is The Best Cabinet Surface To Paint.
Wood and MDF are the two best materials to build kitchen cabinets out of if your using paint. Most high end cabinets actually use a combination of the two. MDF for large flat areas and wood for trim work. This is because MDF is a composite material that’s super flat and doesn’t expand/contract much. This helps reduce cracks after painting. And because MDF is flat is holds paint very well.
Laminates aren’t a good choice for cabinets because although you can paint them and they look good when new, they don’t last long.And because of they’re poor long term durability they generally don;t make a good candidate for refinishing.
The great thing about painting wood kitchen cabinets is how easy they are to work with and repair. Sandable fillers and caulks can be used to build up the wood and make it look like brand new. In most cases, wood kitchen cabinets can be repaired and painted to look like brand new.
Older stained wood is very easy to work with because stain doesn’t generally interfere with paint. Since stain penetrates into the wood and doesn’t sit on top of it’s surface like paint does, after a light sanding, paint will typically stick. This makes your work much easier because you probably won;t have to strip all the stain.
Always Buy High Quality Paint
Always buy a high quality paint for your kitchen cabinets. They’re a show piece that need a good finish. You’ll get much smoother coverage using quality paint than you will with something cheap. The finish on your cabinets needs to be much finer than on a wall or piece of trim. Everything on the cabinets needs to be just right because imperfections on painted cabinets stick out like a sore thumb.
I personally like and use Benjamin Moore for all my kitchen cabinet paint jobs because that’s what’s used on most of the factory painted cabinets we use. I use two thin coats just like they do at the factory because I’m trying to re-create a factory level finish. If you want to know what type of paint was used on a set of cabinets you see in a showroom just ask. They’ll give you a small touch up bottle when you buy the cabinets for repairs. You can take that sample or paint code to any Benjamin Moore and get the same exact paint they use in the factory.
The good news is that although high quality paint is more expensive per gallon, you won’t need much. Almost all the kitchen cabinet paint jobs I’ve done have used less than 2 gallons even for a large kitchen.
Gloss
Most kitchen cabinets use an eggshell or semi gloss finish. I almost never see gloss or matte. If you see a kitchen cabinet in a showroom, ask them the paint used and the gloss level, it’s no secret. In almost every case it will be a semi gloss or egg shell finish.
There are two main reason these two gloss levels are used most in kitchens.
- Appearance. You want the cabinets to have a bit of contrast with the walls and other surfaces so that they stand out. Most walls are flat or egg shell with a glosses countertop and backsplash. Then there’s the shine of all those stainless steel or enamel appliances. Eggshell or semi gloss cabinets are just right to blend in with the surrounding finishes while still standing out. And it avoids feeling overpowering.
- Cleaning. You want a cabinet surface that’s durable and easy to keep clean which is another advantage of a slight gloss layer. It adds a layer of protection that sits above the paint and below the grime. Personally, I cook a lot of sauces and sometimes they splatter. I like a cabinet that’s easy to wiped own and keep clean. Matte finishes are definitely not a great idea for me.
Choose a gloss level that makes sense for your overall kitchen design. There’s really no one size fits all answer. But for the majority of people, a semi gloss is generally best.
Regular Or Faux Finish?
Most people will want a standard painted kitchen cabinet. But for some, a faux finish can transform your kitchen style into something more unique. Think shabby chic, rustic, provincial, antique or modern.
- Consider giving your kitchen cabinets a weathered rustic look with a dry glaze. You can buy it at any paint store.
- Another rustic style is a distressed look that doesn’t require a special paint. The finish is made up of layered colors and spattered dark paint. When the paint is dry, distress the finish by hitting it with a chain and some light sanding.
- The antique, slowly aged look can be achieved with some more advanced paint tricks. Dip the tip of a paintbrush in a color lighter than the cabinets and dab the excess onto a cloth until the brush is almost dry. Lightly graze the surface of the detail trim, corners, and seams with the second color. This is most commonly done with white but other colors work as well.
- A high gloss finish can transform your kitchen into a more modern space. To shine up your cabinets, paint a high gloss clear acrylic varnish over your final coat of paint. This technique will add depth to the color and create a glassy sheen. Generally this is done on completely flat faced cabinets without any hardware.
For the majority of homeowners a standard paint finish is what they’re looking for. But if you want to be a bit more creative it’s good to know there are other options for your painted kitchen cabinets.
Satin Enamel Paints
Satin enamel paints are great for painting kitchen cabinets. They adhere to just about any surface without a lot of prep work. If you don’t want to do all the preparation needed for a factory finish then these are the paints for you. Just make sure you still inspect the cabinets and repair any damage.
- They don’t drip or smudge.
- No need to sand or prime the cabinets.
- You don’t need a top coat.
- Stains don’t stick to enamels.
- Durable finish.
Pros: Very easy to paint with. Strong durable finish. No sanding and very little prep. No primer and no top coat needed. Stains don’t stick to enamels.
Cons: Limited color selection.
Number The Cabinets
It’s a good idea to number or mark your cabinet drawers and doors when you remove them for paint. This way you can be sure to put them back in the correct location. It makes life a little easier.
A small piece of painters tape on the back of the doors or inside the drawer works fine. If I don’t have it I write it right on the cabinet in pencil. Also mark inside the cabinet where the drawer or door goes. Door 1 to cabinets 1, door 2 to cabinet 2, etc.
When the cabinets are fully assembled take off the tape and touch up with paint.
In some cases you don’t have to make marks. It’s a big help when your re-using the original hardware since everything will line up properly. However, if your redoing all the hardware then the doors and drawer locations can be changed.
Summary: How To Paint Kitchen Cabinets Like A Pro
Of all the rooms in your house to renovate, kitchens are by far the most expensive with bathrooms a close runner up. And cabinets generally make up a huge portion of that cost. Replacing the cabinets of even a small 150 sq.ft. kitchen can easily cost over $10,000. But there’s a fantastic alternative. Prep and paint them instead. When you paint kitchen cabinets the right way, they’ll look brand new for only a fraction of the cost. And because older cabinets are often made from better quality wood than new ones, you could actually end up with much better cabinets. Prep is actually the most important part of painting kitchen cabinets because the surface needs to be just right to hold the paint. Choosing the right color and finish are also crucial decisions.
Painting your kitchen cabinets can be a tough job if you don’t know what your doing. As with most DIY projects, knowledge matters. The thing Pros have that do-it-yourselfers don’t is experience. When you re-finish cabinets every day you get better at it because you learn lots of little tricks and tips along the way. You make mistakes the first time or two and then learn. We’ll we’ve gone through all those tough first, second and third steps for you having painted lots of cabinets over the years.
If you have any questions or comments e-mail us any time. We’d love to hear from you.