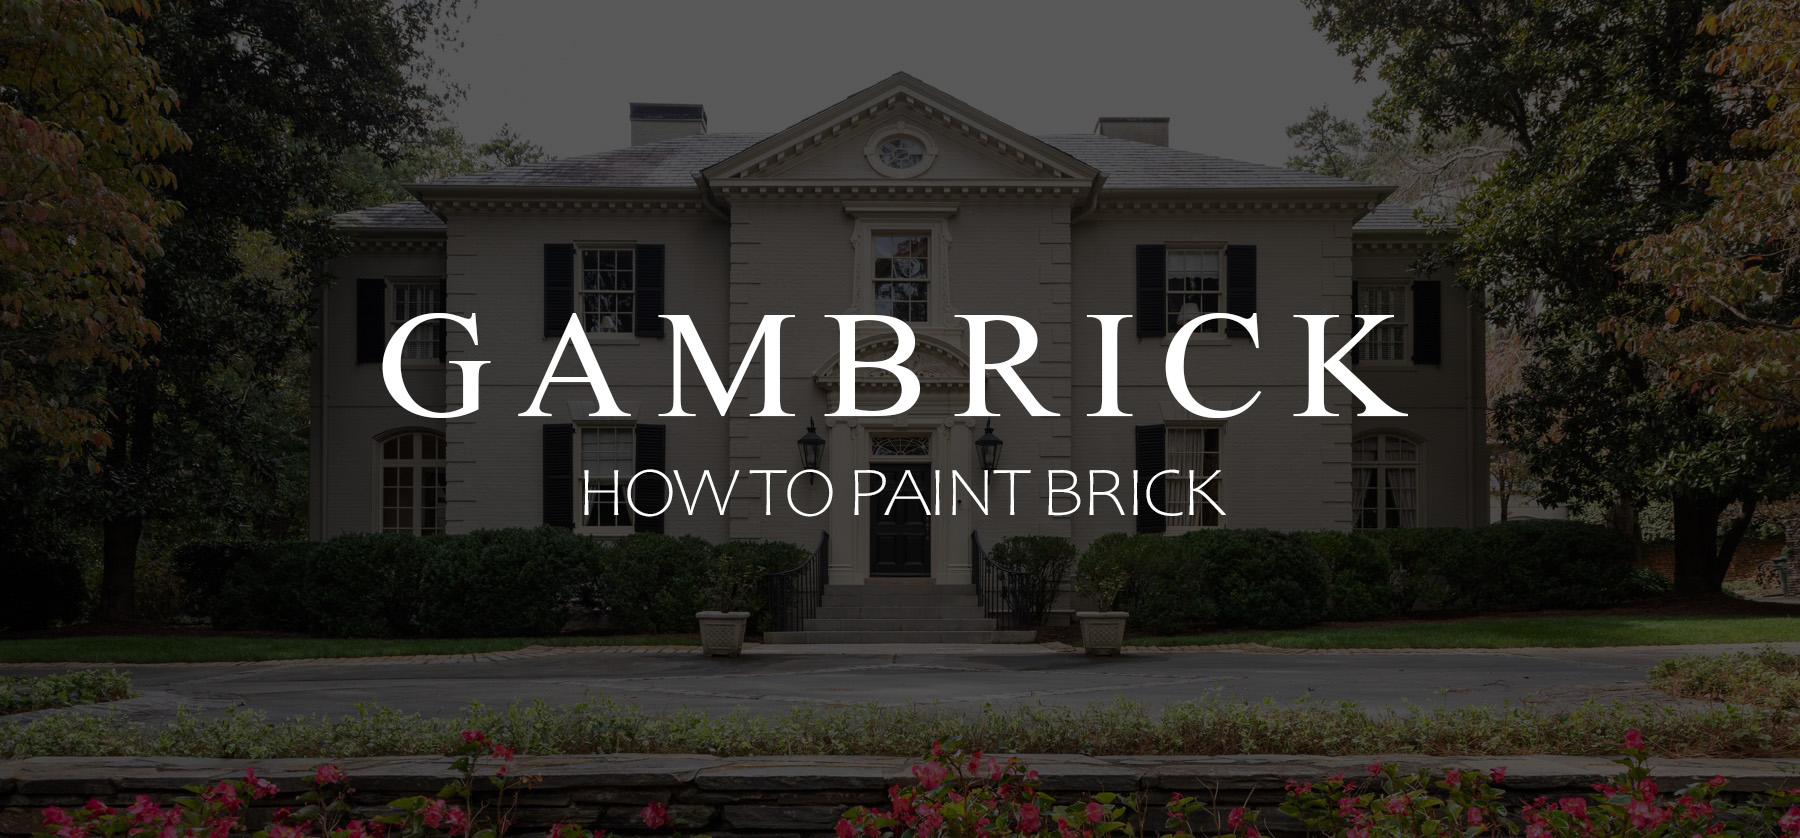
How To Paint Brick
Painting red brick white is a hot trend both inside and outside the home. You may have even considered doing it yourself but are unsure how. In this article we’ll learn everything there is to know about how to paint brick.
Red brick is a classic look that’s been used for centuries as a house siding, to build chimneys or around the fireplace. It’s still a beautiful look that’s very much in style. But with the more modern trend of use white everywhere, red brick doesn’t always have a place. Everyone these days seems to want light and bright. Lot’s of white, real wood and clean, crisp design. Painting that old and tired looking rustic red brick is definitely a viable option that can have fantastic results. And it’s not that hard or expensive to do and even makes a great DIY project. But there are a few important things you need to know if you want professional looking results. Things like making sure the bricks are prepped and clean, priming the bricks, painting at the right time, avoiding peeling or bubbling, and learning which paint to use.
Keep reading to learn everything you need to know on how to paint bricks like a pro.
1. Prep The Brick
Just like you would with any surface, prepping the bricks prior to painting is very important. This is definitely not a step you want to rush or avoid for a number of reasons which are:
- Peeling / Flaking. If the bricks aren’t properly prepped then your new paint could start to peel or flake off. This is mainly due to painting over dirt, dust or oils. If the bricks aren’t clean and dry then the paint may not adhere to them properly.
- Bubbles. You only want to paint dry bricks for a reason. If moisture is locked inside the brick then it can force it’s way through the paints surface which causes bubbles. This is also a big problem when you use the wrong paint. We’ll talk about that later.
1. Wash The Bricks
The first step to properly prepping the bricks for paint is to clean them. You don’t want any dirt, moss, mildew, dust or oils on the brick. Efflorescence is also an issue and you’ll want to make sure it’s all cleaned away. It’s that white substance that can build up on the outside of your bricks. Here’s a few suggestions on how to properly wash the bricks:
- Power Washer. It’s fine to use a power washer but you need to make sure the power is adjusted to match the age and condition of your brick. Everyone always says use the lowest setting but that’s not always required. You can turn it up a little if your bricks are new and in great condition. Use some common sense here. If your washing a building with 100+ year old brick then of course be gentle, but if it’s brand new then use more pressure if you need it. I try not to ever use more pressure then I can stick my hand into.
- Scrub. It’s fine to use a scrub brush on a pole and some simple soap and water. Just as with the pressure washer, vary the scrubbing based on the condition of your brick and mortar.
- Cleaners. I don’t use chemical store bought cleaners much but if you choose too then make sure to use something specific for brick. Don’t just get any stone cleaner in the store. make sure it says formulated for brick.
- Bleach. A solution of bleach and water can be used for hard to clean areas but we prefer simple soap and water solutions.
The idea of washing and scrubbing your brick is to get the surface clean. You don’t want to paint over dirt, grease, grime, mildew, mold, etc. because the paint will stick to that and not the brick.
Pro Tip: Take your finger and swipe it across the brick the same way you would a dusty surface. If your finger picks anything up then the bricks aren’t clean enough to paint.
2. Repairs
If you’ve got repairs that you’ve been putting off then now’s the time. Take out and replace any damaged bricks and repair brittle or cracked mortar. The great thing about doing repairs before you paint is that you won’t be able to see them. One of the problems with repairing red brick is how obvious the repaired sections are. But paint hides everything.
If you don’t repair the bricks then the damaged areas will keep getting worse and eventually will ruin the paint job in that area. Cracks will keep cracking and old brittle bricks can break off and expose the red. If you don’t want maintenance after the paint jobs been done then do all your brick repairs at the start.
2. Mask
An important part of any paint job is masking areas you don’t want to get painted. This is a simple process where you use special paint resistant tape, we use Frog Tape, to cover areas you don’t want painted. Any trim work, windows or doors you don’t want painted will be covered with tape.
This is really a part of good prep but it has to do with prepping the house and not the brick’s themselves. If you’ve ever painted anything in the home then you’ll know what to do. It’s no different then putting a tarp down onside when you paint the ceiling or taping around a door knob. Just cover whatever you don’t want painted.
Masking can also mean taping plastic over all the windows and doors. I typically don’t do this because I like to use a roller and brush in these areas but if you want to do more spraying and less brushing then plastic is a good idea.
Pro Tip: What we do is to mask as we go rather than doing entire house at the start. It’s a lot of work to get ladders and scaffolding moved around so we set up at an area, mask, prime and then paint. Then we move the ladders and repeat.
3. Prime The Bricks
A coat of latex primer should be applied before you start painting the bricks. This is also called conditioning the brick. There are products on the market called Acrylic Conditioners that are basically just a primer.
The primer coat will seep into all the small crevices and holes found throughout the brick and give a good surface for the paint to adhere too. It’ll also provide a base color so you won’t have to use as much paint to get good coverage. It’s the same reason why you prime a colored wall before painting it white. If you don’t prime first then you could be forced to do lots of extra coats and paint is more expensive than primer.
- Use a roller that’s fluffy. Bricks are textured not totally flat so a stiff roller can have trouble penetrating into the low spots of the brick like the mortar.
- When you need a brush use something cheap. You’ll be pressing the head into the mortar and other deep holes the roller can’t reach. It’s more of a dabbing than a stroke. And when you do stroke with the brush the brick’s rough texture can damage fine bristles. Just make sure to use a brush good enough not to leave bristles on the brick.
- Use a good quality primer or conditioner that’s made specifically for brick and not general masonry. Make sure the label says formulated for brick.
Amateur painters always seam to skimp on the primer step and rush into the painting. But every pro we’ve ever worked with stresses how important good priming is. That’s because getting a good primer coat means you don’t have to paint as much in order to get solid coverage. And primer is cheaper than paint.
Follow the manufacturers specifications.
4. Select A Brick Paint
Now’s the time to pick not only your color brick paint but also they type. There are a few options but what we recommend is a good quality latex that can breathe. Make sure the paint you buy is specifically formulated for exterior brick and not just a generic masonry paint. It has to state that it’s for brick.
The reason is very simple. Exterior brick paint needs to breathe. Any type of masonry, but especially brick and mortar, will hold moisture. That’s why it’s so important to paint brick when it’s dry. But even so, your brick can still have some moisture content in it and can accumulate more in the future. Moisture stored inside the brick needs to work it’s way out through the brick’s surface which is now covered by a layer of paint. If the paint doesn’t allow the bricks to breathe then the water will cause bubbles and possibly peeling.
Worst of all there’s no way to fix this once you paint the bricks. If you use the wrong paint then you could have a real mess on your hands. The paint could bubble and peel and there’s not a thing you can do about it other than chipping off flaked paint.
Pro Tip: I can’t stress this point enough. make sure you do not paint brick with anything but paint specifically formulated for brick with the ability to breathe. And by breathe I mean the ability to release moisture through it’s surface. The manufacturers specs will tell you if it can or can’t.
5. Paint The Bricks
It’s finally time to start painting. This is actually the easiest part. There’s nothing to really think about. The bricks are all prepped and clean, the windows and doors are masked, everything’s primed and you’ve got your paint and other supplies ready to go.
The easiest and fastest way to paint a brick house is with a paint sprayer. If you don’t own one and your a DIYer then rent one. They don’t cost much if all you need it for is the weekend. We use the sprayer primarily for large surface areas and then do around windows and doors with rollers. Small detail spots like edges or next to trim we use a brush. We also brush any small spots that aren’t hit by the roller.
If you’re painting a small area inside the house like a fireplace then rollers and brushes are fine. I don’t recommend using a sprayer for anything in the home unless your a real Pro with it.
The trickiest part about painting brick is getting into the pointingg and small holes. I like to use a small paint brush for this part of the process. Take your time with it, painting brick isn’t a fast process if you want good coverage. It’s not like painting a flat and smooth wall. There’s lots of texture with brick and you need paint in all the little spaces a roller misses. This all has to be done by hand with a brush and brush work takes time.
Pro Tip: Make sure the primer drys fully before you start painting. 24 Hours is generally recommended. Also check the weather before you start. The last thing you want is rain or high moisture in the air when your painting. Dry air with as little moisture works best. Typically we try to schedule all of our exterior brick painting for Summer and Spring if possible.
The Second Coat
As with any paint job sometimes a second and even a third coat is needed. If you’ve done a good job priming then two is generally more than enough. I like using two thin coats rather than trying to get it all with one thick one. Things can get sloppy and you could end up with runs.
Wait for the first coat to completely dry before applying a second coat.
If your painting an inside fireplace or exterior brick that’s easy to reach then apply the second coat however and whenever you like. But if your working up high with scaffolding or ladders then try to do the second coat right after the first. it’s a lot of work moving the equipment around so get the most out of it once you set up.
The second coat should be thin too. Apply coats until you have total coverage. You’ll know because additional coats won’t change the way the color looks. For example, if you’ve done two coats correctly then a third, fourth or even a tenth won’t change the way the color looks. That’s total coverage.
White Painted Brick Gallery
Here’s a small inspiration gallery of some beautiful painted brick.
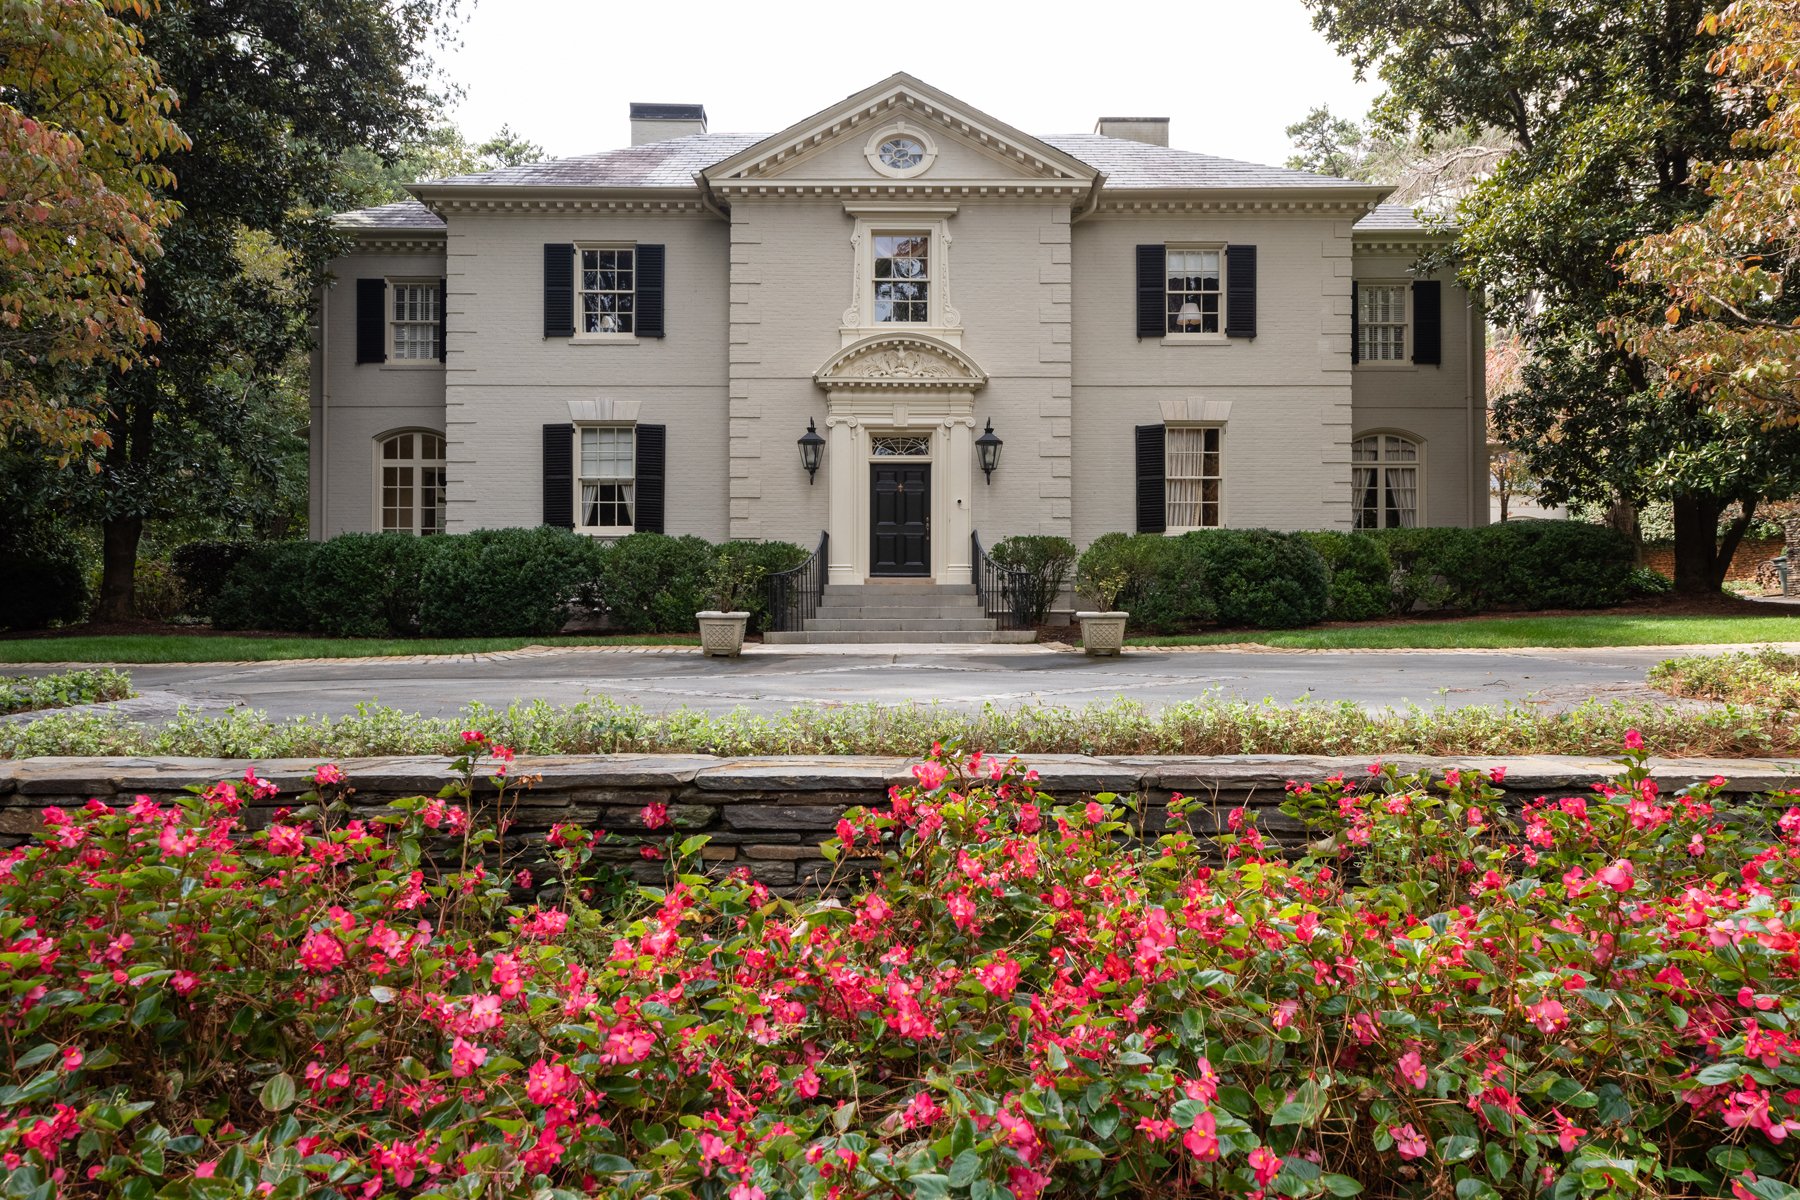
Beautiful classic red brick home that’s been painted white.
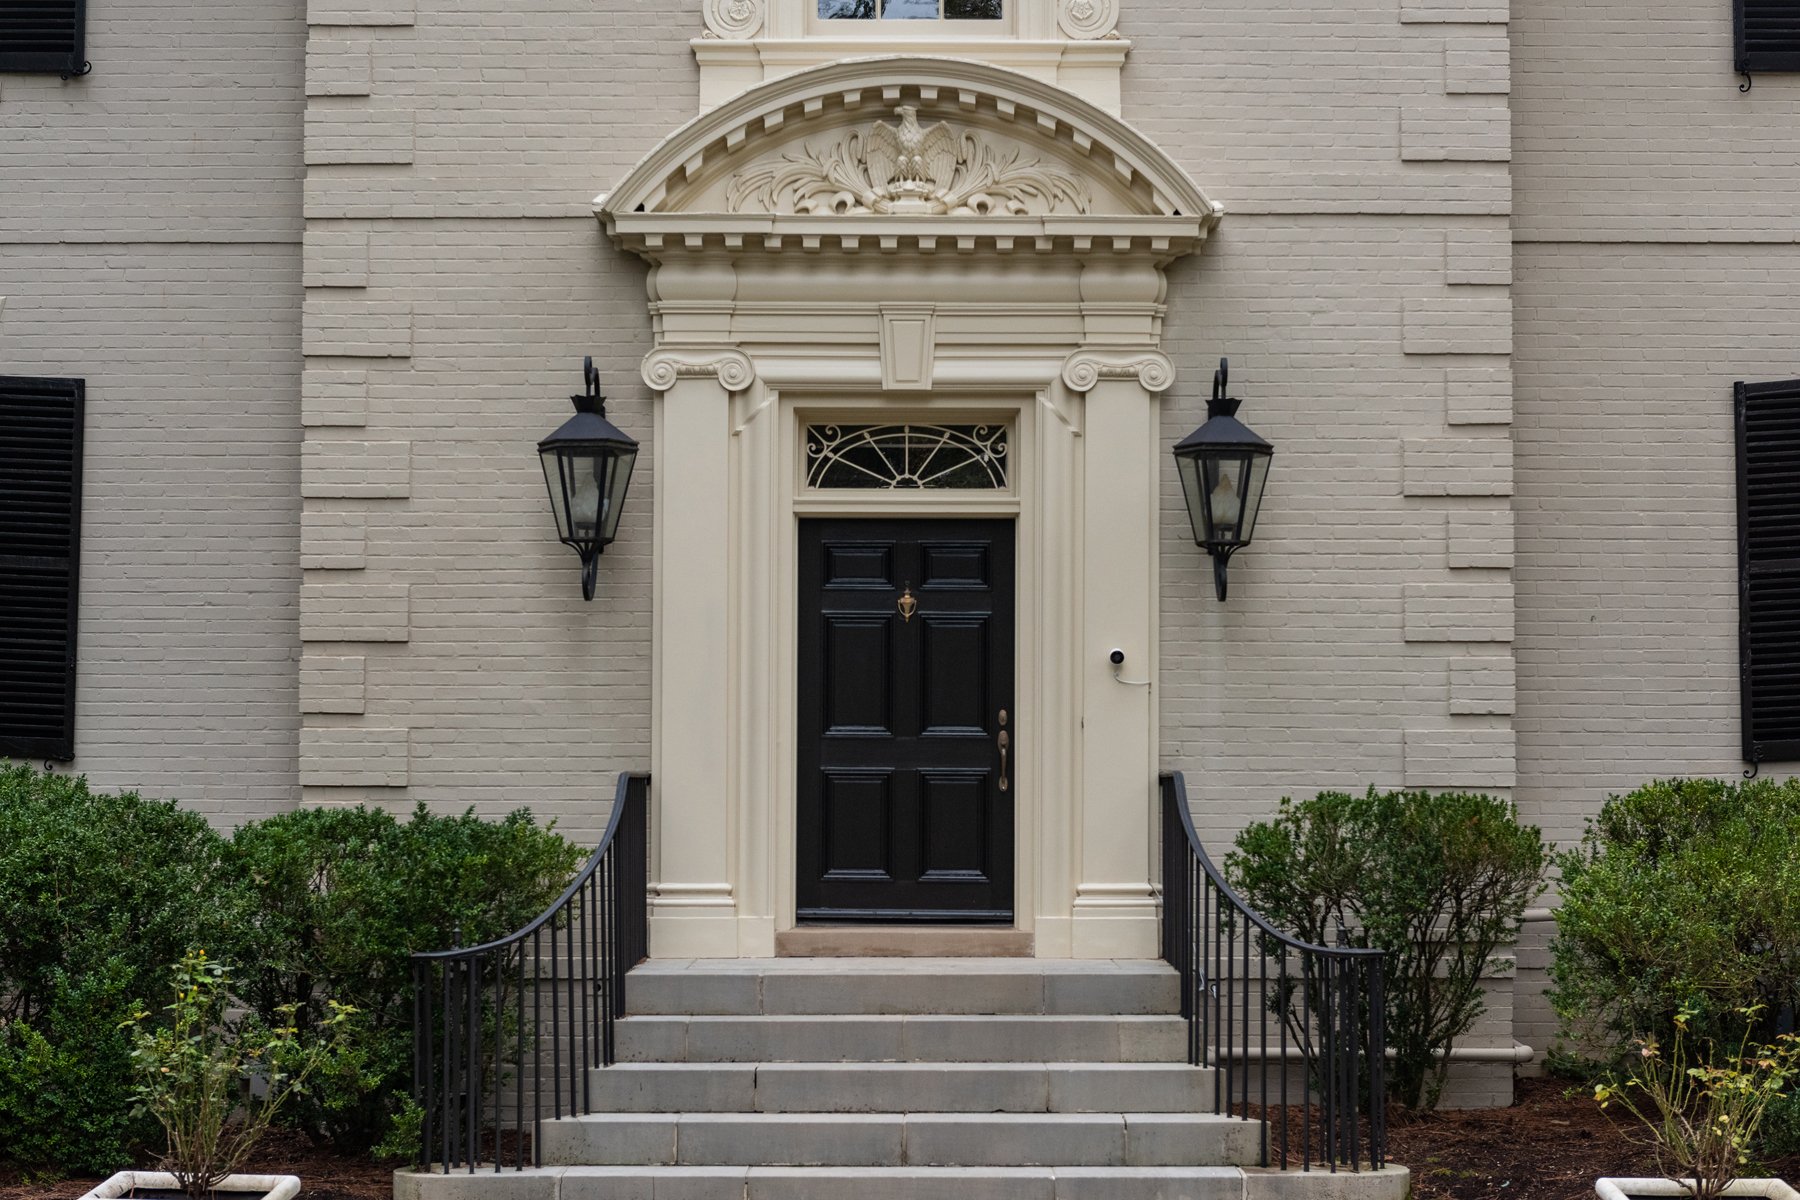
A closeup view of the black front door, elaborate trim surround and masonry steps with black iron railings.
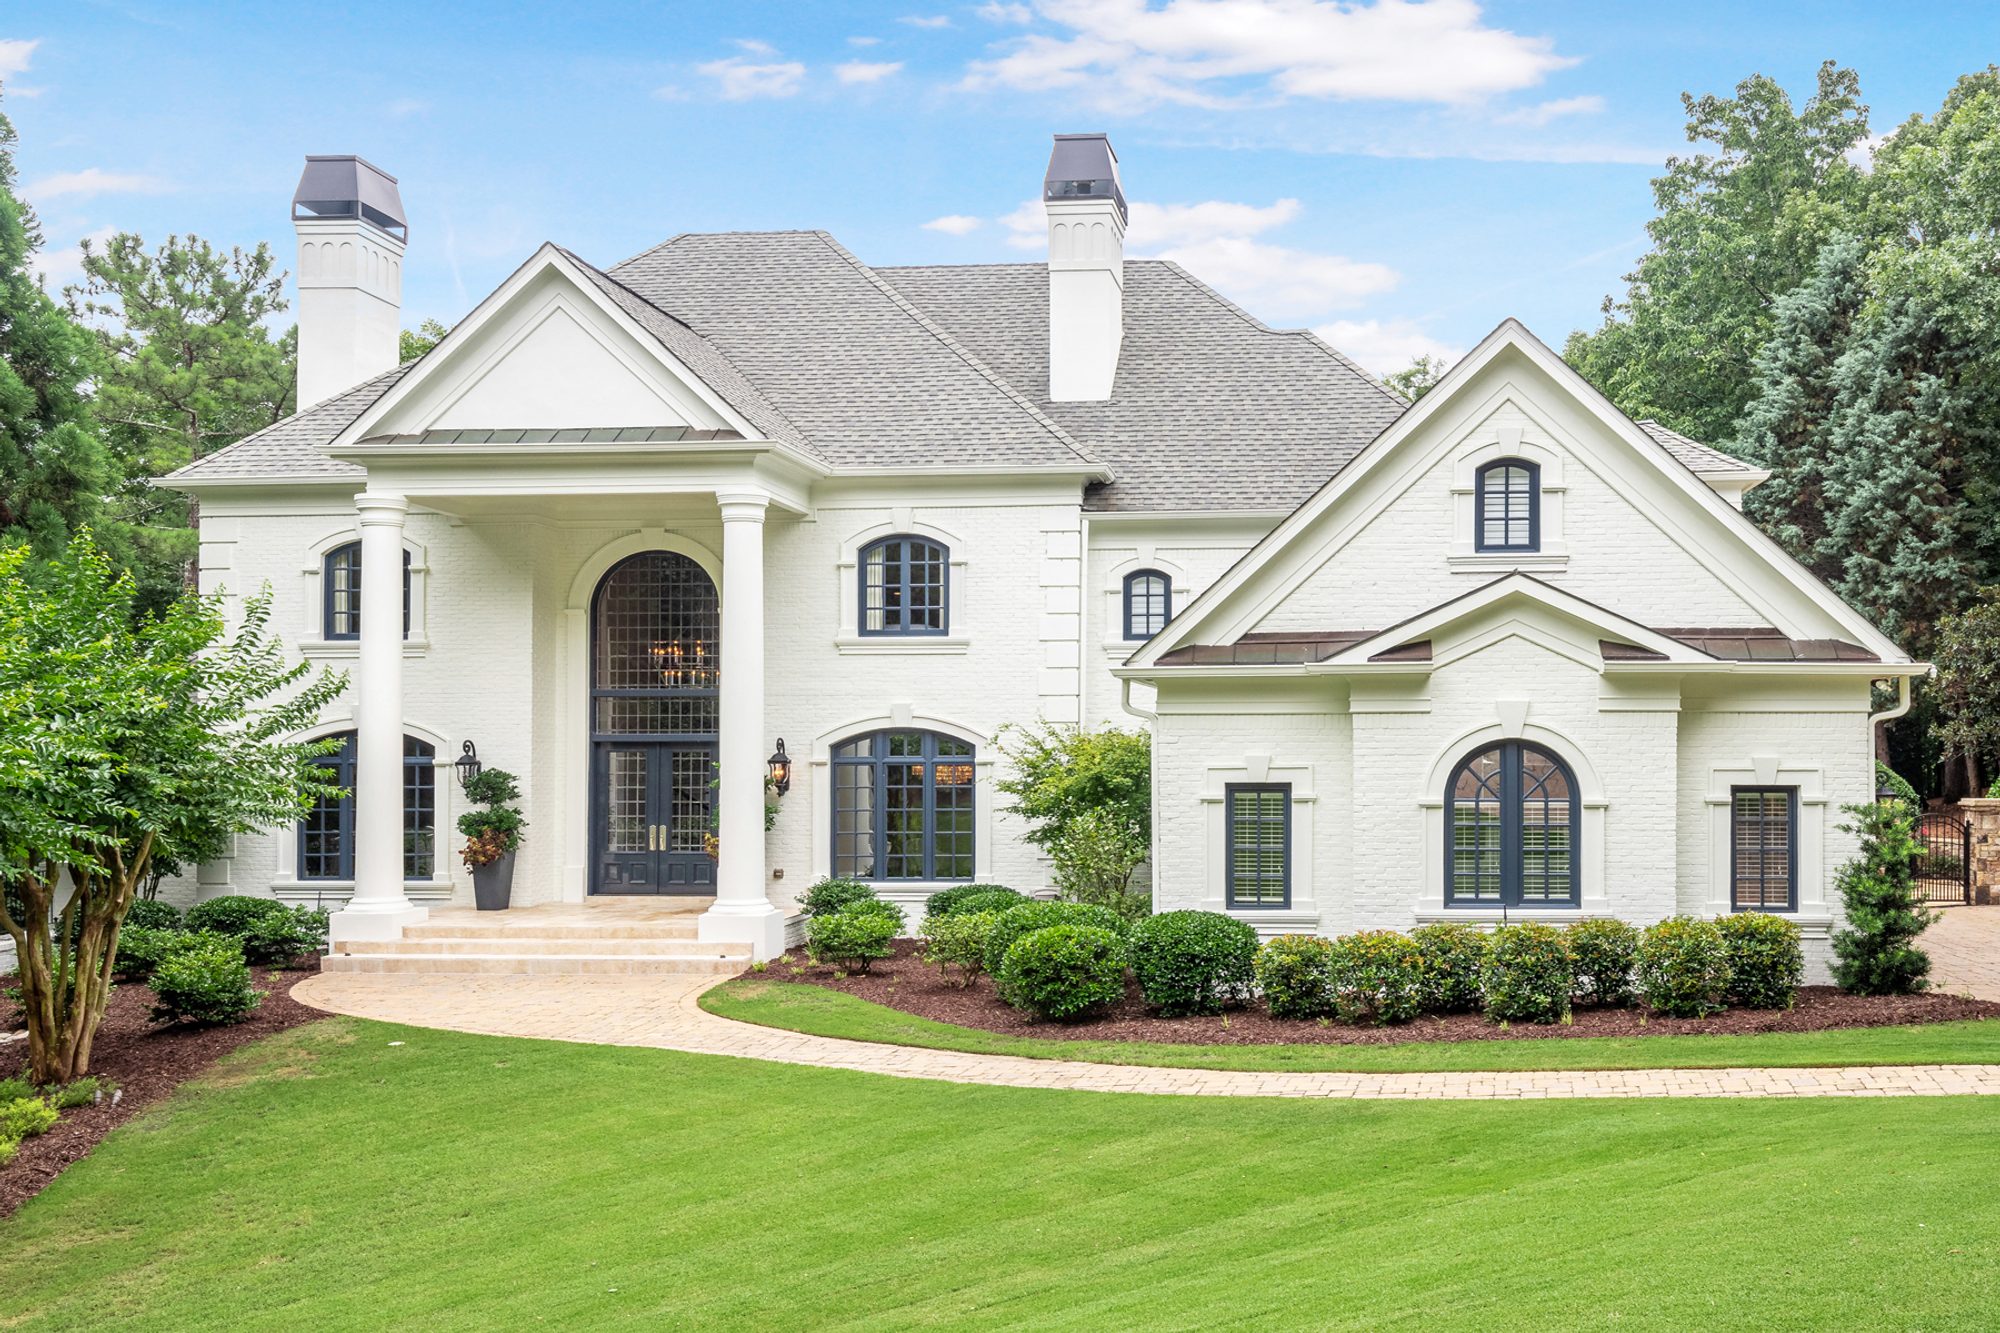
Traditional style red brick home painted white with blue trim and huge columns.
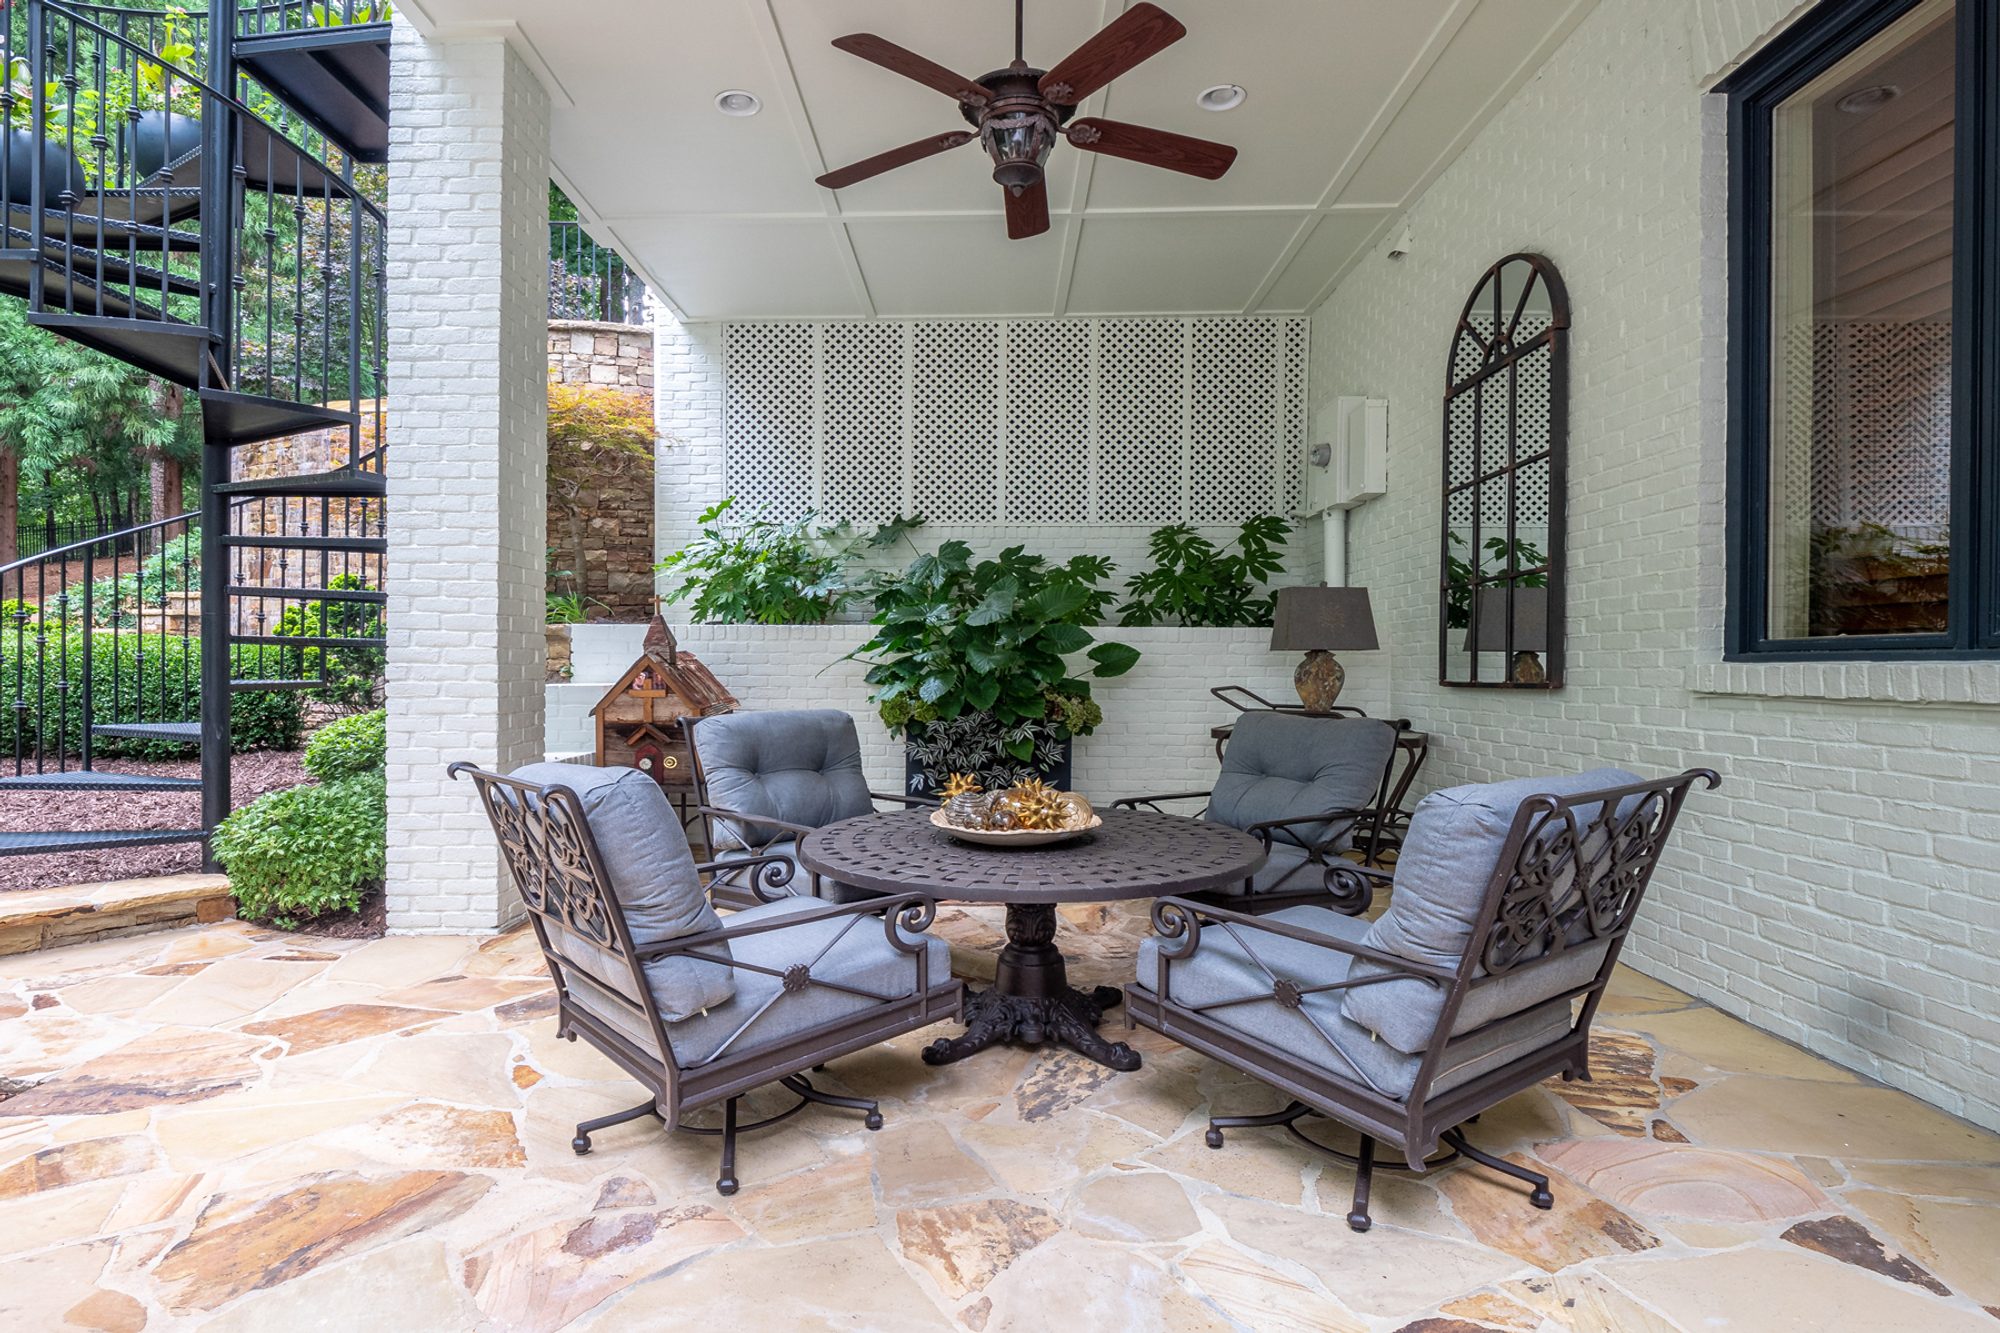
Covered back patio with painted white brick walls and columns.
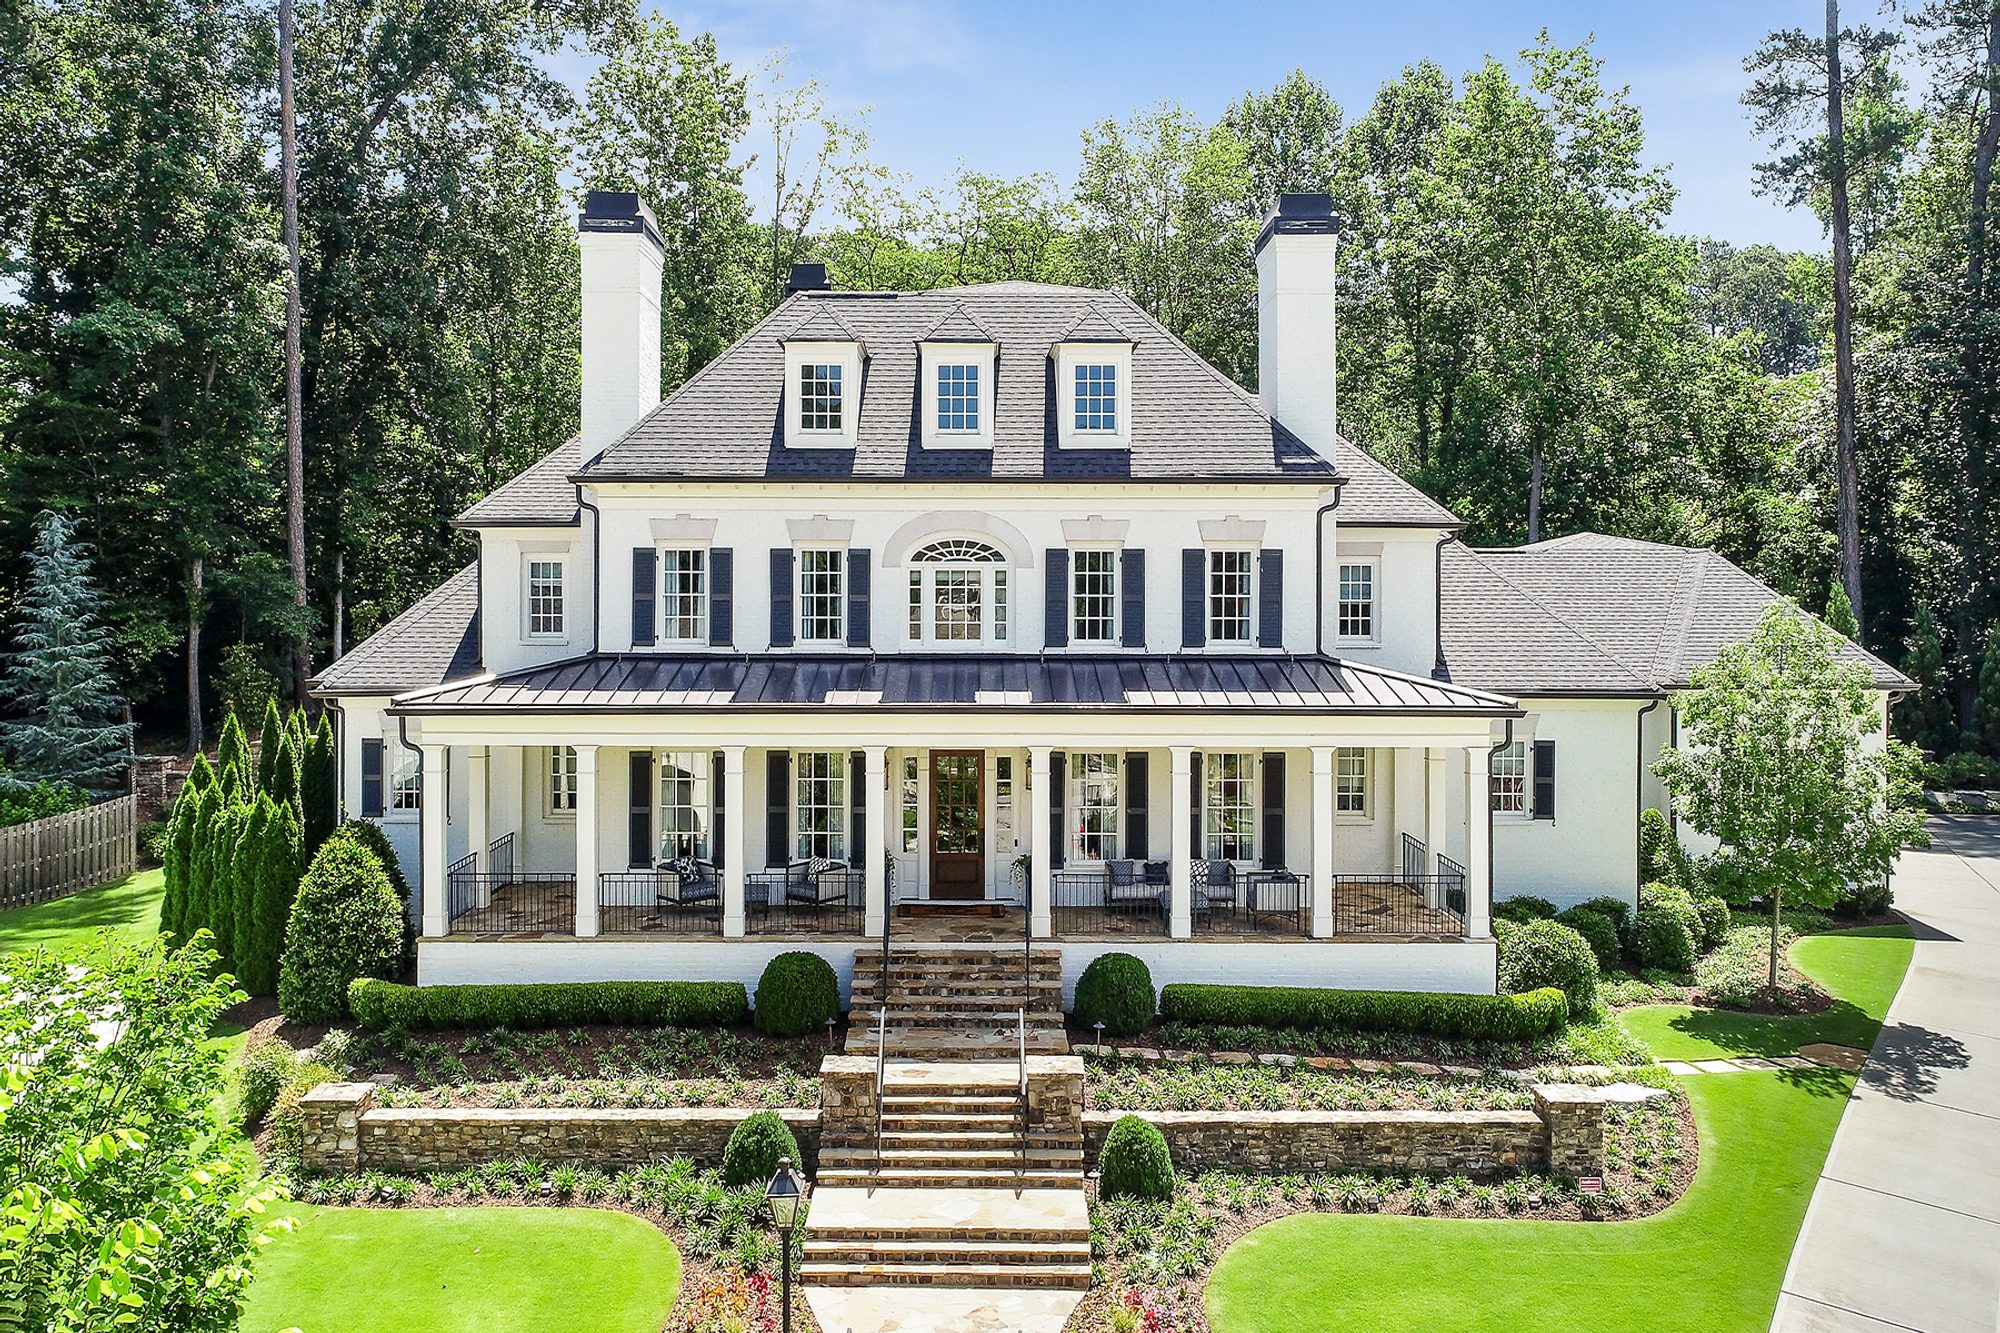
Country red brick home painted white with blue shutters.
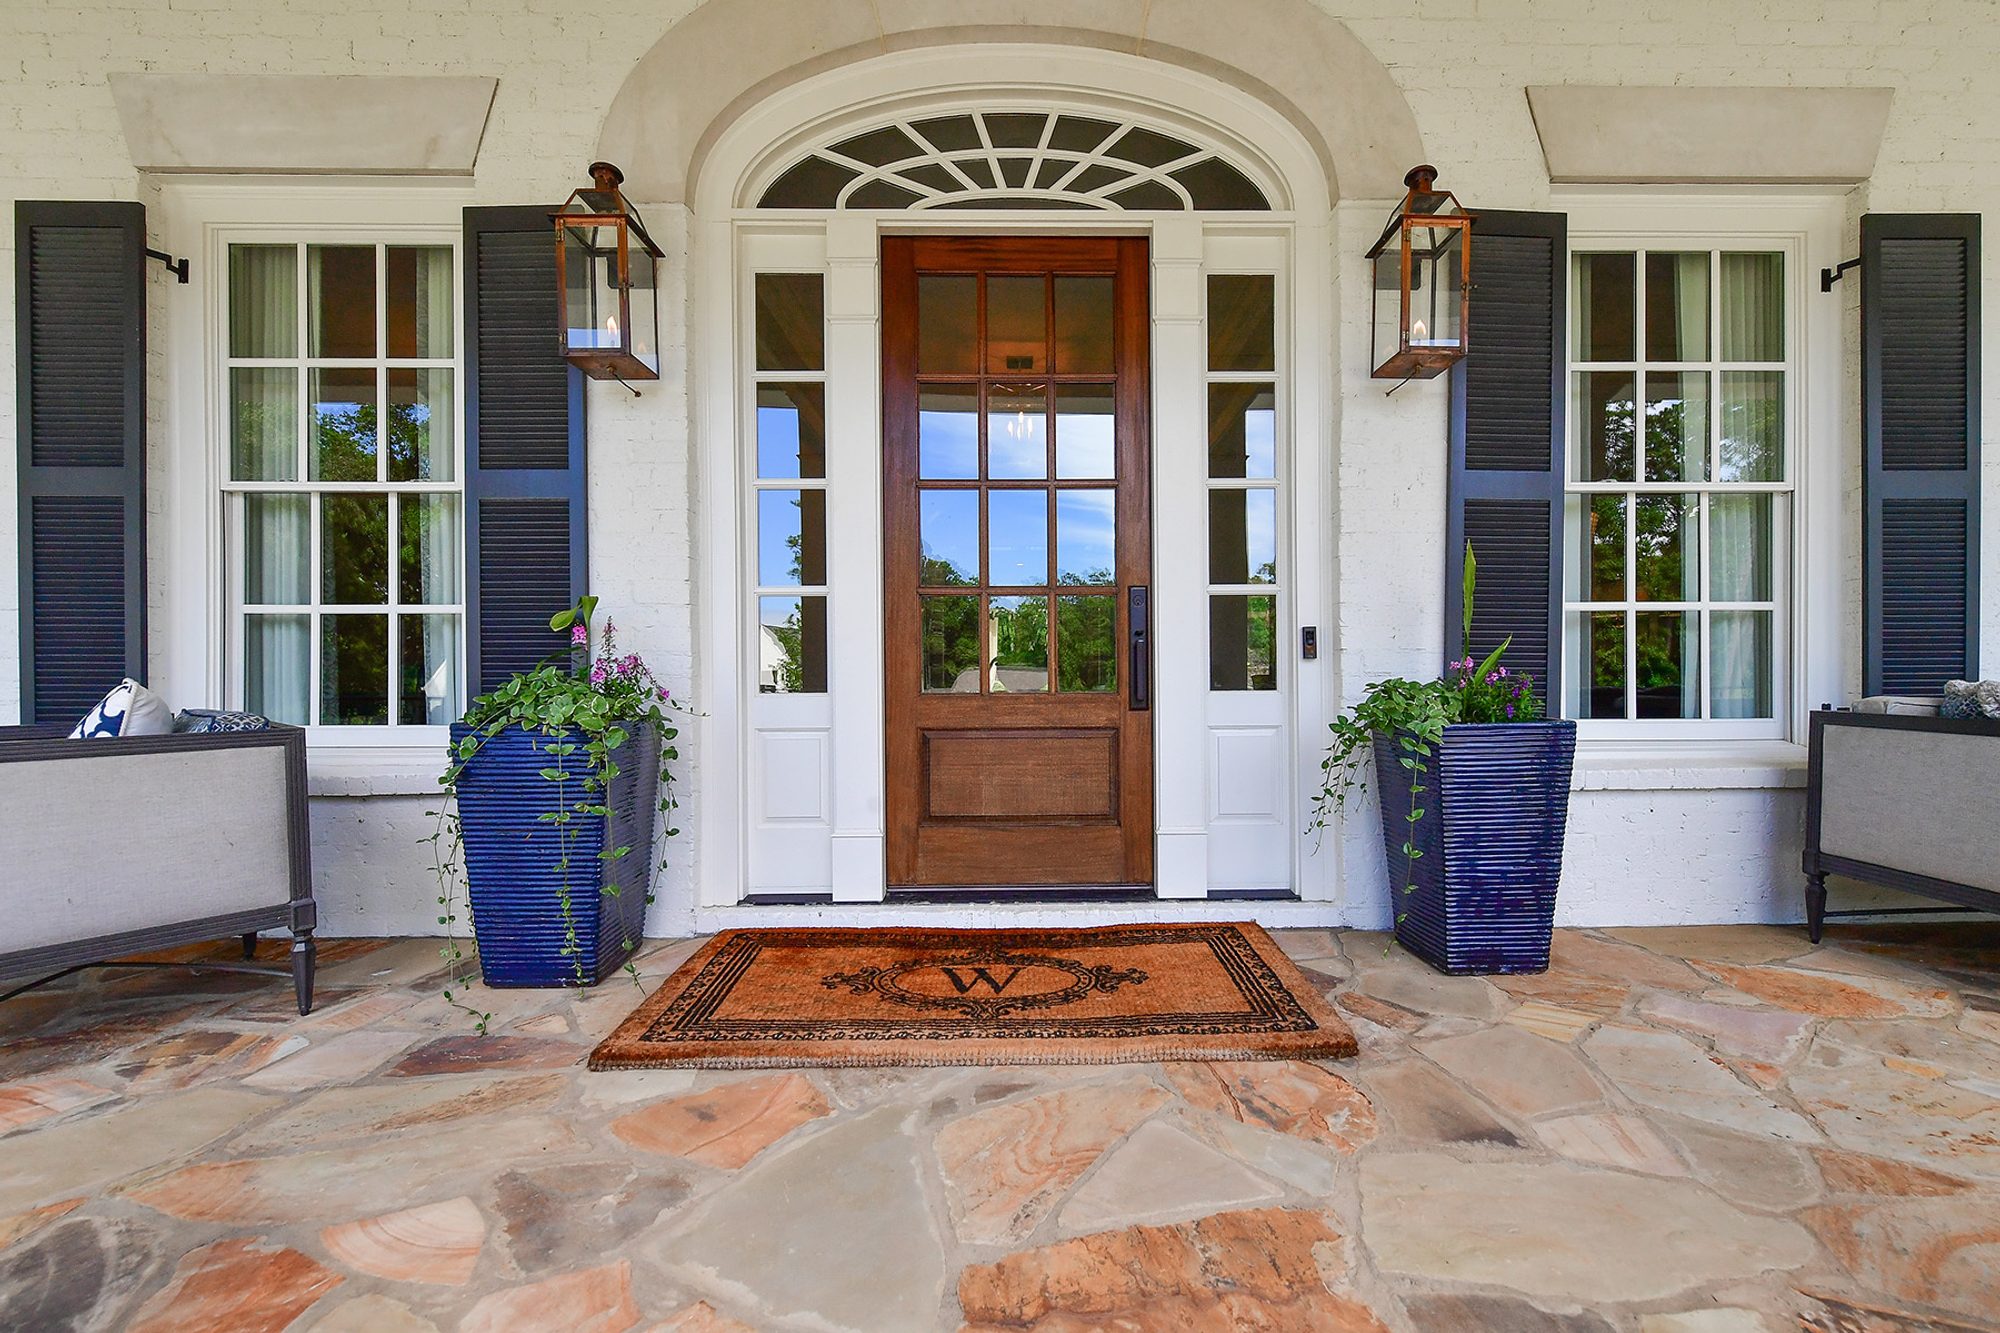
Closeup view of the stained wood front door and painted white brick walls.
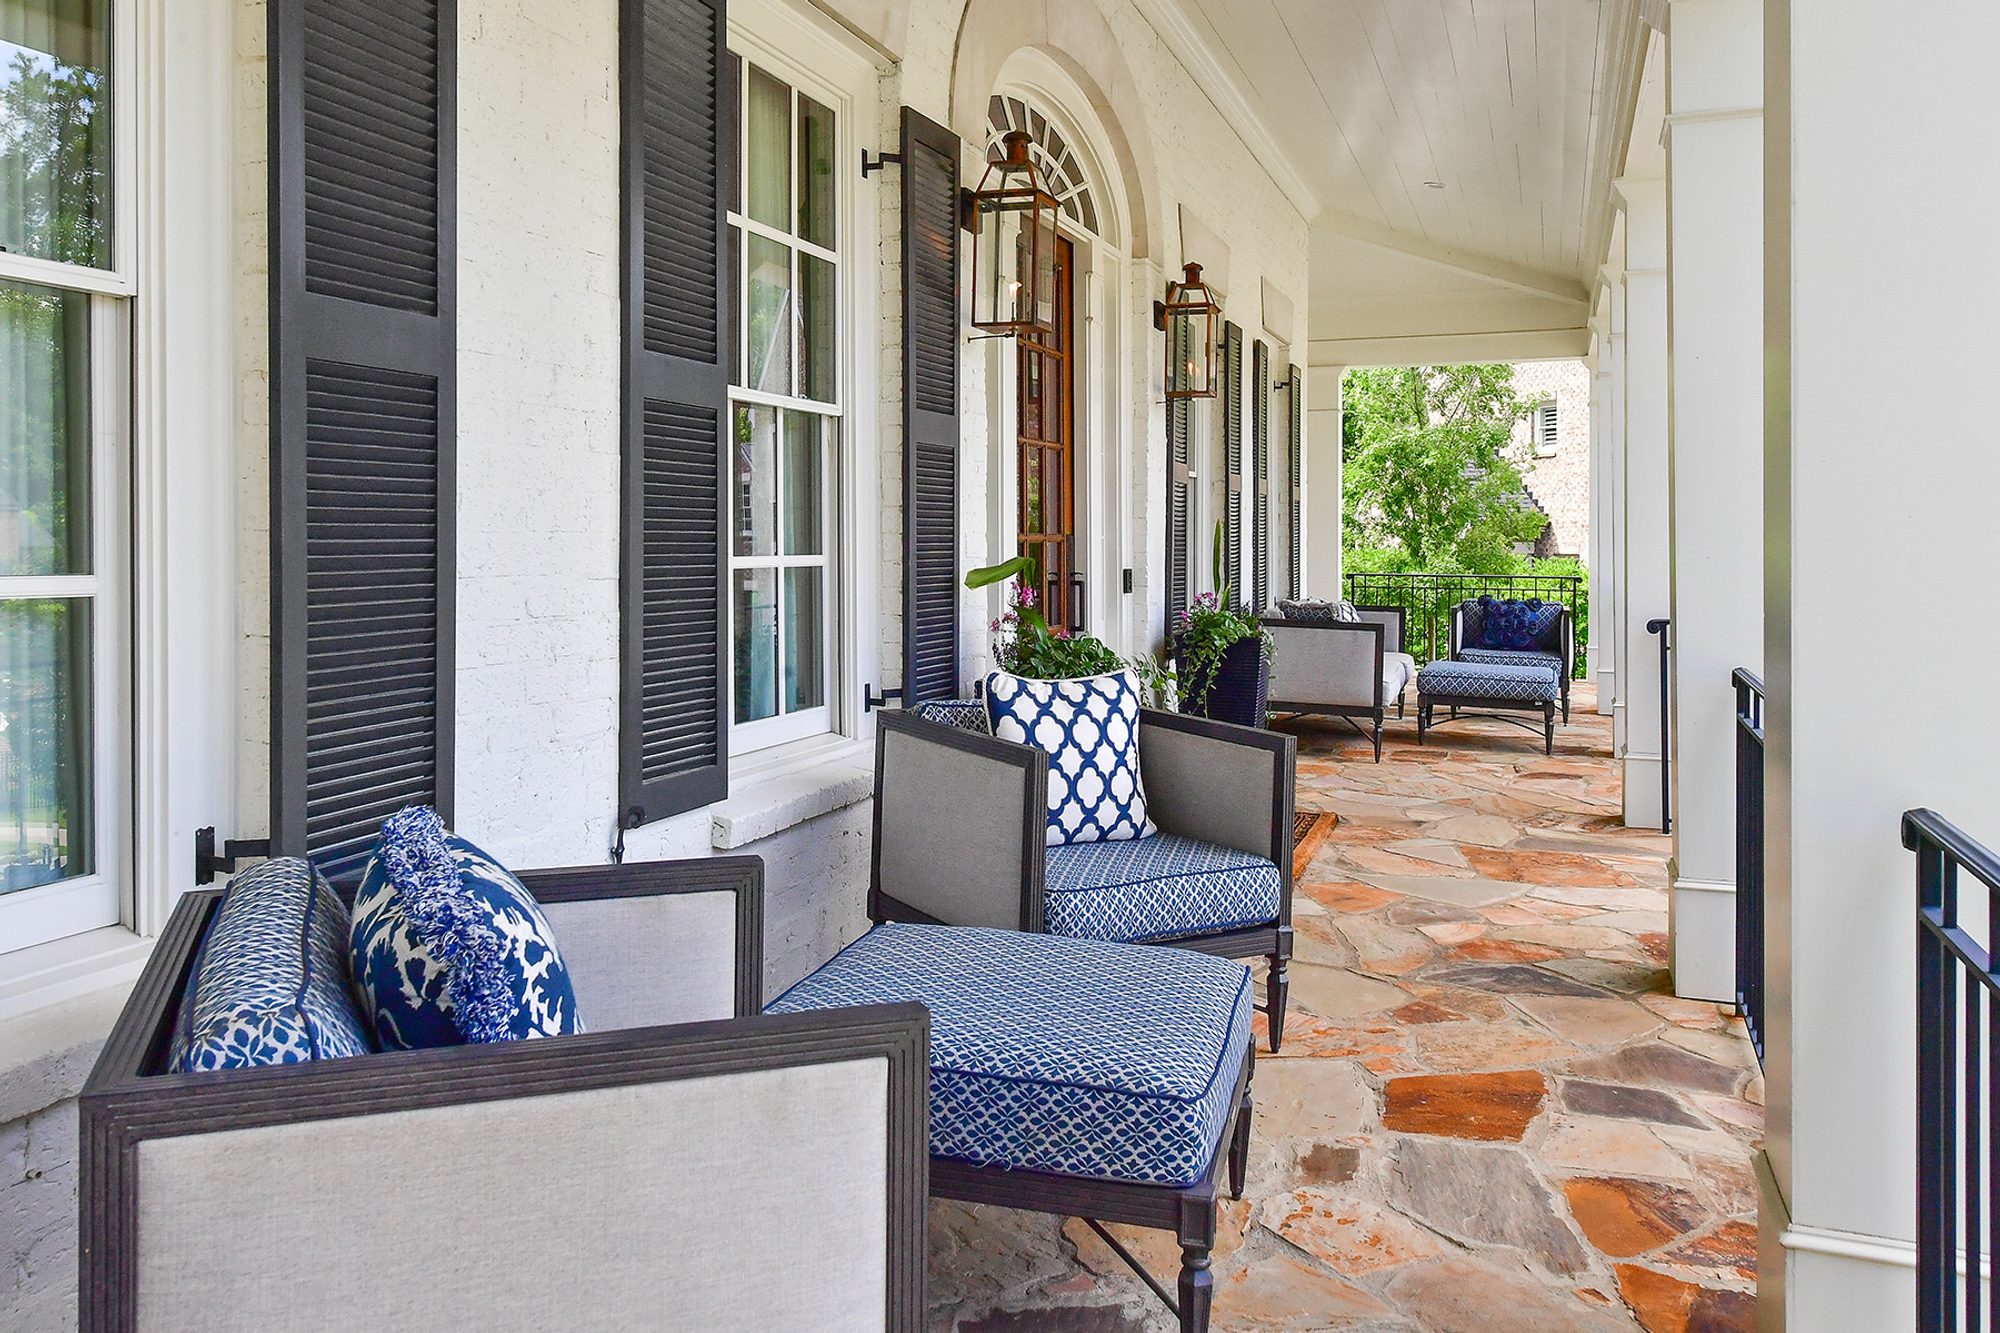
Side view of the porch. The brick window sills have also been carefully painted white.
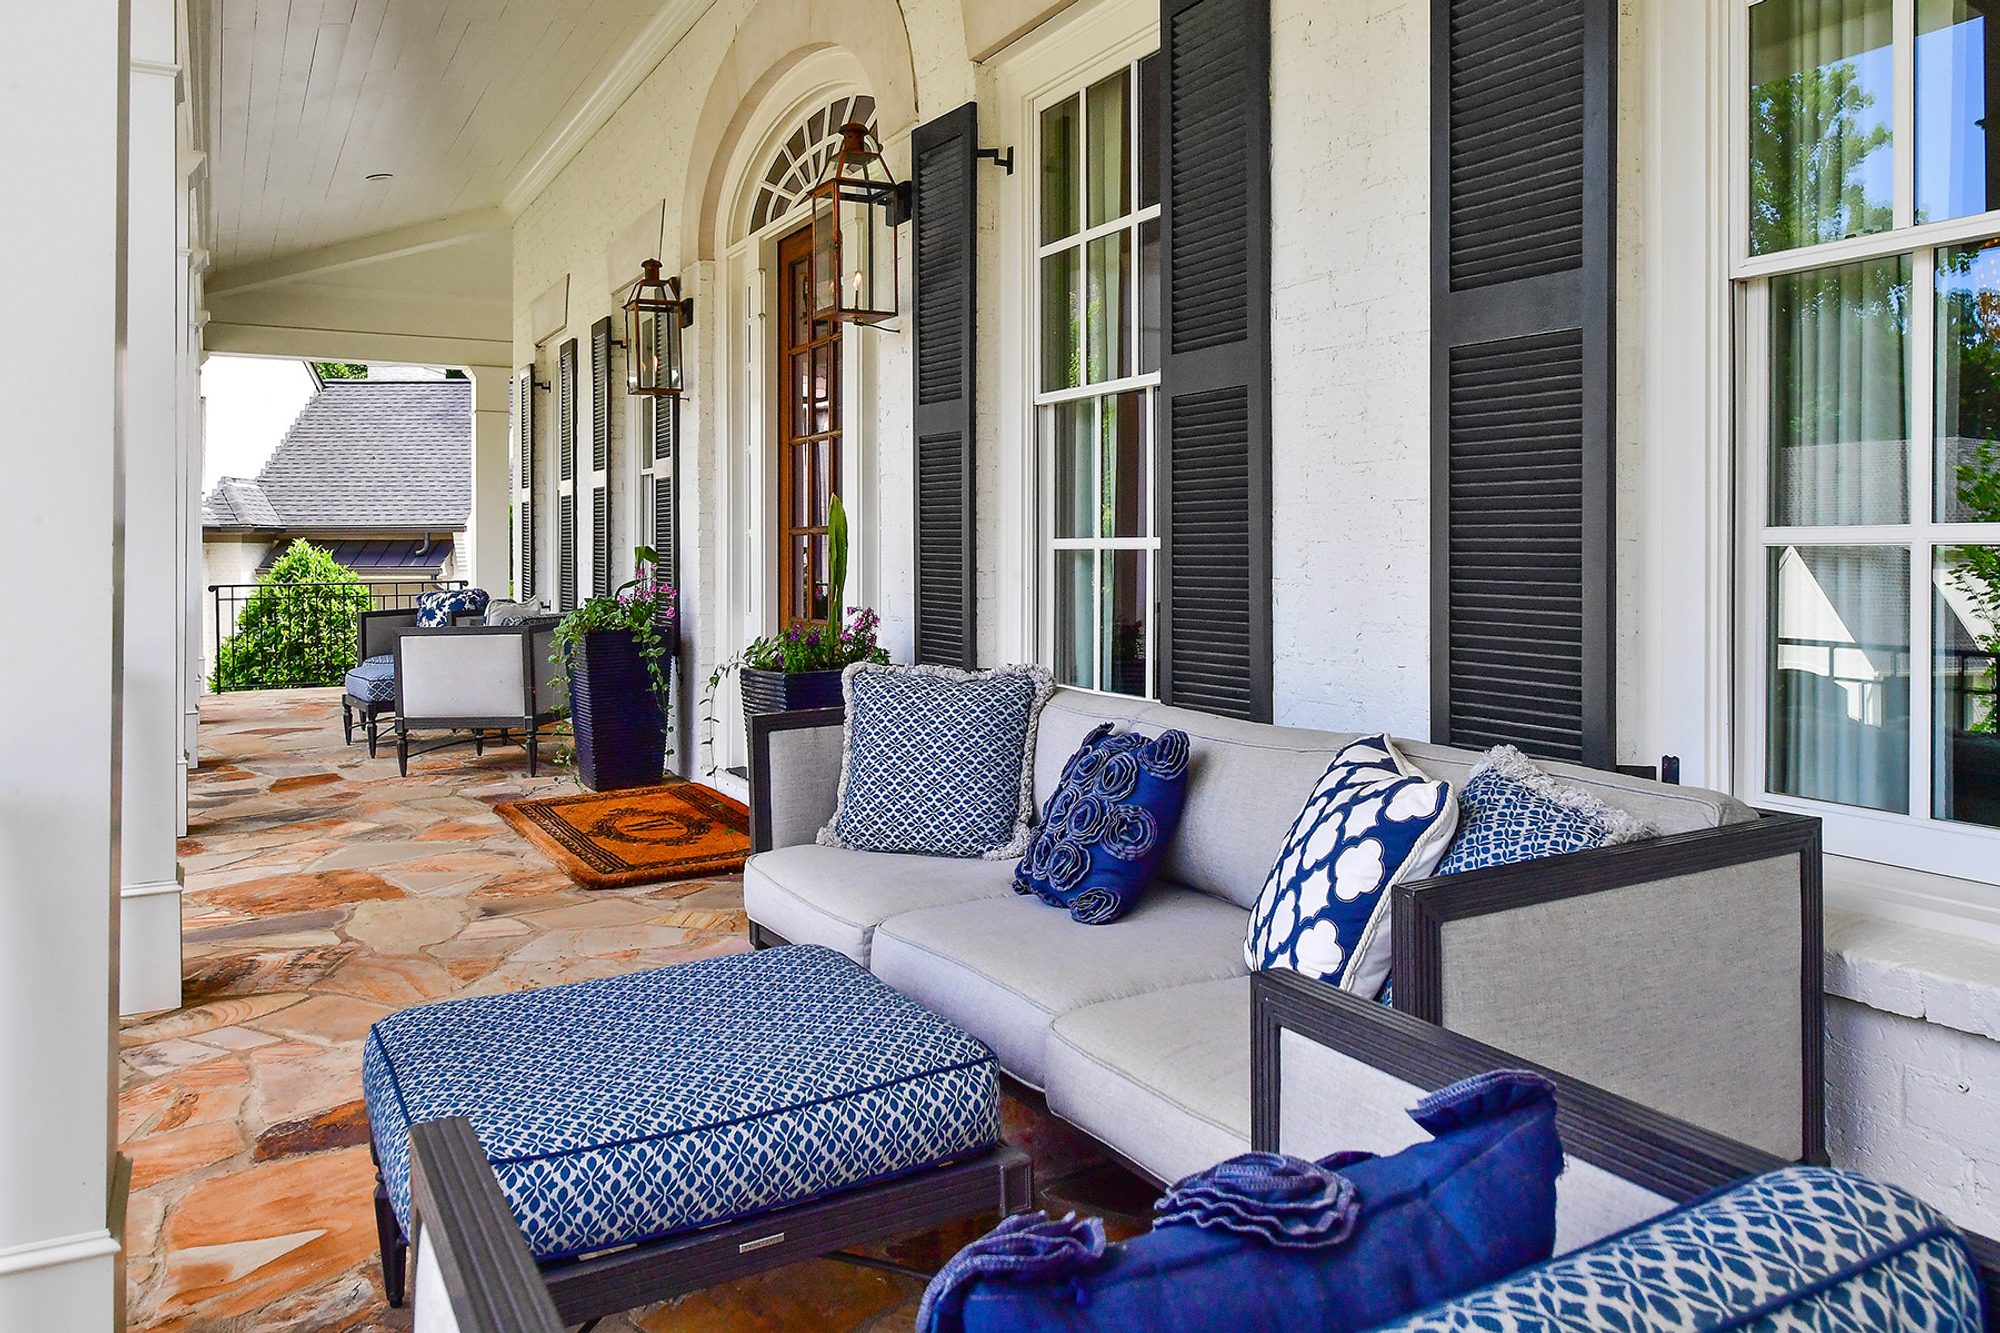
Closeup view of the painted white brick front porch.
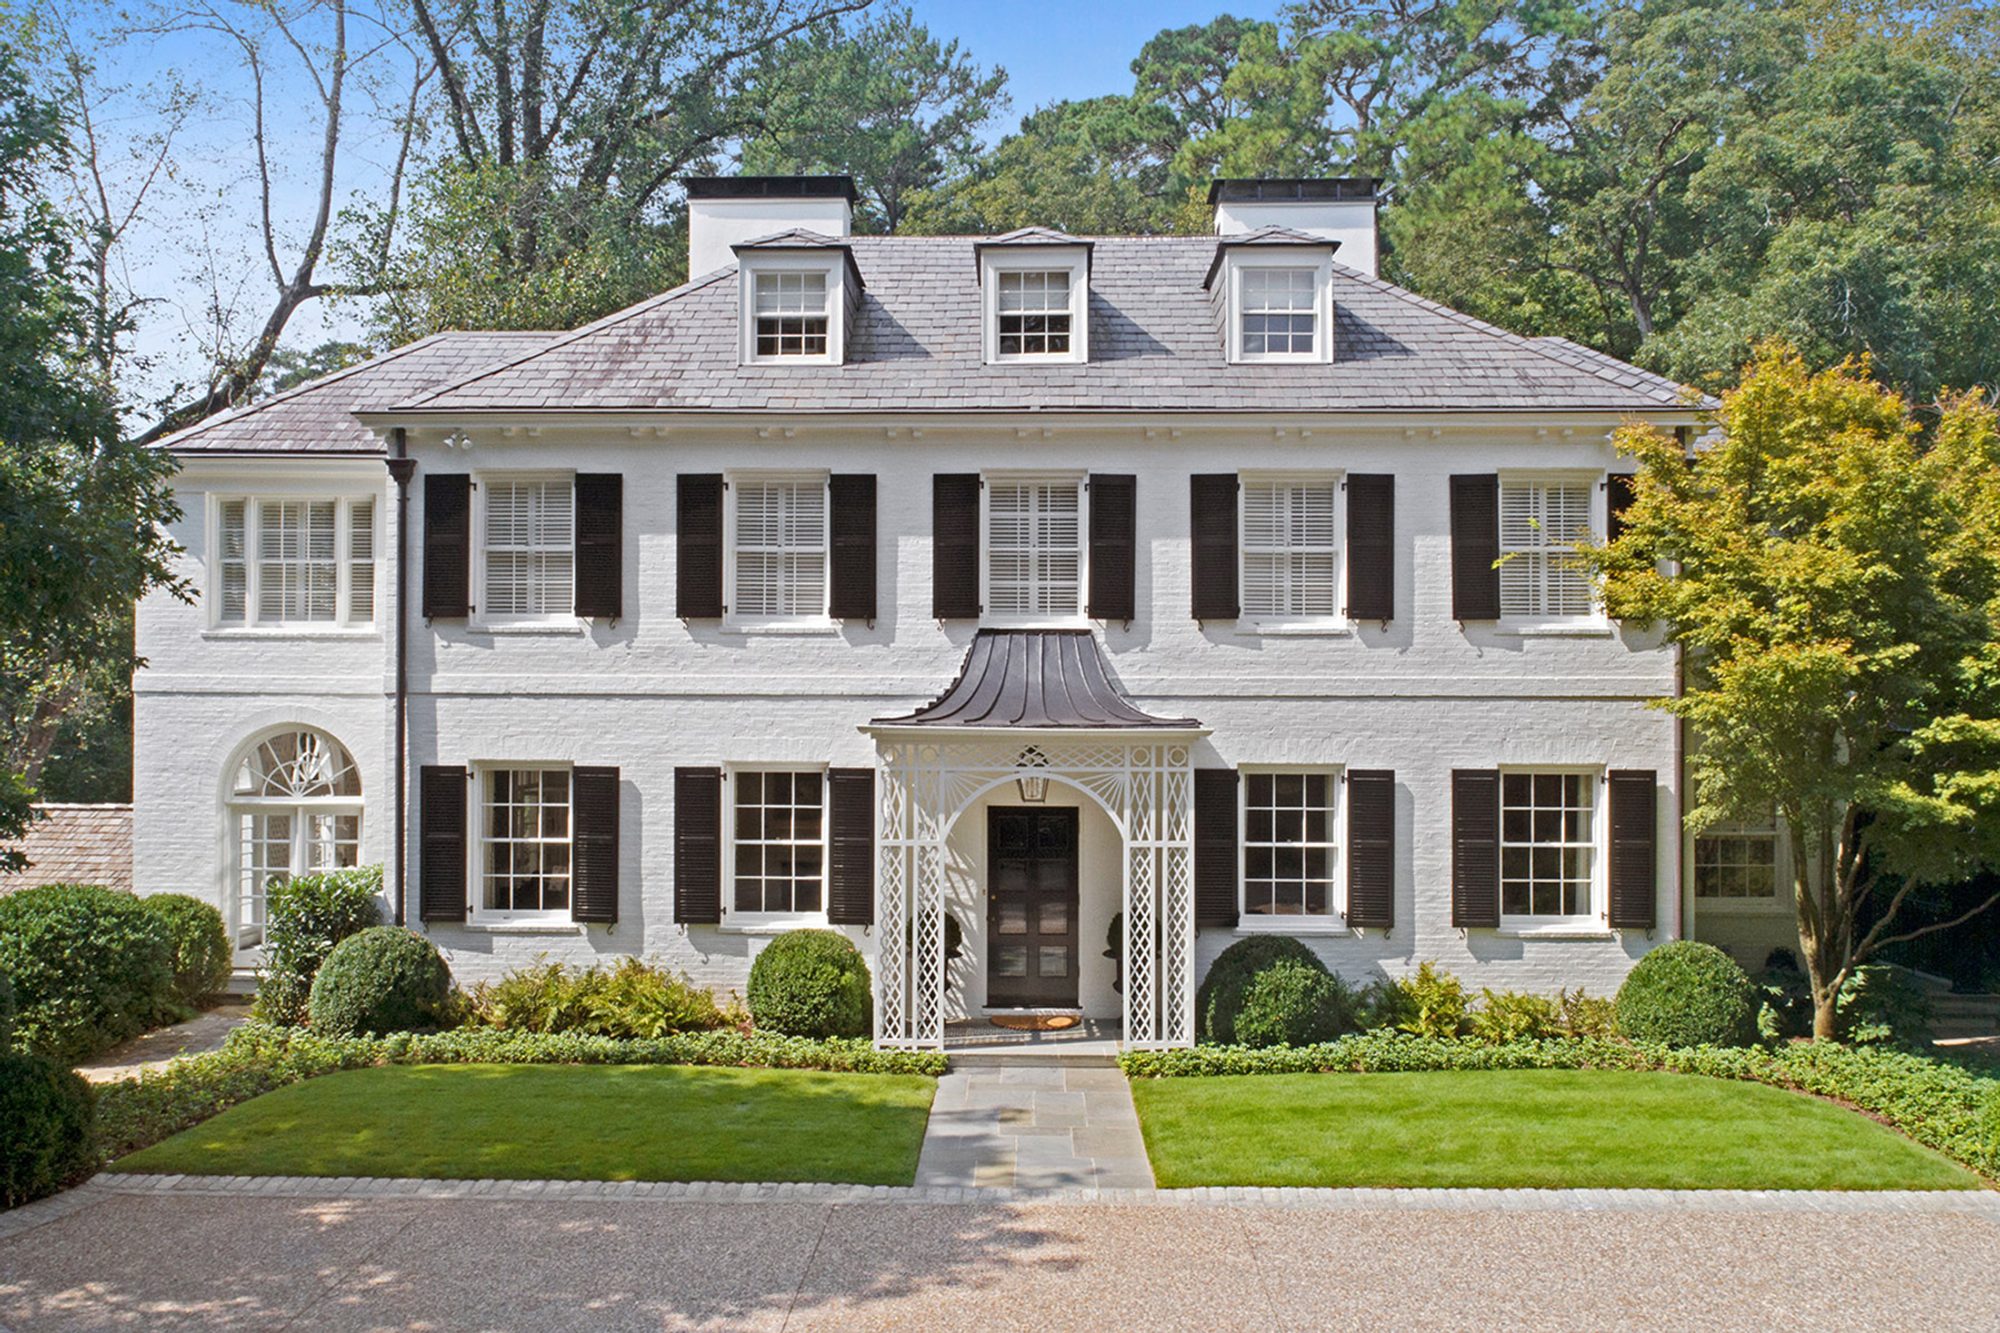
Classic red brick home design painted all white with black shutters and matching front door.
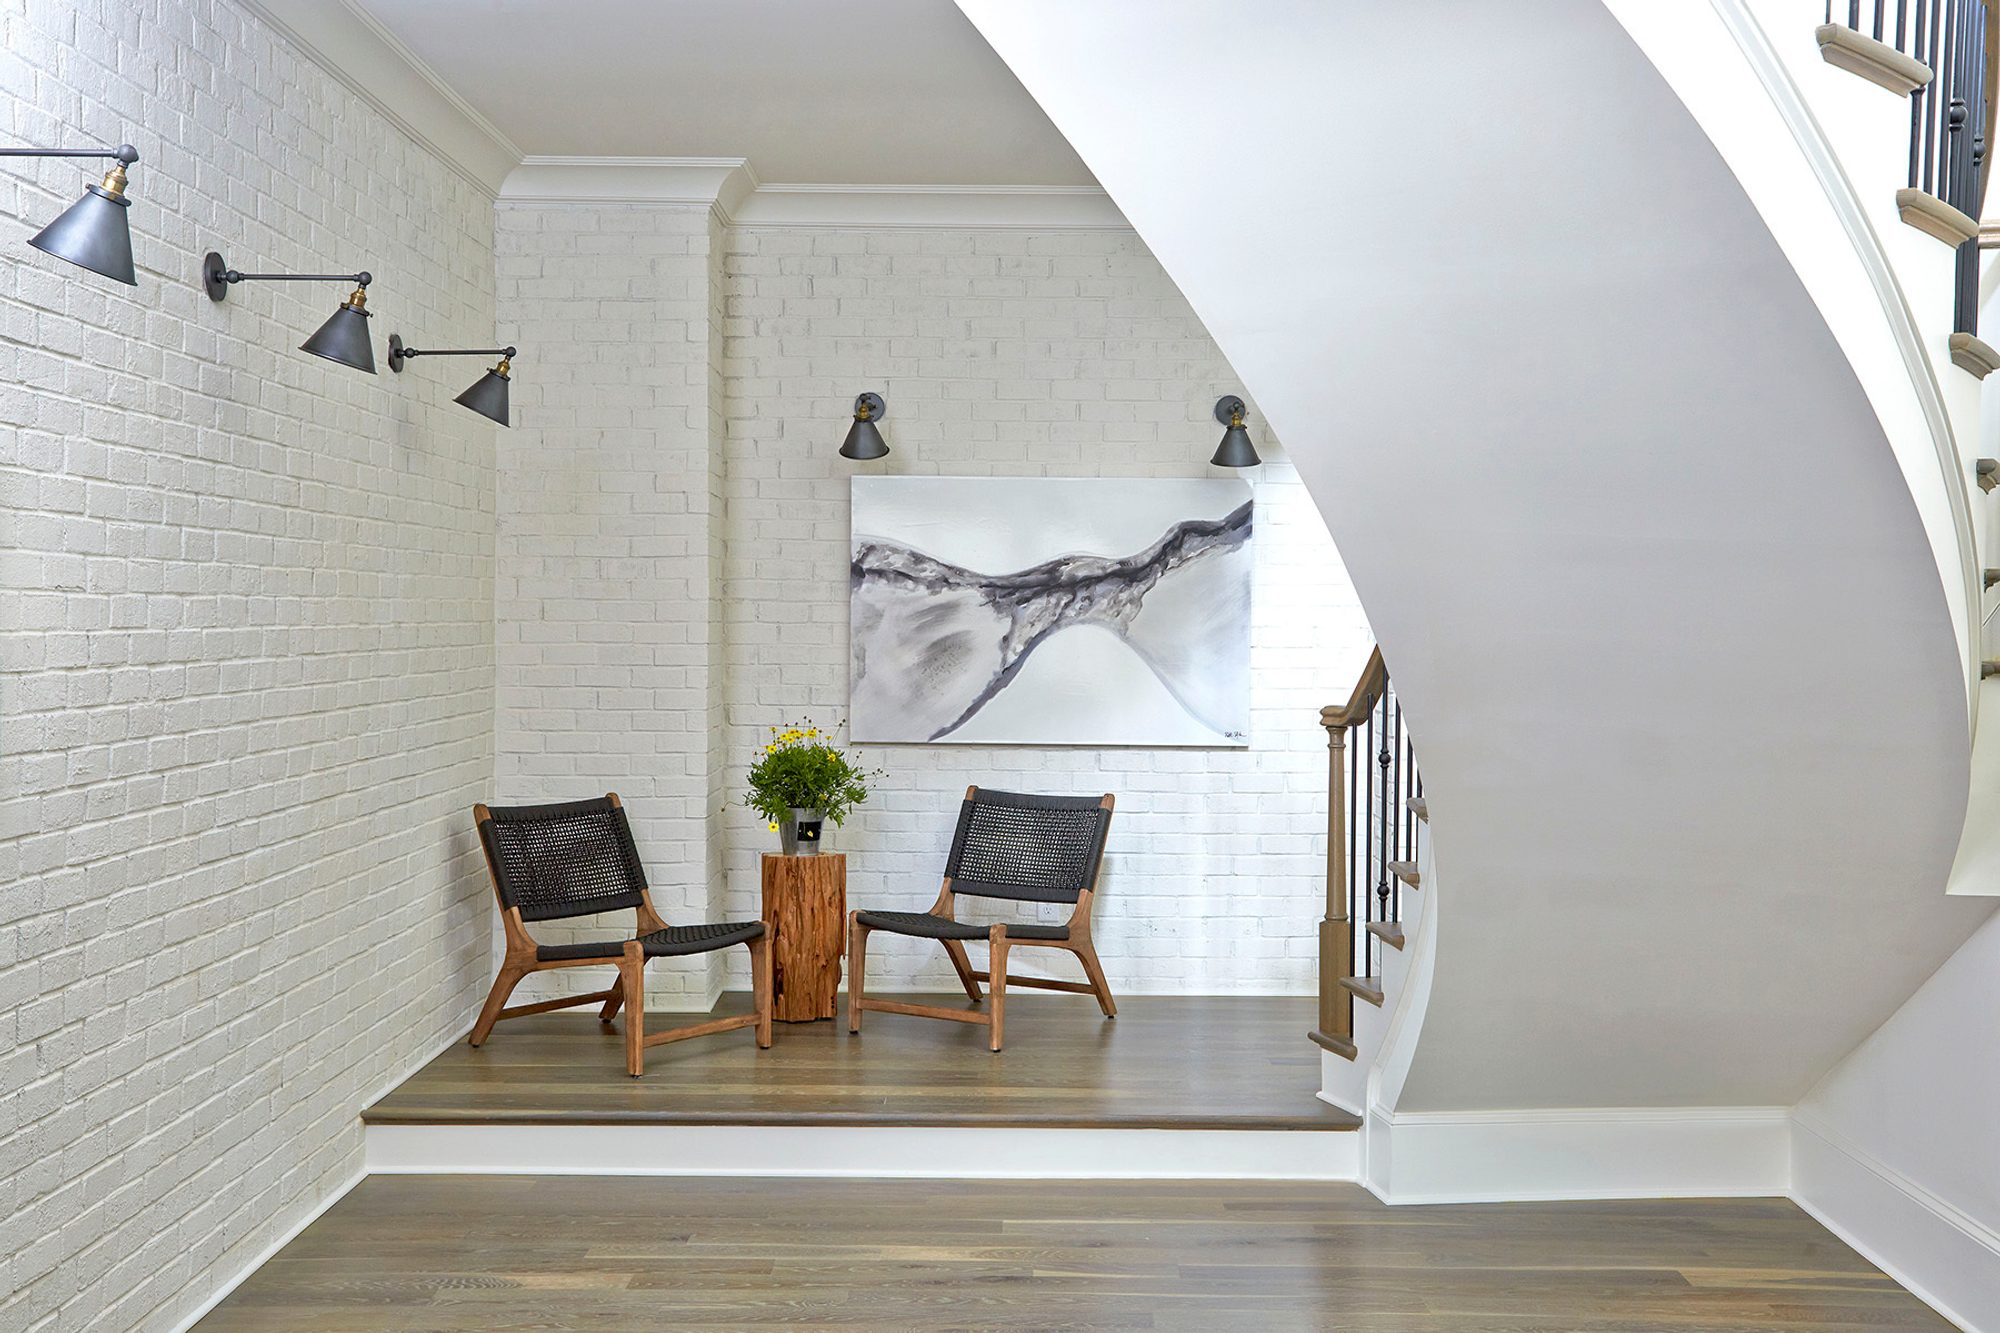
Red brick interior walls painted white.
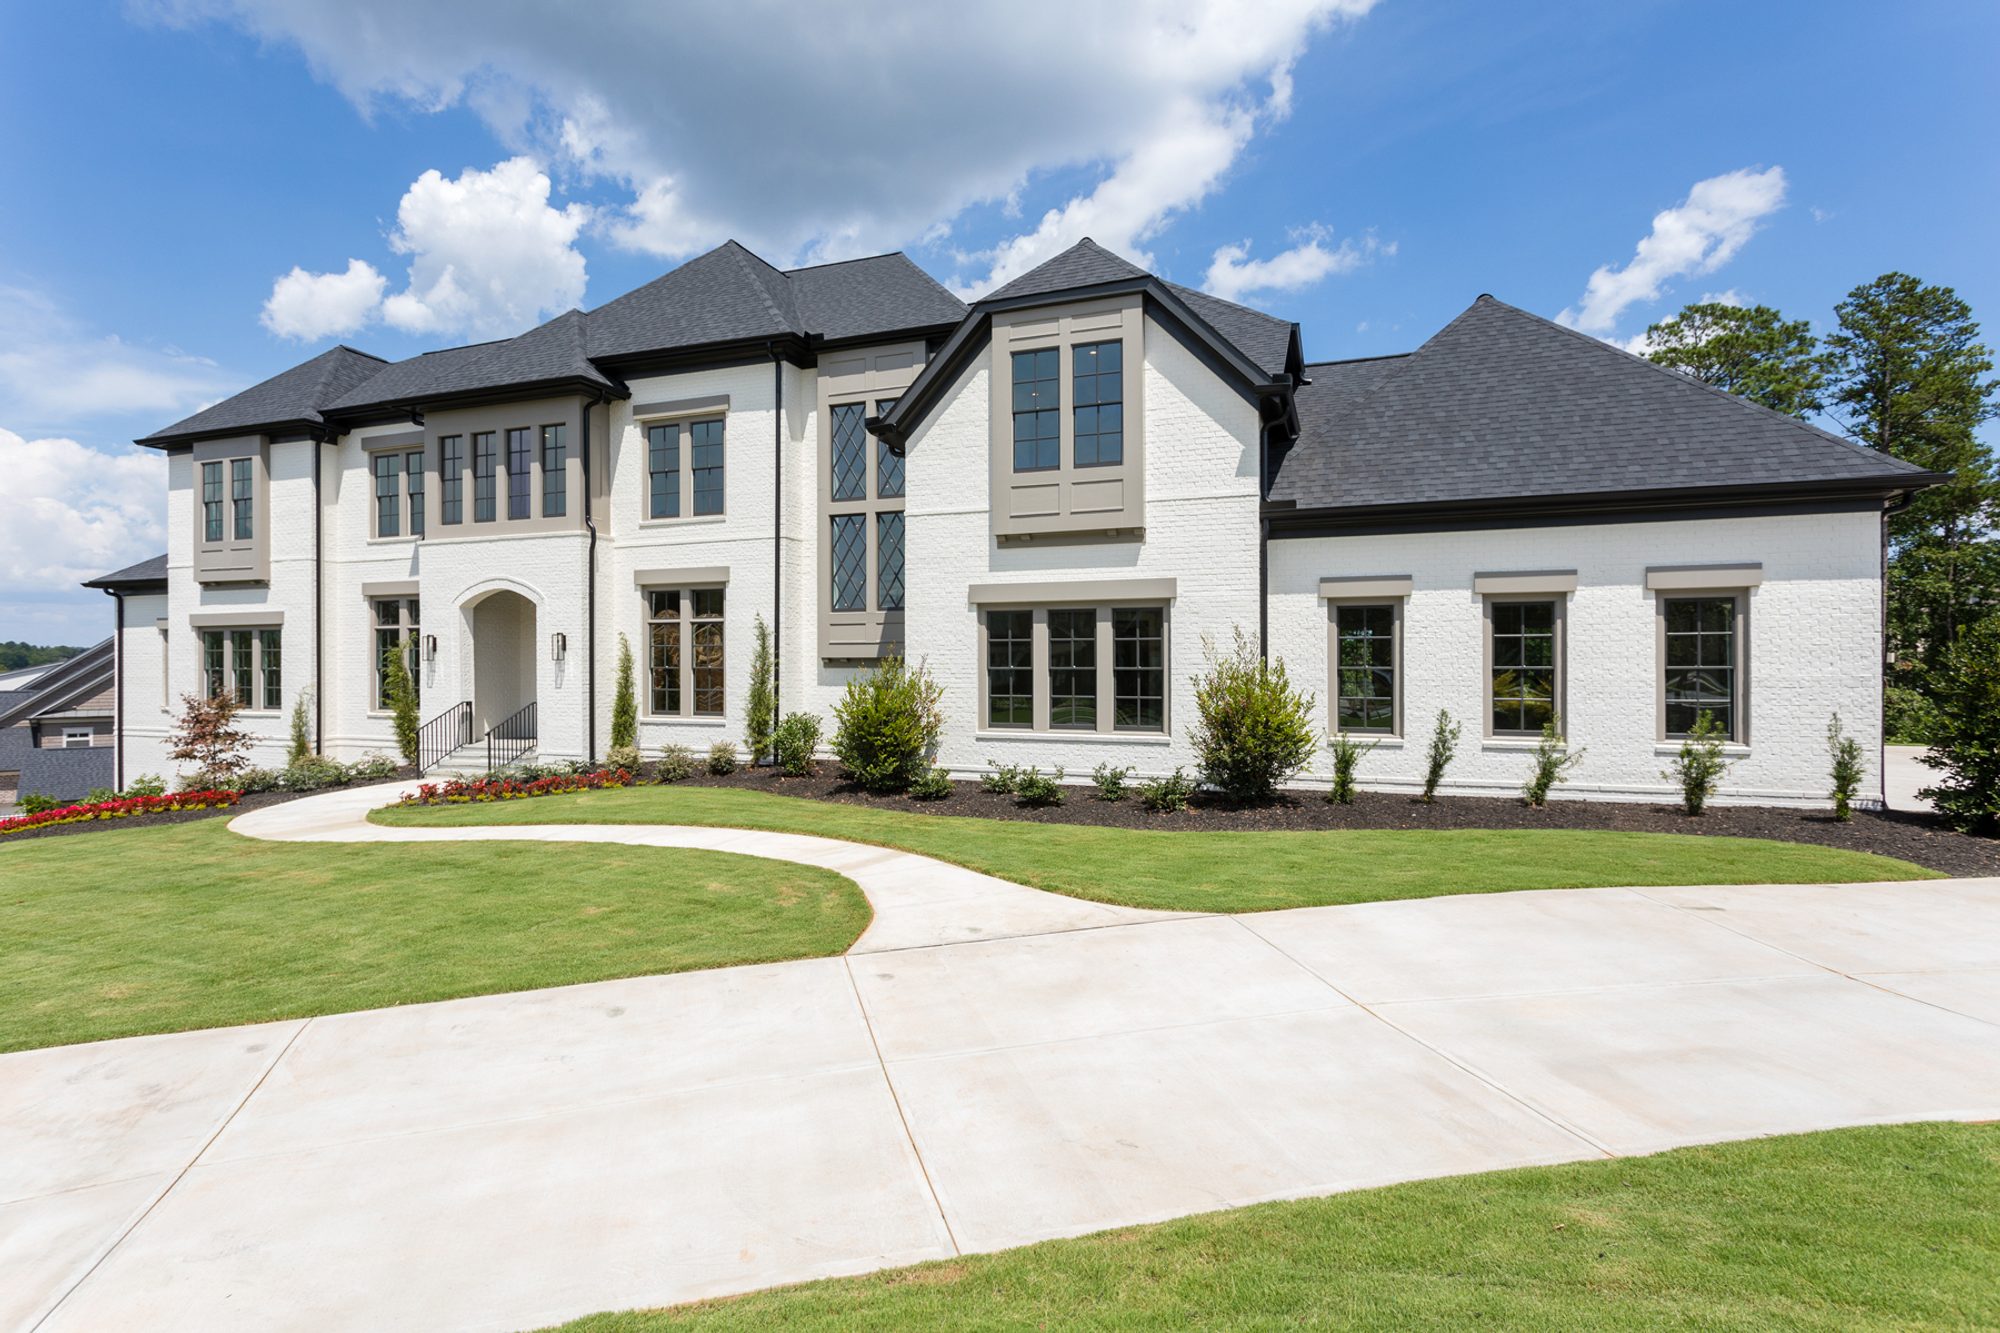
Modern style new home with painted white brick siding.
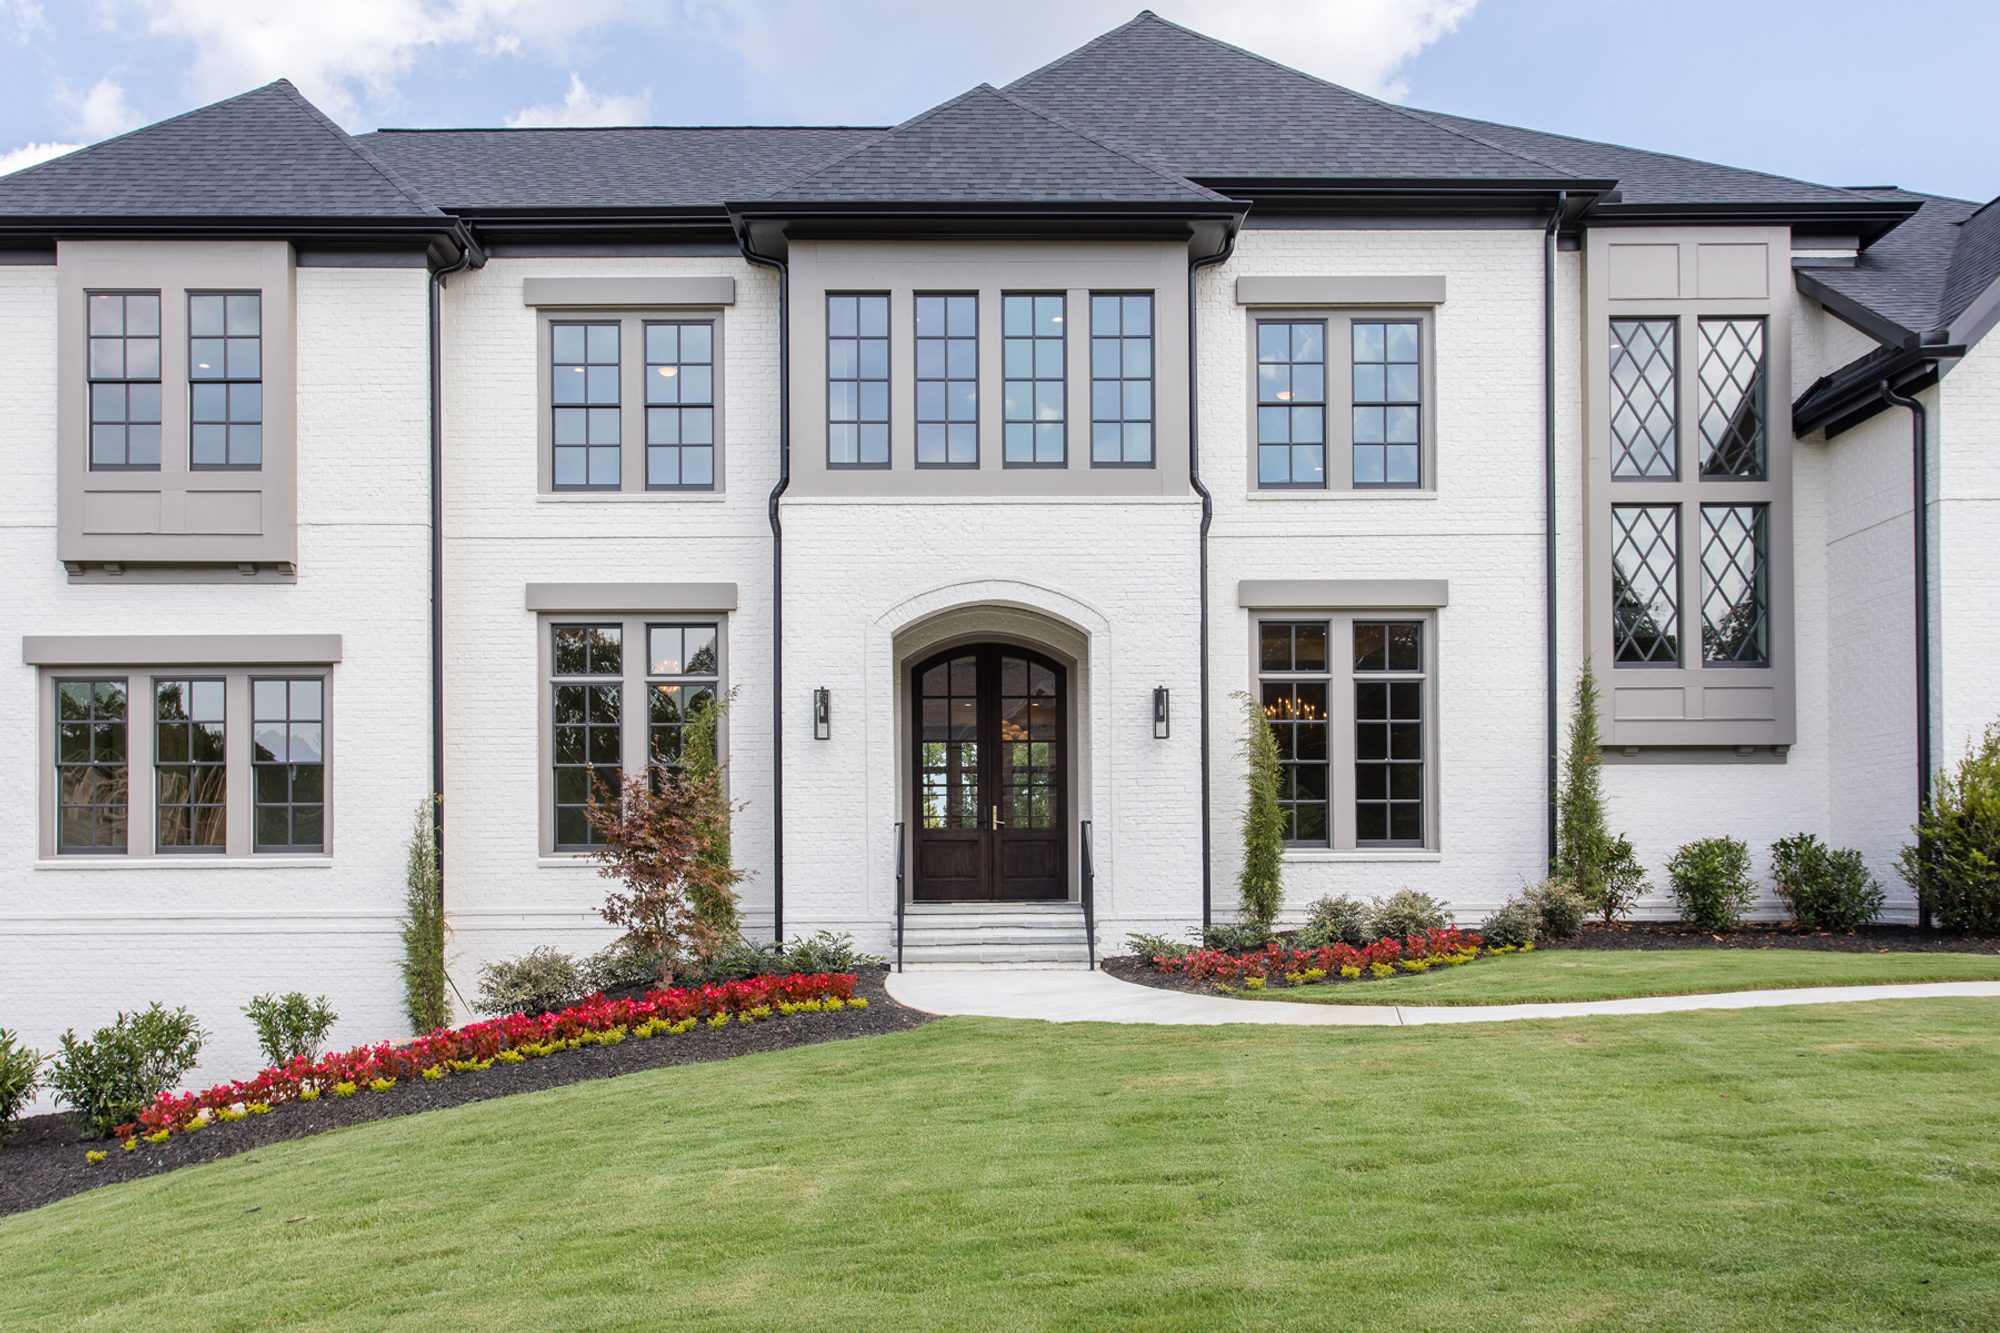
Closeup view of the white brick siding and dark wood front door.
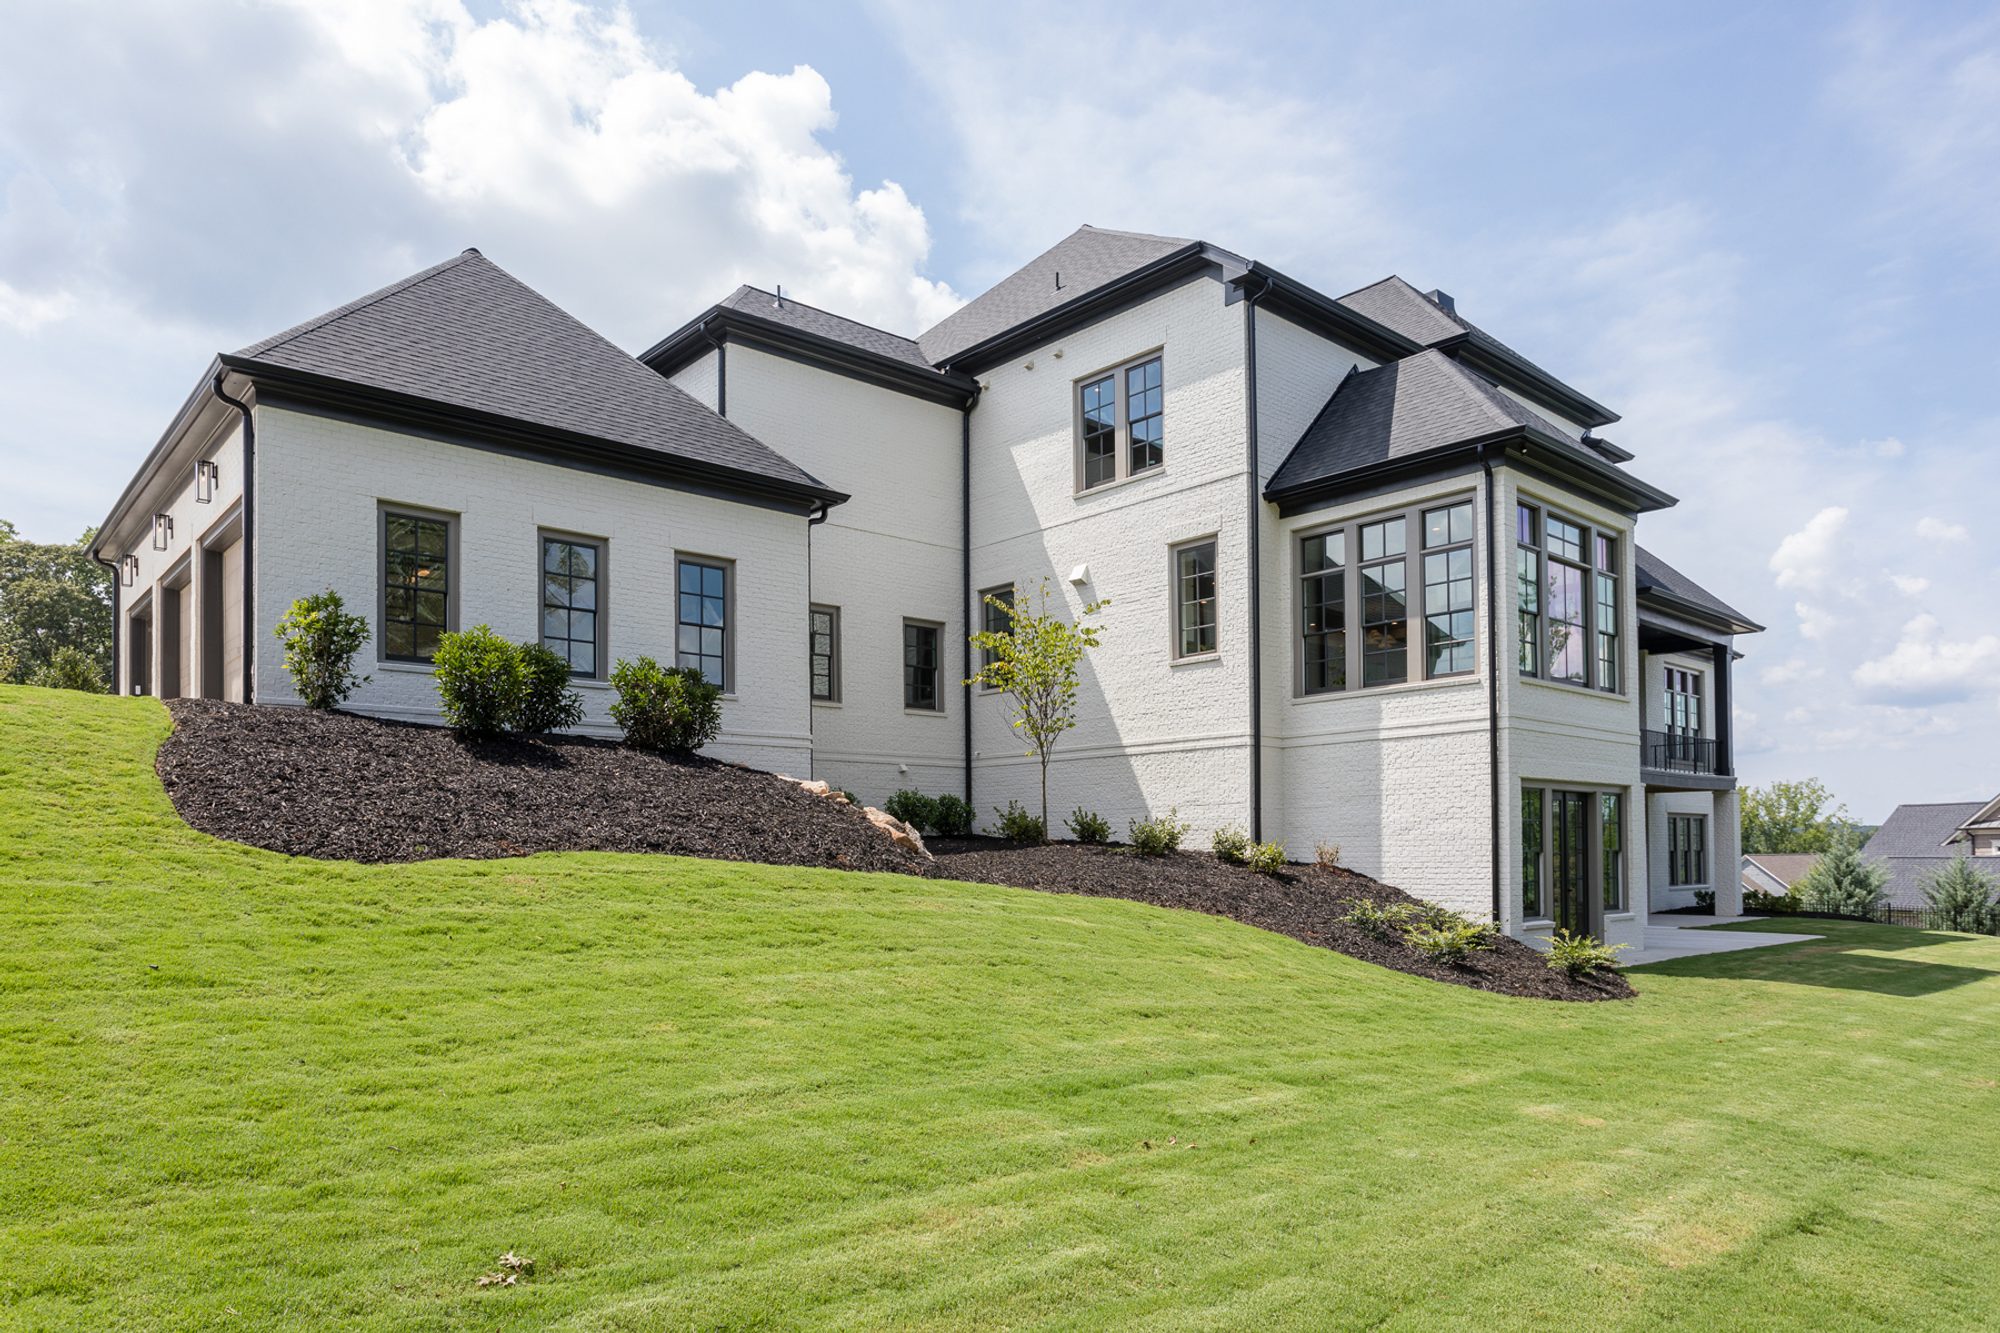
Rear view of this beautiful painted white brick custom home.
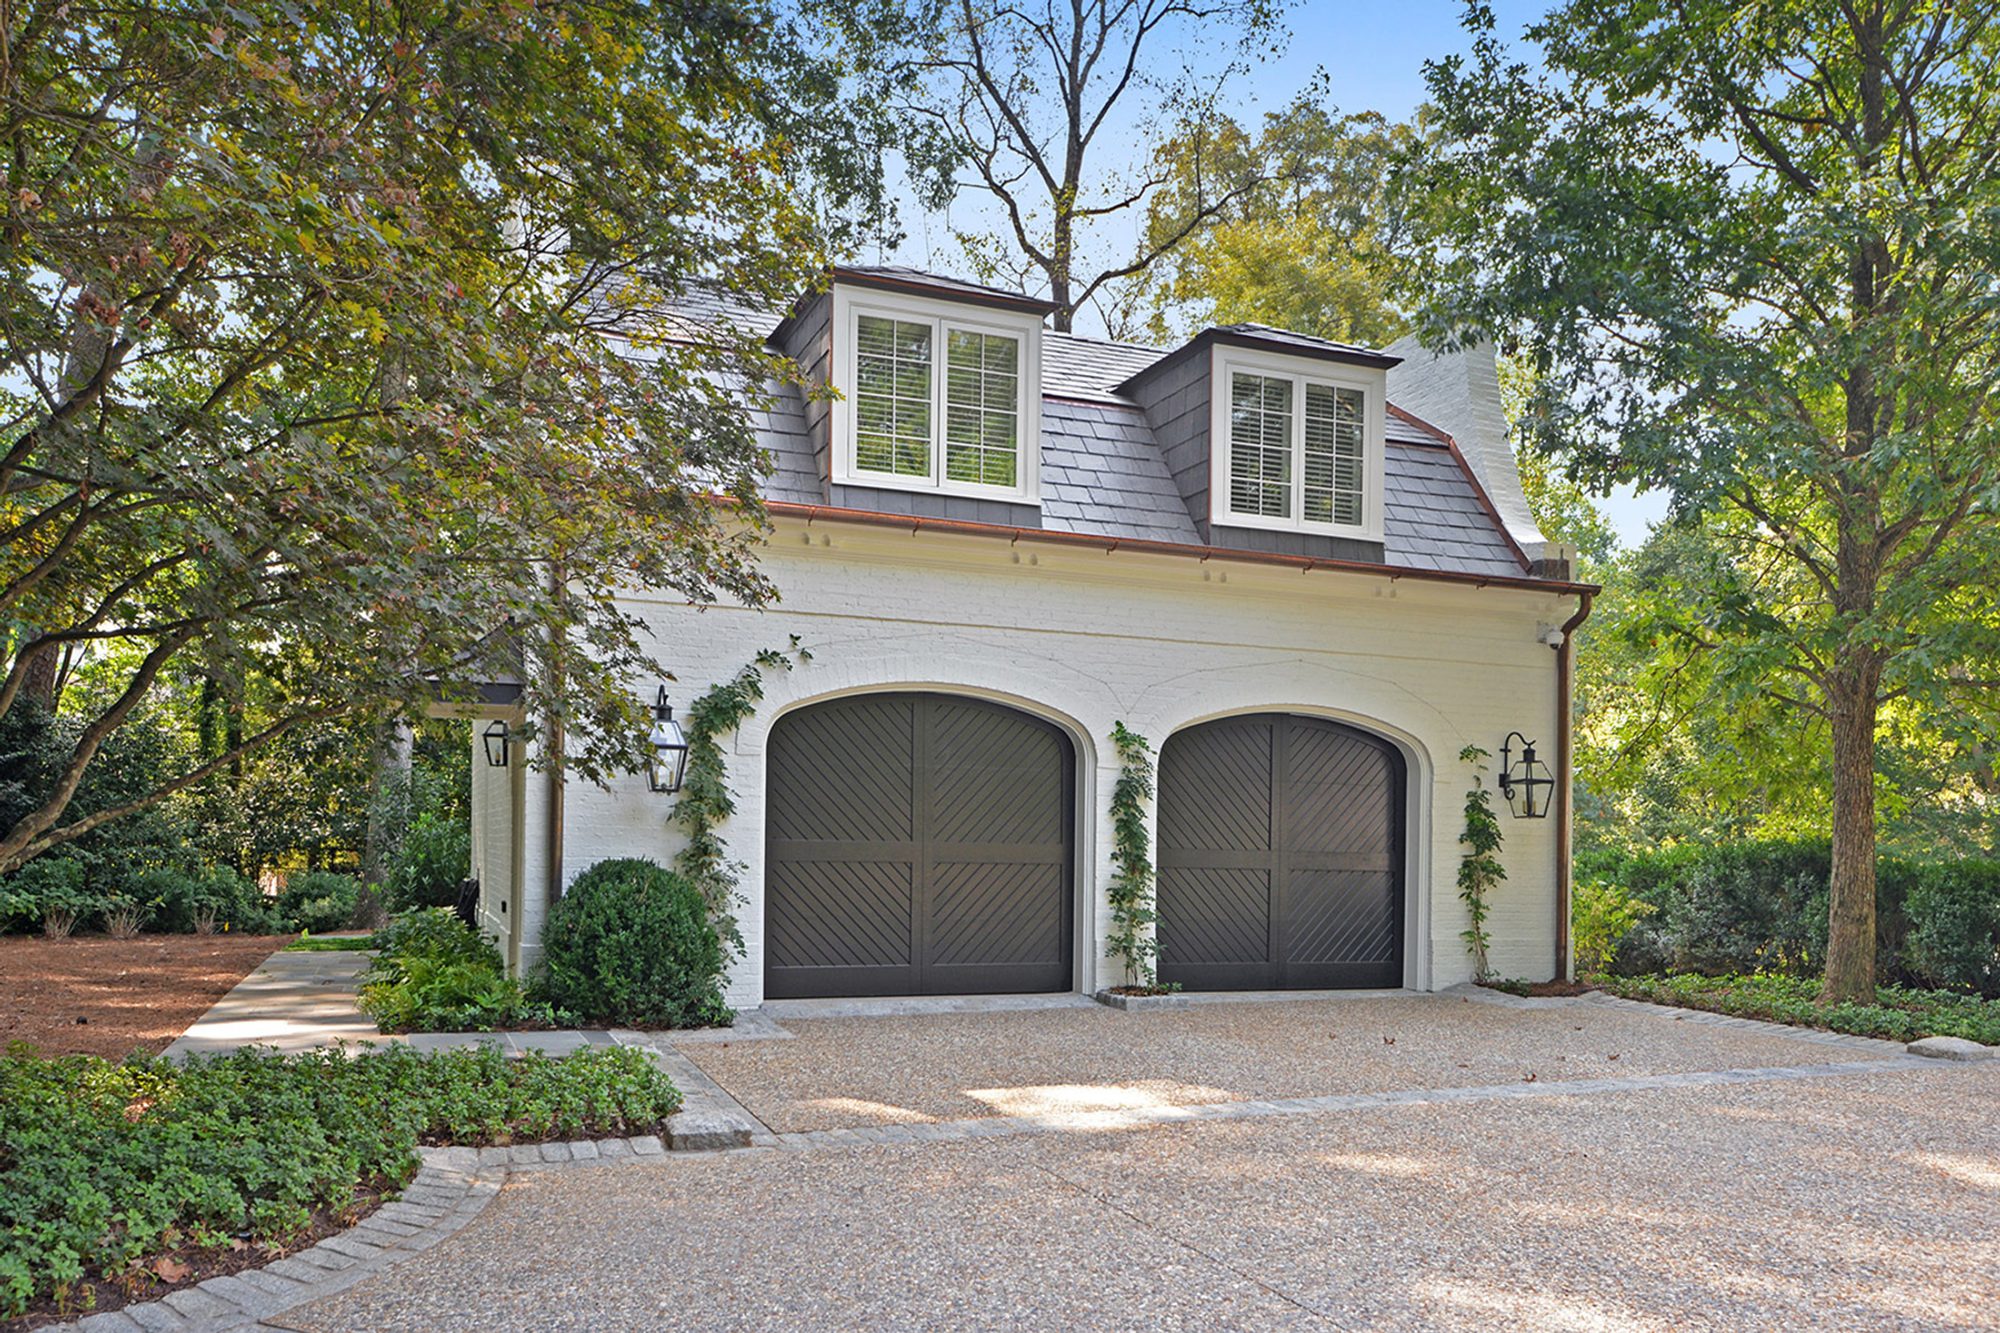
Painted white brick detached garage with black doors.
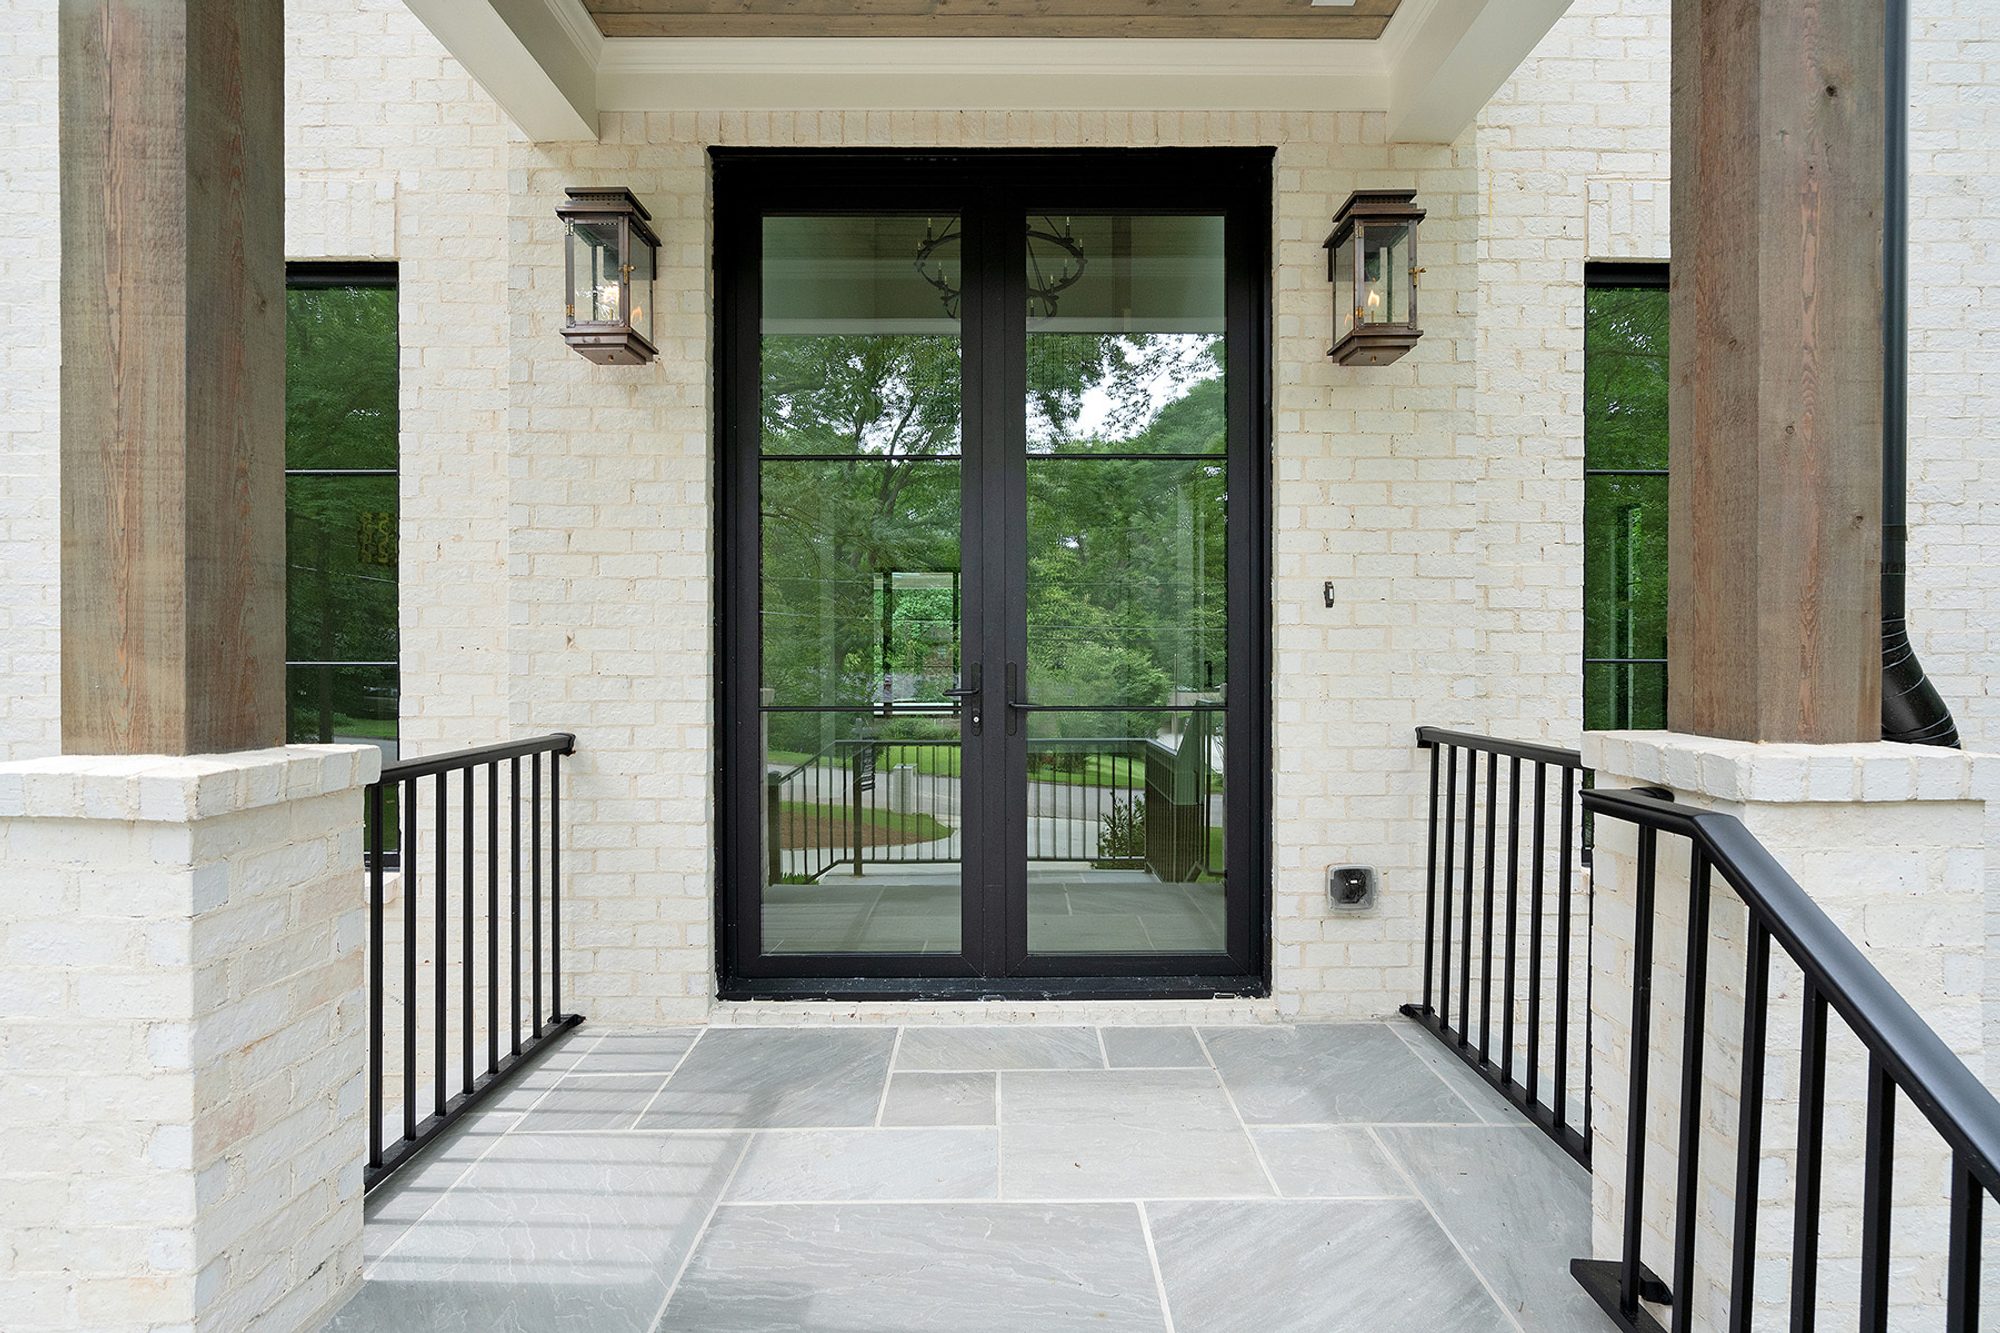
Closeup view of the Modern style black front door with painted white brick siding.
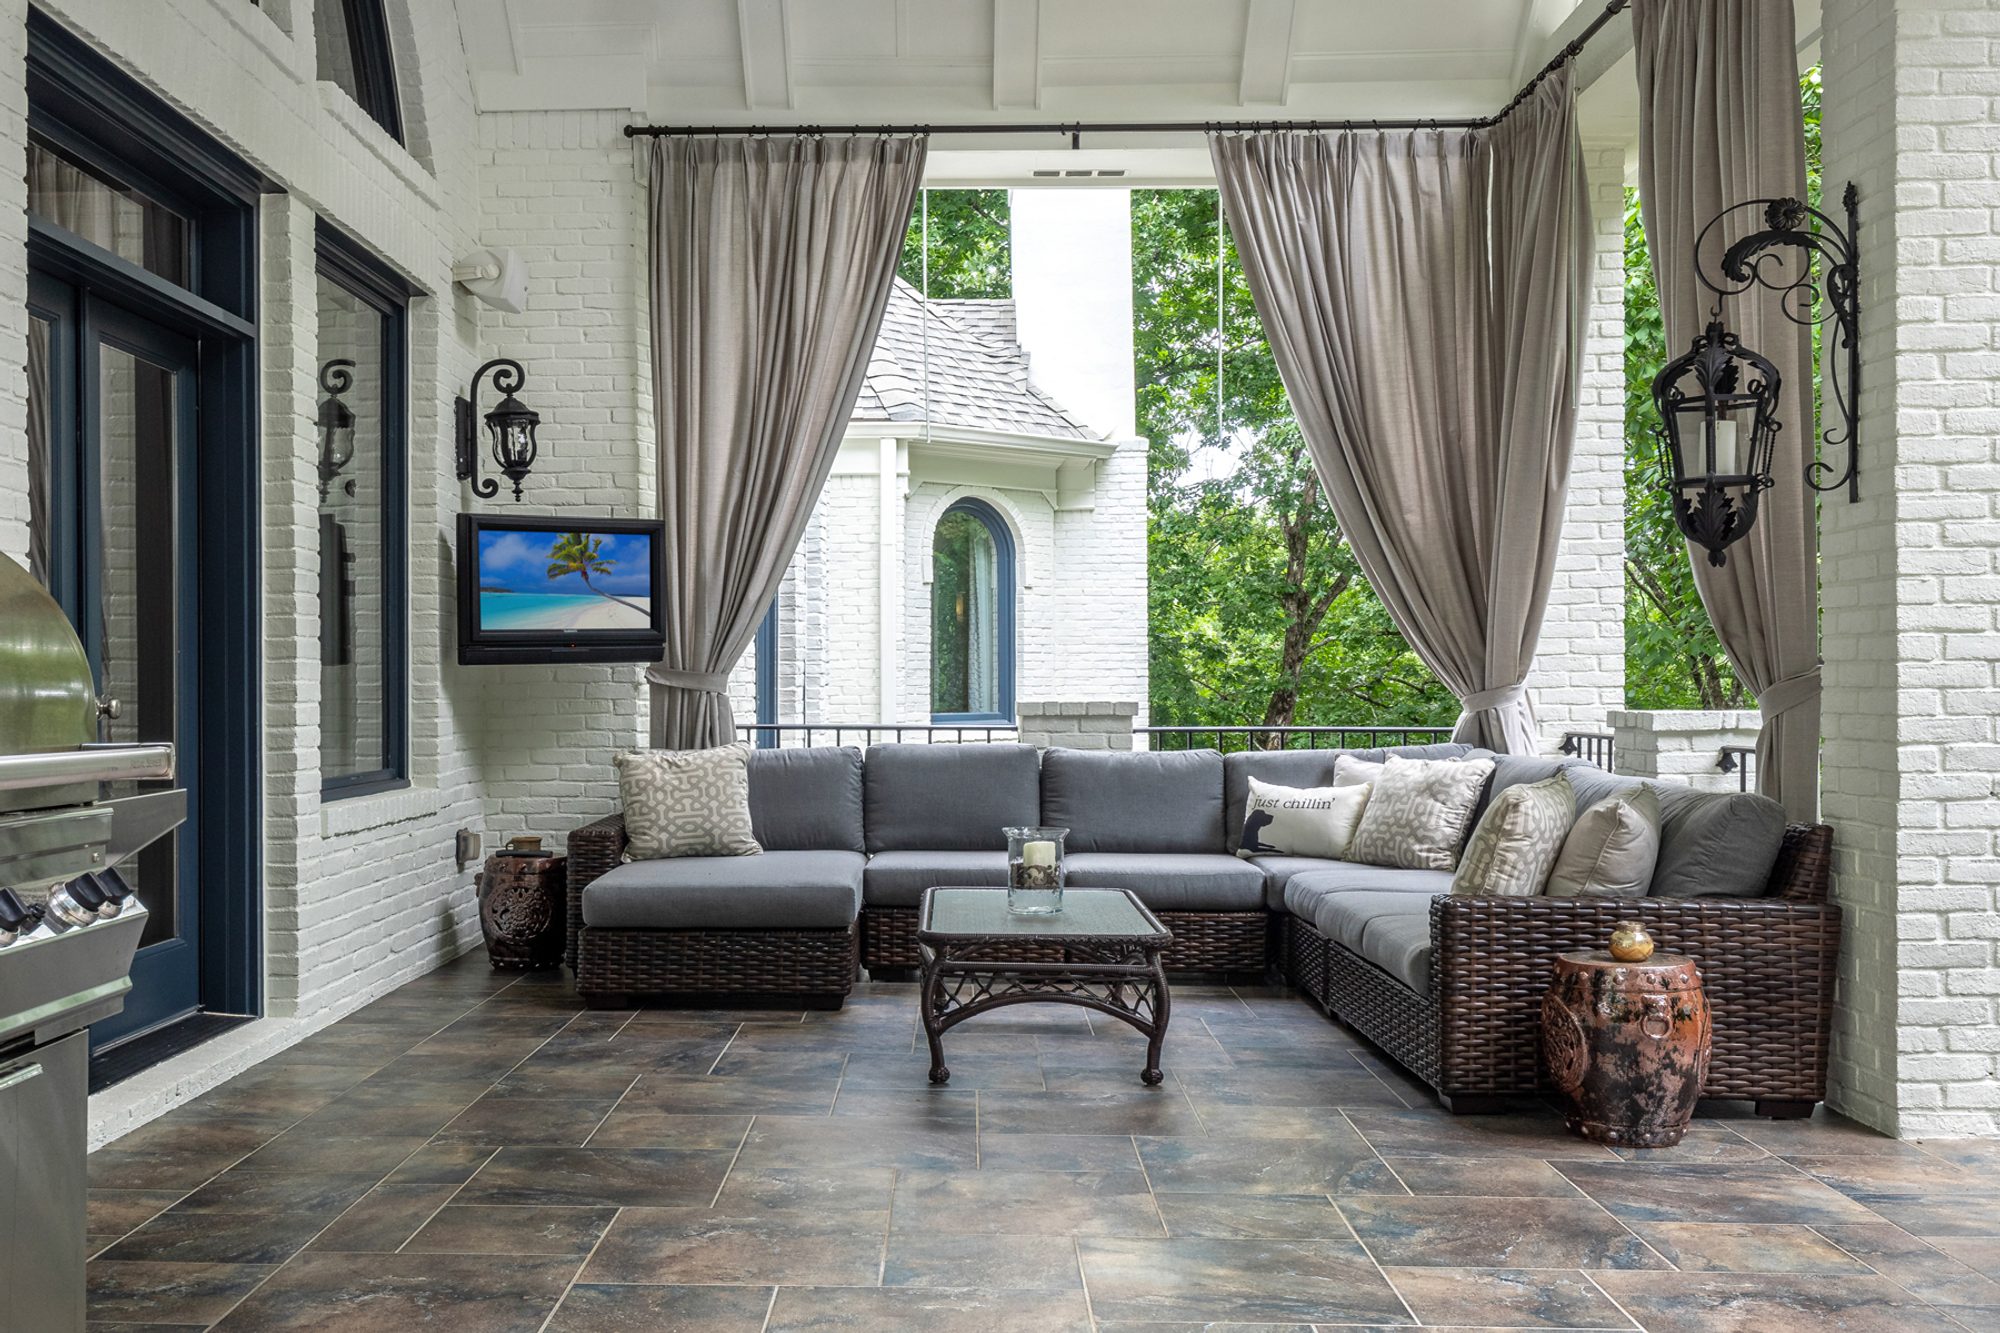
Back covered porch with painted white brick walls and columns.

Painted white brick walls inside a bathroom.
Conclusion: How To Paint Brick
Painting red brick white is a hot trend both inside and outside the home. You may have even considered doing it yourself but are unsure how. In this article we’ll learn everything there is to know about how to paint brick.
Red brick is a classic look that’s been used for centuries as a house siding, to build chimneys or around the fireplace. It’s still a beautiful look that’s very much in style. But with the more modern trend of use white everywhere, red brick doesn’t always have a place. Everyone these days seems to want light and bright. Lot’s of white, real wood and clean, crisp design. Painting that old and tired looking rustic red brick is definitely a viable option that can have fantastic results. And it’s not that hard or expensive to do and even makes a great DIY project. But there are a few important things you need to know if you want professional looking results. Things like making sure the bricks are prepped and clean, priming the bricks, painting at the right time, avoiding peeling or bubbling, and learning which paint to use.
I hope this article helps you paint that old red brick your tired of a beautiful new shade. If you have any questions or comments e-mail us any time. We’d love to hear from you.