DIY Safe Room
A DIY safe room is typically built somewhere inside of an existing home. If your building a new home or remodeling an older one, it’s much easier to include a safe room in your design. And it’s typically built by the builder. But what about adding one to an existing house without doing a remodel. That’s something you can easily do yourself.
I was recently asked to help someone design a panic room for they’re home which made me want to write this article. We don’t all live is super safe areas or have the money to spend on expensive alarm systems or a new house in a safer part of town. The best solution is to build a safe room somewhere in the house or convert an existing room into one. If your at risk of a home invasion or burglary, you need a safe place to hide until the police arrive. One solution is making your own DIY panic room. They’re much more secure than simply locking yourself inside of a room. Standard interior doors and locks aren’t designed with security in mind. But you can easily change that.
In this article we’ll be going through a variety of things you can do to either build a new safe room inside your home or convert an existing room into one.
What’s The Purpose Of A DIY Panic Room?
A DIY panic room is different than what you may have seen in the movies. If you want a safety bunker with a filtered air supply, 12″ thick concrete walls, food and water for a year and a vault door then you’ll probably need some help.
A DIY panic room is there to create a formidable barrier between yourself and a threat within the home. Exterior windows, doors and locks are built to be much stronger than interior finishes. In fact, pretty much all of a home’s security systems are on the exterior walls. Once someone gets in there nothing you can really do but lock yourself in a room. But they’re pretty easy to get into since the doors and locks are flimsy.
Interior door locks are meant to keep someone from walking in on you while your using the bathroom not stop an intruder. The same is true of the doors, hinges and framing. By upgrading a few elements inside the home you can drastically increase it’s strength and level of protection.
A panic room is a point of retreat where you can safely hide until the police arrive or arm yourself. But something as expensive as a professionally designed and built panic room might be out of your budget and not really necessary. A DIY safe room is intended to be a short term escape area. Not a long term solution like a bunker.
Another reason for a DIY panic room is added secrecy. For most people this isn’t an issue, but for some, having a safe room no one knows about could be helpful. Especially if your a potential target for a home invasion. Having a room hidden somewhere in the house that’s secure and totally secret could be an advantage.
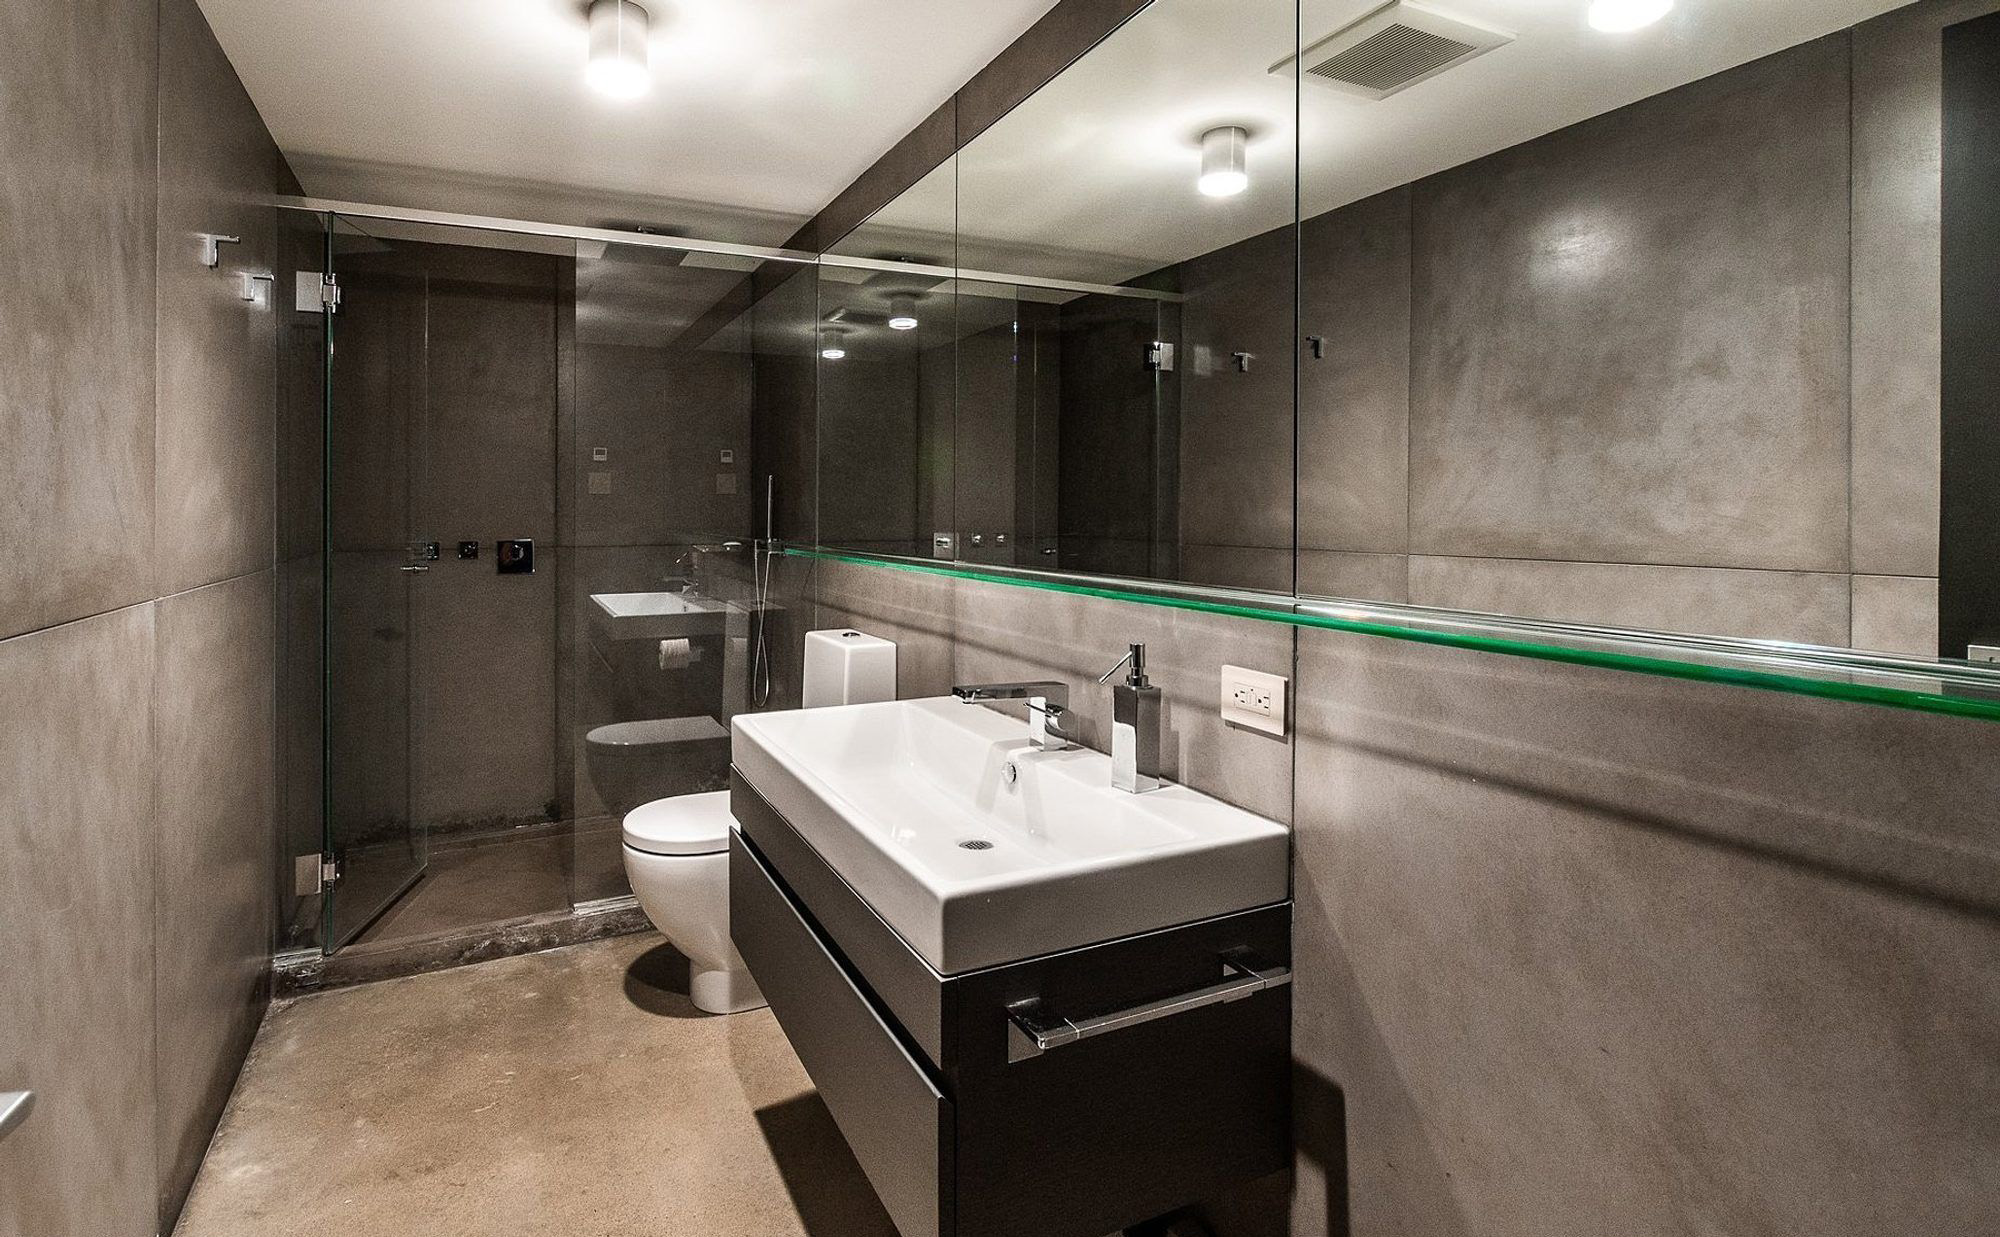
Bathroom with reinforced concrete walls and floor makes a great safe room.
What’s Your Purpose For Building A DIY Safe Room
Safe rooms can generally be divided into a few basic categories: to protect valuables, people or both. For the sake of this article we’re assuming you want to protect people.
If the primary purpose is to protect people then what you want to build is a panic room. Somewhere you can run and hide if someone enters the home.
In this case the panic room should be somewhere inside the home that’s easily accessible. Don’t build it so far away that you can’t get to it. You should also have a big enough door to make getting in a quick process. It should be easy to secure once inside and very hard to penetrate. You’ll also need a phone to call police. Sometimes people will disguise the door behind a bookcase or inside a closet so intruders can’t find the room. Storing some food and water is also a good idea in case your in there a while but it’s not necessary for security reasons. I’d also recommend a fresh air supply and possible a hidden way out just in case.
The type of room you’d build for protecting valuables is different. Valuables are always present in the home which means most safe rooms like this are always locked. These types of safe rooms are more like a bank vault. Since they’re not designed for emergency use, the door can be located far away from people and even in the basement. They don’t need to be easily accessible or quick to secure. Food, water and airflow are not generally as important.
You could also build a hybrid safe room. Something that’s like a panic room but with a very secure safe area built in. Use the safe for valuables and the room for emergencies.
What Rooms Make A Good Safe Room?
If your converting an existing room of the house into a safe room then some rooms are better than others.
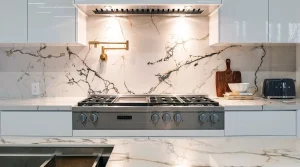
- Bathrooms. A bathroom can make a great safe room. They’re generally compact which means they won’t be expensive to convert and many have tiled walls which is sturdier than drywall. It’s not easy to break through a well built tiled wall. Especially if you used a concrete board backer. Plus if you need to use the bathroom it’s there and you’ve got a water supply. Also most bathrooms are on an outside wall which takes care of the fresh air supply and a possible exit. Just make sure that if it’s on the first floor you also secure the window.
- Closets. A walk in closet can make a great safe room. They’re generally out of the way but still close to living areas. And closets are easy to disguise. Many walk in closets are so big you could build a false wall with a hidden area behind that no one can see. There are all sorts of options available to you if the closet is large enough. Many closets on the second floor include an access panel into the attic. If this is the case with your house then make this a part of your design.
- Bedrooms. A bedroom can make a great safe room too. Especially if it has a bathroom. As long as you can secure the door and beef up the wall strength it can have everything you need.
The best DIY safe rooms have one main entrance point. This makes it easier to secure the room. If you’ve got a room with 2 or more ways in it makes things a lot harder because you have to secure each entry.
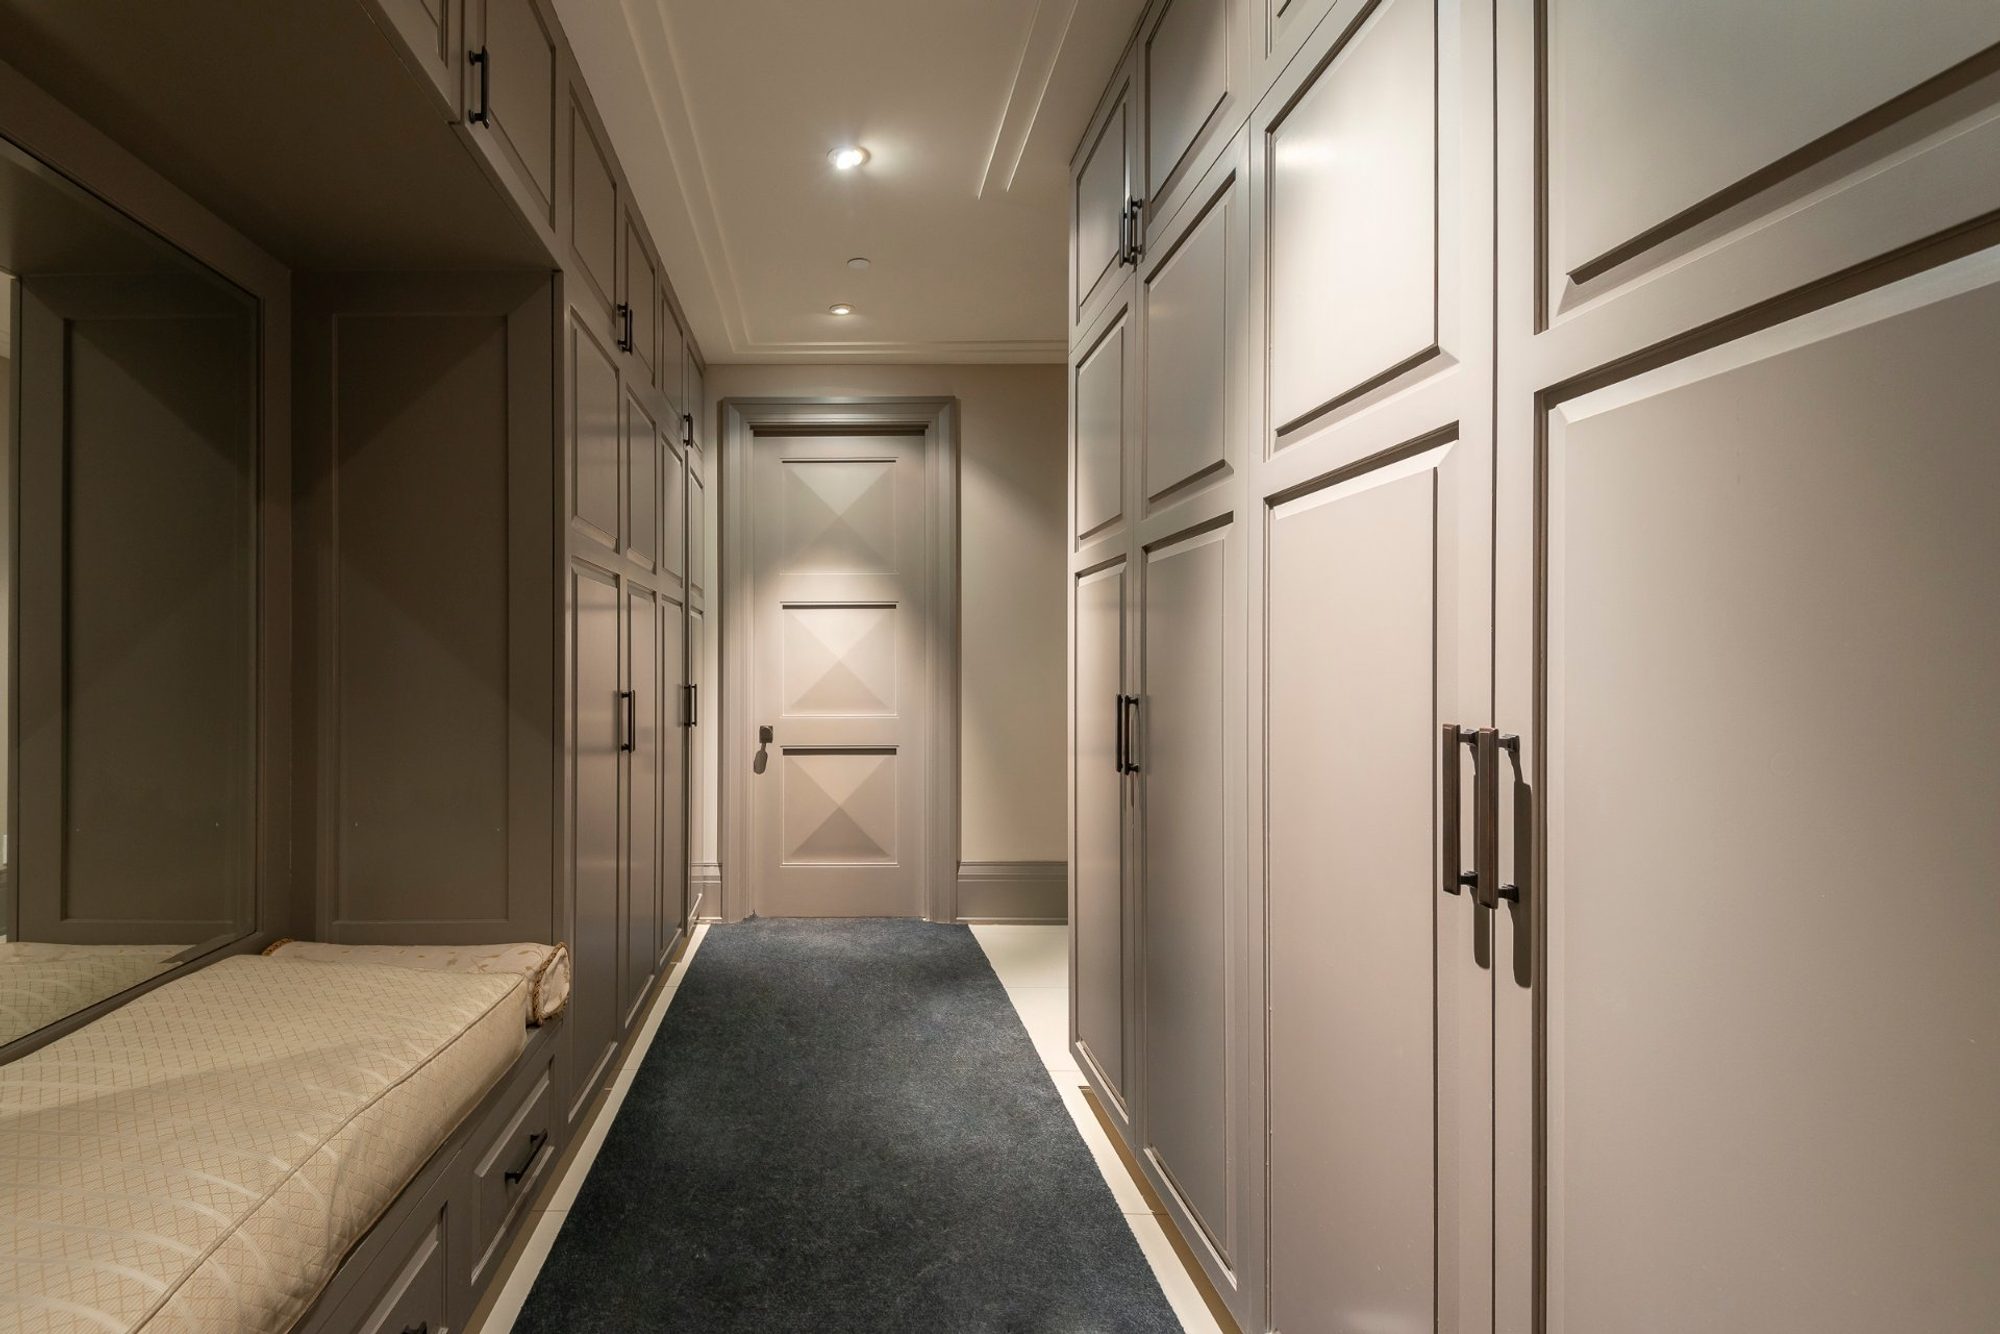
Safe room with plenty of storage and seating.
Building A DIY Safe Room
Now let’s get to what you actually have to do in order to build a new safe room or convert an existing room into one. Again, this all assumes your building more of a panic type room that’s intended for people.
A Secure Door
A secure door is a pivotal part of any DIY safe room.
One of the main reasons why most rooms don’t make a great safe room is due to the door. Interior doors are meant for privacy and not safety. They’re not designed to be secure like an exterior door is. The doors are thinner, locks and hinges are flimsy and the frames are weak. The good news is that all this is easy to change and doesn’t cost a fortune.
1. High Grade Locks
When your designing the door for your DIY panic room, look into front door locks.Buy something that’s rated high for security and strength. Don’t buy anything meant for interior use. You want a good quality lock with a dead bolt. In addition I’d also buy a top and bottom latch. If you’ve got all 3 it makes a door really secure all around like a mini vault door.
One of the most important things to look for when it comes to locks is strong metal. The lock can’t be picked if your in the room because you can prevent it so look for strength. You want a lock with strong metal parts designed to resist being kicked in.
One of the best locks for a DIY panic room door is a good quality deadbolt or two. These are hard to pick and very hard to bash through. When paired with a solid door, strong hinges and a secure frame it’s really hard to get through a deadbolt.
Push locks. I like to include one at the top and bottom of the door. These help secure areas of the door that are far away from the hinges and locks. By securing these points too you greatly strengthen the door.
2. A Secure Door
An interior grade door, even a high quality solid wood door, isn’t as strong as an exterior door. And just because a door is exterior grade doesn’t mean it’s super secure. What you want to do is buy a door that’s exterior grade and highly secure.
There’s only so much force your locks can withstand. If you’ve got a cheap door and great locks they’ll just break right through the door. Remember that scene from The Shining where he chops right through the door with an axe. Great locks aren’t gonna stop that from happening. But a really good door will.
What you want is a solid core door with an iron or steel core. These types of doors are very secure and hard to break through.
Also make sure your door installation is correct. The door should be very tight inside the frame so no tools can be inserted into the gaps.
When it comes to buying an exterior grade steel core door you really need to plan ahead because the factory will drill holes for your locks. This isn’t as easy as with a wood interior door. Your new secure door will come factory ready with the holes drilled and pre-hung so all you have to do is screw it into the frame.
This brings up another issue. The door is only as good as the screws securing it to the house frame. Use thick bolts that can’t be cut with a simple sawzall instead of generic interior grade screws.
Another benefit of a good quality exterior grade door is fire protection. It may not be an intruder your hiding from. If there’s a fire and your trapped inside the safe room, a good door will buy you valuable time.
3. Added Door Security
There are a few extra things you can do that will increase your doors security. When your building a DIY panic room you should spend extra time focusing on the door. This is the main area of attack and protection.
There are three places you should beef up over a standard exterior door. These are your hinges, your strike plate, and your hardware. Hinges and strike plates can be improved by using longer and stronger screws. Buy thick hard metal screw bolts online instead of generic 3 inch screws at a hardware store.
You should also use tougher strike and hinge protection for your door. All this is available online.
Even if you have multiple locks, you can add reinforcement across the door. Have you ever seen an old castle gate in the movies where they lower that big wooden bar across the door to prevent it from opening. The invaders have to bash at the gate until the bar gives way. Same idea. If the door or locks start to fail the bar will pick up a lot of pressure. Use a metal bar with brackets bolted right into the house frame. When the door is locked simple place the bar into the brackets.
Anything thing you can do is brace the door with a piece of wood against the floor. Have you ever seen someone on TV shove a door under a door handle to keep it closed. This creates a wedge that prevents people from kicking in the door. It works and is a good strategy to strengthen a door.
Window Security
If your DIY safe room has windows then you’ll have to secure them. In an ideal situation windows are not the best idea in a secure room because they can be broken, especially if your panic room is on the first floor. But in some cases they’re necessary and even an advantage. if you can keep them safe and secure a window is a source of fresh air and an exit point. There’s nothing wrong with building a safe room with a window, it just has to be secure.
When it comes to building a DIY panic room, you have to work with what you have. If you have a window in your new panic room then there are a few things you should do.
2. Bars & Shutters
Bars are a great way to keep your windows secure. If you’ve ever walked through NYC you’ll notice most of the first floor and many second floor windows have bars on them. In some areas of the city you may find bars anywhere a thief could potentially gain access too. The reason is that they work. Even if the window is shattered the bars will prevent access. But there is a downside. The bars keep intruders out but they also lock you in.
For this reason I recommend building bars with a hinge that locks across the glass like a swing gate. If you need to escape through the window just unlock the bars and open the window.
Shutters are a great way to secure a window too. Especially metal storm shutters that roll up when not in use. They’re very strong and can be wound down when you need them. They can also be installed in combination with bars for even more safety.
Keep in mind bars and shutters are only as good as the install. If you don’t properly build the frame, use good bolts and tighten everything down, the system can fail. Always pay close attention to your installations and the little things like screws. Upgrade those standard screws with good quality bolts that are long and really hold tight.
3. Window Locks
Install a good quality window lock. Most thieves won’t come in through broken glass. Rather, they break the glass in order to unlock the window. Make sure they can’t do this by securing the lock just like you would the door.
Child safety locks are better than a regular lock. They add an extra level of protection.
If you have double hung windows, a great way to secure them is with a block above the window. Use a 2×4 and wedge it between the top of the window panel and the frame. There’s no way to open the window without removing the bar.
4. Better Windows
You can buy hurricane rated triple pane windows that are very secure and hard to break. They’re made to resist objects flying through the air at high speeds. While they’re not indestructible, they’re an upgrade from a standard window.
And then there’s impact glass. If you want the ultimate in home security in your new DIY safe room then buy a window with impact glass. It’s bullet proof and can’t be bashed in. There also very hard to pry open and come with stronger locks.
Walls & Ceiling
Another very important part of building a safe DIY panic room are the walls. In all the articles I’ve read about how to build a safe room by yourself, everyone always seems to focus on the doors and windows. But what about the walls? What good is a secure door and windows when the walls are nothing but 1/2 inch drywall and 2x4s. That’s not gonna protect you for very long.
Here are some things you can do to beef up your DIY safe room walls and ceiling.
1. Thicker Frame
If your walls are the standard 2×4 construction then you can beef them up to a larger size. Walls are designed to hold the weight from above. In many cases a 2×4 interior wall and in some cases even an exterior wall is fine. But these walls aren’t designed to withstand the force of a break in. Upgrade the wall thickness to a 2×6, 2×8, 2×10, or even a 2×12. The thicker the walls the stronger they’ll be.
You can also put the wall framing closer together. The standard is 16 inch on center but that’s wide enough for someone to pass through. 8 inch isn’t. By installing the wall and ceiling joists closet together you make them impossible to pass through.
You can also install blocking in between the joists. 16 inch on center walls have about 14 1/2 inches of space between the wood. Fill them in front and back with 2×12 lumber ripped down. Essentially this creates an almost completely solid wood wall with an air gap inside for wiring, plumbing or duct work.
The bad thing about working with the frame is that it either requires new construction or a remodel.
2. Finish Material
In addition to the frame you’ve also got your wall finish. Drywall doesn’t provide much strength on it’s own but things like concrete board, shiplap and tile do. If you use stronger materials to finish your walls it adds a lot of strength to the walls. Just make sure things like shiplap are secured with more than just a trim nail.
A great way to strengthen your DIY safe room walls and ceiling is to hide a layer of plywood under the drywall. This is a great way of converting an existing room into a DIY safe room. Strip the drywall and install a layer of 5/8 inch thick CDX plywood to the wall and ceiling frame. Then install your drywall, concrete board or shiplap to the plywood. Make sure to secure the plywood with at least a strong 3 inch screw. For even more strength install the plywood front and back on all walls and ceilings.
I like to install a layer of concrete board to the walls, ceilings and flooring on all my safe rooms. This is in addition to the plywood, and drywall. A thick layer of cement board acts as a fire barrier. Add tile to that cement board for even more protection.
Additional Things To Include
A panic room is a temporary place to hide until the police arrive. But no matter how secure you build it, a DIY safe room isn’t indestructible. If you build a safe room with a company you can outlast almost anything, but converting an existing room of the house or framing a small area isn’t the same as building a bunker.
In my opinion you should include a few additional things that makes your panic room even safer.
1. Phones
Once your safe inside the panic room you’ll need to call for help. Keeping a cell or land line inside the room is a good idea. What if you have to rush into the room and can’t bring your cell phone. How do you call for help.
I believe keeping a cell phone inside the panic room for emergencies is essential.
2. Food & Water
Ideally you’ll only be locked inside the panic room for a short time but what if it’s extended? I always recommend keeping some food and water inside the room just in case.
3. WiFi
Once you build up the walls and door it may be harder for a signal to get inside the room once you lock the door. The more secure you build the safe room the weaker the signal will get. I recommend keeping a WiFi router inside the room so you’ll have a signal for your phone and internet.
4. Personal Protection
Being able to protect yourself in case the panic room door fails is very important.
5. Cameras
I always include a camera system and monitor inside the room. How do you know the intruder has left the house if you can’t see outside the panic room. I wouldn’t even feel safe opening the door for police if I can’t see them for myself. A camera at least at the door is important.
6. Hidden Exit
I like having a way out of the panic room just in case. If it’s on the first floor a trap door somewhere in the room is a good thing to have just in case. You can drop into the basement and out an exit. If your panic room is on the second floor then going up and out of the attic is a better option. Be aware that an exit is also an entrance so secure this area as well.
7. Hidden Door
I really like the idea of hiding the doorway into the panic room. This isn’t always an option with a conversion but when you build a DIY safe room then you can do it. A bookcase is great for this.
Summary: DIY Safe Room
Are you thinking about buying new garage doors? If so, there are a lot of things you should consider other than how they look. Although looks are a very important factor too. Garage doors are a large investment and an important part of your home’s curb appeal. In this article we’ll be discussing the most important things the know before buying garage doors.
What color should your garage doors be? Which style is right for the house? How wide should they be and how tall? And what about more functional questions like should they have windows or be insulated. And then there are material questions. Do you want wood, metal or fiberglass. There’s a lot of thing to consider when shopping for new garage doors. They’re an important part of your homes look and color scheme. Everyone pays so much attention to the front door design and color but your garage doors are much bigger. They need careful consideration too. And the best ones will even improve energy efficiency and offer added security which helps protect your home. When you shop for new garage doors there are a lot of factors to consider.
You should always do your research before buying anything for your home.
If you have any questions or comments e-mail us any time. We’d love to hear from you.