Should Concrete Control Joints Be Caulked?
Caulking your concrete control joints is the best way to prevent water from getting under your slab. It also helps prevents dust, weeds, organic material and pollutants from settling inside the joints, which looks bad and can potentially cause more cracks, mildew, and mold.
One of the biggest threats to your concrete slab’s durability and good looks is weather damage. Concrete is a porous material that absorbs water like a sponge. That water can then freeze which causes internal pressure and cracks. This is called the freeze thaw cycle.
Water can also damage a concrete slab by getting under neath it. Over time, this creates voids which are weak unsupported areas of concrete. These areas are much more likely to crack or heave.
Sealing the concrete surface and filling the concrete control joints with caulk are very important if you want to preserve your slab and keep it looking like new.
Cleaning and sealing your concrete is important to preserve the slab’s beauty and prevent cracks. But caulking control joints is just as crucial and often overlooked. The main cause of concrete damage I see is due to water. Allowing water to get under your slabs can result in cracks, heaves and shifting concrete. It’s a disaster waiting to happen.
Good drainage around and off the slab is important, but so is sealing all the joints.
I recommend using a high-quality, self-leveling caulk that won’t shrink and is flexible enough to remain in place even if the concrete shifts a bit.
Why You Should Caulk Concrete Control Joints
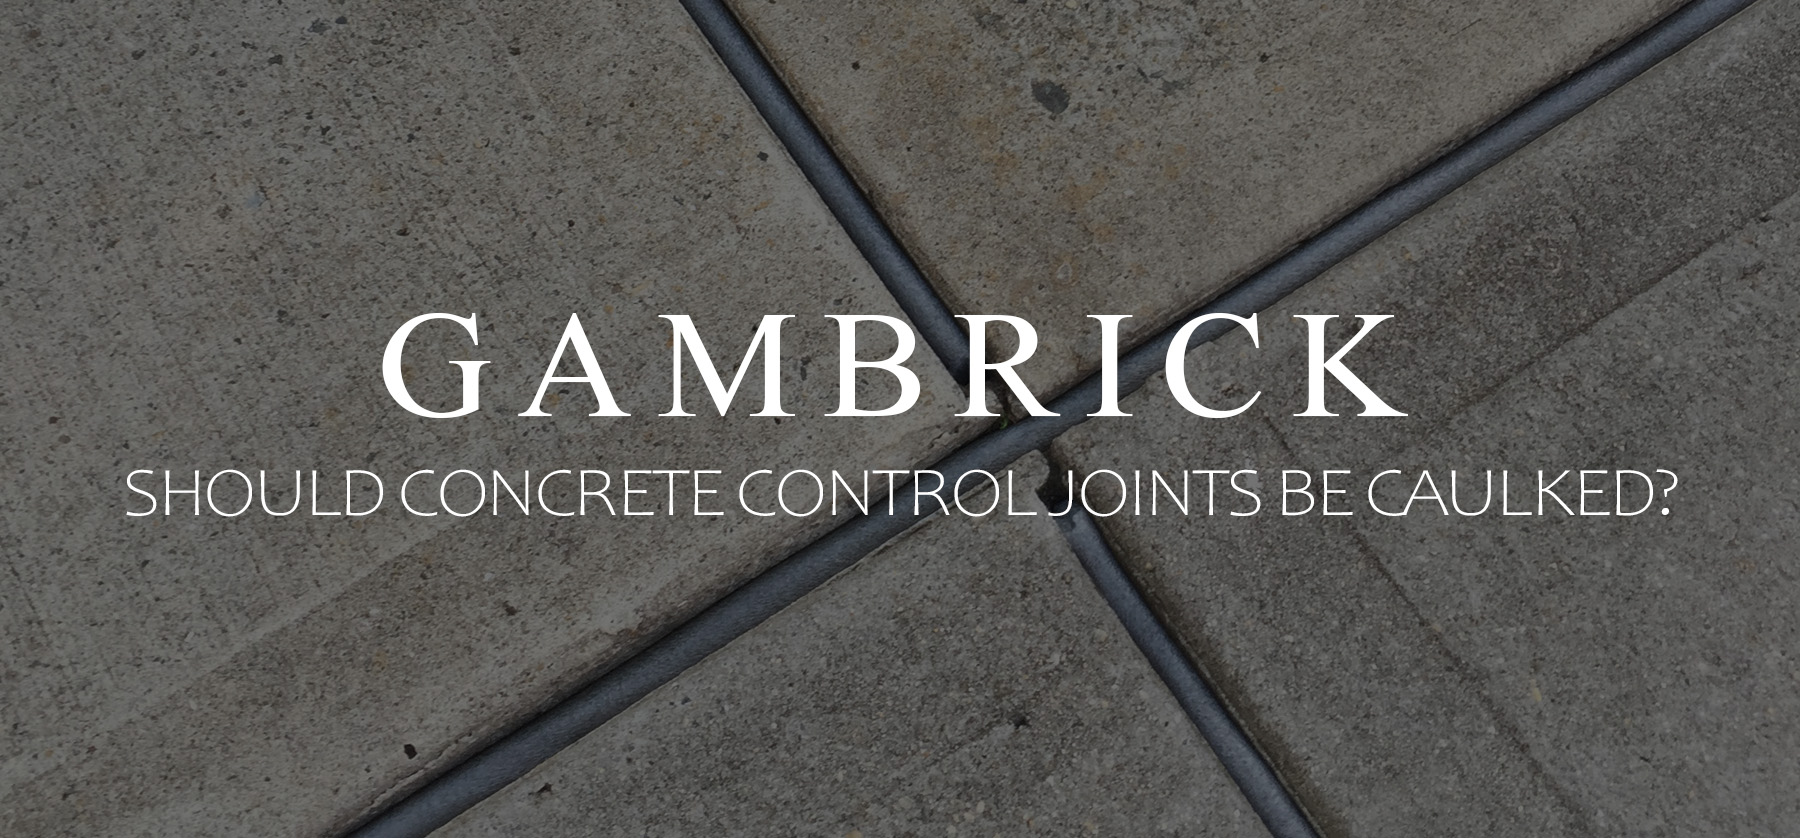
Control joints are gaps that are intentionally left in a concrete structure to control the cracking. As concrete expands and contracts due to water absorption or temperature changes, it can crack in random areas. Joints relieve pressure and control where the concrete cracks and where it doesn’t.
Because control joints are gaps between sections of concrete, they’re more likely to gather debris, grow weeds or collect water. A control joint is basically a gap between slabs that leads to Earth. From there, weeds can grow, mold, fungus and bacteria can live, and water can penetrate into the soil.
Control joints can lead to problem if they’re not sealed with caulk. Here are just a few:
Water Damage
Water is by far the main reason we see concrete damage. This is due to not only the freeze thaw cycle but also water penetrating under neath the slab.
If you allow moisture to get into the control joints, it can then drain under the slab. This can eventually affect the stability of the slab, cause shifts, heaves or cracks.
- Freeze/Thaw: Concrete absorbs water because it’s very porous. That water can then freeze. Water that freezes expands creating a lot of force on the concrete. If that force is great enough the concrete can crack. Unsealed control joints allow more water to penetrate deep into the concrete all the way to it’s base. This can be a disaster in your slab sees regular freeze thaw cycles.
- Undermined Soil: A major problem with water penetrating under the slab is the soil. A strong solid base is very important for a concrete slab. If the soil starts to erode, the slab will be unsupported. This can eventually cause cracks, heaves or shifting slabs.
Many of the issues caused by water can be prevented by caulking the control joints. A good quality caulk will keep water out and flex a bit as the concrete expands and contracts.
Debris
If the control joints are not sealed, they’ll quickly fill with debris or dirt. This not only looks bad but can also cause other issues.
Organic material and water can eventually cause moss, fungus, bacteria or mold to grow. This can be an even greater problem if it’s allowed to grow towards and possibly into the house. I’ve seen plenty of moldy houses that let to a mold infested patio or set of concrete steps.
Caulking the control joints helps avoid these problems because it keeps debris, water, dirt and other organic materials out.
Weeds
Another big problem with unsealed control joints are weeds and grass. Since the joints go all the way down to the concrete’s base layer, weeds and grass can grow out of the dirt and up through the concrete. No matter how thick a base you lay, how tight you compact it or what type of felt you use, weeds still manage to get through.
Weeds growing through your concrete patio’s control joints is not a good look. But even if your not that concerned about aesthetics, there are other considerations. Weeds have strong roots that can work there way into small cracks found throughout the concrete. These are commonly referred to as hairline cracks. These tiny cracks can be opened up and made worse by weeds.
Caulking the joints is a great way to prevent weeds because it doesn’t allow water or sunlight to penetrate down to the base layer.
Joint Caulking Vs Filling
There’s a big difference between concrete control joint filling and caulking. I recommend caulking the control joints with a high quality concrete caulk that’s self leveling and flexible. But I don’t recommend filling the gaps.
Filling and caulking may seem like the same thing, but there are some big difference.
Joint sealing is done with a self leveling flexible caulk. This is what you should use to seal concrete control joints against moisture and other materials. it’s usually done for exterior concrete joints but can also be applied in interior joints. The caulk is generally flexible and soft. Joint caulks are not permanent and can be removed and re-applied as needed.
Joint filling is usually done on interior joints. The material used for joint filling is typically hard, stiff, non-flexible and permanent.
The big difference between concrete control joint fillers and sealants is flexibility. Caulk is soft and flexible but fillers are not. An example of a joint filler is grout or mortar. These work better in temperature controlled interior spaces where the concrete doesn’t get wet or see weather and temperature changes. Fillers are installed once and left permanently in place.
Caulk is better for exterior concrete gaps that expand and contract, get wet and see weather. They’re flexible which allows them to work in various conditions. And they’re not permanent so you can remove and apply new caulk as needed.
How To Caulk Concrete Control Joints
The first step in caulking control joints is making sure they’re clean. I use a pressure washer to clean out any dirt or debris that may be in the hole. Use a very low pressure setting. You want to clean out the gaps without disturbing any sub-base material. A hose with your finger on the tip to create pressure or a spray nozzle will also work.
It’s important to choose the right type of caulk for the job because they’re not all created equally. Buy one that’s self leveling and flexible. They cost a little bit more but the job comes out better in the end. If the caulk doesn’t self level you’ll have to do it yourself which can make a mess.
Here’s a list of materials and tools you’ll need:
- Caulk
- A caulk gun
- Cleaning supplies
- Hose or Pressure Washer
I recommend using either a silicone or polyurethane based caulk to seal the concrete control joints. Both are flexible and durable. Silicone usually lasts longer than polyurethane because it doesn’t degrade as quickly but it’s a little harder to work with.
Use a good quality caulk gun that has a pressure release button. Without the release, caulk will continue shooting out the tip of the gun after you’ve released the handle. This can make a real mess all over yourself and the concrete.
Tips
Here are a few more tips that will help you caulk those concrete control joints:
- Clean The Joints: Before you start caulking, use a pressure washer, hose or blower to clean out all the lose debris and dirt from the joints. Once you’re done cleaning, apply tape to both sides of the joint just below the edge of the gap. Keep the lines as straight as possible.
- Caulking: Apply caulk to the joint slowly and evenly. Cut the tip of the caulk tube slightly smaller than the width of the joint. I like my tips a little small because it prevents me from going too fast.
- Don’t Under Or Over Fill: Hold the gun at a 45-degree angle, sliding sideways as you caulk. Make sure you fill the gap from as low as you can to the line of your tape. You don’t have to get all the way to the bottom of the slab. Generally my caulk lines are only a few inches deep. The thicker the slab, the harder it is to reach the bottom.
- Be Neat: Remember that caulked joints are a finished product so take your time and create a neat, uniform surface.
- Clean Excess Caulk: Once your done applying caulk, smooth the surface. Then remove the tape. If any caulk got onto the concrete where you don’t want it, use a cleaning solution to remove it. Cleaning helps create a sharp edge.
- Weather: Don’t apply caulk when it’s windy, misty, rainy, too hot or too cold. Weather condition can effect the caulk.
Summary: Should Concrete Control Joints Be Caulked?
One of the biggest threats to your concrete slab’s durability and good looks is weather damage. Concrete is a porous material that absorbs water like a sponge. That water can then freeze which causes internal pressure and cracks. This is called the freeze thaw cycle. Water can also damage a concrete slab by getting under neath it. Over time, this creates voids which are weak unsupported areas of concrete. These areas are much more likely to crack or heave. Caulked concrete control joints are very important if you want to preserve your slab and keep it looking like new.
Cleaning and sealing your concrete is important to preserve the slab’s beauty and prevent cracks. But caulking control joints is just as crucial and often overlooked. The main cause of concrete damage I see is due to water. Allowing water to get under your concrete slabs can result in cracked slabs, heaves and shifting concrete. It’s a disaster waiting to happen. Good drainage around and off the slab is important, but so is sealing all the joints.
Caulking your concrete cracks and joints is the best way to prevent water from getting under your slabs. It also helps prevents dust, weeds, organic material and pollutants from settling inside the joints. This looks bad and can potentially cause more cracks.
I recommend using a high-quality, self-leveling caulk that won’t shrink and is flexible enough to remain in place even if the concrete shifts a bit.
If you have any questions or comments about concrete, email any time.

John Mazzuca | About | More Posts |
Custom Home Builder
John Mazzuca is a custom home designer and builder at Gambrick with over 25 years experience in the construction industry. John has designed, built and/or remodeled hundreds of homes, small buildings, and commercial projects. He writes about business, real estate, home building, and household electronics. His work has been featured in Fox Business, Better Homes & Garden, House Beautiful, and more.


