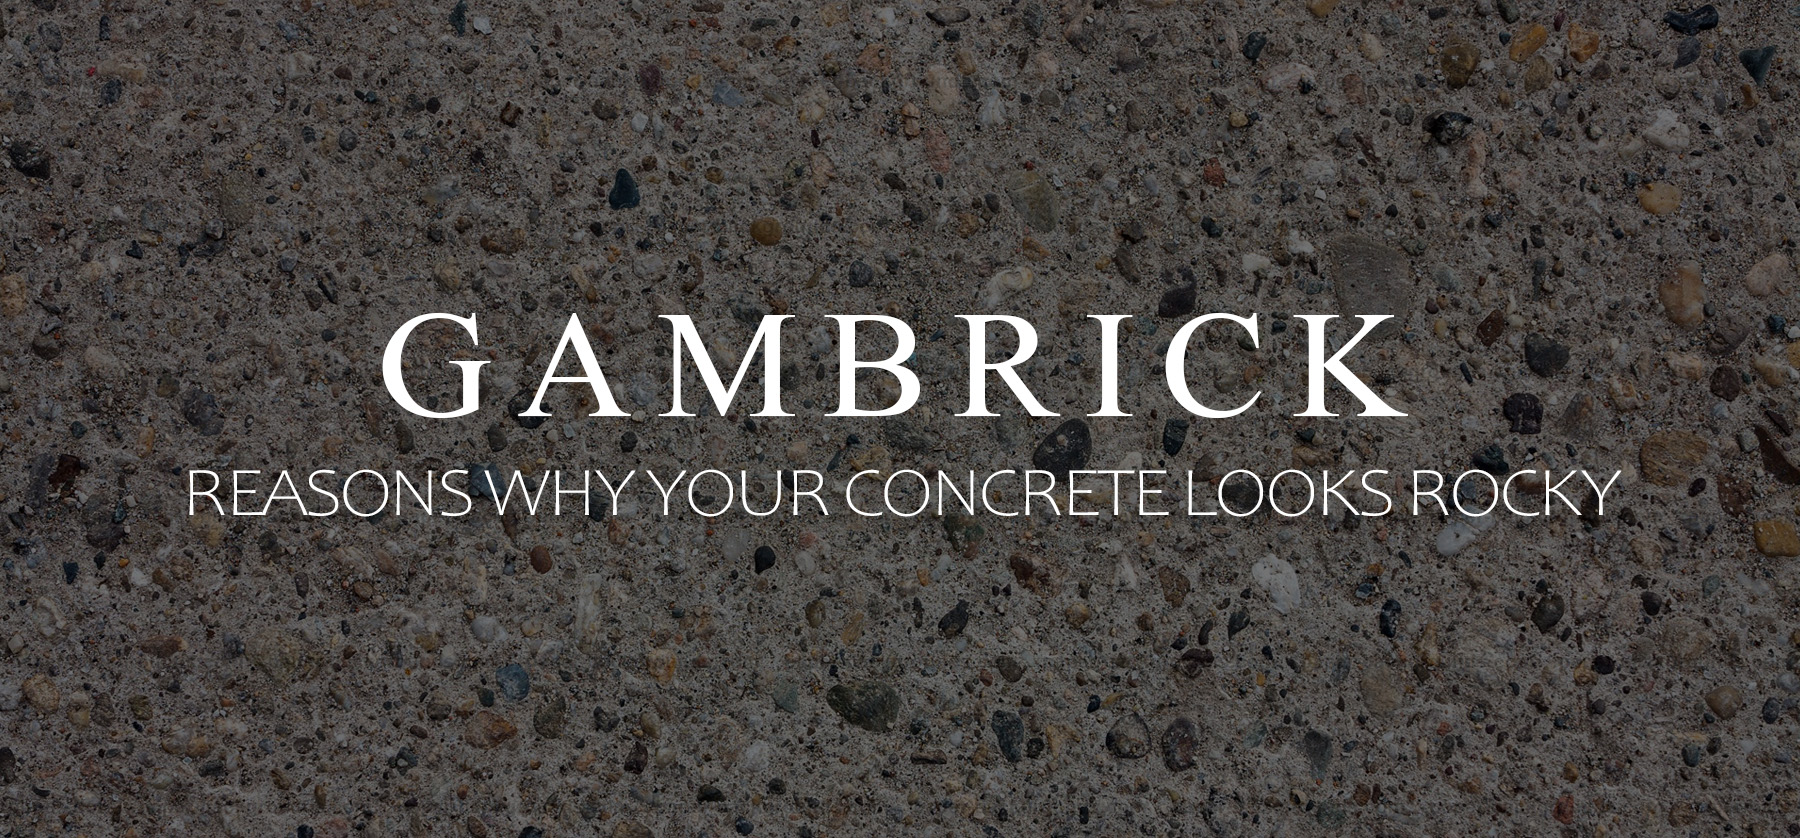
Reasons Why Your Concrete Looks Rocky
The main reason why your concrete looks rocky is because it wasn’t tamped and floated properly. Concrete is made by mixing sand, stone, cement and water together to form a paste that later hardens strong like a rock. It grows stronger as it cures, which is why old concrete can be stronger than new concrete.
Fresh concrete is a wet material with a consistency like thick oatmeal, but it isn’t watery. This means it won’t self level. Masons have to work the concrete with tools like floats, screeds and tampers to get it smooth.
Masons push and pull the concrete until the forms are full and the concrete is level. Then they go to work on the surface. Tampers are used to shake the concrete which pushes stones down below the surface. This creates a thin top layer of sand and cement. Floats and trowels are then used to make the surface smooth.
If any of this work is done incorrectly, stones will remain on the surface, which creates a rocky or pitted look.
Spalling can make concrete look rocky. As the thin outer layer of cement flakes off, the inner stones become exposed. This can be caused by excessive concrete sweat or the freeze thaw cycle.
Concrete’s ingredients can also make it look rocky. Clean mason sand and smooth stones about the size of a quarter or smaller should be used to make concrete. If larger or jagged stones or rough thick sand is used, it can create a gritty, rocky texture.
Water can also be the reason your concrete looks rocky. Use just enough water to separate the stones from the cement and sand. If the concrete is too dry, you won’t be able to tamp the stones down below the surface.
Causes of Rocky Looking Concrete
There are a few reasons why your concrete slabs surface isn’t smooth and looks rocky or pitted. Concrete work is a lot harder than it looks. Especially if you want a professional looking smooth finish. All sorts of factors come into play like your mixtures ingredients, the weather, temperature, water and humidity.
Ahead we’ll go over the main reasons your concrete looks rocky.
Concrete Finishing
The main reason why I see concrete finishes that aren’t smooth, look rough, rocky, pitted or overly gritty, is improper tamping and floating. This is the final stage of a concrete pour. A.K.A. concrete finish work.
Once the concrete is mixed and poured into a form, it doesn’t just level and smooth itself. You have to use tools like a concrete placer to push and pull the concrete where you want it. This gets the concrete in place but it doesn’t smooth the surface.
Next, you have to smooth the surface with a float. This is a rough pass.
Once the surface is fairly level, use a tamper on the surface of the concrete. This step is done while the concrete is still wet. Tamping pushes the stones down below the surface. This leaves a very thin layer of sand, water and cement on the surface.
Next, the surface is floated again. This pass gets it pretty smooth.
Finally, as the concrete hardens, hand floats are used to smooth the surface even more. At this point, masons can work directly on the concrete slab using knee boards.
When concrete is spread around, the ingredients become agitated and unevenly spread. Stones can end up at the surface in bunches. If these stones aren’t pushed down with a tamper, you’ll end up with a rocky finish or a pitted look.
It’s important to follow each step carefully when pouring and finished concrete. Skipping or rushing through a step can result in an unattractive finish. But don’t take too long or the concrete can set up and harden before it’s been smoothed.
Ingredients
Another major reason some concrete slabs aren’t smooth or look rocky is the ingredients. It’s important to use the correct ingredients and ratios if you want a smooth surface. This isn’t as important when pouring concrete you won’t see such as covered foundation walls or footings. Luckily this isn’t a problem if you’re using bagged concrete like Quikrete because they’ve taken care of the ingredients for you.
Here’s a list of what you should use:
- Sand: Every concrete mixture needs sand. But not every type of sand is right if you want a smooth surface. Use clean masons sand that’s fairly fine. If the sand is too gritty you’ll get a gritty surface. If it’s too fine the concrete will be weaker.
- Stone: Use stones with a smooth edge about the size of a quarter or smaller. Larger stones makes concrete stronger but less attractive. I use large stones for foundations but not patios. I never use jagged stones, they’re harder to work with and can cause voids inside the slab.
- Cement: I use Portland cement. There isn’t much you can mess up here, just make sure to use the correct ingredient ratios for the project you’re working on. Different ratios effect concrete’s workability and strength.
Ingredient proportions are very important if you want a smooth surface. If you’re not confident in mixing your own concrete, but it bagged or from a plant. They’ll take care of all the ingredients for you.
Water
Water is another ingredient in concrete but I thought I’d discuss it in it’s own section. It’s the simplest ingredient but the one that can make or break a concrete pour.
- Too much water will weaken concrete. It waters down the cement which causes stones to float to the surface. This makes it impossible to create a flat, smooth surface. If you use too much water, the concrete will be rocky, pitted, weak and prone to cracks.
- Too little water kills workability. If you use too little water, the concrete will be impossible to work with. You won’t be able to float it properly of tamp the stones down. Some amount of water needs to be inside the mix so that ingredients can move around freely as you work it. The reason why you tamp and float the concrete is to move the cement, sand and stone where you want it. The ideal consistency is dry oatmeal.
Managing your water is crucial. Use just enough to activate and mix all the dry concrete but not so much that it’s watery. When concrete is first mixed, you shouldn’t see any powder left in the mixer. Take a scoop of concrete in your hand. If you can form it into a snow ball and it holds shape, it’s good. But if it slips through your fingers it’s too watery.
Concrete should also be a little sticky. You’ll get concrete on your gloves because it’s pasty. If the concrete is so dry that it doesn’t stick, add water.
As you tamp down the concrete and float it, water will rise to the surface. But don’t over-work the concrete. It can dry out and become brittle. Tamp and float as little as possible in order to achieve the smooth surface finish you want.
Concrete Consistency
Concrete’s consistency is very important if you want a strong, durable slab with a smooth surface. I went over this already in the section on water but it’s worth discussing again in more detail because it’s so important. The wrong consistency will make it impossible to create a smooth surface.
If you mix your own concrete or buy it from a bag, you’re still responsible for adding the water which controls consistency. Using the correct amount of water is crucial. You want concrete that feels like thick oatmeal, not soup and not dry, flaky powder.
Making good concrete is like baking a cake. If the batter is too dry or too wet, the cake won’t come out right. You need enough water to activate and mix all the cakes dry ingredients, but not so much that it’s watery.
- If the concrete is too wet, cement bonds will break down and stones will float to the surface. There won’t be enough thickness to hold the stones down.
- Too little water and the stones won’t be able to move within the mix. The consistency is too solid.
- Just enough water means the concrete is wet and pasty but not watery. The stones can move around but there’s enough consistency to hold them down under the surface.
Environmental factors such as temperature and humidity can effect consistency. If it’s especially dry and hot, use slightly more water. If it’s extremely humid or damp, use a little less.
Concrete’s consistency isn’t all about creating a smooth surface. If you use too much water the concrete will be weak. Use too little and the slab will be brittle and easy to crack.
Materials & Tools
Always make sure you have enough concrete on hand to complete the job in one pour. Time in not your friend when it comes to pouring a concrete slab. As soon as the concrete is mixed with water, the cement activates and starts hardening. Your always on a tight clock so you won’t have time to run to the hardware store for tools or more concrete.
If you don’t have enough concrete, you’ll have to pour twice. This means the first batch will dry and cure faster than the second and you’ll have a seam where the two pours meet. This usually results in a visible line and some grit, excess pores, or a rocky surface. The reason is that you can’t tamp the concrete down in this section properly. It can be worked smooth by an experienced mason, but it’s harder.
Tools are another important thing to consider because there won’t be time to run out and buy any. Make sure to have the following on hand:
- Tampers
- Poles
- Floats
- Placers
- Screeds
- Kneeler boards
- Shovel
- Concrete Boots
Make sure to always have a fresh water supply on hand when working with concrete along with a hose and spray tip. You may need to wet the surface a bit while floating the concrete.
Timing
When concrete is poured and pushed into place, it slowly starts to set up and harden. As this occurs, you have certain windows of time when work needs to be done. Timing is very important because you’re working the concrete’s surface while it’s hardening. If you do things out of order, too soon or too late, you’ll end up with an unattractive surface.
A common reason many people get a rough concrete surface is called laitance. This happens when you trowel the surface too soon in the hardening process. Don’t skip steps.
- Once the concrete is poured and pushed into place use a screed to get the surface relatively level and flat. This assumes you built your forms correctly. The screed is a long flat and level bar that goes from one form to another. As long as the forms are level, the screed will also level the concrete. Excess concrete and water will be pushed off the sides of the forms.
- Wait about 10 minutes and then start tamping the concrete. This pushes the stones down below the surface.
- After you’ve tamped all the concrete, wait another 5-10 minutes, then start floating. The first float is done with a large tool called a bull float. I usually make at least 2 passes with the bull float. Each pass is about 5 minutes apart. You’ll start to see some water coming up from the concrete. Wait for this water before you float again. If water doesn’t come up, mist a little on the surface yourself.
- Once you’ve floated for the last time, wait until the concrete hardens enough to work on with kneeler boards. Use a hand trowel to get the surface really smooth.
Most water onto the surface as needed to keep it moist and help with floating.
How To Prevent Rocky Concrete
There are several things you can do to prevent rocky concrete and ensure a smooth surface. But these tips are in addition to using the right ingredients, controlling water levels and working the concrete. Always make sure to get the fundamentals right and then consider some of these finer tips and tricks.
- Tampers. Whether you’re pouring a large patio or small sidewalk, tamping the concrete is very important because it pushes the stones down. But don’t tamp too hard, you want the stones just below the surface. If you push them too far down the surface will be weak and prone to cracks.
- Weather. Check the weather before you work with concrete. If it’s too hot, dry or wet out or there’s even a slight chance of rain, pour another day. I never pour concrete at noon, wait until the sun is going down or just rising.
- Float: Floating the concrete is a multi-step process. Float it first with a large bull float and then again with small hand floats. Use long smooth and slow passes with your floats instead of short quick ones. It’s sort of like putting icing on a cake.
- Water: If the concrete is drying too fast, spray a little bit of fresh water on the surface. Just get it a little damp. This will help the floats glide over and smooth the surface. I usually spray a little water right after I’m done screeding but before I float the concrete for the first time.
- Soil: Soil condition is important because it can suck moisture out of the concrete. I usually wet the soil before I pour. This slows the drying time down which gives me more time to work the concrete. If concrete dries too quickly it’s harder to smooth out.
Summary: Reasons Why Your Concrete Looks Rocky
Concrete is made by mixing sand, stone, cement and water together to form a paste that later hardens strong like a rock. It’s a wet material with a consistency like thick oatmeal. But it isn’t watery. This means concrete won’t self level. Masons have to work the concrete with tools like floats, screeds and tampers to get it smooth. First, masons push and pull the concrete until the forms are full and the concrete’s level. Once that’s done, they go to work on the surface. Tampers are used to shake the concrete which pushes stones down below the surface. This creates a thin top layer of sand and cement. Floats are then used on the surface to make it smooth. The main reason why your concrete looks rocky is because it wasn’t tamped and floated properly.
When you look at a smooth concrete patio, driveway, sidewalk or steps, what your actually seeing is cement and sand. This is because masons tamped the stones down and then smoothed the surface. If tamping wasn’t done, stones would still be on the surface which creates a rocky or pitted look.
The concrete’s ingredients can also be causing it to look rocky. Clean mason sand and smooth stones about the size of a quarter or smaller should be used to make concrete. If you used larger or jagged stones or rough thick sand, it can create a gritty, rocky looking texture.
Water can also be the reason your concrete isn’t smooth. Use just enough water to separate stones from cement and sand. If the concrete is too dry, you won’t be able to tamp the stones down below the surface. However, if it’s too wet, the concrete will be weak.
If you have any questions or comments about concrete, email any time.

John Mazzuca | About | More Posts |
Custom Home Builder
John Mazzuca is a custom home designer and builder at Gambrick with over 25 years experience in the construction industry. John has designed, built and/or remodeled hundreds of homes, small buildings, and commercial projects. He writes about business, real estate, home building, and household electronics. His work has been featured in Fox Business, Better Homes & Garden, House Beautiful, and more.