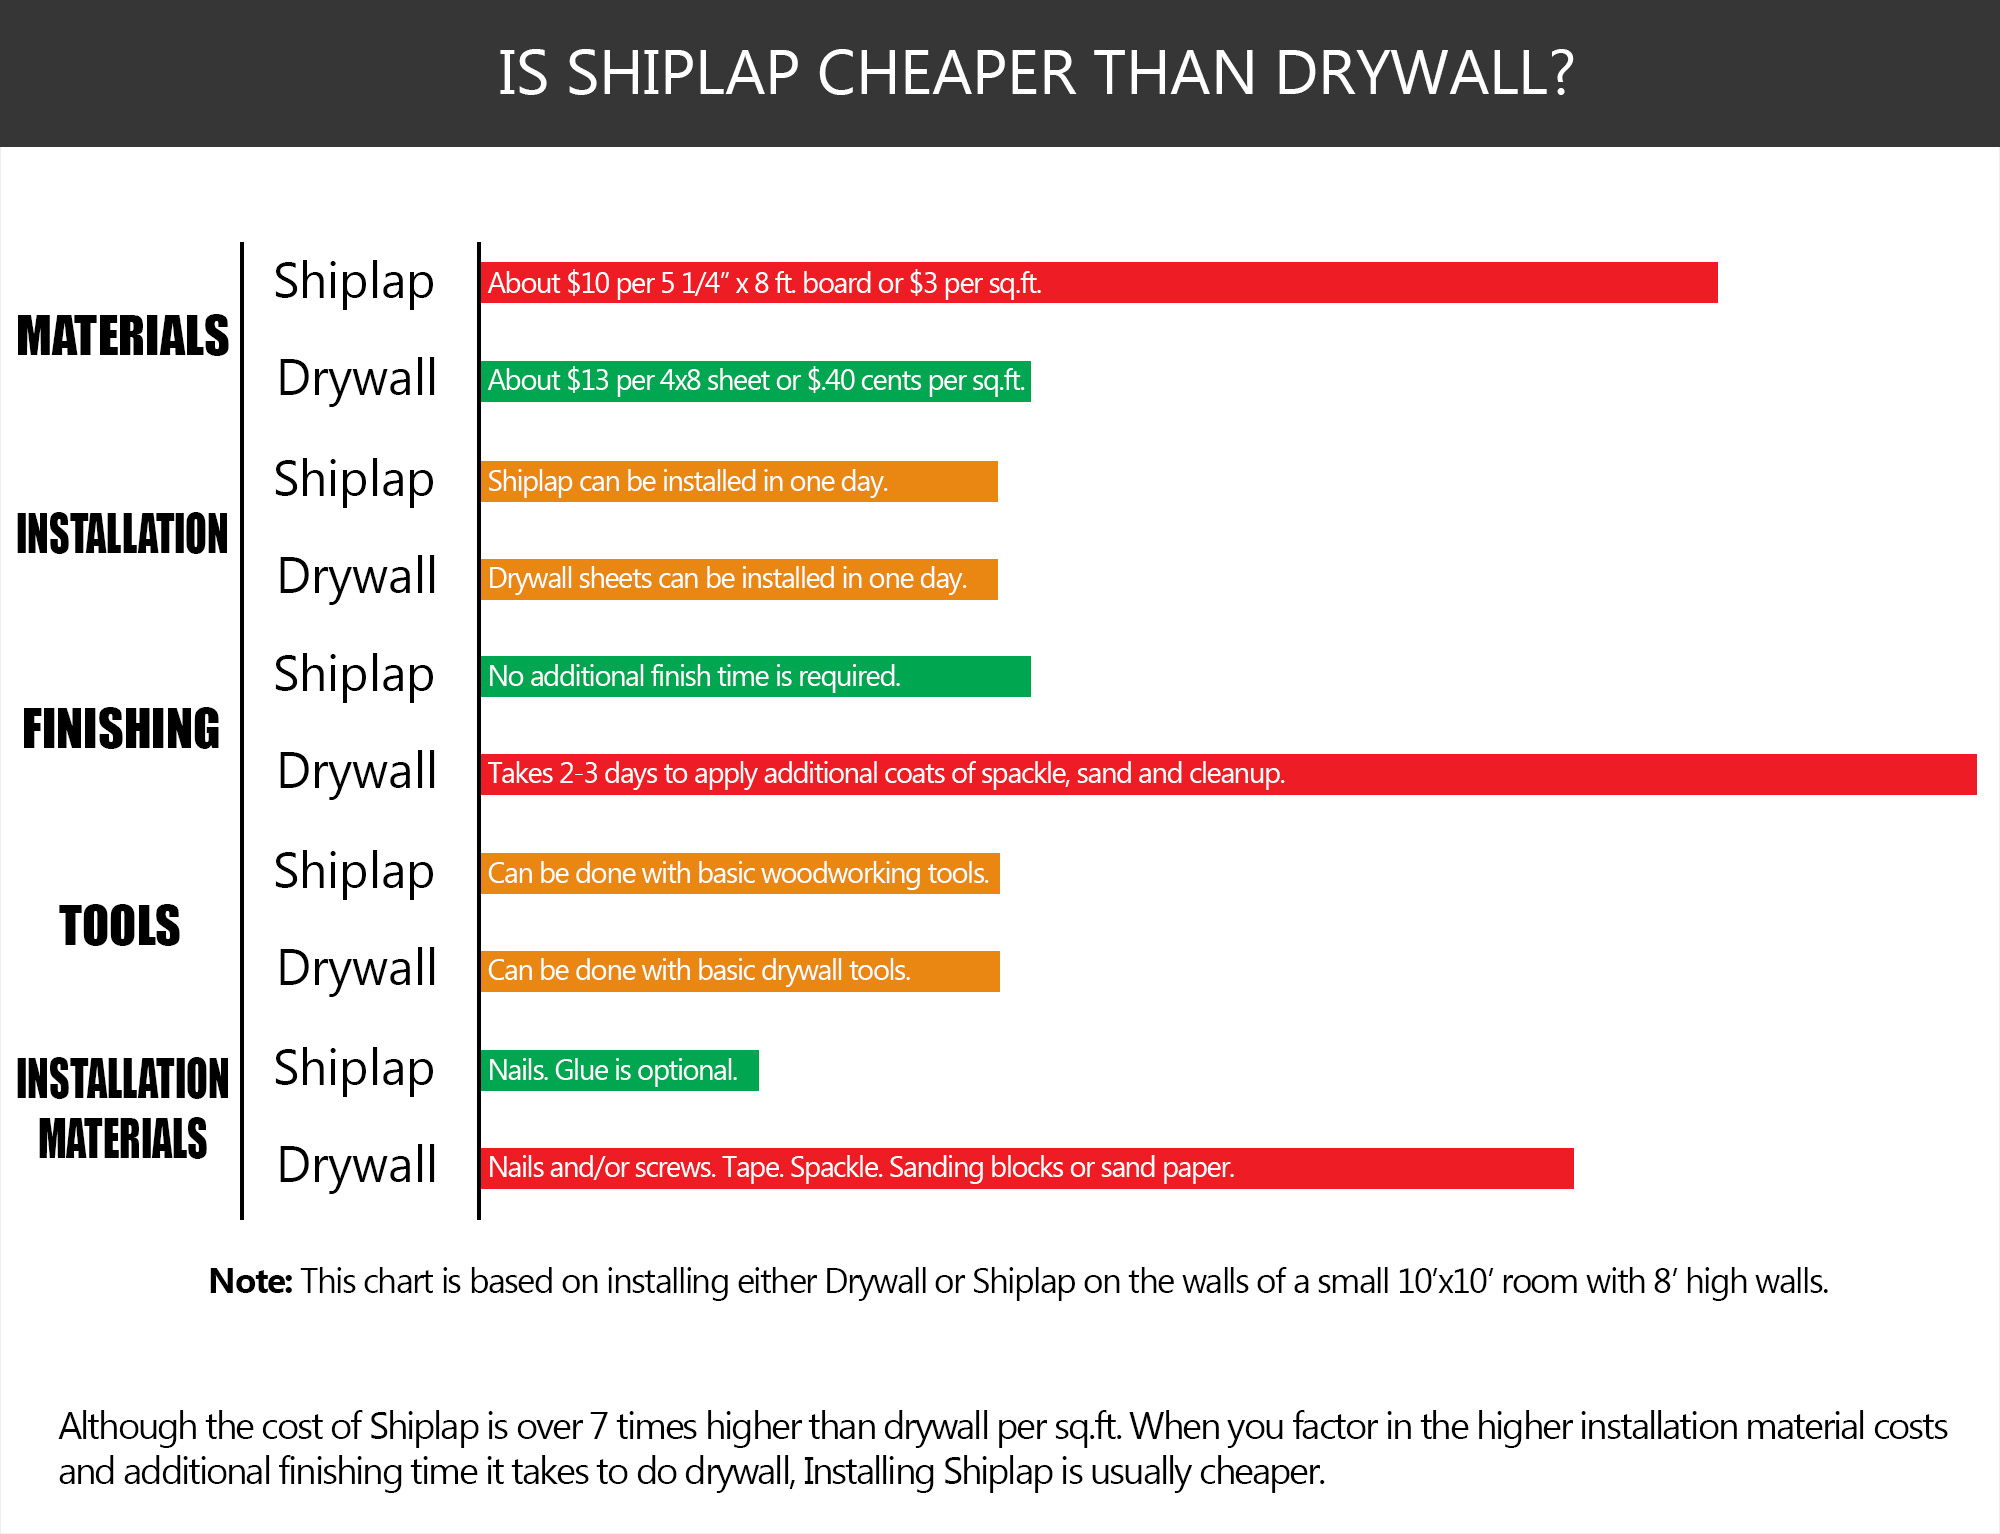
Is Shiplap Cheaper Than Drywall?
Shiplap is a type of wood paneling with a groove on one end. It’s been used as a siding material for over a hundred years. The boards overlap at the edges which helps keep them water tight. However, these days it’s more commonly used on the interior of a home. In many cases, shiplap is used to cover entire walls in place of drywall. The boards can be installed either vertically or horizontally and are then painted. The great thing about shiplaps overlapping edges is that installation nails are hidden. This helps create a smooth finish without nail holes. At the current cost of lumber shiplap is not cheaper than drywall. However, just a few years ago it was the cheaper option.
Shiplap material has always been more expensive than drywall sheets. However you save a lot on installation costs and time. Drywall must be hung, taped, spackled and sanded. Even a small room can take days to complete because you typically need 3 coats of compound. Compare that to shiplap which can be installed in 1/4 of the time. In some cases you can be painting the walls the same day you install the shiplap. There’s no way to work that fast using drywall. And in business time is money.
Installing shiplap is much easier than drywall. Especially when working in the corners. Spackling and sanding a sharp inside corner takes skill. But with shiplap, all you do is cut the boards and nail them in. It’s a great DIY project.
Overall, because of the current high cost of lumber, shiplap is more expensive than drywall. But not by much. If lumber comes down just a bit, it’ll be the cheaper option.
In this article we’ll break down shiplap vs drywall costs for materials, time and installation.
Shiplap Vs Drywall Costs
When you’re comparing the price of shiplap vs drywall, you have to compare more than just the material prices. Materials only make up part of the total cost to do a job.
Most projects break down into 5 main costs. Materials, time (which usually means labor costs), tools, install materials like nails or screws, and finishing costs.
In this section we’ll break down and compare each cost for both shiplap and drywall.
Shiplap Vs Drywall Material Costs
When you compare just the cost of materials, shiplap is a lot more expensive than drywall.
A typical 4×8 sheet of 1/2 inch drywall costs around $13. It covers 32 sq.ft. of wall space. That’s only about $.40 per sq.ft. Compare that to the standard 5 1/4 inch x 8 ft. shiplap board which costs around $10. To cover the same 32 sq.ft. of wall space you’d need about 9 boards of shiplap which cost around $90 or approximately $3 per sq.ft.
As you can see, if all you compare are the material costs, shipalp is a lot more expensive than drywall.
Note: It’s important to note that 2 years ago shiplap was about $2.50 a board. Lumber prices have gone crazy over the last 2 years. If they go back down to normal the price difference for materials between shiplap and drywall will be much less. One of the appeals of using shiplap was that it looked great and was a relatively cheap option. This may become true again depending on what happens with lumber prices.
Time
The next factor you need to consider when comparing the cost of shiplap vs drywall is installation time. Shiplap is much easier and faster to install than drywall.
The difference between shiplap and drywall is that shiplap is a finished product. Once you cut and nail in the boards, you’re all done. There’s absolutely no additional finish work required. In some cases I’ve installed shiplap on the walls of a small room and started painting the same day. The boards even come primed which saves a painting step. Drywall on the other hand is very different.
Drywall sheets are fast and easy to install. A drywall sheet is much bigger than a shiplap board. Every sheet of drywall is equal to nine shiplap boards. So installing drywall is much faster. However, they require a lot of additional finishing.
Drywall requires taping of all the seems and corners, at least 3 coats of spackle and sanding. Drywall work is messy and takes a long time because each coat of compound needs to dry before you can apply the next. And it’s skilled work. Not just any worker can get a perfect corner or a smooth surface.
In general, shiplap takes about 1/4 of the time to install than drywall. It’s hard to say exactly how much money this saves because labor costs vary, but for me it’s always been a lot. Most shiplap jobs can be done in a day or two. But drywall takes repeated trips to the job to apply compound and then sand.
With shiplap there’s also no messy sanding which saves even more in terms of cleanup time.
Overall, the time you save by installing shiplap vs drywall is enough to equal out the material costs.
Tools
Both shiplap and drywall require tools to install and finish them.
Shiplap is wood so you’ll need a saw. I use a circular saw to make all my cuts. A table saw or chop saw come in handy. You’ll also need a jigsaw to cut out holes for outlets and switches.
Shiplap is nailed to the studs so at the very least you’ll need a hammer. Although I would recommend using a nail gun. They make the job so much easier. I use a Milwaukee battery powered trim gun. It works great and doesn’t require a compressor.
You’ll also need some basic tools like a tape measure, speed square, level and pencil.
Drywall requires tools that are more specific to drywall work but are generally cheap. You’ll need a T-square for cutting boards, a tape measure, pencil, utility knife and a drywall saw.
To install the boards, you’ll need a hammer and nails or a screw gun and screws. I use screws for the edges and nails for the inside areas.
Once the drywall boards are hung, you’ll need tape, compound, a tray and a bunch of drywall knives. I usually use a 6 inch, 10 inch and 12 inch drywall knife to apply most of the compound and a 4 inch for tight areas.
After 3 layers of compound are applied and dry, it’s time to sand. I use sanding blocks and pole sander with different grits ranging from medium to fine.
Overall, the tools you need to install and finish drywall are cheaper than shiplap, but you need a lot of them. When you add them all up the tool costs are about the same unless you buy some really expensive saws and nail guns. But they aren’t required to install shiplap.
Installation
Material are required to install both drywall and shiplap.
Shiplap boards are nailed to the studs which requires trim nails and at least a hammer. I prefer using a nail gun. What I use is a Milwaukee battery powered trim gun. It works great and doesn’t require a compressor.
I use an 18 gauge 2″ nail. One per stud.
I also like to use some Liquid Nails glue on the studs. To apply it, you’ll need a standard caulk gun.
That’s it, shiplap boards are very easy to install. Just cut them to length and nail them to the studs.
Drywall boards are nailed or screwed into the studs. I like to use screws for the outside edges and screws for inside areas. For this you’ll need a hammer and a screw-gun.
I use coarse thread 2 1/2 inch screws with 2 1/2 inch nails to install 1/2 inch drywall. Generally I want about 2 inches of screw or nail in the stud.
In some cases I’ll also apply a little glue to the back of the drywall against the studs. This helps secure the drywall which prevents nail pops and seam cracks. I use the same Liquid Nails glue on both shiplap and drywall which applied using a basic caulk gun.
In terms of cost, shiplap and drywall installation materials are about the same. However, if you use a nail gun the price can be a little higher.
Finish Work
The great thing about shiplap is that it requires no additional finish work other than painting. If you installed the boards correctly, all the installation nails will be hidden so you won’t have any filling or sanding to do.
Drywall requires a lot of finish work. After the boards are hung, you have to install tape, several coats or spackle and then sanding. It takes a lot of work and skill to achieve a smooth surface with tight corners.
Overall, the cost of finish work is much higher for drywall than shiplap.
What Is Cheaper Shiplap Or Drywall?
Drywall panels are cheaper than shiplap per sq. ft.. But once you factor in the cost of installation and finish work, shiplap is usually cheaper or at least the same price. This is even considering the extremely high current cost of lumber.
The average price for drywall is around $13 per 4×8 panel. That’s only about $.40 per sq.ft. But you’ll also need tape, several coats of spackle and sanding. The work is tedious, time consuming, requires skill and is messy.
Installing shiplap is very different. A typical 5 1/4 inch x 8 foot board costs around $10. That’s around $3 per sq.ft. But there’s no finish work involved with shiplap. It’s a completely finished product. Once you install the boards, there’s no filling or sanding required. And most boards come primed so all you have to do is paint.
Overall, when you factor in the time savings and cost of labor, shiplap is less expensive than drywall.
A small 10×10 room with 8 ft high walls requires 10 sheets of drywall. It’s a small project but still a 3-4 day job. Day one we hang the drywall, tape and apply one coat of spackle. Day 2 we apply a second coat. On day 3 we apply a third and final coat. And on day 4 we sand and cleanup. Even a small job like would easily cost $2500 to complete.
To shiplap the walls of the same sized room would take one day. It takes about 91 shiplap boards to cover the walls costing around $900 plus $100 for nails and glue. We’d charge around $1,000 labor which totals $2,000. Even though shiplap is more money than drywall panels, the overall cost of the job is cheaper because it’s so much faster to complete.
Is It Expensive To Do Shiplap?
How Much Does Shiplap Cost? Shiplap panels cost about $10 for a standard size 5 1/4 inch x 8 foot board. One board covers about 3 feet of wall space which equals about $3.50 per sq.ft. For every 100 sq.ft. of wall space that’s about $350 in material plus another $25 for nails and glue.
The benefit of shiplap is how fast and easy it is to install. Most homeowners can handle installing shiplap DIY with just some basic hand tools.
Installing shiplap is generally a person job for a carpenter. The cost of labor per day is usually between $350 – $500 per day if you hire a worker yourself. However, if you hire a business they can easily charge $1,000 per day. But overall, the job is still fairly inexpensive compared to drywall.
Generally, a shiplap project is about 20% cheaper than drywall.
What Is Shiplap?
Shiplap is a durable solid wood panel ranging between 3/4 of an inch to 1 inch in thickness and from 3 inches to 12 inches wide. The standard size shiplap we use for interior remodeling is 5 1/4 inch.
Shiplap was first used to make boats and ships which is why it’s called shiplap. Historically, it’s also been used as a siding material. However these days we use shiplap as an interior finish material and less as a siding or boat cladding.
Shiplap is similar to tongue and groove because the boards overlap. The boards have a recessed groove along both the top and bottom edges of each board. Each new board is installed on top of the previous boards groove. This hides the fasteners and creates a really nice look.
Planks of shiplap can be installed horizontally, vertically or on angles to create all sorts of interesting looks. And it can be installed on any flat surface. This includes walls, ceilings, range hoods and fireplace surrounds.
Shiplap is much easier to install than drywall, which is why so many homeowners install it themselves DIY. All you need is a basic hand saw and hammer. This can save you a lot of time and money. Once boards are nailed in place, the job is basically done. There’s no filling or sanding required.
How To Install Shiplap
Shiplap is very easy to install which is one of the reasons it’s so popular. All you really need are a basic hand saw, tape measure and a hammer. Although more tools makes the job easier.
When I install shiplap I use a circular saw, tape measure, level, framing square, jigsaw, caulk gun and a nail gun.
The most important part of any good shiplap installation is the first board. Every additional board is installed on top of the first plank. As long as the first board is correct, your next boards will be perfect.
Measure the area and cut your shiplap plank to the proper length. I typically leave a very small 1/16th inch gap between the end of the board and a wall, floor or ceiling to allow for some expansion and contraction. Apply a thin bead of Liquid Nails glue to the studs and then push the plank against the studs. Glue is an options step but I like to use it. On the edge of each shiplap board is a groove, this is where you drive the nails. Install one nail per stud.
I use at least a 2 inch 18 gauge trim nail and a Milwaukee battery powered trim gun. But you can hammer the nails in by hand. Power tools just make the job easier.
Make sure your plank is level before you start nailing.
Once the first plank is installed, start nailing in all your subsequent boards.
Can Shiplap Be Used Instead Of Drywall?
Shiplap can be used instead of drywall and installed right up against the studs. It does not require drywall under the shiplap boards. However, in some cases building codes may require a layer of drywall as fire protection. In this case, you can not substitute shiplap for drywall. First install the drywall layer and then the shiplap on top.
There are a few advantages to having a layer of drywall behind your shiplap even if it’s not required.
Drywall provides some fire protection. Even if it’s not required by building codes, extra protection is always good to have.
Drywall also provides some sound buffering. This can be an advantage in some rooms of the house.
You also get a bit of additional insulation when you use drywall. This can be helpful when installed on an outside wall.
Overall, I don’t install drywall under my shiplap unless it’s required. However, if I’m remodeling a room that already has drywall, I usually install the shiplap on top and don’t demo the drywall.
What’s The Cheapest Way To Do Shiplap?
The cheapest way to do install shiplap is by installing it yourself. It’s fairly easy to do and only requires basic tools. If you’re a DIYer than installing shiplap shouldn’t give you any trouble.
I would recommend installing primed shiplap instead of bare wood unless you plan on staining it. Primed is a little more expensive than bare wood but it saves you money in the long run because you can skip the priming step.
If you’re remodeling a room with shiplap, it’s usually OK to go over the existing drywall, paneling or wallpaper. Demolishing the existing wall covering wastes time and money. The only time I demo the old stuff is if the room is really tight and I want that extra inch of it there are lots of windows and doors. By adding shiplap on top of the old walls you pad them out which means you also have to adjust the window and door moldings.
If there’s a single door and window it’s usually worth it to redo the trim. However, if I’m shiplapping a large room with lots of windows and doors, it may be better to install the shiplap on the studs so the existing trim can remain where it is. This is a judgement call you’ll have to make.
As far as material costs, there’s not much you can do at the moment. Wood shiplap is currently expensive per board. However, many suppliers and lumber yards will provide a bulk discount. if your job is large enough you may qualify so it’s worth asking.
Gallery
Here’s a small inspiration gallery filled with some of my favorite shiplap.
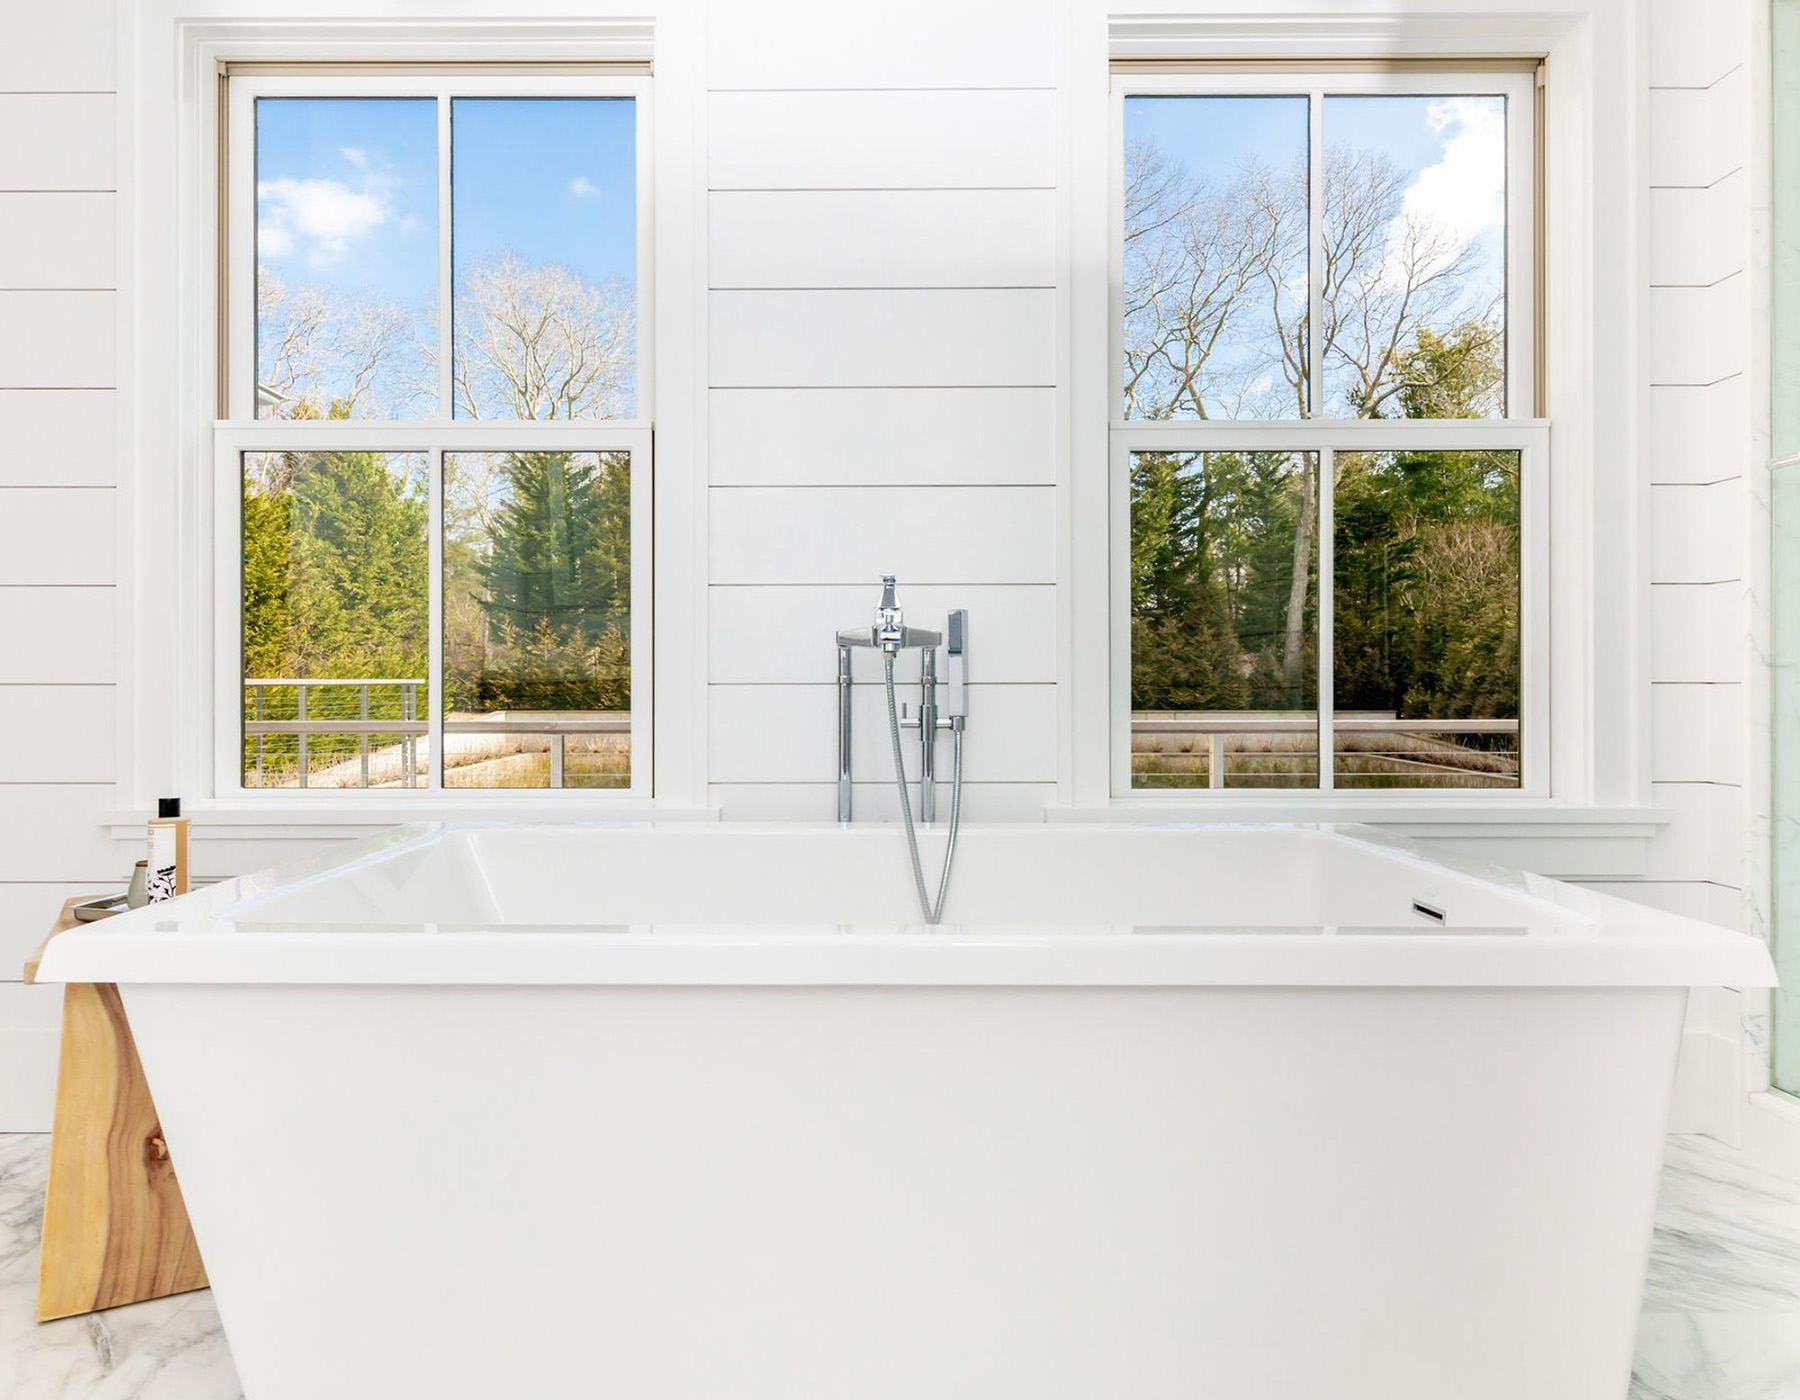
Shiplap bathroom walls with marble floors and a beautiful soaking tub.
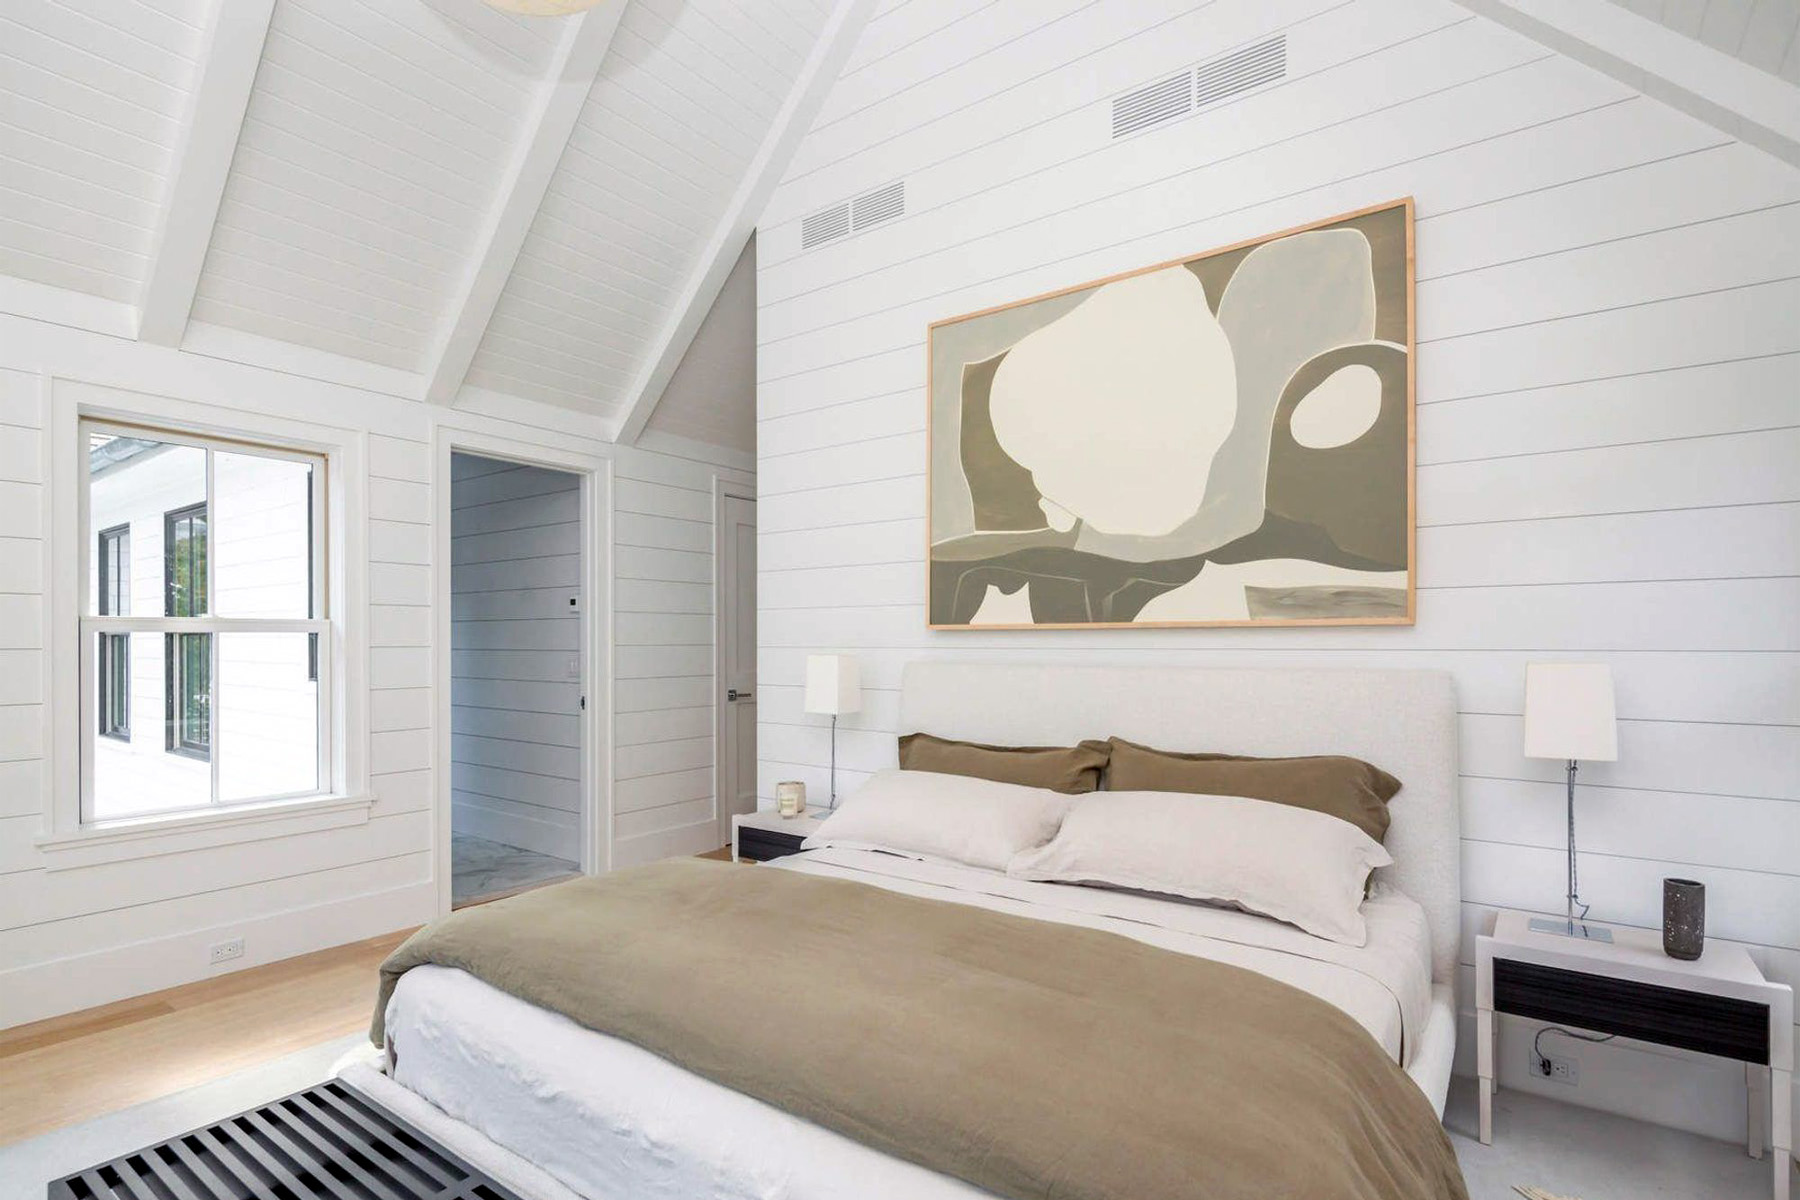
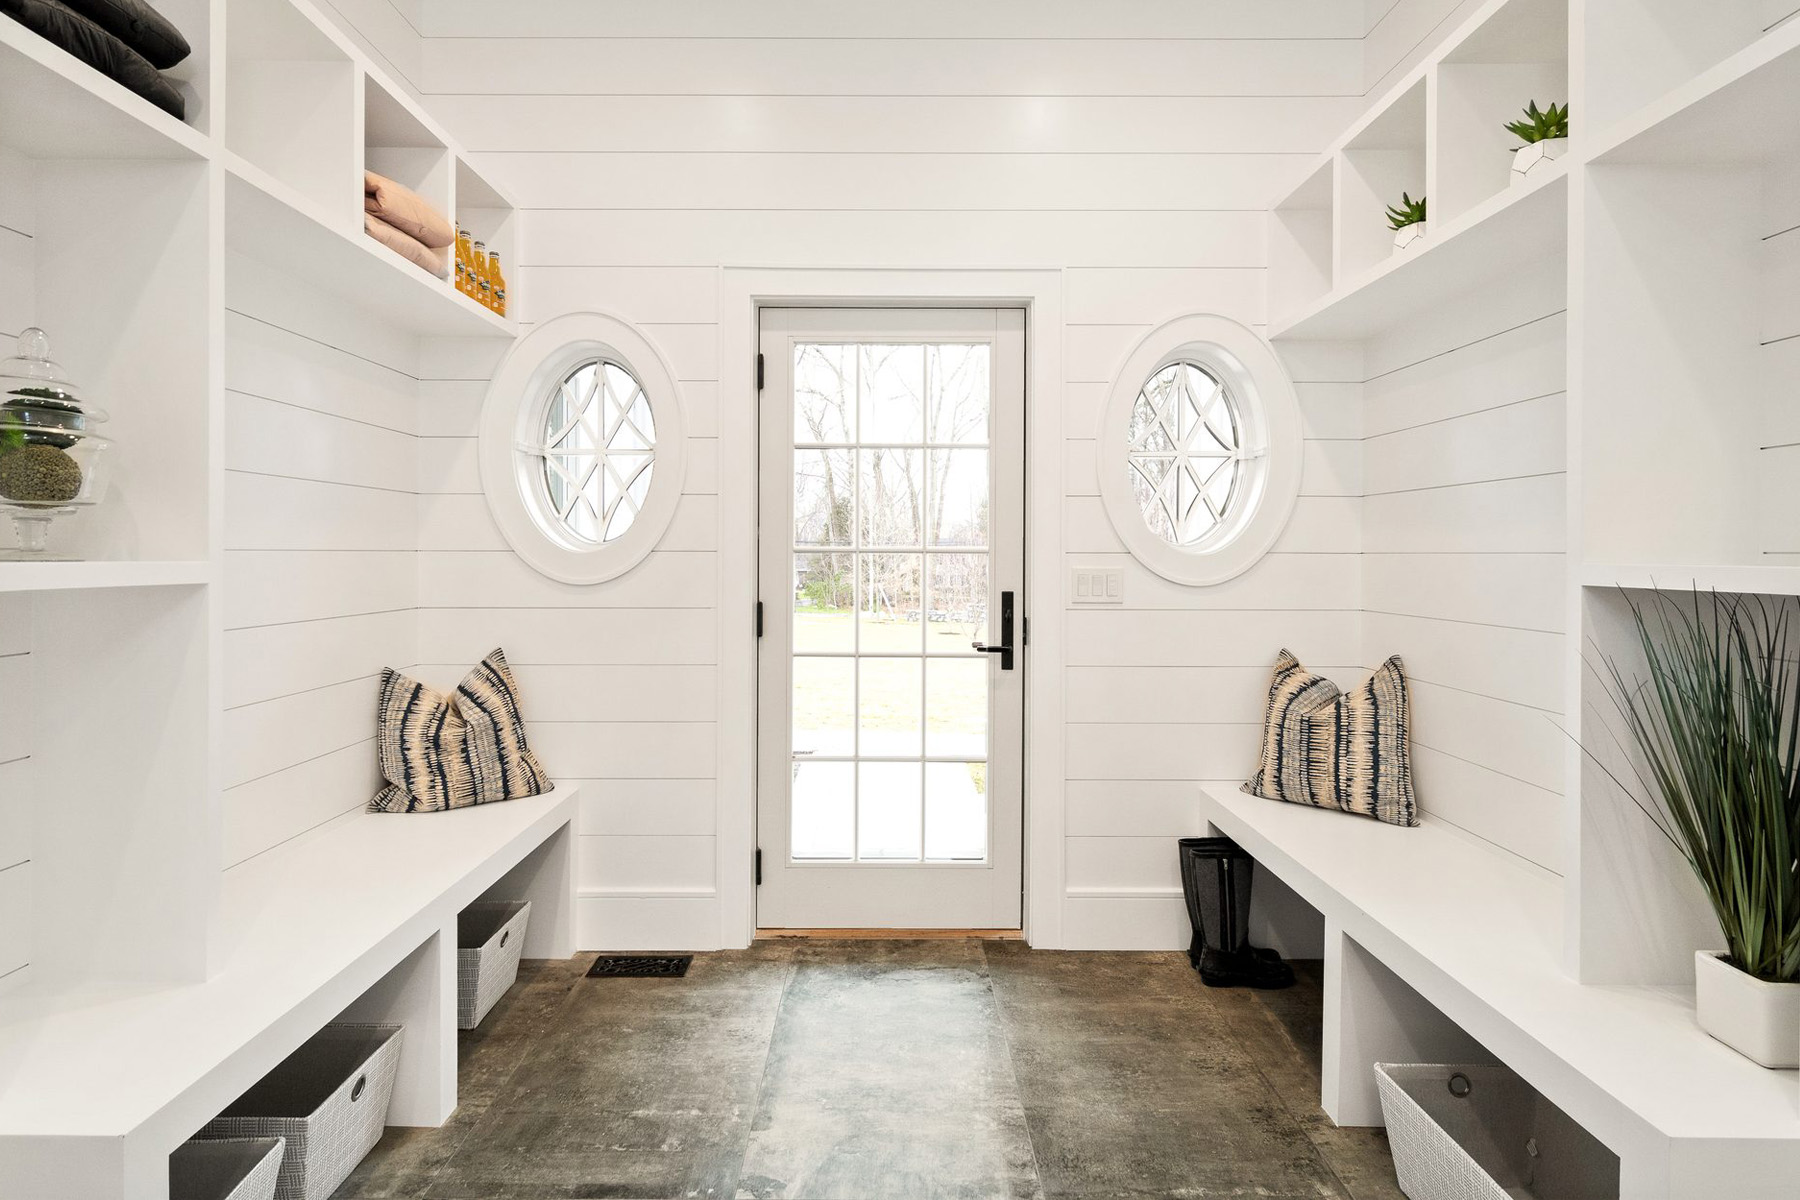
White shiplap bedroom walls instead of drywall.
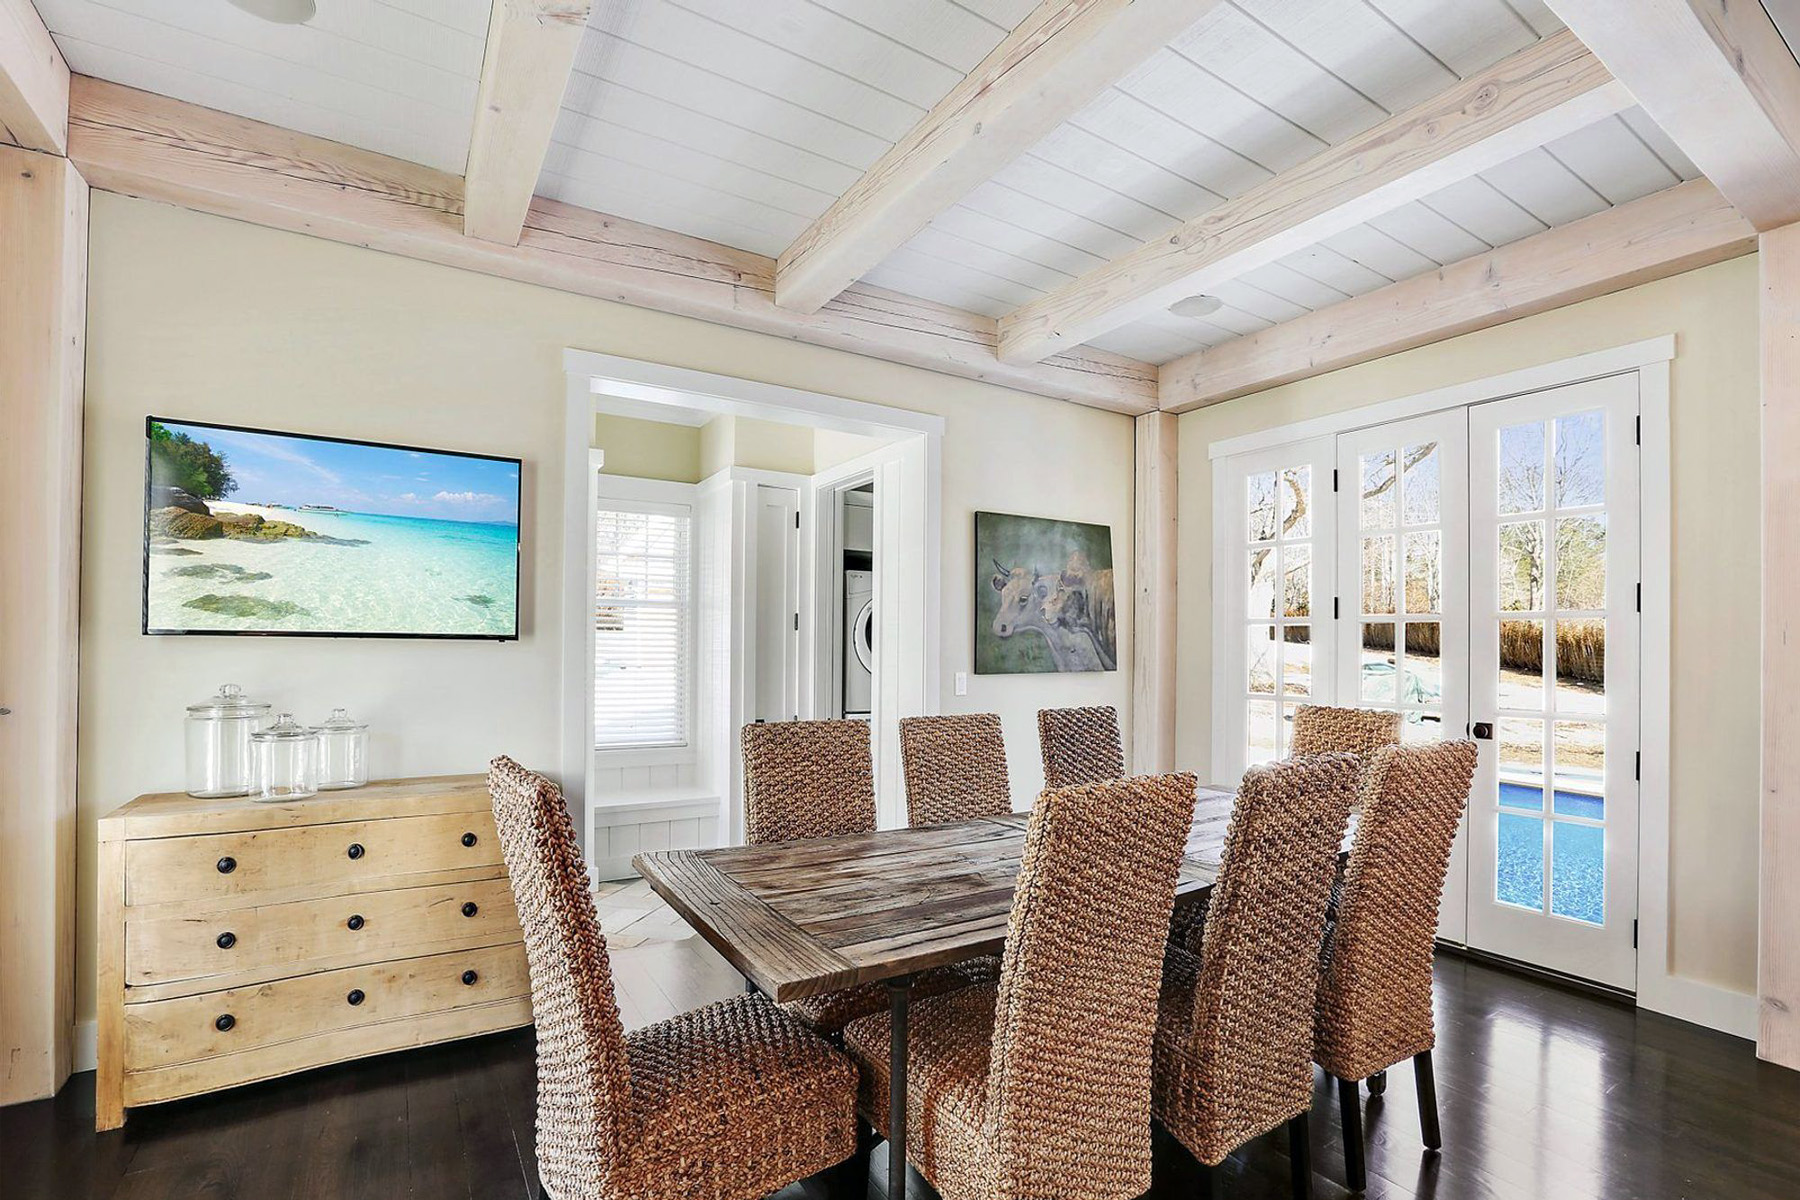
White shiplap dining room ceiling with exposed wood beams.
Shiplap oven range hood.
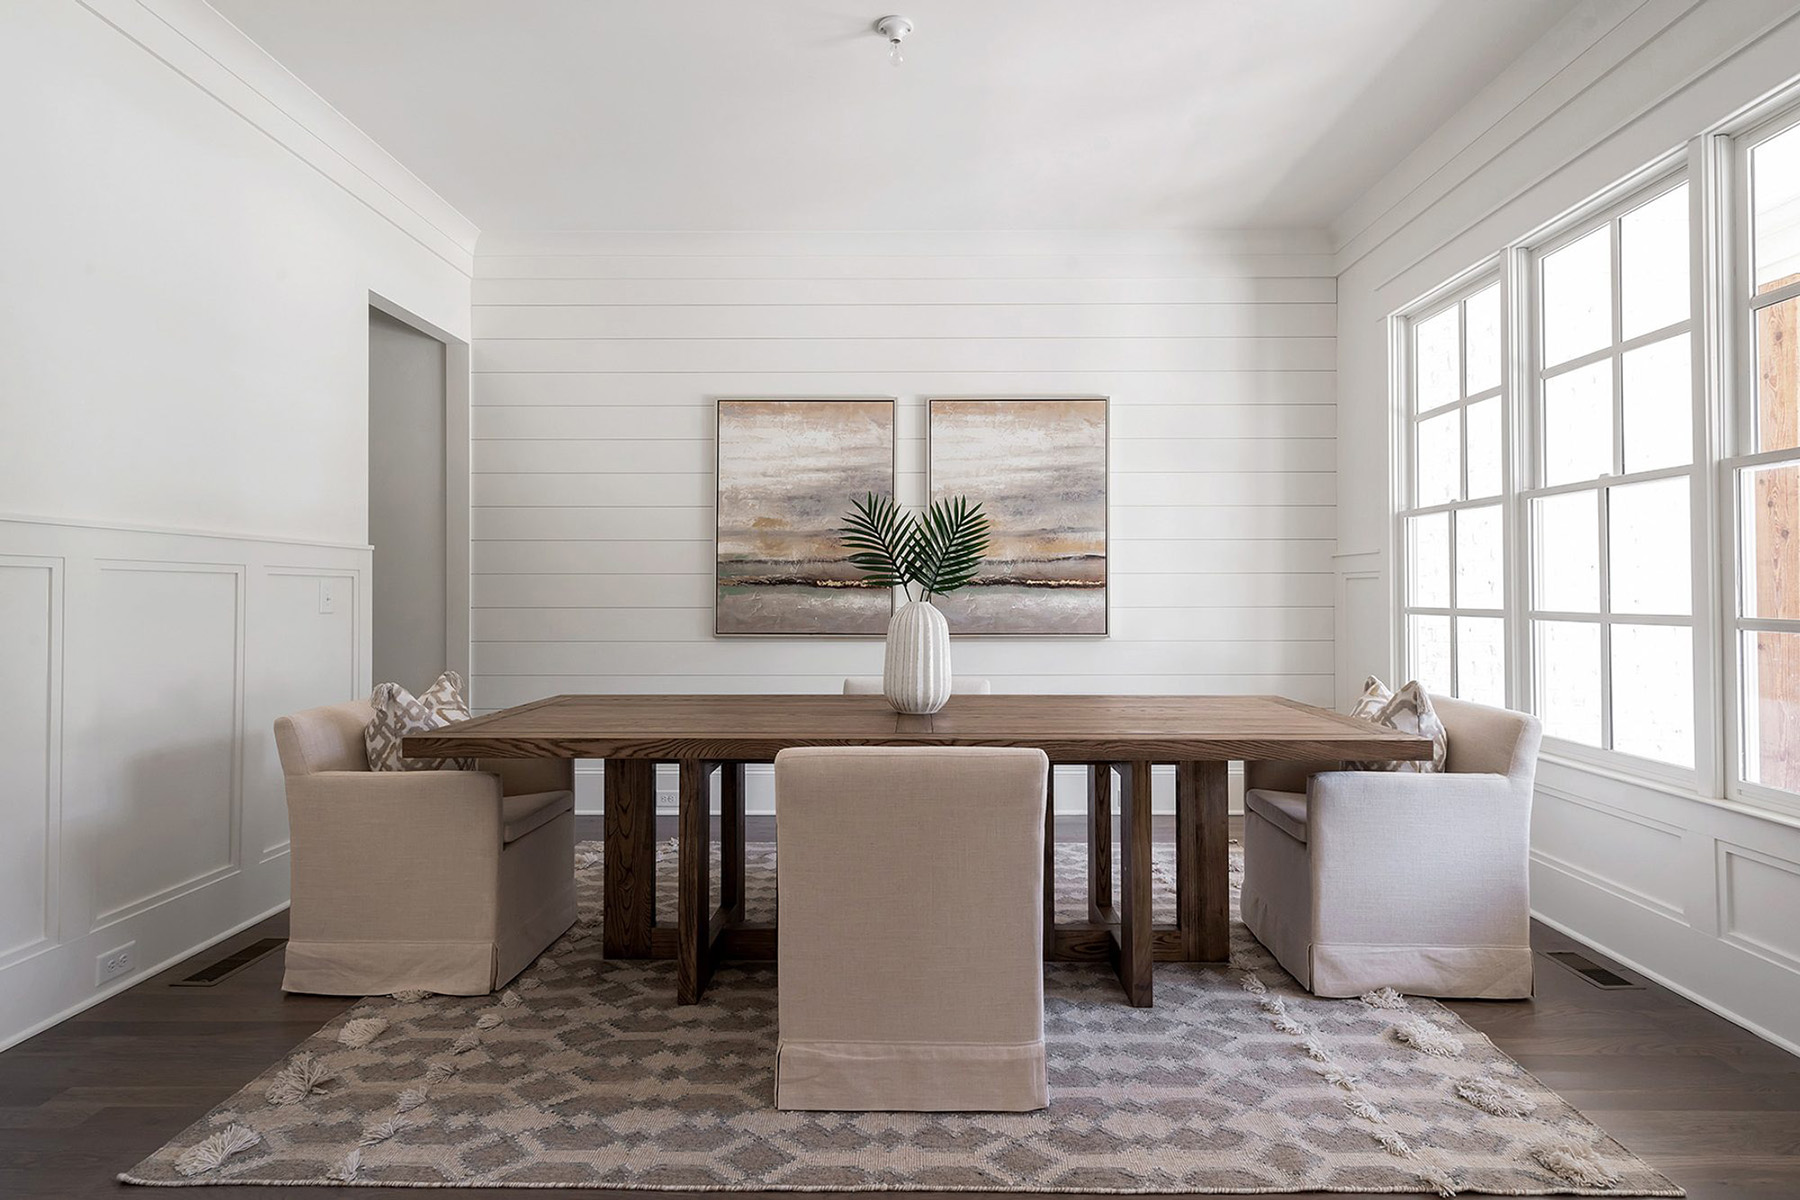
Beautiful dining room with white Shiplap feature wall.
Summary: In Shiplap Cheaper Than Drywall?
Shiplap is a type of wood paneling with a groove on one end. It’s been used as a siding material for over a hundred years. The boards overlap at the edges which helps keep them water tight. However, these days it’s more commonly used on the interior of a home. In many cases, shiplap is used to cover entire walls in place of drywall. The boards can be installed either vertically or horizontally and are then painted. The great thing about shiplaps overlapping edges is that installation nails are hidden. This helps create a smooth finish without nail holes. At the current cost of lumber shiplap is not cheaper than drywall. However, just a few years ago it was the cheaper option.
Shiplap material has always been more expensive than drywall sheets. However you save a lot on installation costs and time. Drywall must be hung, taped, spackled and sanded. Even a small room can take days to complete because you typically need 3 coats of compound. Compare that to shiplap which can be installed in 1/4 of the time. In some cases you can be painting the walls the same day you install the shiplap. There’s no way to work that fast using drywall. And in business time is money.
Installing shiplap is much easier than drywall. Especially when working in the corners. Spackling and sanding a sharp inside corner takes skill. But with shiplap, all you do is cut the boards and nail them in. It’s a great DIY project.
Overall, because of the current high cost of lumber, shiplap is more expensive than drywall. But not by much. If lumber comes down just a bit, it’ll be the cheaper option.
If you have any questions or comments about shiplap, email any time.