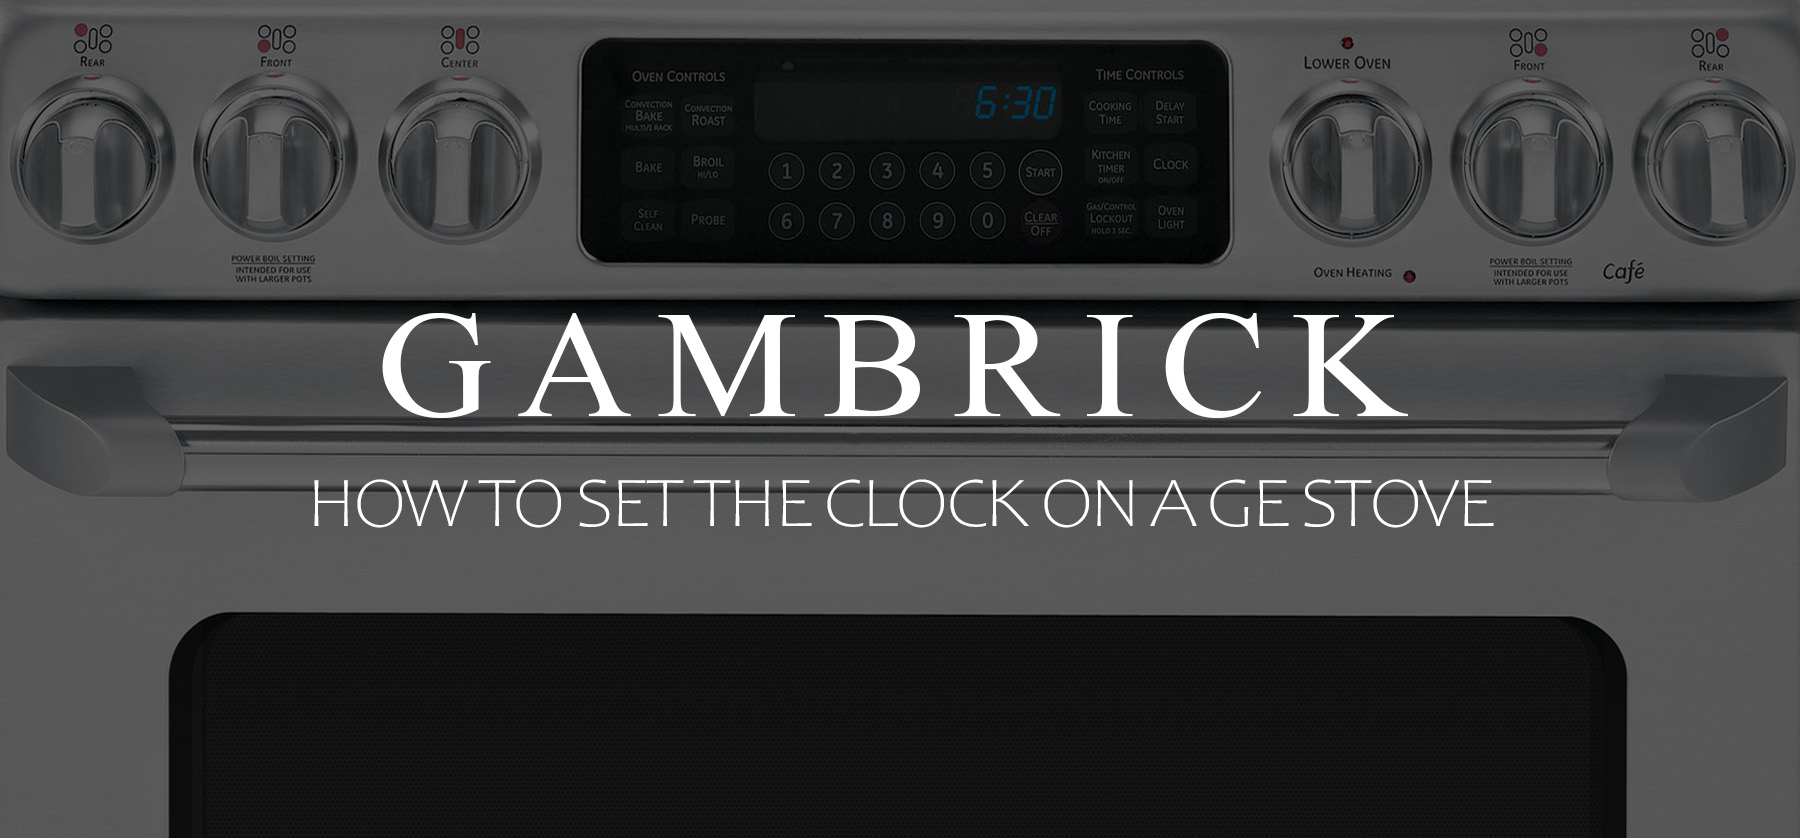
How To Set The Clock On A GE Stove
There are multiple ways to set the clock on a GE stove, depending on the type of display your stove has. If you have an LCD screen, touch the screen to wake it up > press the Settings Option or Icon > tap Clock or Set Clock > follow the on-screen instructions. For GE stoves with a Clock or Set Clock pad, press the Clock or Set Clock pad (on some models, you press the pad twice) > press the + / – pads or the number pads (depending upon the model) to set the time > touch the Start pad. If your stove does not have a Clock or Set Clock pad, press and hold down the + and – pads simultaneously for 3 seconds > press the + / – pads to adjust the time up or down > touch the Start pad.
- To set the clock on a GE stove with a digital display, push in the center knob of the Minute Timer > turn the knob in either direction to set the Digital Clock numerals to the correct time.
- To adjust the clock on a GE stove with a non-electronic clock, push the center knob in > turn the clock hands to the correct time. If the Minute Timer pointer should also move, let the knob out and turn the Minute Timer pointer to OFF.
- On some GE stoves, you can set the clock by pressing and holding the 9 and 0 buttons simultaneously for 2 seconds until you hear a beeping noise. Then adjust the time using the keypad display or you can enter the time adjustment setting by pressing the set clock button on the control pad.
In this article, I’ll explain how to set the clock on a variety of GE stoves and how to resolve common problems with the clock.
7 Ways To Set The Clock On A GE Stove
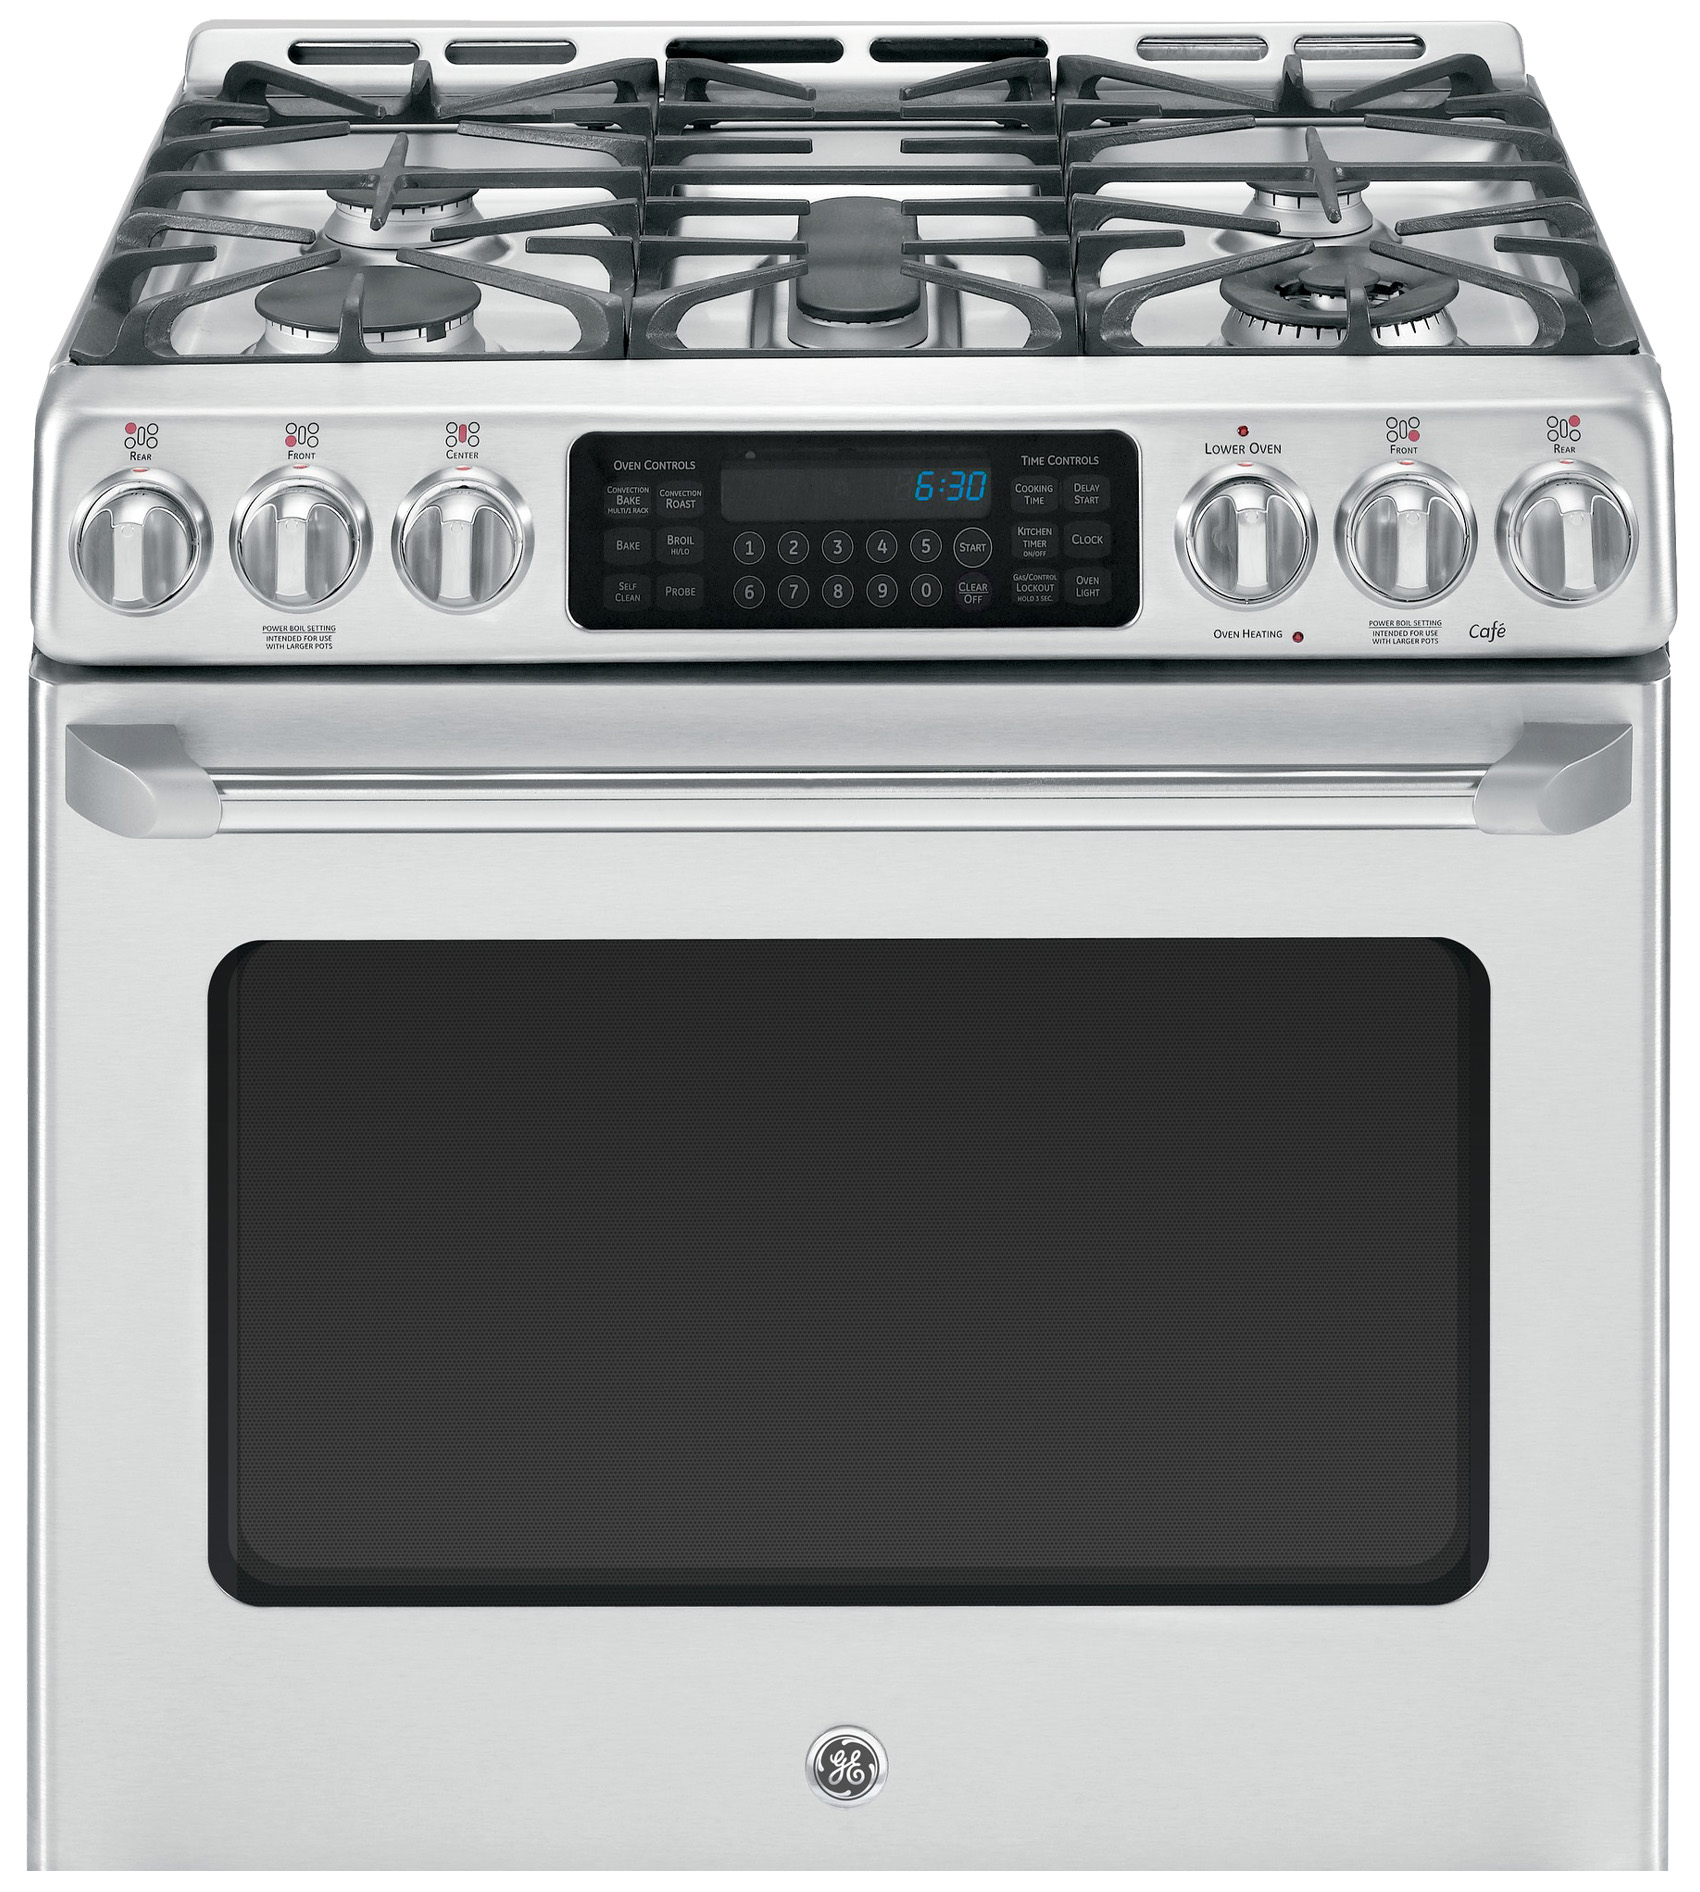
GE stoves come equipped with a built-in clock that you can set and/or adjust at any time. It’s an easy-to-read clock that keeps accurate time, which can help with lots of timed recipes. Depending on the model GE stove you have, the clock could be digital, part of an LCD screen, part of a clock pad, or non-electronic.
The built-in clock on a GE stove is very reliable, however, it draws power from the stove and not a battery. So if the power goes out, you’ll have to adjust the time. In addition, some of the clocks don’t adjust for daylight savings, so you’ll have to adjust them manually.
In the sections below, I’ll list the various ways to adjust the time on your GE stove’s clock based on the type of clock you have.
How To Set The Time On GE Stoves With Electronic Clocks
Setting the time on a GE stove with an electronic display is fast and very easy to do. However, there are 3 types of electronic displays on a GE stove: an LCD Touchscreen, a Clock or Set Clock Pad, and stoves without a Clock Set pad.
Depending on which type of GE stove you have, the way to change the time will vary.
Start by looking at your stove to determine what style of clock it has. Then, follow the steps below that correspond with your type of clock.
LCD Touchscreen Display
If your GE stove comes with an LCD touchscreen display, adjusting the time on the clock is very easy in just 4 simple steps. To do it, touch the screen to wake it up > press the Settings Option or Icon > tap Clock or Set Clock > follow the on-screen instructions.
If you do the process correctly, changing the time takes less than a minute.
- Touch the LCD screen to wake it up.
- Press the Settings option or Icon.
- Tap Clock or Set Clock.
- Follow the on-screen prompts to set the time.
When you’re done, hit the start button to end or simply wait a few seconds for the stove display to adjust on its own. The new time will display once you’re out of the Settings screen.
Clock or Set Clock Pad
If your GE stove has a clock or set clock pad, set the time by pressing the Clock or Set Clock pad (on some models, you press the pad twice) > press the + / – pads or the number pads (depending upon the model) to set the time > touch the Start pad to end.
- Press Clock/Set Clock pad (double press on some models).
- Use + / – or number pads to adjust time.
- Touch Start to end and display the new time.
When you’re done setting the new time, press the Start button to exit and display the new time. Changing the time with this type of stove can take a few minutes because you have to adjust the time a digit at a time.
No Clock or Set Pad
If your GE stove doesn’t have a Clock or Set Clock pad, press and hold down the + and – pads simultaneously for 3 seconds > press the + / – pads to adjust the time up or down > touch the Start pad.
- Press and hold down the + and – pads at the same time for 3 seconds.
- Press the + / – pads to adjust the time up or down.
- Touch the start pad to end and set the time.
Because you have to adjust the time up or down a digit at a time using the + / – pad, clocks without a set pad are slow to set.
How To Set The Time On GE Stoves With Digital Clocks
Setting the time on a GE stove with a digital display is fast and easy to do. Luckily, all digital display clocks are adjusted the same, so it doesn’t matter which model GE stove or wall-mount oven you have.
To set the clock on a GE stove or wall mount oven with a digital display, push in the center knob of the Minute Timer > turn the knob in either direction to set the Digital Clock numerals to the correct time.
- Push in the center knob of Minute Timer.
- Turn the knob in either direction to set the Digital Clock numerals to the correct time.
Once the correct time is set, press the center knob again to exit the screen or simply wait until the stove exits to the main screen on its own. The new time will now be set.
How To Set The Time On GE Stoves With Non-Electronic Clocks
To adjust the clock on a GE stove with a non-electronic clock, push the center knob in > turn the clock hands to the correct time. If the Minute Timer pointer should also move, let the knob out and turn the Minute Timer pointer to OFF.
- Push in the center knob.
- Turn the clock hands to the correct time; if the Minute Timer moves, adjust it too.
- Pull the knob out and turn the Minute Timer pointer to OFF.
Adjusting the time on a conventional, non-electronic stove clock is easy to do, but remember the clock won’t start until you pull the knob back out. If you forget to pull the knob out after adjusting the time, the clock won’t start.
How To Set The Time On Certain GE Model Stoves
Some GE model stoves and wall-mount ovens adjust and set their clocks in slightly different ways. If the above methods don’t work on your stove clock, try one of the following methods.
On some GE stoves, you can set the clock by pressing and holding the 9 and 0 buttons simultaneously for 2 seconds until you hear a beeping noise. Then, adjust the time using the keypad display.
Another method you can try is to enter the time adjustment setting by simply pressing the set clock button on the control pad if your stove has one. Then, adjust the time either with arrows, number keys, a dial, or on-screen prompts.
How To Set The Time Using The Mobile App With WiFi Enabled GE Stoves
Some newer model GE stoves are WiFi enabled, which allows you to sync your smartphone to the stove. To do it, download the GE Profile Smart Appliances app on your mobile device. Then, open the app and create an account to sync it with your stove.
Once the app and stove are linked, you can open the app to adjust and set the clock settings and adjust the stove’s timer. Once you’re done, tap the OK or Confirm button and the stove’s clock should be set.
- Download the GE Profile Smart Appliances app on your mobile device.
- Create an account.
- Sync your app to the stove.
- Open the app and, access settings, adjust the timer.
- Follow the on-screen prompts to set the time.
- Press OK or Confirm to exit and set the time.
The great thing about modern GE stoves with WiFi connectivity is that you can monitor and adjust the stove from just about anywhere. In addition, you can also manually adjust the stove’s clock if you’re standing at the stove by using one of the above-mentioned methods.
How To Set The Time On A GE Stove Using The Center Dial
Some GE stoves come with a center control dial that lets you adjust the timer and the clock. To do it, push and turn the dial to adjust the time, then release the dial to set the time.
- Push the dial in and turn it to adjust the time.
- When you reach the desired time, release the dial.
Adjusting the time on a GE stove with a center control dial is very easy to do and takes under a minute. The dial usually pops back out on its own when you release so you don’t have to pull the knob out. As soon as the dial pops out, the clock starts.
However, some models may require you to physically pull the dial out after setting the clock, so be sure to check, or the clock won’t start.
Why Do GE Stove Clocks Need To Be Adjusted And Set?
One of the first things you should do when buying a new GE stove is to set the clock. In fact, whenever I install a new stove, I always make sure to set the clock once it’s set in place, plugged in, and connected to gas if it’s a gas-powered stove. However, that doesn’t mean the clock will always stay at the correct time.
The built-in clock on a GE stove runs off electricity, not a battery. Things like a power outage, a blown fuse, a power surge, a wiring issue, the stove becoming unplugged, turning the power off to the house, or adjusting the clock accidentally can all require setting the clock again.
- Power Outage: A power outage will stop and reset the clock. Digital clocks will be set to 12:00 when the power comes back on, but non-electronic clocks will be stuck at the exact time the power went out.
- Blown Fuse/Circuit Breaker: If the fuse or circuit breaker supplying power to the stove trips or breaks, the power will go out, and the clock will stop working.
- Power Surge: A power surge can trip a breaker, blow a fuse, or damage the stove’s built-in circuits, which all reset the clock.
- Wiring: The clock can stop working if there’s an issue with its wiring or the control board.
All of these situations require setting the time on the stove’s clock once you get the appliance working again. Luckily, no matter what model GE stove you have, setting the time is fairly quick and easy to do.
What Is The Cook Time Feature On A GE Stove?
The Cook Time feature on a GE stove counts down the cooking time and automatically turns off the oven once the set cooking duration is finished. It’s easy to use and very convenient if you don’t want to watch the clock as you bake.
To use this feature using number entry controls:
- Select the desired cooking method, like Bake, Convection Bake, or Convection Roast.
- Use the number pads to input the cooking temperature.
The Cook Time function ensures your dish cooks for the specified period and then automatically stops the oven, helping you achieve accurate and convenient cooking results without using the clock.
How Do I Turn Off The Clock On My GE Stove?
Some GE electronic stoves let you turn off the clock function when you don’t need it. It’s a useful feature if you prefer not to have the clock displayed or want to conserve energy. However, it’s not possible on all stove models, especially if there’s a non-electronic clock.
To turn off the clock on your GE stove, follow these steps:
- Locate Clock Button: Find the “Clock” button on your range’s control panel.
- Press and Hold: Press and hold the “Clock” button for a few seconds.
- Display Clear: The clock display should go blank, indicating it’s turned off.
Remember, you can easily turn the clock back on by repeating these steps or adjusting other settings on your range’s control panel.
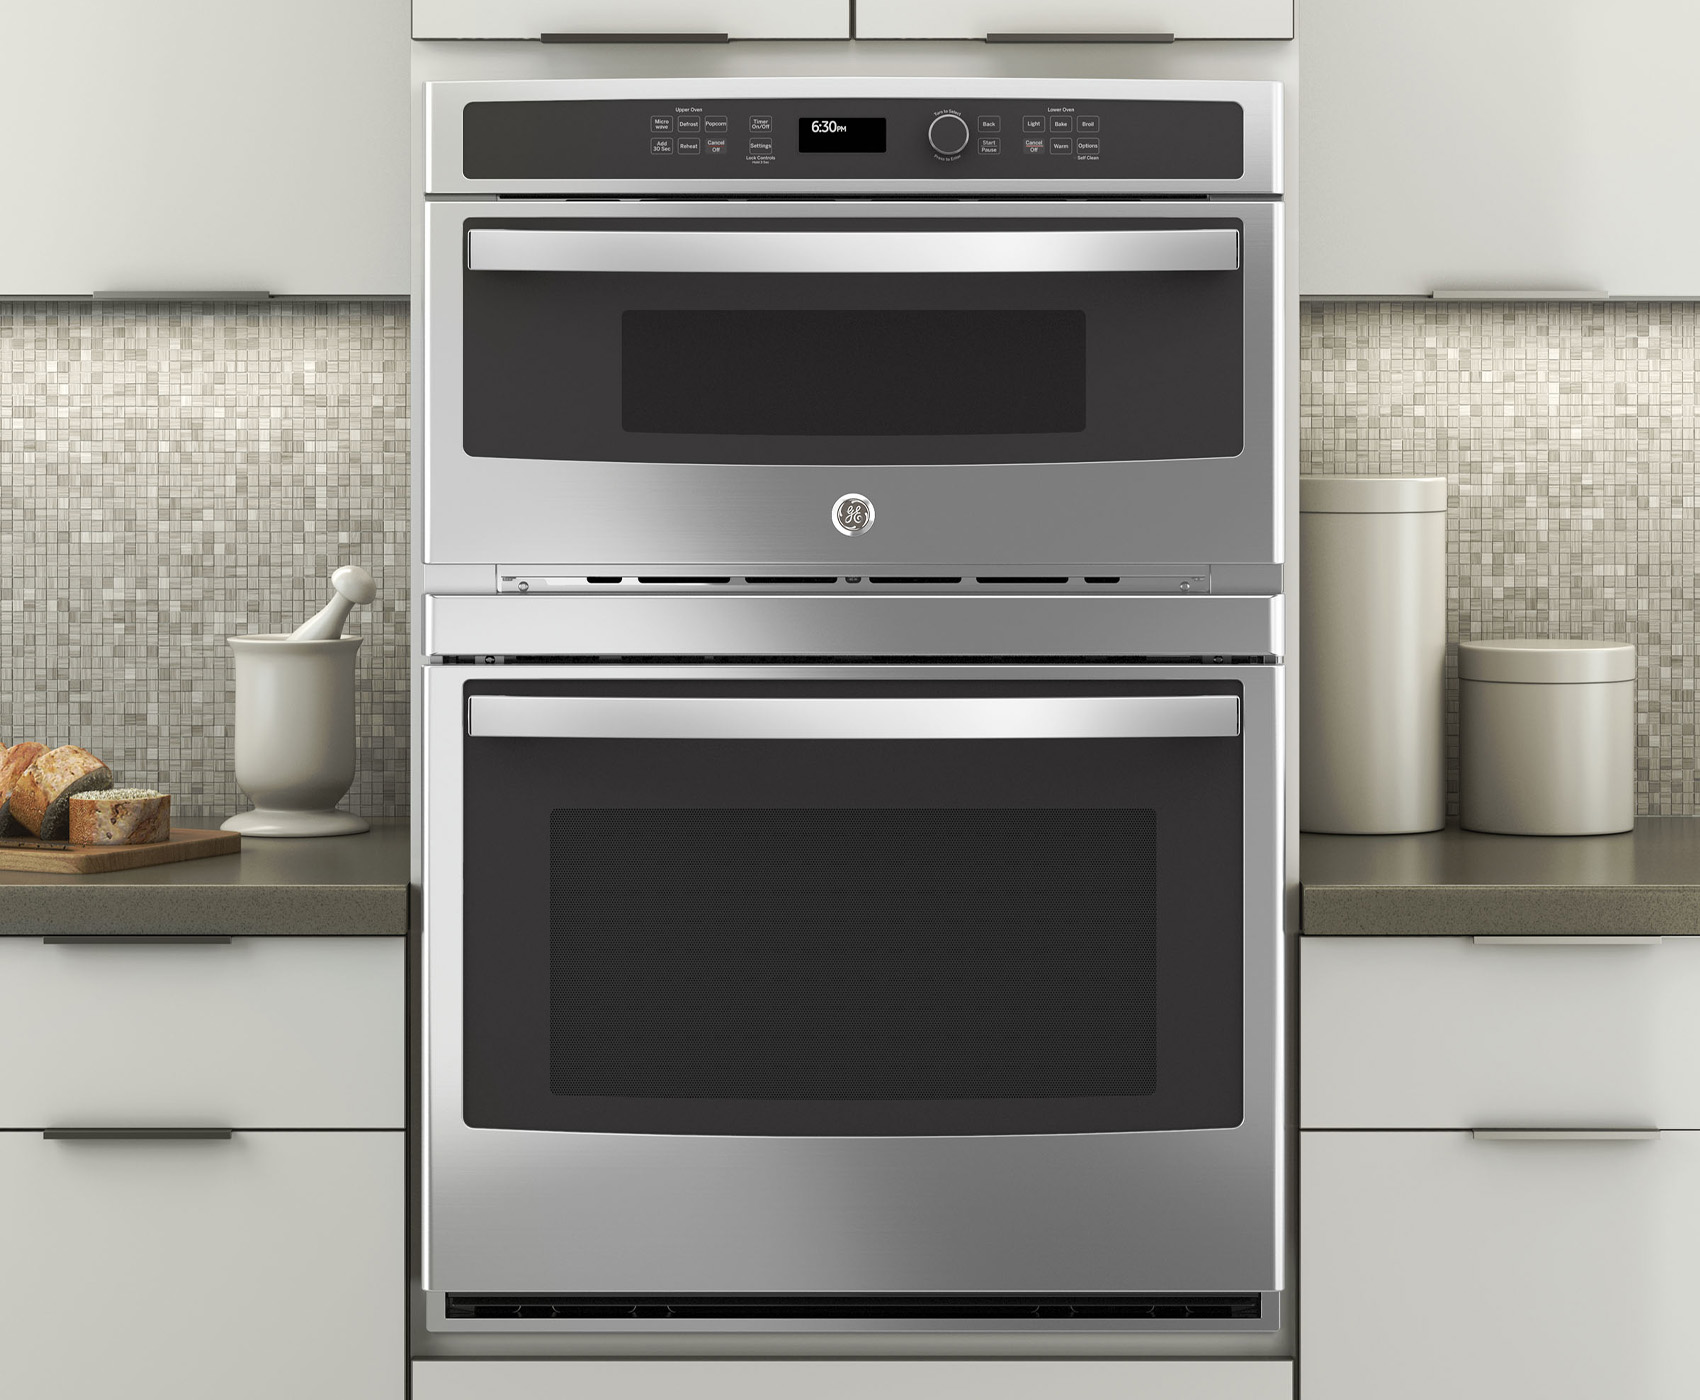
How To Set The Clock On A GE Wall Oven
Setting the time on a GE wall oven is exactly the same as a GE stove. The exact method depends on the model oven you have and the type of clock. The best way to do it on ovens with a digital clock, which the majority of GE wall ovens have, is the following:
- Wake the screen on your GE oven by touching it.
- Press the “Settings” button.
- Select the “Clock” option.
- Press the “Set Clock” pad twice to enter the clock setting mode.
- Adjust the time with the + and – pads or the minute timer.
- After you’ve adjusted the time, press “Start” or the “Clock” button to save your new time setting.
Once you’ve exited the “Settings” menu, the clock will be set.
Summary: How To Set The Clock On A GE Stove
There are multiple ways to set the clock on a GE stove, depending on the type of display your stove has. If you have an LCD screen, touch the screen to wake it up > press the Settings Option or Icon > tap Clock or Set Clock > follow the on-screen instructions. For GE stoves with a Clock or Set Clock pad, press the Clock or Set Clock pad (on some models, you press the pad twice) > press the + / – pads or the number pads (depending upon the model) to set the time > touch the Start pad. If your stove does not have a Clock or Set Clock pad, press and hold down the + and – pads simultaneously for 3 seconds > press the + / – pads to adjust the time up or down > touch the Start pad.
- To set the clock on a GE stove with a digital display, push in the center knob of the Minute Timer > turn the knob in either direction to set the Digital Clock numerals to the correct time.
- To adjust the clock on a GE stove with a non-electronic clock, push the center knob in > turn the clock hands to the correct time. If the Minute Timer pointer should also move, let the knob out and turn the Minute Timer pointer to OFF.
- On some GE stoves, you can set the clock by pressing and holding the 9 and 0 buttons simultaneously for 2 seconds until you hear a beeping noise. Then adjust the time using the keypad display, or you can enter the time adjustment setting by pressing the set clock button on the control pad.
If you have any questions or comments about how to set the clock on a GE stove or wall-mounted oven, email any time.