How Are Concrete Statues Made?
I’ve been a mason for over 25 years and can tell you firsthand that concrete is great material for making statues. It’s a mixture of cement, sand, stone, and water that dries rock hard, extremely durable, and weather resistant, making it ideal for outdoor use. There are lots of concrete garden statues available online and at garden centers, or you can make your own. Concrete statues are made by either pouring concrete into a mold similar to how concrete countertops, foundations, and pools are built, or by spreading it onto a base frame and forming it like clay. Both methods work really well and can create a beautiful, long lasting statue.
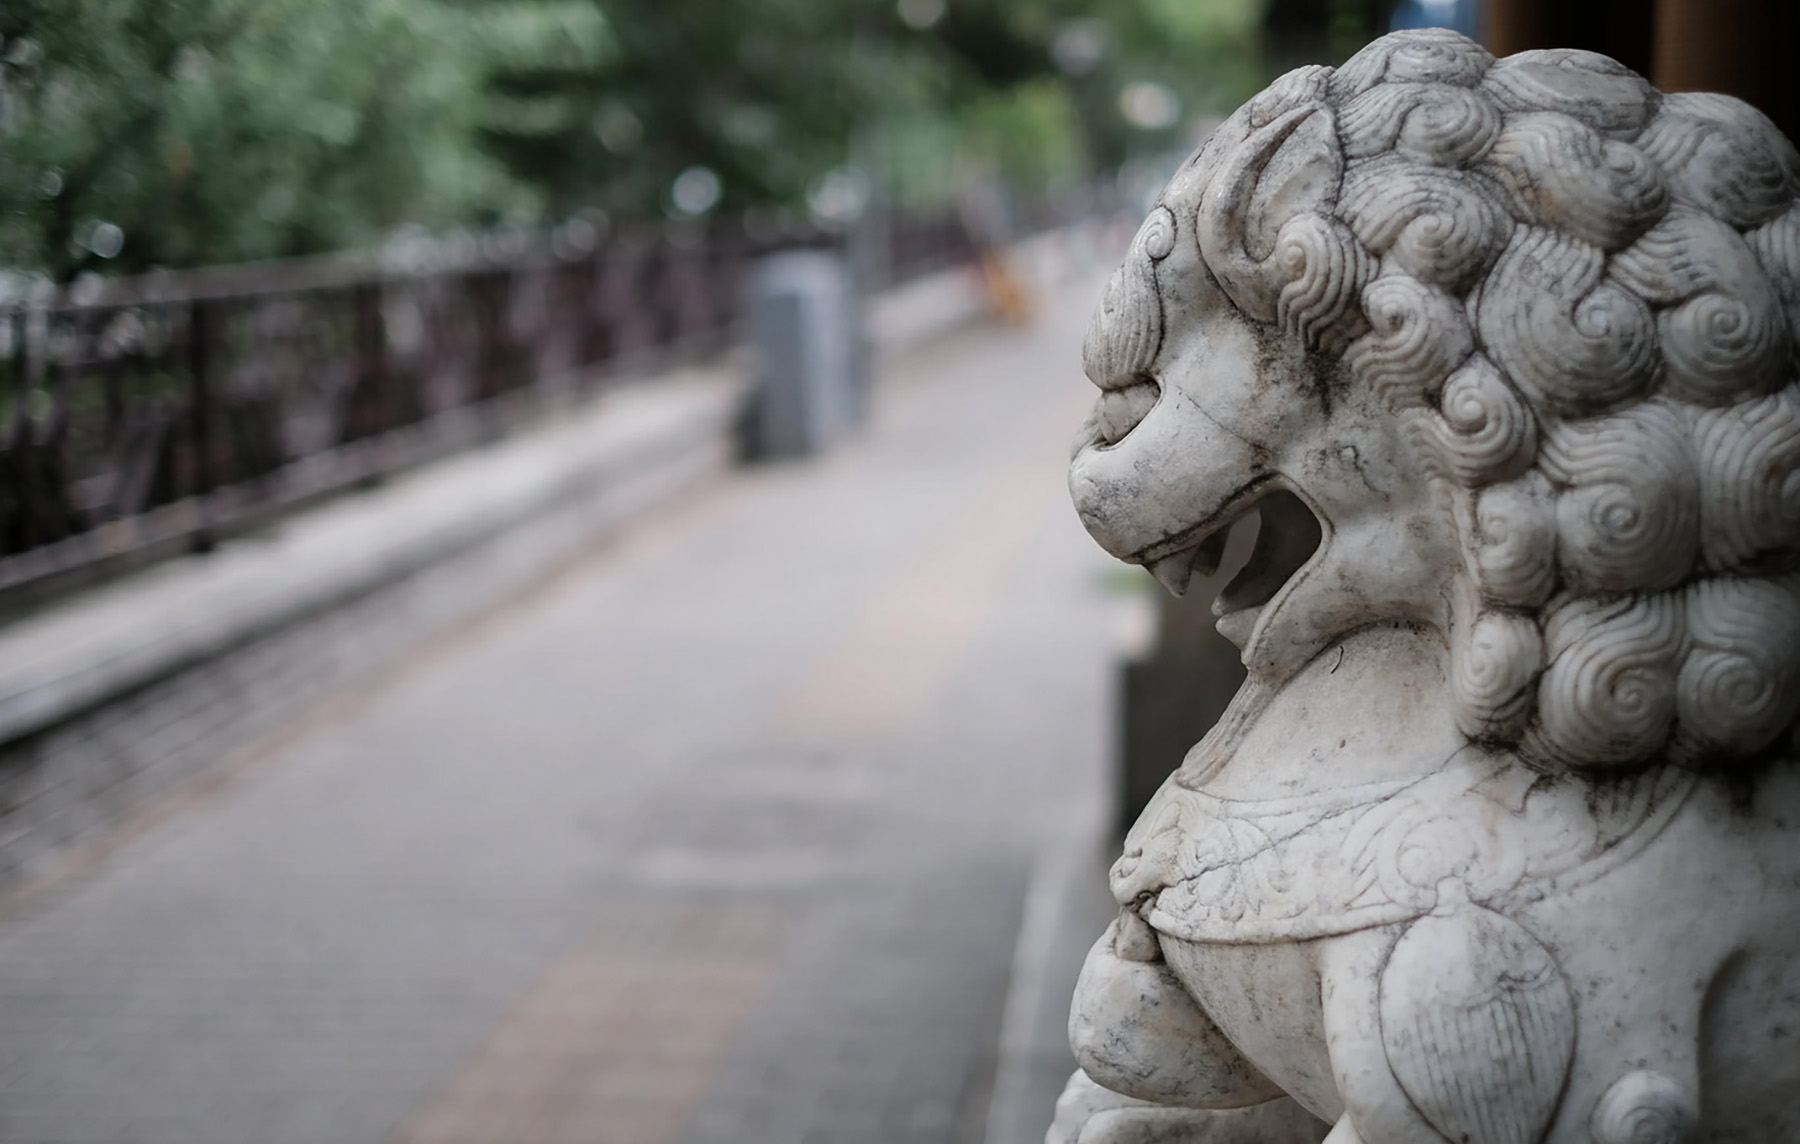
Concrete statues are a great way to decorate your outside spaces. They can be expensive to buy but you can make them yourself and concrete’s pretty cheap. All you need is a good quality mold and some bags of Quikrete. Ever see those lion statues at the sides of someones front door or an old fashioned gargoyle. Most are simply concrete bags poured into a pre-built mold. You can buy the molds online or make your own.
The mix I use for statue concrete is 1 part cement, 1 part stone and 2 parts sand. Use more stone for large statues and less for small ones. One cubic yard of concrete equals 81 sq. ft. @ 4 inches thick, keep this mind mind when making a material list for your statue.
If you really want to get creative, sculpt your own statue out of a base frame and concrete.
A custom concrete statue can be made with a base wire frame, cast in a mold, or sculpted by hand. They make a great DIY project and can be sold for profit if your really good at it.
How A Concrete Statue Is Made
Making a concrete statue is actually pretty easy. There are 3 basic methods.
- Cast one inside a mold. The easiest option.
- You can make a statue over a wire frame. A medium difficulty.
- Sculpt one out of raw concrete. The hardest option.
Concrete is a mixture of an aggregate like stone and sand, cement and water. When cement and water mix together they form a sticky paste that binds the aggregate together. Stone is what gives concrete it’s great strength. Sand also provides strength and makes the concrete course.
Because concrete is soft when wet, you can pour it into just about any shape mold. When it dries, the concrete will take the shape of the mold. This is how molded concrete statues are made.
You can also pour or pack concrete onto just about anything because it’s sticky. This is how concrete statues are made over a wire frame. The wire frame is made first and then concrete is packed on top and shaped as it dries.
Make a wire frame out of chicken wire or wire mesh and wood for strength. Then, smooth concrete over the frame and shape it as the concrete dries. Rebar works great for large, heavy statues.
Use concrete to make a free form sculpture. Build the rough base frame out of concrete and let it start to harden. As it hardens, shape it into a form and add additional concrete where needed. This is the hardest method and generally works best for small sculptures. Add water to delay the concrete from drying to quickly. When sculpting without a form or mold to help you, time is even more important.
If a concrete statue cracks, it should be repaired with a concrete crack filler to seal the crack and prevent future damage.
What’s The Best Concrete For Sculpting Statues?
I use Portland cement based concrete like Quikrete. You can mix your own custom batch or buy it pre-mixed in bags. For most statues I buy the pre-mixed bags but sometimes I mix my own batch when I want something custom.
I try to use rounded stone instead of coarse whenever I can. If a course stone ends up on the edge of the statue it could ruin it. This is less likely a problem with smooth stones. I also try to use small stones for pretty much the same reason. A large stone sitting on the edge of the statue can ruin it.
Vary the concrete mixture based on what your looking to achieve and the design of your statue.
If you’re making a larger statue then you may need the extra strength provided by more or larger stone. I generally use more stone in my molded statues unless the details are very fine. For fine detail you have to use less and smaller stones. This weakens the concrete a bit but makes the details come out better.
Smaller statues are lighter and therefore don’t need as much strength to hold them together. For these I use almost no stone. This is also a better mix for details.
For statues built over a wire frame I use a lot less stone. I mix the concrete stickier by adding more cement and sand. This helps pack it onto the wire. The frame provide a lot of strength so I don’t need heavy concrete. Concrete statues built onto frames are hollow so you don’t want to weigh them down with overly heavy concrete.
For very large statues you’ll need stone to provide strength. Luckily, large statues generally don’t have fine detail so stones don’t ruin the look.
How To Make Concrete For A Statue
The basic concrete statue mix is 1 part cement, 1 part stone and 2 parts sand. Vary the mixture based on the design and size of your statue.
The more intricate the statue the less and smaller stone you should use. This weakens the statue but makes details much better. It’s also better for a wire frame.
When I’m making a very small statue I use almost no stone at all.
If you plan on sculpting dry concrete with a chisel you should use less stone. Concrete can be shaped with a chisel and hammer just like marble. The trick is to use very small stones. And use just enough to provide the overall strength your statue needs. You don’t want to hit a large stone while chiseling the concrete because it can ruin the sculpture.
If your sculpture has multiple pieces then you can use different concrete mixes. For example, many of my pieces have a base with a statue on top. I make the base with stronger concrete than the statue. The base has less detail and needs to be extra strong because it carries the weight of the statue.
If your a beginner, I recommend starting with a premixed bag of Quikrete. They make different strength bags ready to go so you don’t have to do any measuring. The higher the number, the stronger the mix and the more stone it uses. For example, Quikrete 3000 is stronger with more stone than Quikrete 1000.
If your creating a statue over a wire frame, I recommend using more cement and less stone. I like a really light, sticky mix. Generally I shape these later with a chisel and I don’t want any large stones ruining my piece.
How To Make A Concrete Statue Mold
It’s very easy to make a mold for a concrete statue.
The first thing you need is something to mold. Molds designed to re-create an original statue over and over again. So first you need a base statue to form the mold onto.
Molds are made from a few different materials like silicon, fiberglass, and latex rubber. They can be purchased online or at hobby or hardware stores.
First you should spray the base sculpture with a release substance. This prevents the mold material from sticking to the sculpture your molding. Then, apply the mold material directly to the base sculpture and let it dry.
Once it’s dry, remove the material from the sculpture. Sometimes this involves cutting the mold or making a mold in several parts. If you cut the mold or made it in parts, glue them back together with super glue. Be careful to glue them together exactly as they should be because this will dictate the shape of the final statue.
When complete, you’ve got an exact copy of the original sculpture.
I like to make molds in two parts because it makes releasing the sculpture from the mold easier. When I make a mold I intend to use it again and again which means I have to get it off the statue undamaged.
The most important part of making a mold for a concrete statue is the structure that supports the mold. Generally I build a box out of wood and use spray foam. You can’t just pour concrete into a silicon, fiberglass or latex mold. The weight of the concrete will most likely destroy it.
Build a box out of wood and use spray foam between the edge of the mold and wood to support the weight of the concrete and protect the mold.
Tips For Making A Concrete Statue Mold
Your finished concrete statue mold should be waterproof. If there are any cracks in the mold, the wet concrete could find it’s way through which would ruin the statue. To check for leaks, pour some water into your mold before you build a support structure around it. If you find a leak, seal it with some super glue.
Most mold making products have tutorial videos and if not, there are lots online. We’ll even be posting some here soon so check back. Video tutorials are a great way to learn mold making. The best way I’ve found to learn is by reading and watching videos together.
Mix the mold silicone thoroughly. Most silicone products have two compounds that mix together. Make sure the silicon completely hardens before removing it.
When you’re ready to pour concrete into the mold, use a release spray first. This will help remove the mold from the statue later.
Pour the concrete into the mold slowly. Make sure to get it into all the cracks. Vibrate the concrete to release all the air bubbles.
Always have a plan to remove the mold from the statue after the concrete is hard. Molds are meant to be re-used again and again but you have to be able to remove them intact. I typically create my molds in two pieces with two support boxes that bolt tightly together. When the concrete’s hard I remove the bolts and ope the mold.
Mixed concrete should have the consistency of a mud pie or thick oatmeal. Don’t make the concrete too watery or you won’t be able to sculpt it.
How Do You Repair A Concrete Statue?
You can buy special concrete repair products online or in hobby stores. But I prefer doing it either with glue or a fresh batch of cement.
If you want to patch the damaged area with cement, try to match it as close as possible to the original concrete used to make the statue. Did you know that not all concrete is the same color. The color of dry concrete has to do with the ingredients that went into making it. Make some test batches of repair cement to get the color as close as possible.
Add stone and sand aggregate until the repair cement is as strong as you need it to be. Generally, you don’t need super strong concrete with lots of aggregate for repair work.
Glue is also a great material for repairing a concrete statue, but it works best if a piece of the statue has broken off and needs to be re-connected. If a piece of your statue breaks off, apply the glue or epoxy to both sides of the broken piece and press it into place.
When using glue, make sure the areas you’re gluing together are both really clean and free of any dust. The cleaner the surface the better the bond.
Cracks and other forms of damage need to be repaired with either cement or epoxy.
I don’t typically use epoxy because the texture and color won’t match the concrete. Even if you paint the statue, epoxy will show because it’s smoother than concrete. Here’s a Pro tip: Lightly sprinkle sand on top of the epoxy as it dries. This will give it the same gritty texture as the concrete. When you paint the statue you won’t be able to see the repair work. This only works if your painting the statue though.
What Makes A Concrete Statue’s Color?
The color of a concrete statue is based on the mix used to create the concrete. Altering the ingredients will change the color of the finished statue.
Most concrete is gray in color, but some is more white and other mixes are greenish. I like to use ingredients that make a whiter concrete. This mostly comes down to the cement you use.
Make some test batches and let it dry. Don’t judge the color by the dry ingredients or wet concrete. It has to fully dry in order to see the color your statue will ultimately be.
Color additives can be included in the dry concrete mix. Typically these come in powdered form.
Make sure if your making several batches of concrete to complete a statue that each one uses the exact same formula. If you alter the mixture your statue won’t have a consistent color.
How Do You Smooth A Concrete Statue?
The best way to smooth a concrete statue is when it’s still drying. Once the concrete is fully cured and hard it’s very hard to work with.
Use some wet/dry sandpaper, a bristle brush or some rub bricks. Wet/dry sandpaper and a bristle brush work well on softer concrete or when it’s a little wet. Once the concrete is fully hardened they won’t do much. Rub bricks can be used to smooth just about any concrete but be careful if the concrete is mostly cement or still wet.
Be careful as you work. You just want to smooth the concrete’s surface not scrape into it. If you use rub bricks then use the flat surface. Pushing hard on an edge can leave a scrape.
I use water with all my concrete sanding. It helps with the sanding and cuts down on dust.
A palm, orbital or belt sander can also wet sand concrete.
Whenever you sand concrete, use water first. Let the water soak into the concrete pores. Then add water as you sand.
Wear a mask when you sand concrete. The dust can be bad for your lungs.
Remember, sand the concrete surface just to smooth it a bit, not so much that you alter the statues form.
How Do You Reinforce A Concrete Sculpture?
Concrete sculptures that aren’t built using a mold typically have a wood or rebar frame with wire. The rebar or wood provide strength while the wire gives the concrete something to hold onto. Both work together to help form the sculpture.
Like all sculptures, concrete statues begin with a sketch. Design your statue on paper first, then build a wire and rebar/wood skeleton for the final sculpture. Make sure the rough frame is to scale with your design. As you design the statue, try and figure out the overall size and shape as well as it’s pose. Draw the statue to scale from several angles. I like to do a front, both sides, a rear and top down view. This will make the construction process simpler.
Rebar and wire are held together with metal twist ties. You’ll need a good set of pliers and some snips.
I make scale drawings of both the final sculpture and the frame.
Pack concrete onto the wire slowly from the bottom to the top. As it hardens you can start to shape and smooth the concrete. I generally work in 6 inch levels. If your statue is large, don’t try to sculpt an entire statue in one sitting. The concrete on the bottom need to harden a bit in order to support the concrete piled on top of it.
Concrete can be reinforce with fiberglass or nylon fibers. These fibers can be added into the concrete when it’s wet.
Chemical additives can be included into the mix to give it even more strength.
Hardware Cloth Is Great For Making A Concrete Statue
Hardware cloth is a great material for making a concrete statue. It’s a strong wire mesh screen that’s sold in rolls at just about any hardware store.
Build your statue frame by bending the hardware cloth into shape. Use wire cutters to trim the hardware cloth as needed. This wire base of your statue is generally called an “armature.” The armature acts as the skeleton for your statue.
Wear rubber gloves when working with concrete. Concrete is caustic and can burn your skin if exposed for long periods of time.
Hand pack a thin layer of concrete into the spaces between the wire starting at the bottom. Work your way up the statue slowly. Don’t add too much at any one time or the weight of the concrete could ruin the statue.
The weight of concrete can cause it to fall from the wire frame. Apply it in several thin layers. The first is a base layer. Each successive layer builds up the statues thickness, shape and detail. The final layer is what you will sculpt into a final statue.
Lightly spray the concrete with water and cover it with plastic sheeting. This will help the concrete harden as it dries. I use a basic spray bottle set to mist.
Hand sculpt features, shapes and details into the concrete within an hour of applying the final layer.
Carve concrete with shaping tools while it’s still wet.
Once dry, brush the surface of the statue with a concrete sealant to prevent it from cracking.
Safety
When mixing or touching concrete, wear gloves and glasses because the cement can be caustic.
Consider wearing a mask to protect your lungs from the fine silica dust.
Summary: How Are Concrete Statues Made?
I’ve been a mason for over 25 years and can tell you firsthand that concrete is great material for making statues. It’s a mixture of cement, sand, stone, and water that dries rock hard, extremely durable, and weather resistant, making it ideal for outdoor use. There are lots of concrete garden statues available online and at garden centers, or you can make your own. Concrete statues are made by either pouring concrete into a mold similar to how concrete countertops, foundations, and pools are built, or by spreading it onto a base frame and forming it like clay. Both methods work really well and can create a beautiful, long lasting statue.
Concrete statues are a great way to decorate your outside spaces. They can be expensive to buy but you can make them yourself and concrete’s pretty cheap. All you need is a good quality mold and some bags of Quikrete. Ever see those lion statues at the sides of someones front door or an old fashioned gargoyle. Most are simply concrete bags poured into a pre-built mold. You can buy the molds online or make your own.
The mix I use for statue concrete is 1 part cement, 1 part stone and 2 parts sand. Use more stone for large statues and less for small ones. One cubic yard of concrete equals 81 sq. ft. @ 4 inches thick, keep this mind mind when making a material list for your statue.
If you really want to get creative, sculpt your own statue out of a base frame and concrete. I’ll show you how later.
A custom concrete statue can be made with a base wire frame, cast in a mold, or sculpted by hand. They make a great DIY project and can be sold for profit if your really good at it.
If you have any questions or comments about how concrete statues are made email or leave a comment below.

John Mazzuca | About | More Posts |
Custom Home Builder
John Mazzuca is a custom home designer and builder at Gambrick with over 25 years experience in the construction industry. John has designed, built and/or remodeled hundreds of homes, small buildings, and commercial projects. He writes about business, real estate, home building, and household electronics. His work has been featured in Fox Business, Better Homes & Garden, House Beautiful, and more.