Epoxy Paint For Tile
If you’ve got old dingy tiles that could use an update, epoxy paint may be the solution your looking for. It’s much cheaper than tearing out all the old tile work and replacing with new. And it’s fast, most tile paint jobs can be done in just a few hours. Epoxy paint for tile comes in two parts: a resin and a hardener. Simply mix the two together and start painting over your existing tiles with either a brush and/or roller. Make sure the old tiles are clean and free of grease, grime, oils, etc. or you’ll lock the old stains under the paint. Once you’re done painting and the epoxy fully cures, the tiles will have a fresh protective coating that looks brand new.
Epoxy paint is a latex acrylic product that combines a resin and hardener to activate. When properly mixed and applied in a thin layer, the paint provides a tough, durable protective coating that’s easy to maintain. Paint it onto tile floors or walls to make your bathroom, kitchen or laundry look like new.
Epoxy paint for tile is DIY friendly in just a few simple steps:
- Mix compound part A (resin) and Part B (hardener) together.
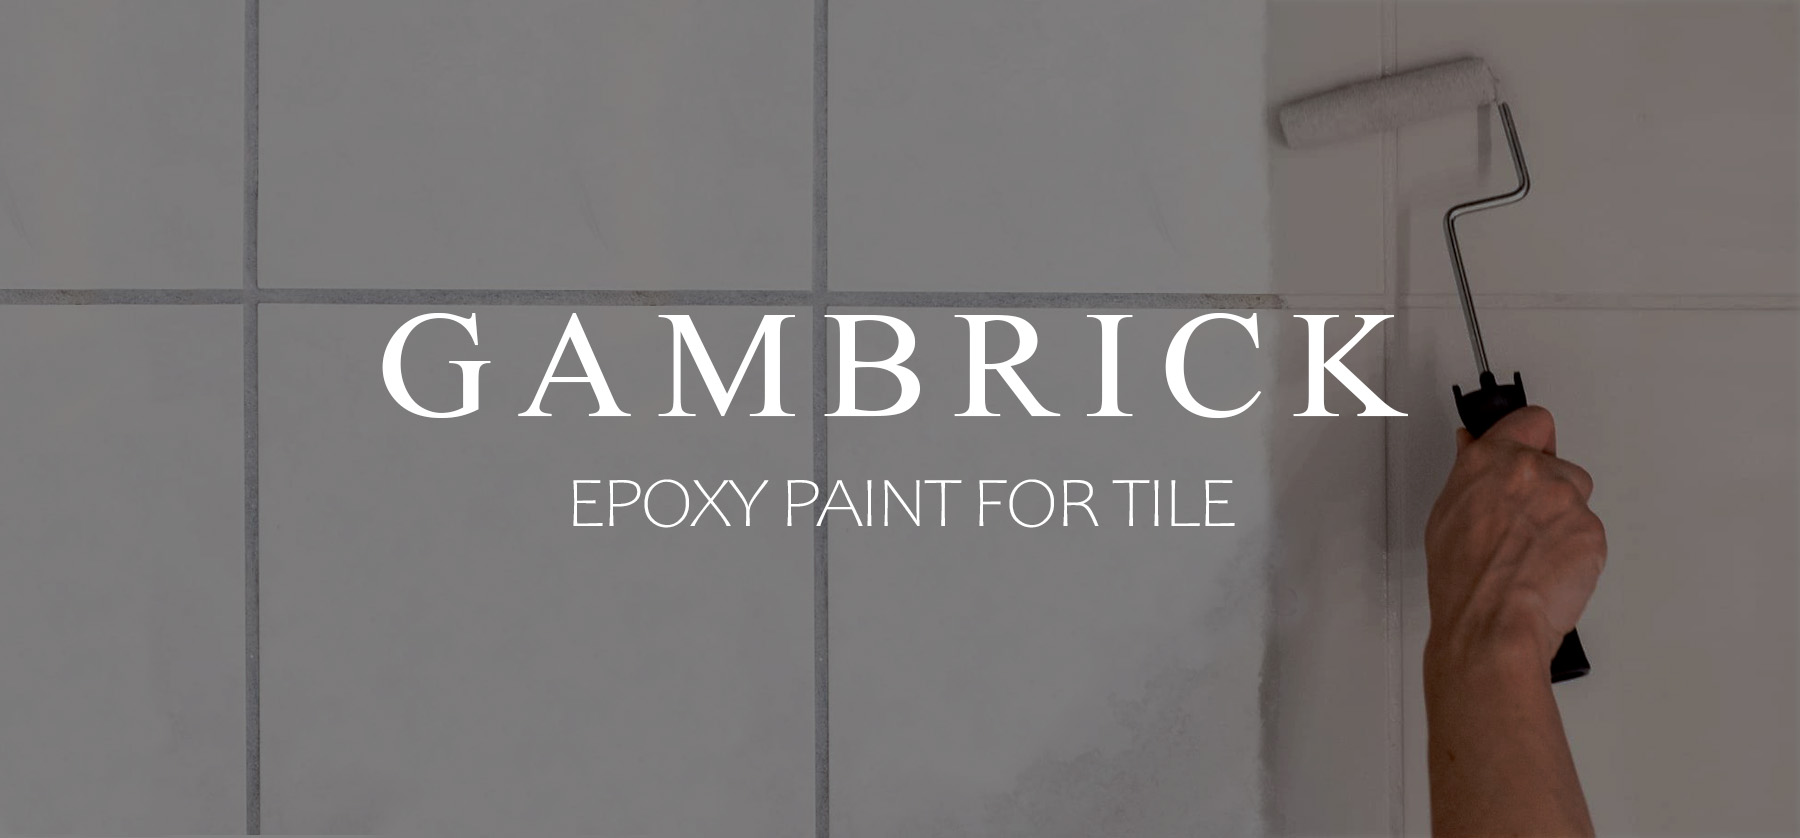
- Apply the mixture to the surface of your tiles using a roller or brush.
- Epoxy paint is typically hard in 24 hours but takes 7 days to fully cure.
Use epoxy paint to refinish porcelain ceramic surfaces like tubs, tile, showers, vanities and sinks. It also works on fiberglass, stone, brick, concrete and plastic. It’s a great remodeling option for house flips, rentals and commercial properties that need an affordable update.
Just about any material can be coated with epoxy resin. The paint hardens to create a tough and durable outer shell that’s great for floor and wall tile.
The Pros & Cons Of Painting Tile With Epoxy Paint
Painting tile has many advantages. It can refurbish a tile bathroom in an afternoon for under $200. The epoxy coating will be super strong, bright, clean and durable. But there are some disadvantages to consider as well.
Advantages
- Easy to apply DIY
- Looks good when done right
- The tiles will look like new
- The look is in style at the moment
- Fast
- Extremely durable and abrasion-resistant
- Great for large areas
- Tough enough for floors, wall, sinks, tubs, toilets, etc.
- Withstands high chemical and mechanical loads
- Extremely durable
- Maintenance free
- Waterproof
- Relatively inexpensive
- Non-slip and therefore very safe for use on tile floors
- Comes in limited colors but white, cream and grey are very in style at the moment
Disadvantages
- The coating is very hard to remove, if not impossible, should you change your mind later
- Resin and hardener must be mixed perfectly before application or the epoxy won’t harden correctly
- There’s a limited amount of time to paint your tile once the ingredients are mixed (pot life)
- Most people also paint the grout which doesn’t look great
- If you remove the grout before you paint, which looks much better, it’s a lot of work
- Limited colors but this isn’t a big problem these days since most people want white, cream or grey anyway
Mixing the resin and hardener are not that complicated. But you have to do it correctly or the epoxy won’t harden correctly and you’ll get flaking, chipping, scratches, etc. It’s very important that you follow the manufacturer’s instructions exactly.
Don’t mix products from different manufacturers.
Supplies Needed For Painting Tile With Epoxy Paint
Painting tiles with epoxy paint requires a few tools and supplies which I’ll list below along with a description of why/when you need them:
- The epoxy resin plus hardener. These will generally come together when you buy the paint.
- Cleaning tools for the tile. Broom, mop, soap, scrub brush for grout, etc. What exactly you’ll need depends on the condition of the tile.
- A filler like epoxy or grout to repair damaged or cracked tiles if they exist.
- 5 Gallon buckets for mixing. I usually bring 2.
- A power drill with mixing attachment.
- A roller and brush.
- Painters tape. I recommend Frog tape. Use it to mask areas you don;t want paint.
- Decorative elements like glitter, texture, color, etc.
- Additives to increase pot life time if you plan on using them.
- A sealant if you plan on sealing the tile after the epoxy cures.
- A squeegee if you apply your sealant with one.
- Grout removal tool if you’re not painting the grout.
Many epoxy paints come in a kit which includes the squeegee, roller and brush. Kits make the job more convenient because they give you what you need. But generally the kits provide lower quality tools than what I like to work with. I recommend buying the paint and supplies separately so you can choose high quality tools.
How To Use Epoxy Paint On Tiles
Painting tiles with epoxy is easy to do. Once the 2 compounds, resin and hardener, are mixed together, you paint the epoxy on just like regular paint. But there are still some things you should know before starting your first project to get the best results.
1. Prepare The Tiles
Before you start painting with epoxy, the tiles have to be prepared. Clear the entire room of all furniture, plants, pictures, objects, decorations, soaps, shampoo, etc. Thoroughly clean the tiles you’ll be painting of all dust, debris, grease, residue, oils, etc. If there are any substances on the floor it can prevent the epoxy from hardening correctly.
Any gaps, cracks, damaged areas or holes must be filled with a filler. An epoxy filler or grout works great for tile repair.
Mask off areas you don’t want paint with painters tape. I recommend using Frog tape. It’s specially made to prevent bleeding and creates a very clean edge line once the tape is removed.
If you washed the floor, make sure the tiles, grout and substrate are completely dry before you start painting.
The substrate can absorb moisture which then evaporates out trough the grout. To prevent this, let the area dry for 2 to 3 days before you paint.
- Never paint tiles that are dirty. This includes the grout.
- Do not paint tiles if the tiles, grout or substrate are wet.
- Make sure to make all necessary repairs before you paint.
- Use a good quality masking tape that prevent bleeding.
If you don’t want to paint the grout, now’s the time to remove it. Scrape out all the grout with a grout removal tool. This makes the job harder but also much more attractive and professional looking. By removing the grout and re-grouting later, the tiles look brand new. In most cases you can’t even tell the tiles were painted.
2. Apply Primer
Always apply a primer before epoxy paint. Tiles are very smooth and dense which makes it hard for paint to adhere. Primer helps epoxy paint adhere to the surface of tiles which prevent flaking or chipping of the paint. It also prevents the epoxy resin from absorbing into porous surfaces which may leave an uneven surface.
Apply primer evenly to all surfaces that will be painted with a roller and/or brush.
- Choose a primer with a low VOC to reduce odors.
- Wear a mask and open a window because all primers have a smell.
- Make sure the primer you use will adhere to glossy tile, glass, glazed block, porcelain, stones, etc. The primer should work on whatever type of surface you’re epoxy painting.
- I prefer acrylic primers because they work on a wide variety of surfaces and are very durable.
- Apply 2 coats of primer to every surface you’ll be painting.
- Allow the primer to completely dry in between coats.
- When you’re all done priming, allow the primer to dry before moving on to the next step.
- Discard or wash out the brush/roller you used for priming. Use a clean brush/roller to apply the epoxy paint.
Do not skip or rush the priming step. It creates a durable surface for the epoxy paint to adhere to which helps prevent future cracks, flaking or chips.
3. Mix The Epoxy Paint
Once the tiles are fully prepared, which includes cleaning, drying, masking and priming, go ahead and mix the epoxy paint. Do not mix the paint too soon because there’s a limited amount of time the paint is usable after it’s been mixed. This is commonly called the paint’s “pot life”.
Epoxy paint comes in two parts: a resin and a hardener which are mixed together to form the epoxy.
- The resin and hardener must be mixed in a particular ratio.
- The ratio will be spelled out of the paint’s label.
- Follow the mixing instructions carefully.
- I can’t give you the exact ratio here because it varies.
It’s very important that you mix the resin and hardener properly in order for it to reach maximum hardness. Always follow the manufacturer’s instructions when mixing.
If too little hardener is added to the mix, the result will be insufficient hardening. Use too much and the mix will be overly hard and porous. If you want a smooth surface that’s hard and durable, mix the ingredients in the correct ratios.
I recommend mixing the ingredients in a 5 gallon bucket using a drill with a mixer attachment.
- Measure out the ingredients based on the manufacturers instructions.
- Pour the ingredients into a 5 gallon bucket.
- Start mixing with your power mixer.
- Mix for several minutes at around 300 – 400 rpm.
You can mix the ingredients by hand but I don’t recommend it. It’s very hard work that must be done quickly and if the ingredients aren’t mixed thoroughly the epoxy won’t harden correctly.
Using Additives
Other components can be added to the resin and hardener as you mix them. These include inhibitors that extend the product’s pot life, textured particles and color. If you plan on using an additive, make sure to include it after the resin and hardener are mixing. I like to add them in about 1/2 to 3/4 way through the mixing process.
4. Painting Tile With Epoxy Resin
Once epoxy resin is mixed it must be applied immediately because it will harden in the bucket. This is called the resin’s (pot life).
Apply resin to the tiles with a brush and/or roller. I recommend using a brush for the corners and tight spaces and a roller for wide areas. Paint the epoxy on in the same way you would a wall or ceiling.
- Make sure the brush and roller are clean and dust free.
- Apply epoxy paint just like regular paint.
- Start painting the edges and details with the brush.
- Then paint wide areas with the roller.
- Paint two coats of resin. The first front two back and the second side to side.
- Painting layers across one another creates more even coverage with no bubbles.
Make sure the resin is painted evenly. This creates a more level surface.
Epoxy resin should be applied using a special venting roller. The roller removes air bubbles and provides an even distribution of paint which creates a level surface.
Keep in mind the resin’s pot life. Once this expires, the epoxy resin can no longer be used.
- Once you’ve applied the first layer, let it dry for 24 hours.
- Ensure proper ventilation during this time.
- Then, apply a second coat and let it dry for another 24 hours.
- If you’re sprinkling decorative elements onto the floor, do it after the second coat of paint.
Once the second coat is applied and dry, you can start to remove the masking.
4. Using Decorative Elements
To make your tile floor really stand out, decorative elements like glitter, stones, flakes, or other accessories can be sprinkled onto the floor before the epoxy dries. Sprinkle these elements on immediately after the second coat of paint, not the first.
5. Curing Epoxy Resin Tile Paint
Epoxy resin paint dries fast but cures much slower. Each coat takes about 24 hours to cure hard enough to walk on. But it takes about 7 days to cure hard enough to use as a tub coating. However, curing time is effected by the ambient temperature and humidity. When in doubt, it’s always better to let the epoxy dry a little longer.
If you want to be absolutely sure the epoxy paint is fully cured, wait 7 days. After a week you can take a hot bath in a tub refurbished with epoxy resin. So it’ll be more than ready to handle foot traffic and spills.
6. Sealing Epoxy Resin Floors
Painting tile with epoxy resin paint is very durable, but it doesn’t offer much UV resistance. However, this can be fixed by applying a layer of transparent sealer with UV protection.
Using a UV sealer not only increases the tile’s light resistance which helps prevent unattractive yellowing, but also makes the tiles shine bright.
An epoxy sealer also provides an additional layer of protection against minor scratches and scuffs.
Sealers can be applied with a brush, roller, sprayer or a squeegee.
- Make sure the surface of the tiles is clean and free of any dirt, debris, oil, grease, grime, etc.
- Only paint sealer when the tiles are completely dry.
- Make sure the epoxy resin is fully cured which takes about 7 days.
- Paint the sealer on with a roller, brush, sprayer or squeegee.
- Apply sealer evenly.
- A single light coat is enough coverage.
Remove Grout Before Epoxy Painting Tile
It’s perfectly fine to paint right over the grout when painting tile with epoxy paint. However, removing the grout first creates a much better finished product that’s almost impossible to detect. Once you re-grout the area the tiles will look like brand new without any signs they’ve been painting. This is the best possible way to paint tile with epoxy paint. But it’s also the most labor intensive.
Once you remove all the grout, paint the tiles and re-grout, there’s no way for anyone to see that the tiles have been painted. The epoxy paint will cure strong and hard and the edges will be covered with grout. So you won;t be able to see that painting has been done.
- Removing tile grout is a lot of work.
- Use a grout removal tool to slowly and carefully scrape out the grout a little at a time.
- If the grout is old and brittle it will come out easily. But if it’s in good shape it takes a lot o force to chip out.
- Be careful not to damage the tile as you scrape.
- A rotary power tool, most commonly called a Dremel, can help remove grout if you use the right bit.
Once all the grout is removed, clean up the tile. Use a vacuum or shop-vac to remove all the little bits of grout.
After the grout is removed, cleaned and the area is totally dry, it’s OK to start priming and painting.
When the epoxy paint is fully cured, generally this takes about 7 days, re-grout the tiles. After the grout is cured the tiles will look like brand new.
Water Based Vs Oil Based Epoxy Tile Paint
Water-based paint gives off a lot less smell than oil based paint which is a big advantage when working indoors. Oil based paints has a very strong odor that can’t linger for days. Since almost all tile painting jobs are done in older homes that are often still lived in, I recommend going with a water based paint. However, if the home is vacant and can be well ventilated before anyone moves in, oil based paints will work fine.
- Oil based epoxy paints are thicker than water based paints and provide a thicker more even surface.
- In my opinion they provide a better paint job in less coats because they’re so thick.
- But oil based epoxy paint is not always the best choice because of the toxic smell.
- I only use them if the home is vacant.
Moisture, smoke, UV and grease can cause oil-based epoxy paints to yellow over time. Water-based paint is less likely to turn yellow which makes it ideal for bathrooms, kitchens, and laundry rooms. However, if you plan on sealing the paint with a UV sealer, there’s less reason to use a water based paint.
Always wear a mask and ensure that the area is well ventilated when you use epoxy paints.
Can Epoxy Paint Be Used On Tile?
Yes, epoxy paint can be used on tile as long as the tiles are clean and free of all dirt, debris, oil, grease, etc. The area must be perfectly dry which includes the substrate. First, clean the tiles and make sure they’re totally dry. Then, mask the areas you don’t want painted with painters tape. Next, prime the tiles with a suitable primer that works on the type of tile you have. Finally, mix your epoxy paint and start painting.
Apply two coats of primer and two coats of epoxy paint in a cross direction. Apply coat one up and down and wait for a day until it hardens. Then apply coat two in a side to side direction.
Remove the masking and wait until the epoxy paint is fully cured before using the tile.
Can I Use Epoxy Paint On Bathroom Tiles?
Yes, epoxy paint can be used on bathroom tile as long as the tiles are clean and free of all dirt, debris, oil, grease, etc. The area must be perfectly dry which includes the substrate. First, clean the tiles and make sure they’re totally dry. Then, mask the areas you don’t want painted with painters tape. Next, prime the tiles with a suitable primer that works on the type of tile you have. Finally, mix your epoxy paint and start painting.
Apply two coats of primer and two coats of epoxy paint in a cross direction. Apply coat one up and down and wait for a day until it hardens. Then apply coat two in a side to side direction.
Remove the masking and wait until the epoxy paint is fully cured before using the tile. For a bathroom I recommend waiting 7 days until the paint is fully cured. After this time, the paint can handle hot and cold liquids including steam.
Is Epoxy Paint Good For Showers?
Yes, epoxy paint is good for showers as long as the tiles are clean and free of all dirt, debris, oil, grease, etc. It can be used on tile, PVC or fiberglass shower enclosures. The area must be perfectly dry which includes the substrate.
First, clean the area and make sure it’s completely dry. Then, mask the areas you don’t want painted with painters tape. Next, prime the areas you plan on painting with a suitable primer that works on the type of material you’re painting. Finally, mix your epoxy paint and start painting.
Apply two coats of primer and two coats of epoxy paint in a cross direction. Apply coat one up and down and wait for a day until it hardens. Then apply coat two in a side to side direction.
Remove the masking and wait until the epoxy paint is fully cured before using the shower. For a shower I recommend waiting 7 days until the paint is fully cured. After this time, the paint can handle hot and cold liquids including steam.
Do I Need To Prime Tiles Before Painting?
Yes, always prime tiles before painting them with epoxy paint. Tiles are typically very smooth and dense with small pores and are often glazes. This makes it difficult for epoxy paint to adhere to. But primers have no problem adhering to tile. They create a layer for the epoxy paint to stick to. Without a primer, the paint can start to chip, flake, crack or peel.
I recommend applying two coats of primer in a cross direction. Apply coat one up and down and coat two side to side. Make sure the primer is fully dry before applying a second coat.
Make sure to thoroughly clean the tiles before you prime them.
Do not prime tile unless both the tile and substrate are completely dry. When painting tile in a bathroom, kitchen or laundry, I typically wait 3-4 days after the area was last used to make sure the tile and substrate are fully dry.
Summary: Epoxy Paint For Tile
If you’ve got old dingy tiles that could use an update, epoxy paint may be the solution your looking for. It’s much cheaper than tearing out all the old tile work and replacing with new. And it’s fast, most tile paint jobs can be done in just a few hours. Epoxy paint for tile comes in two parts: a resin and a hardener. Simply mix the two together and start painting over your existing tiles with either a brush and/or roller. Make sure the old tiles are clean and free of grease, grime, oils, etc. or you’ll lock the old stains under the paint. Once you’re done painting and the epoxy fully cures, the tiles will have a fresh protective coating that looks brand new.
Epoxy paint is a latex acrylic product that combines a resin and hardener to activate. When properly mixed and applied in a thin layer, the paint provides a tough, durable protective coating that’s easy to maintain. Paint it onto tile floors or walls to make your bathroom, kitchen or laundry look like new.
Epoxy paint for tile is DIY friendly in just a few simple steps:
- Mix compound part A (resin) and Part B (hardener) together.
- Apply the mixture to the surface of your tiles using a roller or brush.
- Epoxy paint is typically hard in 24 hours but takes 7 days to fully cure.
Use epoxy paint to refinish porcelain ceramic surfaces like tubs, tile, showers, vanities and sinks. It also works on fiberglass, stone, brick, concrete and plastic. It’s a great remodeling option for house flips, rentals and commercial properties that need an affordable update.
If you have any questions about using epoxy paint on tile, email any time.