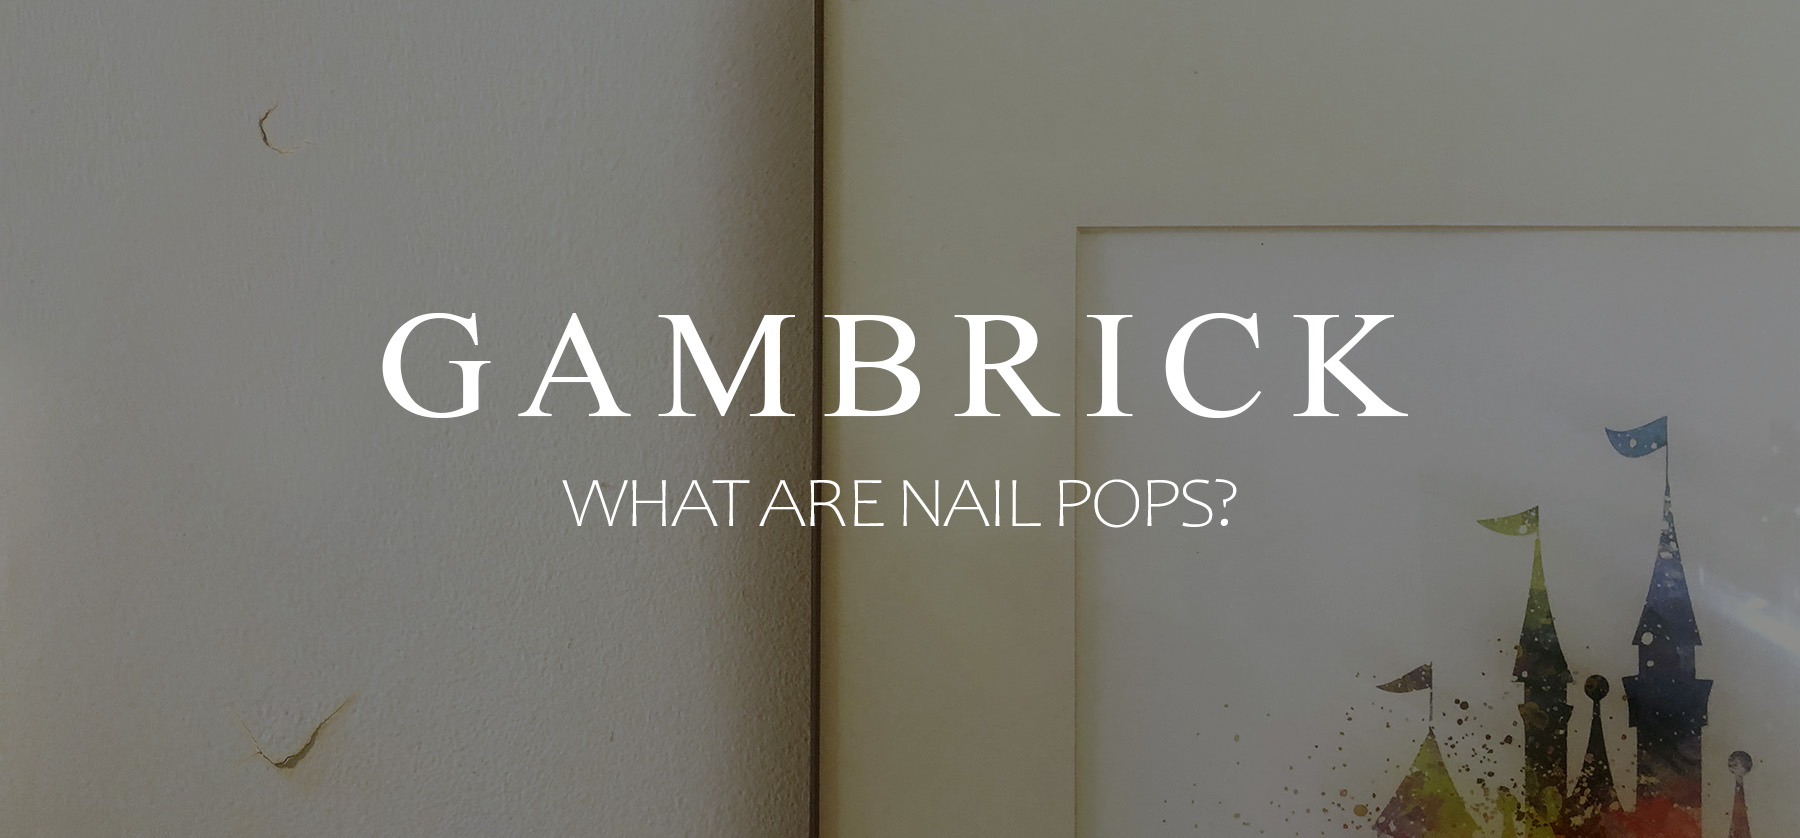
What Are Nail Pops?
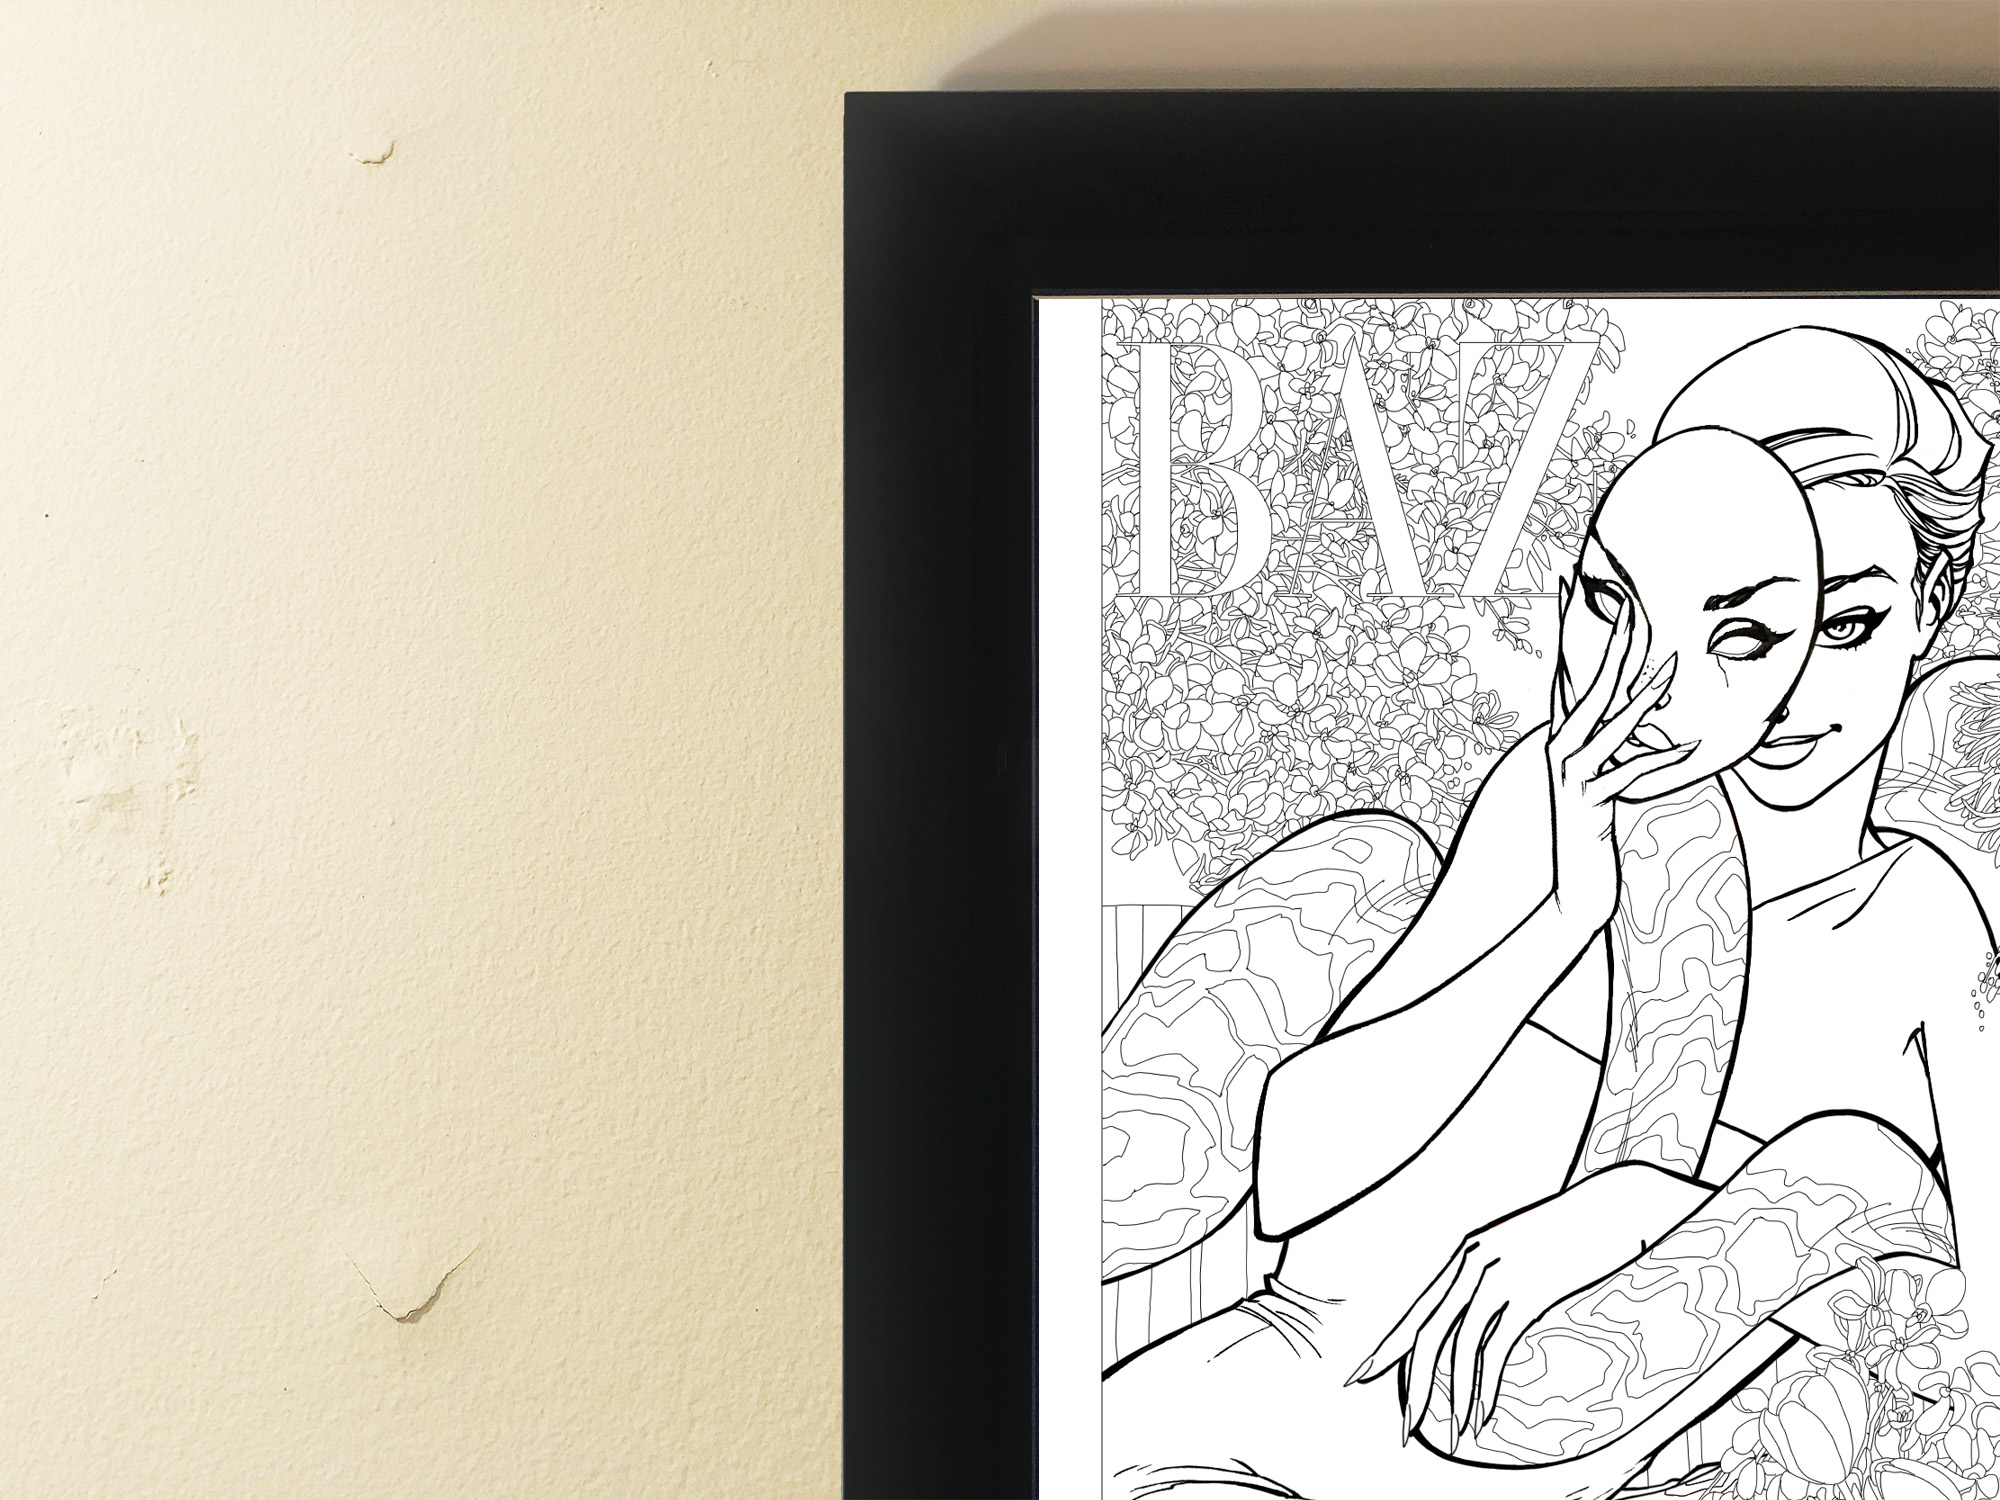
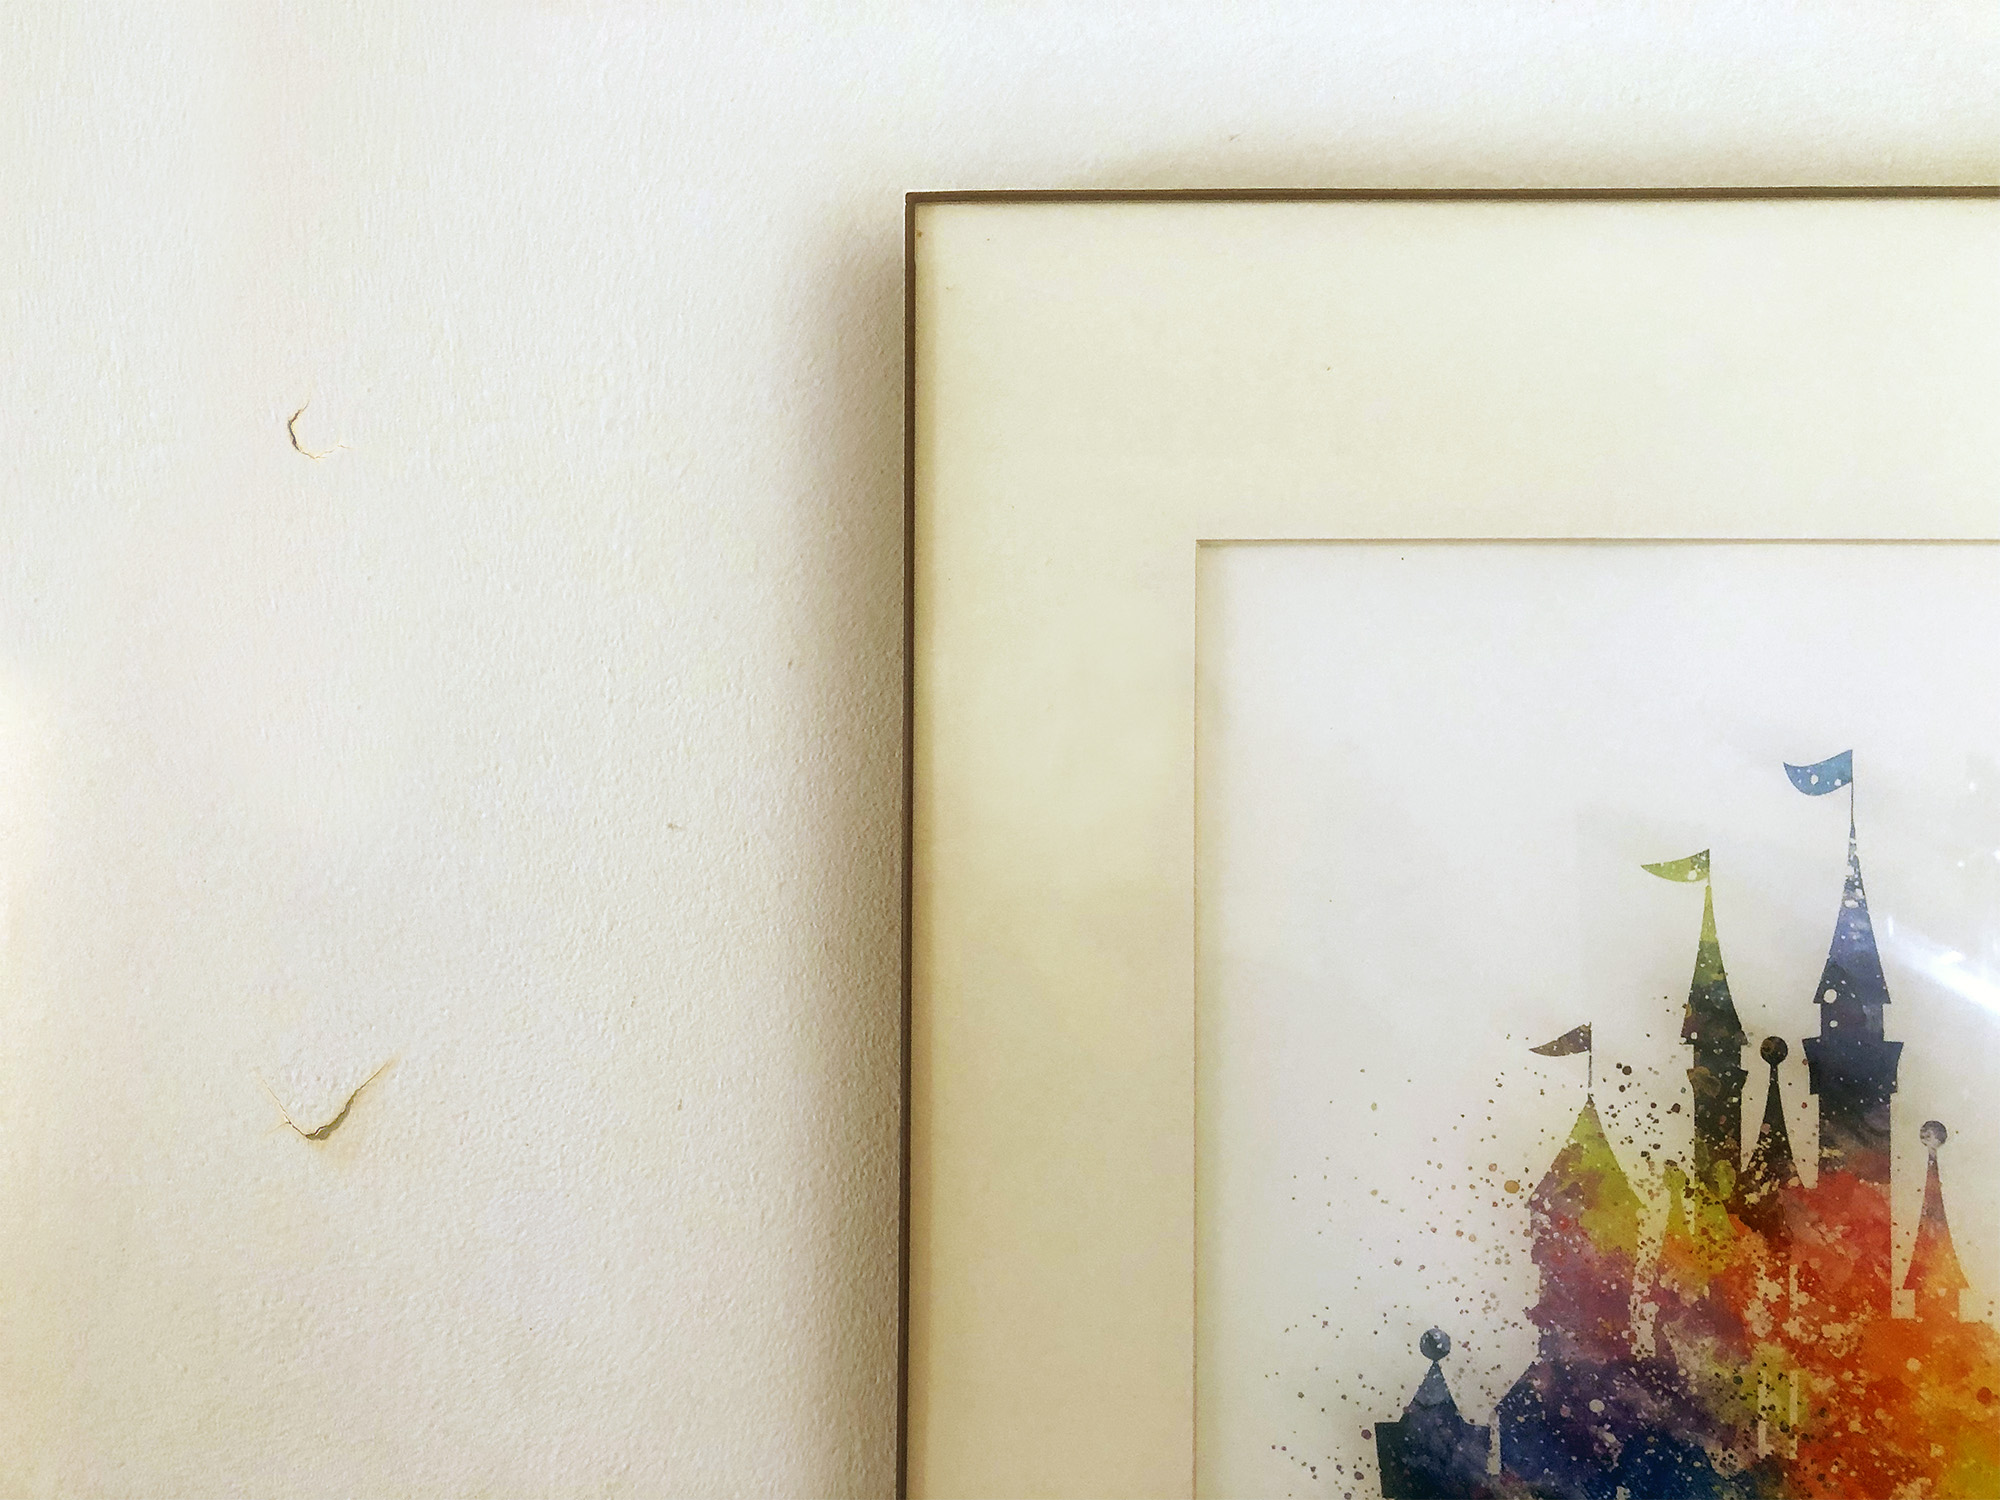
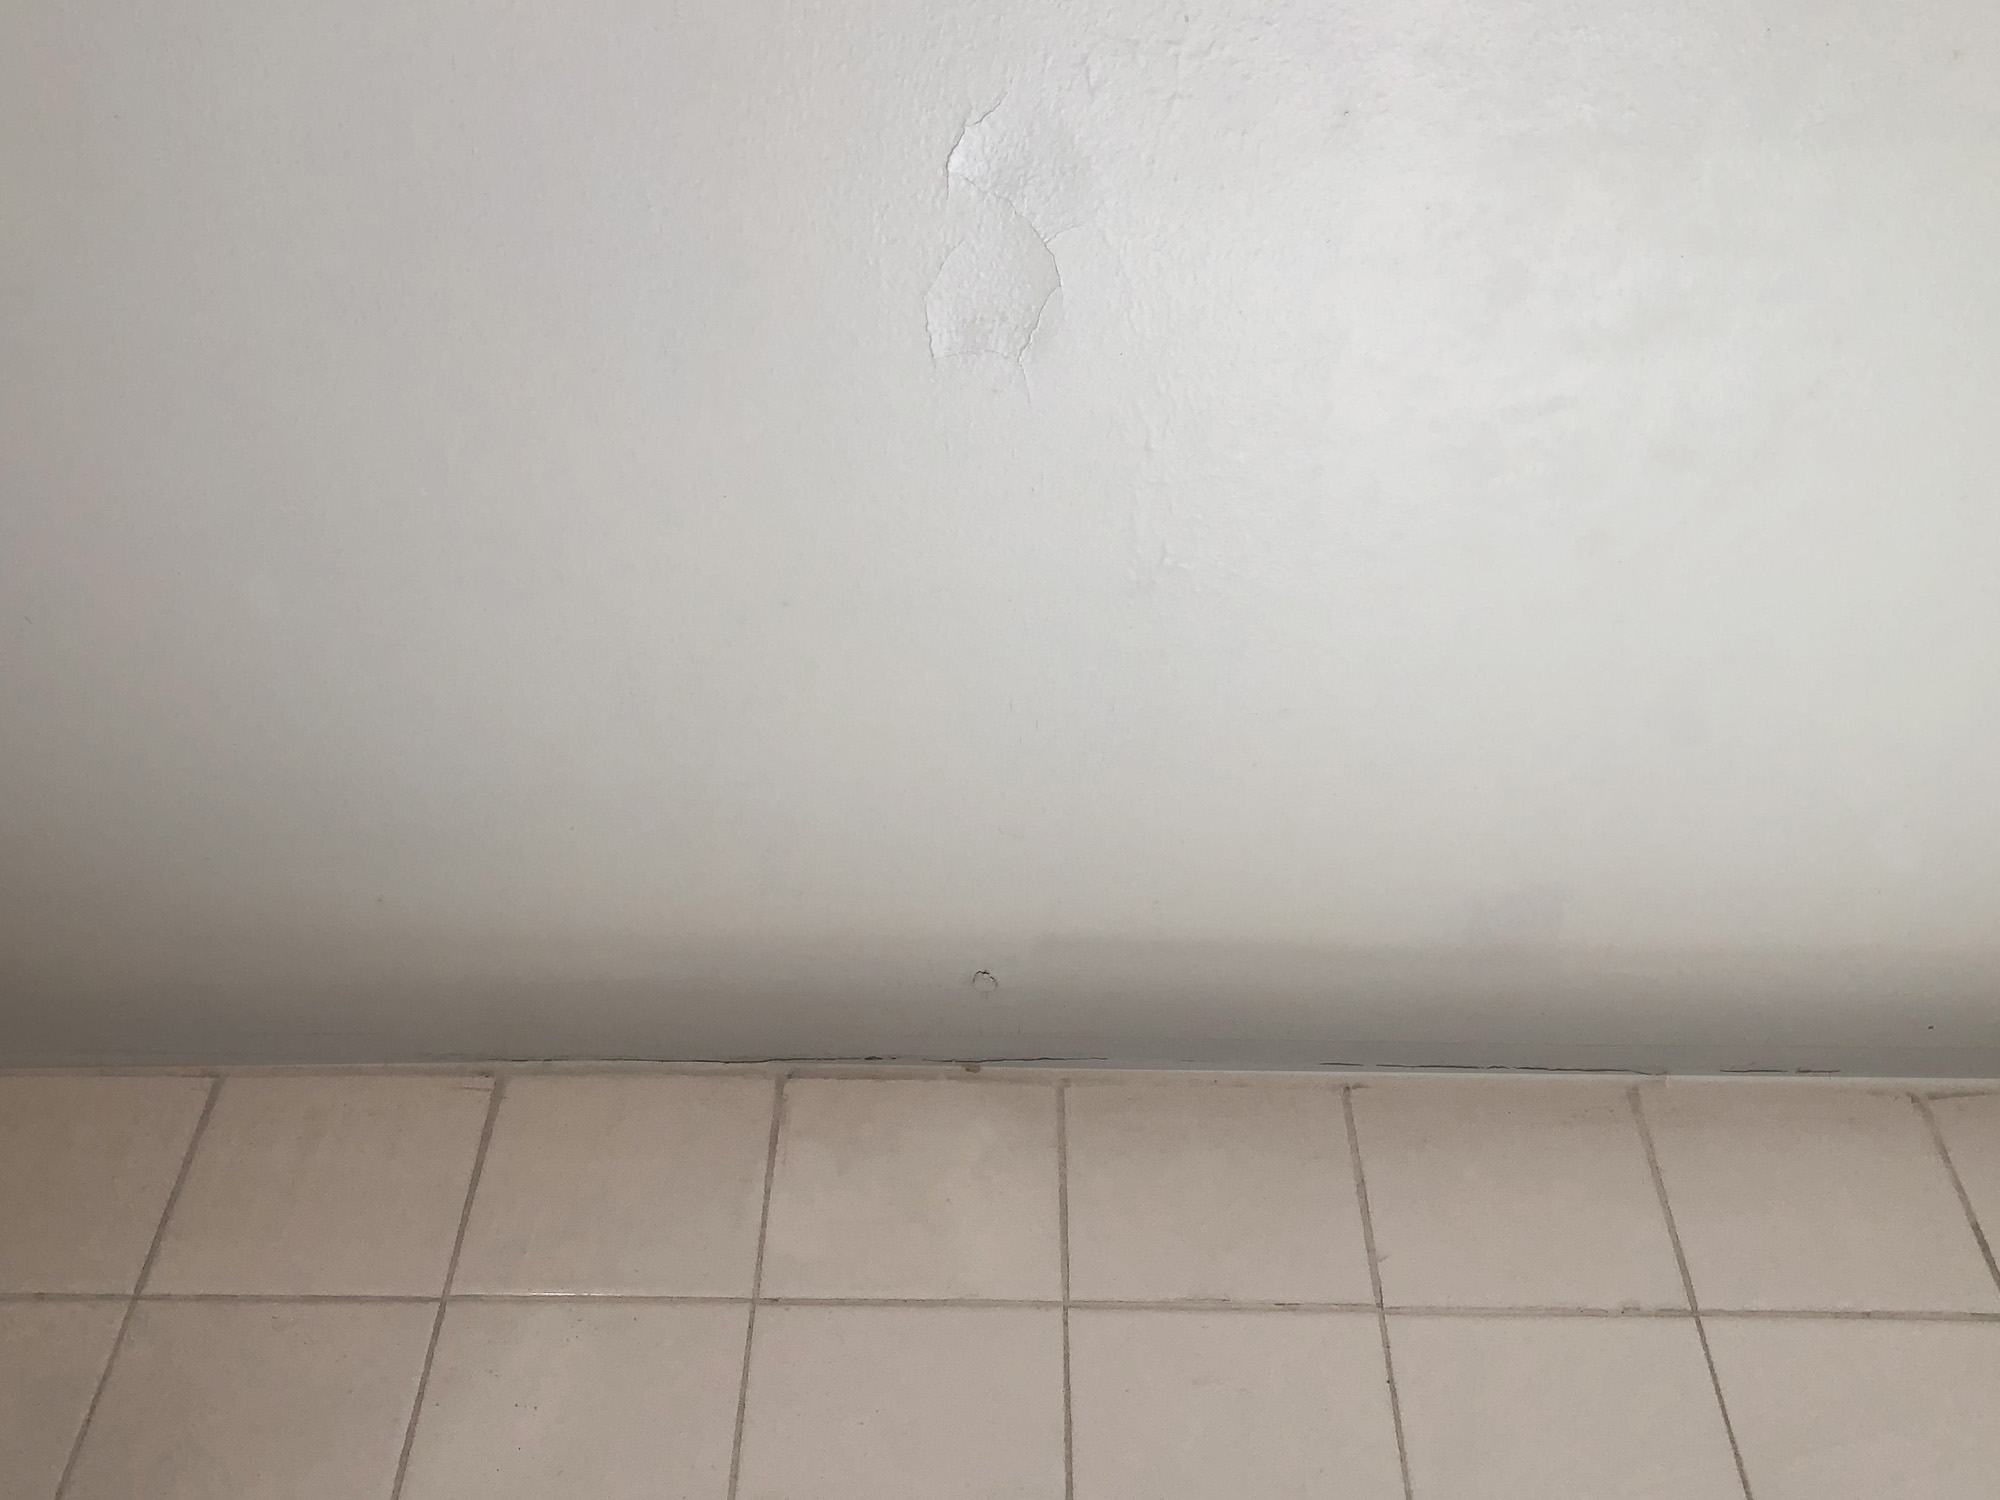
Nail pops are the small circular bumps that protrude from sheetrocked walls and ceilings. They usually stick out about an 1/8-inch or less from the wall. They can be hard to see when looking directly at the bump, but are very easy to spot from an angle because they cast a shadow and catch light. In some cases they can crack the paint around them which makes them even more noticeable and may even expose the nail head. Nail pops can run in vertical or horizontal lines depending on the direction of the studs or ceiling joists. Either screws or nails can be used to secure drywall to the wall studs or ceiling joists. Screws stay firmly in place, but nails can sometimes back out of the wood which creates a nail pop.
Sheets of drywall are hung on a wall stud or ceiling joist by screws or nails. The fasteners are then covered with spackle, sanded and painted. If the nail backs out of the wood it presses against the spackle which creates a bump. In some cases, the spackle and paint can crack which may even expose the nail head.
Nail pops happen when the nails start to back themselves out of the wood. This is generally caused when the wall frame expands and contracts, settles or moves. Exterior walls, load bearing walls and walls with doors or adjacent stairs are the most prone to nail pops because they move the most.
If drywall is hung there’s always a possibility that a pop will eventually form. But luckily they’re easy to fix.
In this article we’ll discuss nail pops, they’re causes, and how to prevent and fix them.
What Causes Nail Pops?
Drywall can be hung on a wall stud or ceiling joist using screws, nails or both. In most cases contractors will use screws along the outer edge of the drywall sheet and nails on the inside. Screws will remain secure inside the wood if the wall moves, expands or contracts. But nails can start to loosen and back out. This creates a nail pop.
When drywall is nailed in place, the nails are driven about an 1/8 of an inch below the surface which creates a dimple. The dimple is then filled with spackle and sanded smooth. Later it’s primed and painted which hides the nails. But there is only about 1/8 inch of spackle covering the nail head. This is not enough to keep the nail secure if it starts to back out of the wall frame.
Nails can start to back out for a few reasons:
- Movement: Wall and ceilings can settle, flex or vibrate. Every time the wind blows, someone walks on a floor or the house settles, movement occurs which can effect the nails.
- Expansion & Contraction: Wood expands and contracts when the temperature changes. This can push a nail out of the wood creating a pop.
- Drying: As wood studs and joists dry out over time, the wood fibers lose their grip on the nail.
When nails protrude, they press against the drywall compound covering them and create a pop. Nail pops can also crack the compound and paint which may expose the nail head.
Nail pops are very common in both old and new houses that use drywall. There’s no way to stop a house from expanding, contracting or moving. You can either use all screws to hang your drywall or learn how to repair the nail pops.
Using The Wrong Nails Can Cause Nail Pops
Drywall nails have a broad head and a ring shank which makes it harder for them to pull out of a wall. If you use a broad head nail with a smooth shank instead, the nails will be easier to pop out of the wood. Make sure when you hang drywall to use drywall nails with a ring shank and not a smooth shank.
Another mistake people make is using a nail that’s too short for the drywall their hanging. Drywall comes in different thicknesses. And in some cases we hang drywall in double layers. I recommend using as long a nail as possible because it makes nail pops less likely. As a general rule I like to get at least 1 1/4 inch of the nail into wood. If you’re hanging 5/8 inch drywall use a 2 inch nail.
Nail Pops Are Caused By Shrinking Wood
A common cause of nail pops is shrinking wood. When homes are framed the wood usually contains some moisture. As it sits inside the frame of your home, the wood starts to dry out because homes are heated and the frame isn’t exposed to moisture. If you inspect the wood frame of an older home, it’s usually bone dry. As wood dries it also shrinks a bit which can apply pressure to the nail and push it out. This creates a nail pop.
There’s nothing you can do to avoid nail pops caused by drying wood other than using a screw to install the drywall. Even if you use a long drywall nail with a ring shank, pops can still happen.
Nail Pops Can Be Caused By Poor Workmanship
A very common cause of nail pops is poor workmanship. Hanging drywall isn’t that hard to do and any age home is susceptible to nail pops as it moves, settles or dries. But there are some things you can do to make them less likely.
- Improper Fastener Spacing: A screw or nail should be used about every 6 – 8 inches along the edges and every 12 – 18 inches on inside studs.
- Fastener Length: I want at least 1 1/4 inch of screw or nail in the wood. This means you need a 2 inch nail for 5/8 inch drywall. I generally add another 1/4 – 1/2 inch to that for ceilings.
- Depth: Hammer the nail so that you create a small dimple with the hammer head. If you over drive the nail you’ll weaken the drywall.
- Angle: Nails installed at an angle won’t hold as well. Try to drive them straight in.
- Missing The Stud: If the installer misses the center of the stud the hold could be weak.
The best way to avoid nail pops is by using screws. That’s what I do in all of my homes. It takes a little longer to install them but you’ll avoid nail pops which saves time and money in the long run.
Nail Pops Can Be Caused By Remodeling
A common cause of nail pops in both new and old homes is remodeling. If you do work on a house involving hammering, like laying new floors or installing siding, the banging causes walls and floor joists to shake. This pushes out nails and creates pops.
Siding a house is a major cause of nail pops. Siding is hammered onto the exterior sheathing which has drywall directly on the other side. When you hit the outside of the stud to install the siding, you also create force on the inside which can push out drywall nails.
Installing hardwood flooring on a floor with a finished ceiling below can also create nail pops. Each time you drive a nail into a floor joist you’re also hitting the drywall nails on the ceiling below.
When your remodeling a home, pay attention to the walls or ceilings on the other side of where you’re working. You could cause nail pops that’ll need repairs later.
What To Do About Nail Pops
The most common way people fix a nail pop is to bang the nail back in with a hammer and then re-spackle, sand and paint. However this is usually just a temporary fix because the nail just backs out of the wood again which causes another nail pop.
To fix a nail pop the right way, you must install drywall screws (not nails) on both sides of the nail pop.
- Pound in the nail pop with a hammer to create a new dimple.
- Install a screw above and below the nail. Drive the screws as close to the nail as you can without toughing it. Usually I leave about 1 inch between the screw heads. Make sure the screw heads sit just below the surface of the drywall.
- Spackle over the dimple and screw heads.
- Sand, prime and paint.
Once you install both screws, the nail isn’t holding the drywall anymore. All the pressure rests on the screws which prevents the nail from popping again. Pounding in the nail creates a dimple for the spackle to sit.
If a nail pop is repaired correctly, you won’t be able to tell it was there.
Keep in mind that banging and screwing into the wall could cause nail pops in other parts of the wall. So work as gently as possible. It doesn’t take that much force to bang in the nail or drive in two drywall screws.
Step 1. Hammer The Nail Back
Drive the protruding nail back into the wall through the nail pop. You don’t have to do any demo first to expose the nail.
Be careful not to damage the drywall around the pop. The nail will be loose and easy to drive back into position. Some spackle may crack and fall off.
Use a smooth-headed hammer. Do not use a waffle or grid-headed hammer.
Banging in the nail will create a round indentation in the wall.
Step 2. Install Drywall Screws
Once the nail pop is banged back in and an indentation is created, drive two drywall screws directly above and below the nail. Install them as close together as possible without hitting the nail. I like to leave about 1 inch between the screws.
Use a drill and the correct bit to drive two drywall screws through the wallboard and into the studs.
The head of the screw should sit just below the surface. Try not to drive so deeply that you tear through the paper layer of the drywall. If this happens, add another screw. When drywall paper is broken, the screws won’t hold as securely as they should.
If the nail backs out after you hit it in don’t worry, the two screws will be strong enough to hold the drywall against the studs or ceiling joists by themselves. Screws take pressure off the nail which prevents it from popping out again.
You may need to tap the nail in again after you install the screws if it pops out.
If the nail refuses to stay in place, use the hammer to break out some of the spackle to expose the nail head. Then remove the nail with a nail puller.
Step 3. Spackle
Use your 4 inch drywall taping knife to apply a light layer of joint compound over the indentation and screws. Use the knife to smooth excess spackle so that it’s flush with the wall.
This is just the first coat so don’t worry if the indentations are still visible or if the spackle isn’t perfectly smooth.
Step 4. Allow Compound To Dry
Allow the joint compound to completely dry before you apply a second coat. Keeping the room warm and turning on a fan or opening the window will help speed up the drying process. Depending on what type of compound you use, it could take a few hours or a day for the material to dry.
If the room is cold or damp, it could take longer than a day for spackle to dry. But be patient. Applying a 2nd coat of spackle too soon will ruin the finish.
You can tell if the compound is dry by its color. Dry spackle is lighter than wet spackle.
Step 5. Apply A Second Coat
Apply a second coat of joint compound on top of the first. The second coat should be slightly wider than the first and blend into the wall.
Each additional coat over the first should be applied very thin.
Step 6. Allow The 2nd Coat To Dry
Let the 2nd coat thoroughly dry. Because the 2nd coat is applied thinner than the 1st, it will dry faster.
Once the 2nd coat is completely dry, inspect the area to make sure the screws and nail pop are thoroughly covered. Run your finger over the patch to make sure it’s smooth. Compound can shrink when it dries so it may be necessary to apply more coats.
If you feel the area needs a 3rd coat, apply another thin coat of compound over the 2nd and let it dry. Then inspect the area again. Repeat these steps until the area is smooth and feathered into the wall.
Each new layer should be applied a little wider than the previous layer. This helps feather the patch into the wall.
Step 7. Sanding
Lightly sand the area with a fine-grit sanding block. Don’t use sandpaper and your hand because it will sand unevenly. Don’t use a power sander because you’ll remove too much spackle. All the patch needs is a gentle sanding with a fine-grit block.
Sand over the edge of the patch in all directions to feather the compound into the wall.
If the area is up high or down low, use a pole sander.
Step 8. Cleanup
Sanding joint compound makes a lot of fine dust. If all you’re doing is sanding a single nail pop the mess won’t be too bad. But if you have a lot of them to repair I recommend covering furniture with tarps and removing area rugs from the room. You can also cover doorways with plastic sheeting to keep dust from spreading into other rooms.
Dampening the sanding block a little makes the dust clump up rather than become dust. But don’t use too much water or you’ll ruin the patch.
A vacuum cleaner will pick up most of the dust but sometimes not all. If residue stays on your floor or wall, use a damp cloth to clean up.
Tools & Materials You’ll Need
To fix nail pops correctly, you’ll need a few basic tools and materials. You can find them all at any Home Depot, Lowes or other home improvement stores.
Here’s a list of what you’ll need:
- Drill & Bit: Drywall screws come with a Phillips head.
- Hammer: Round flat head. Don’t use a waffle or grid-headed hammer.
- 4 Inch Drywall Taping Knife: Larger sizes are fine but not smaller.
- Fine-Grit Sanding Block: Don’t use sandpaper alone because it will sand unevenly.
- Pole Sander: For high or low sanding.
- Joint Compound: Use a fast drying mix to get the job done in a single day.
- Drywall Screws: Use at least a 1 1/2 inch coarse thread screw.
What Causes Nail Pops In New Construction?
Drywall is hung on wall studs or ceiling joists using screws, nails or both. In most new homes, contractors will use screws along the edges of the drywall sheet and nails on the inside. Screws will remain secure if the wall moves, expands or contracts, settles or dries. But nails can start to loosen and back out. This creates a nail pop.
Nail pops in new construction are common and usually nothing to worry about. They’re typically not a sign that something is wrong with the house unless you get an excessive amount of them. But they should be fixed right away.
Nails pops can happen in a new construction home for a few reasons:
- Drying: When a new home is built the lumber typically contains some moisture. But over time it starts to dry out. This happens because the wood isn’t exposed to moisture any more and the home is typically heated. As the wood dries some of the nails can be pushed out which causes a pop.
- Movement: Wall and ceilings can settle, flex or vibrate. Every time the wind blows, someone walks on a floor or the house settles, movement occurs which can effect the nails.
- Expansion & Contraction: Wood expands and contracts when the temperature changes. This can push a nail out of the wood creating a pop.
When nails protrude, they press against the drywall compound covering them and create a pop. Nail pops can also crack the compound and paint which may expose the nail head.
Nail pops are very common in both old and new homes that use drywall. There’s no way to stop a house from moving, settling, expanding and contracting or drying. You can either use all screws to hang your drywall or learn how to repair nail pops if they occur.
Are Nail Pops Normal In New Homes?
Nail pops are normal in new homes that used nails to hang drywall instead of screws. Drywall contractor will either use all nails, all screws or a combination of both. When a new house settles or the wood starts to dry out, some of the nails can be pushed out of the wood. This creates a nail pop. It’s normal and nothing to worry about. Nail pops don’t indicate anything wrong with how the house is built. But they’re a cosmetic issue that should be fixed.
Can Nail Pops Be Prevented?
Yes, nail pops are easy to prevent by using drywall screws instead. A drywall screw won;t back out when the house settles, the wall moves or the wood dries. They’ll stay securely in place and won’t create a pop. If you want to use nail to hang your drywall, choose a nail with a ring shank rather than a smooth shank. The ridges on a ring shank nail make them harder to pull out. You should also use as long a nail as possible. The further you drive into the wood the harder it will be for the nail to pop out.
No matter what type of drywall nail you use, they could still pop. The only way to totally prevent nail pops is by using screws.
Are Nail Pops Covered Under Warranty?
Generally, nail pops are not covered under a home warranty. This is because they’re caused by natural settling, movement or drying of the home and building materials. They’re usually not caused by any fault of the builder or contractor.
Are Nail Pops Common In Older Homes?
Yes, nail pops are common in older homes because they used nails to hang drywall instead of screws. Older homes were just as prone to settling, movement and drying as new homes are. So when these things occur, some of the nails can be pushed out which creates a pop.
Another factor to consider with older homes is remodeling. many older homes have been remodeled at some point. This means part of the house can still be drying or settling which could potentially cause more pops.
Really old homes didn’t use drywall, they covered their walls and ceilings with plaster. Homes with plaster don’t get nail pops because the nails are held in place by a thick layer of plaster.
Are Nail Pops In Ceiling Dangerous?
No, finding a nail pop in your ceiling is not dangerous. A sheet of drywall should have a nail or screw every 6 inches around the edges and every foot on inside studs. If you have a pop or two it’s a cosmetic issue that should be fixed. But it’s not enough to make a sheet of drywall fall down.
If you have multiple nail pops on a ceiling you should fix them right away. Especially if they’re on the same sheet of drywall. The weight of the drywall can pull the nails out further which can then cause more pops.
Summary: What Are Nail Pops?
Nail pops are the small circular bumps that protrude from sheetrocked walls and ceilings. They usually stick out about an 1/8-inch or less from the wall. They can be hard to see when looking directly at the bump, but are very easy to spot from an angle because they cast a shadow and catch light. In some cases they can crack the paint around them which makes them even more noticeable and may even expose the nail head. Nail pops can run in vertical or horizontal lines depending on the direction of the studs or ceiling joists. Either screws or nails can be used to secure drywall to the wall studs or ceiling joists. Screws stay firmly in place, but nails can sometimes back out of the wood which creates a nail pop.
Sheets of drywall are hung on a wall stud or ceiling joist by screws or nails. The fasteners are then covered with spackle, sanded and painted. If the nail backs out of the wood it presses against the spackle which creates a bump. In some cases, the spackle and paint can crack which may even expose the nail head.
Nail pops happen when the nails start to back themselves out of the wood. This is generally caused when the wall frame expands and contracts, settles or moves. Exterior walls, load bearing walls and walls with doors or adjacent stairs are the most prone to nail pops because they move the most.
If drywall is hung there’s always a possibility that a pop will eventually form. But luckily they’re easy to fix.
If you have any questions or comments about nail pops email any time.