How To Install A Welded Wire Fence
A welded wire fence is a great way to secure your property, keep animals out and pets in, while still retaining visibility through the fence. If you’re doing the job by yourself DIY then you’re in luck. It’s not that hard to install a welded wire fence. Although building a wire welded fence can be done alone, I recommend bringing a friend or two along. Especially if the fence is high. The first step is choosing the fence post material. You can use welded wire with a wood, metal or concrete posts.
A wooden fence post is easy because you can staple the fencing right to the post. But they don’t last as long as metal or concrete posts and are more difficult to maintain. Metal Posts looks more seamless because welded wire is also metal. They’re more durable, lasts longer, and requires less maintenance than wood. Concrete posts are the strongest and most durable, but don’t fit with every home’s design.
Once you’ve selected the post material, choose a height. Then pick the type of welded wire fence you want. It comes in different sizes, designs and colors. Start out by measuring and laying out the fence posts. Dig and set the posts. I recommend setting the posts in concrete at least 2 feet below grade. Once the posts are all up, level and plumb, start installing the fencing. Wire welded fencing is secured to the fence posts using brackets, wire or staples.
Wire welded fencing comes in a roll. Unwind and secure it to the posts as you go.Don’t unroll the entire fence on the ground because it will be more difficult to work with.
Ahead well discuss how to install a welded wire fence step by step.
1. Gather Materials
Once you have all the necessary tools and materials ready, building a welded wire fence is relatively simple.
Don’t start building the fence until you have everything you need. It makes the job so much harder when you have to stop in the middle to run out and get supplies or tools.
Here’s a list of what I bring with me when building a wire welded fence:
- Fence Posts: Either metal, concrete or wood.
- Wood Forms: If I’m pouring my own posts then I need forms.
- Cinder Block: In some cases I build the posts out of 4 inch block.
- Shovel: I bring a spade head to dig holes and a flat head for mixing concrete.
- Bags Of Concrete
- Hammer: A good all around tool to have around on just about any fence job.
- Wheel Barrow: To move materials and mix concrete.
- Hoe: Good for moving dirt and mixing concrete.
- String: Used to mark out the fence.
- Paint: I mark my footings with paint.
- Wood Stakes: For securing the string.
- Tape Measure
- Knife: For cutting string or concrete bags open.
- Welded Wire Fencing
- Post Hole Digger: To dig footings if you don’t like using the shovel.
- Level
- Staples
- Stapler
- Metal Ties Or Baling Wire
- Brackets & Screws
- Gate Materials
- Pick Axe
- Digging Bar
- Masonry Drill Bits
- Drill
- Pliers
- Wire Clippers.
Some of these materials are dependent on the type of fence post you choose. I always draw out the fence on paper before I start and make a material list. For example, if you want to put up a welded wire fence fast and cheap, use wooden fence posts with staples. But if you want one that will last longer, use metal posts and wire or brackets with self tapping metal screws. For concrete posts, I use wire or brackets with concrete screws.
2. Measure & Layout The Fence
You should measure your fence before you start construction. This will make things a lot easier when you start to build the fence. It’s also an important step when calculating how much material you need. Measure and layout the fence and the posts. This will tell you how much fencing you need, how many posts and how many brackets, wire, screws, staples, etc.
Pick a starting point at one end of the fence and then work around the property. Use a stake to mark each corner. These stakes will mark where posts eventually go so make sure the stakes are accurate.
Place a stake along the fence line every 6-8 feet. This is where the inside posts will go.
Remember to reserve a location for the gate. A gate is normally placed between two fence posts that are closer together than normal. A normal size gate is around 3 feet wide. Double gates that open french door style are typically 6 feet wide. You’ll need one post on wither side of the gate.
Once the stakes are in, calculate how much welded wire you’ll need by measuring along the fence line. Welded wire is available in rolls ranging in length from 25 to 150 feet for residential jobs. Smaller rolls are easier to handle, but larger rolls are more cost effective.
How To Keep The Corners Square
Measure as you stake the ground to make sure you stay on track. Taking measurement at the corners will help you keep the fence square. The calculation is 3, 4, 5. Staring from a corner, measure 3 feet along one fence line and 4 foot along the other and make marks. Then measure diagonally from mark to mark. If the corner is square the measurement between marks will be 5 feet. If the measurement is lower or higher then your right angle is off.
To get the right angles, adjust the stakes as needed. It’s easier to move stakes than it is to move fence posts.
3. Dig The Post Holes
Now that the fence layout is done you should have all your posts marked by a stake.
I use some marking paint to draw a circle where I want my fence post. It’s important to know how deep you want to bury the post because that’s how deep your hole needs to be. It also helps when buying concrete.
I recommend burying each post at least 2 feet below grade.
In areas that get below freezing, I recommend digging the fence posts below the frost line. This prevents ground water from freezing and pushing up the post.
If you bury a fence post two feet in the ground, you need to take that into account when ordering posts. For example, of you want a 6 foot high fence with two foot buried, you need to use 8 foot posts.
If you decide to dig deeper, then you need to compensate by using a longer post. In general, I like to keep about 1/4 f the total height of the post under ground. This means an 8 foot post has 6 feet buried.
Digging The Hole
You can use a spade shovel or a post hole digger to dig the hole for your fence post.
Dirt can be hard to dig. If your soil is rocky, clay or something hard like caliche, use the pick axe to soften it up. As you get deep, the pick axe won’t work so I use the digging bar instead. Break up the soil and then scoop it out with the shovel or post hole digger. I’ve dug fence posts in caliche that was so hard I needed a jackhammer to break it up. But in most cases hand tools are enough.
If you have a lot of fence posts to dig, consider renting an auger. They’re basically a hand held motor with a long drill bit attached. They come in one and two person designs or mounted to the back of an excavator or Bobcat. Power tools make digging fence posts a whole lot easier.
Make sure you dig the hole with a flat bottom. Post holes with a spear shape bottom can be pushed deeper into the earth as weight is added. If the base is flat the hole won’t sink under the weight of the concrete and fence.
Some people dig all the holes and then start setting posts while others dig one hole and install one post at a time. Both methods work fine so it’s up to you. However, if you’re renting a machine to help you dig, I recommend digging all the holes at once. Doing it this way will save you money.
4. Install The Fence Posts
After you’ve dug the hole for your fence post, fill the bottom of the hole with a few inches of gravel. Then compact the gravel. This creates a nice base for your concrete. When you install a welded wire fence, it’s important to consider the long term effects weather and moisture have on the posts. As water collects under the ground, it can settle around or under the concrete footing. Gravel helps water drain away from the post which helps prevent water issues down the road.
Gravel provides some drainage, preventing moisture from reaching the fence post.
If you use a wooden fence post and moisture gets to it, the wood will rot quickly. Rotting wood can rapidly ruin your fence.
If you decide to use a metal or concrete fence post, gravel is also a good choice because it will help keep the post stable.
Place the fence post in the ground on top of the gravel base. Make sure the post is level and plumb.
Fill the hole with concrete gradually as you keep the post level. Concrete is a heavy material and will push the post around as you fill the hole. As you pour in concrete, check the post to make sure it remains level. I like to double and triple check every 6 inches to a foot of concrete and then one final time at the end. If concrete hardens when the post isn’t level, it’s hard to correct.
Concrete holds the fence post securely in place while also keeping moisture away from it.
Repeat this process for each fence post in your welded wire fence.
You should wait a few days after installing the fence posts before you start installing fencing unless you use a fast dry mix. In some cases, fast setting concrete can be hard enough to start installing wire the same day.
5. How To Attach The Welded Wire Fencing
When all of your fence posts are in place and the concrete is set, you can begin installing the welded wire.
While you install a welded wire fence, it’s very important to make tight connections at the top, bottom and middle of the post. You’ll be pulling the fence tight and the connections have to hold strong.
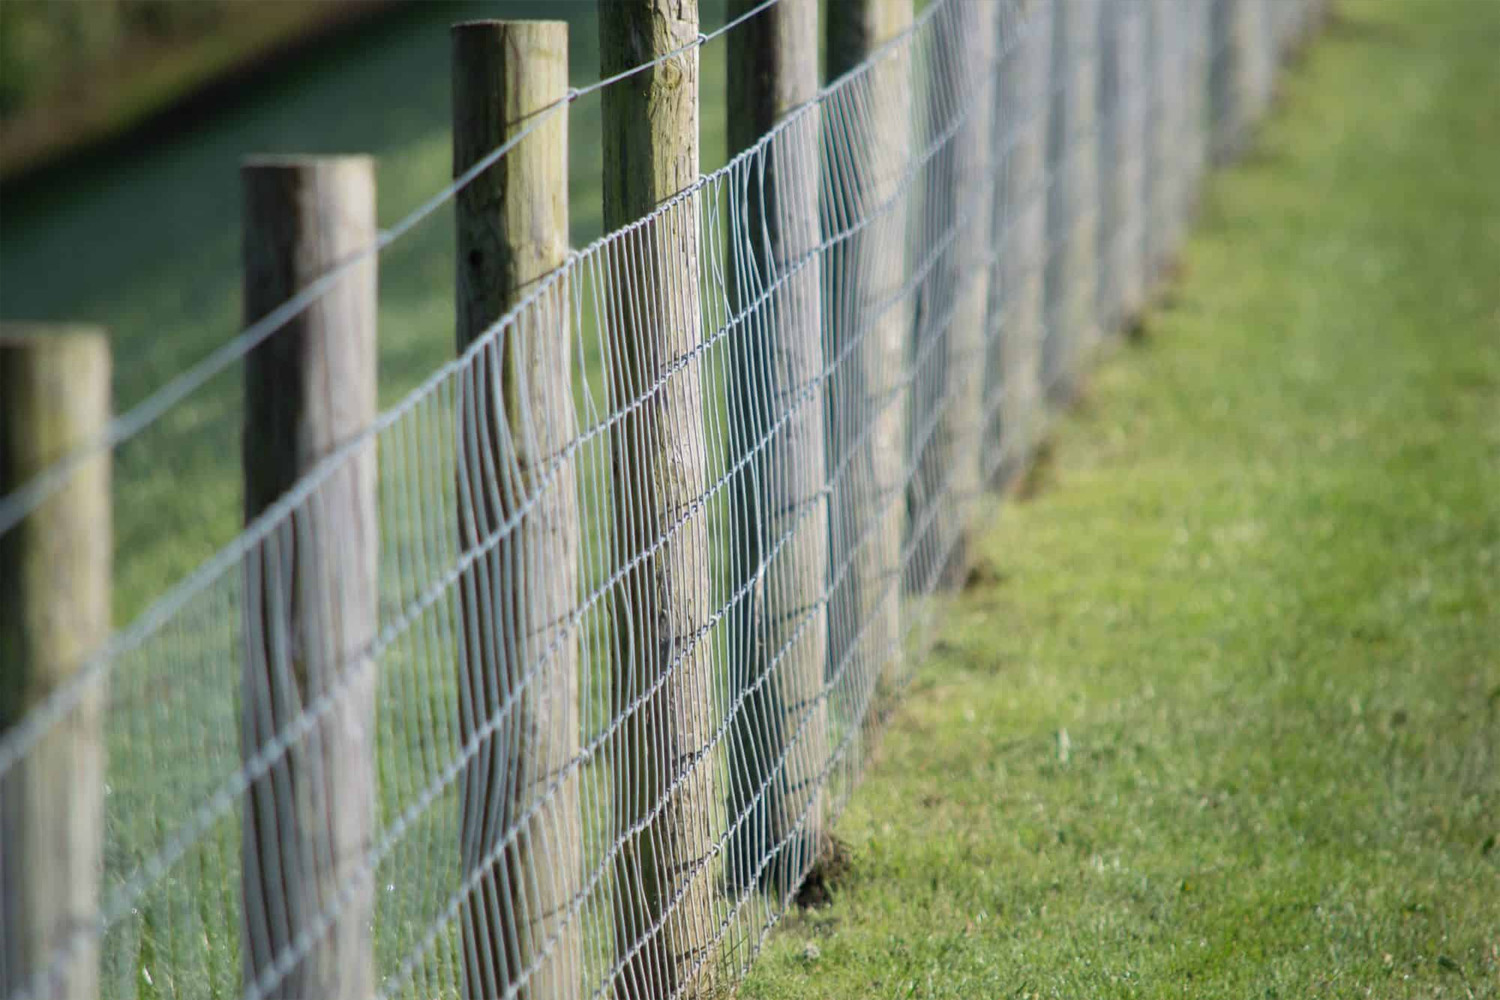
If your fence is built with wood posts, using staples to secure the welded wire is an option. This is a great way to build simple animal fences. They go up fast, look nice and do a good job of keeping pets and livestock in and predators out. If you build the fence high enough they’ll also keep deer away from your garden and flowers.
If you’re using a metal post, you can tie the wire to the top, middle, and bottom of the post with baling wire or metal ties. Or you can use brackets and self tapping screws.
If your using concrete posts, tie the wire to the top, middle, and bottom of the post with baling wire or metal ties. Or you can use brackets and masonry screws.
Installing The fencing
Once your posts are set and the materials are ready, begin rolling out the welded wire at a corner post. Keep the roll upright and roll it out along the fence line from post to post. Don’t roll the fencing out on the floor and try to install the fencing in one large section. This makes work a lot harder.
I typically slide a pole or 2×4 inside the fence roll. This makes carrying it and rolling it out easier.
A helper can work with you to hold the fencing roll while you secure it to the post.
When you install a welded wire fence, make sure the fence is taut and secure by stretching it as tight as you can.
Stretch the wire around each post and secure it tightly as you go.
When you run out of material make sure the end of the roll ends at a post. If extra fencing extends past the post, cut it at the center of the post. Trim excess wire with some clippers.
When attaching the welded wire to the fence posts, it’s critical to keep the fencing level. The first two posts in a line are usually the most important. If you start off level it’s easier to stay that way. However, if your first two posts are off, it’s very hard to get level again.
If you go off level, you can either cut the wire fence off at the last post and start a new section, or you can unwind the fence by rolling it up and taking apart the ties.
Wire weld fencing isn’t supposed to be flexible. If your running off level don’t try to make the fence level by applying pressure either up or down. The fence will twist and look weird. You either have to cut it off at the post or redo the section.
6. Install The Gate
Not all fences have a gate, but if you’re using one I recommend installing it last.
You should already have the posts that support the gate installed. The location is usually between two fence posts or a fence post and the house or other large structure.
To determine the width of the gate, measure between support posts and deduct about 2 inches. This leaves enough room for the hinges and latch. If you make the gate the exact distance between two posts, there won;t be enough room left for the gate to swing.
You can make your own gate out of wood or buy one already made. I usually buy mine already assembled and ready for installation unless I’m building an animal fence or need something custom.
Dry fit the gate in the opening to make sure it’ll swing.
Attach the hinges to the gate first and then to the post. It’s just like hanging a door in a frame. Make sure the hinges are installed level and square. If the hinges are off even a little they’ll twist when you open and close the gate.
I recommend buying a gate with the hinges already on. It makes installation much easier.
Once the gate is hung, install the handle or latch.
Use screws to secure the hinges to the post. The type depends on what type of post you’re using. Metal for metal posts, wood for wood, concrete for concrete. It’s all very self explanatory. I recommend a screw about 3 inches long. If the screws are too short the weight of the gate could pull them out.
Building Your Own Wood Gate
After you have your measurements, cut two 2x4s to the measured width, remembering to remove a few inches so the gate can swing open and shut.
Then, to make a box shape, measure how tall you want your gate to be and cut two more 2x4s to fit between the top and bottom boards.
The boards will then be laid out, producing the door shape, and the 2x4s will be bolted together with L brackets on both sides of each corner. There will be a total of eight brackets.
Choose one of the top corners and take a diagonal measurement down to the opposite bottom corner. Cut a board of this length with 45-degree cuts on both ends to fit in the gate’s corner.
Attach this board to the gate’s other side. The gate’s door is now created.
After you’ve got the gate’s door, you’ll need to drill the latch and hinges into it so it can attach to the fence.
Mark the fence posts where the latch and hinges for the gate’s door will be installed, and then install the gate’s door.
Gallery
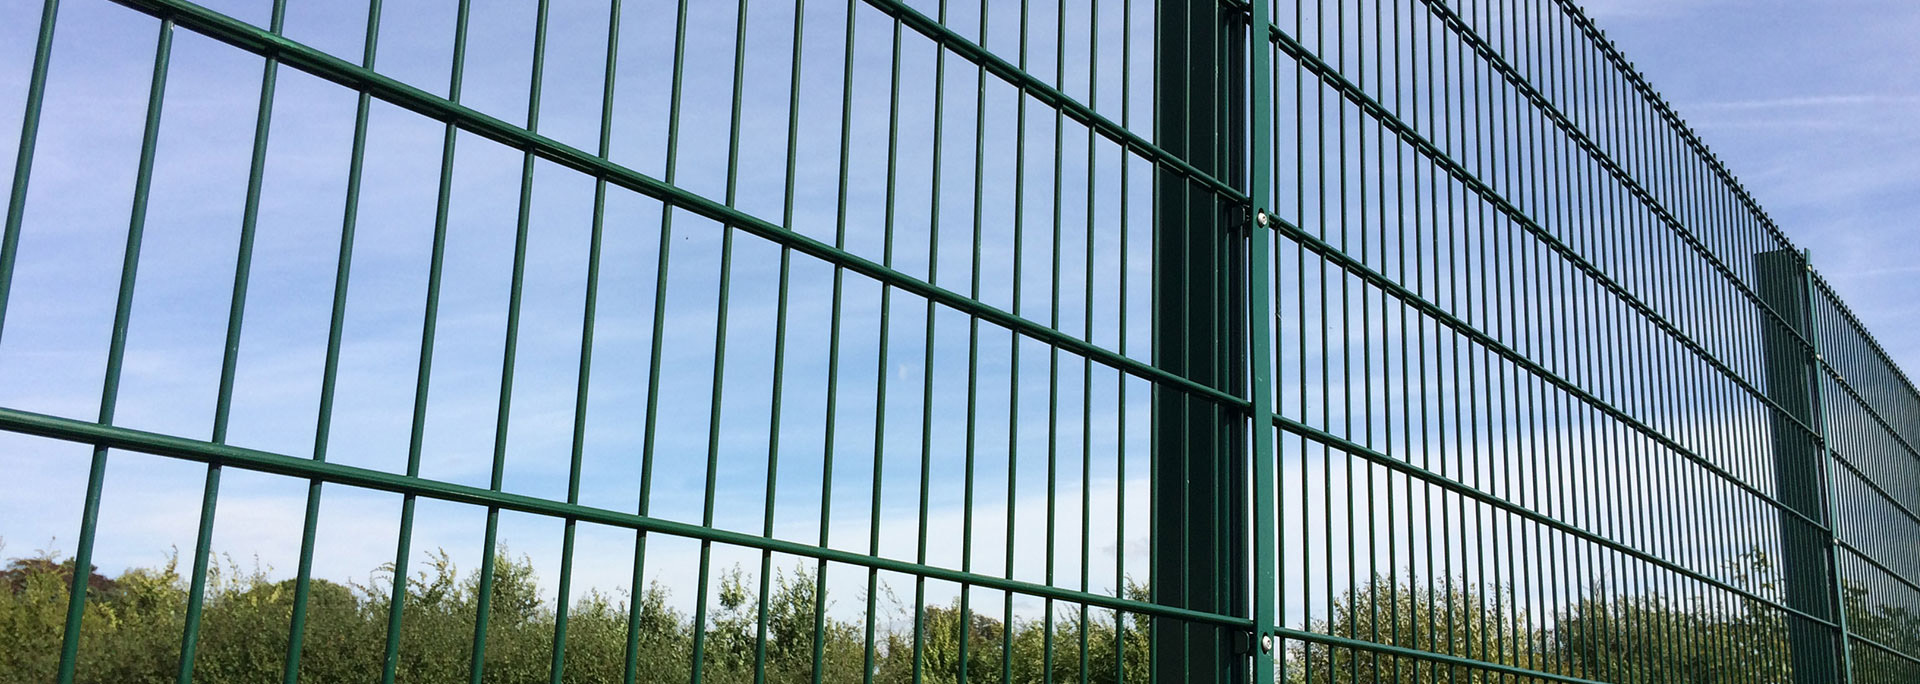
Green welded wire fence secured to metal posts with brackets.
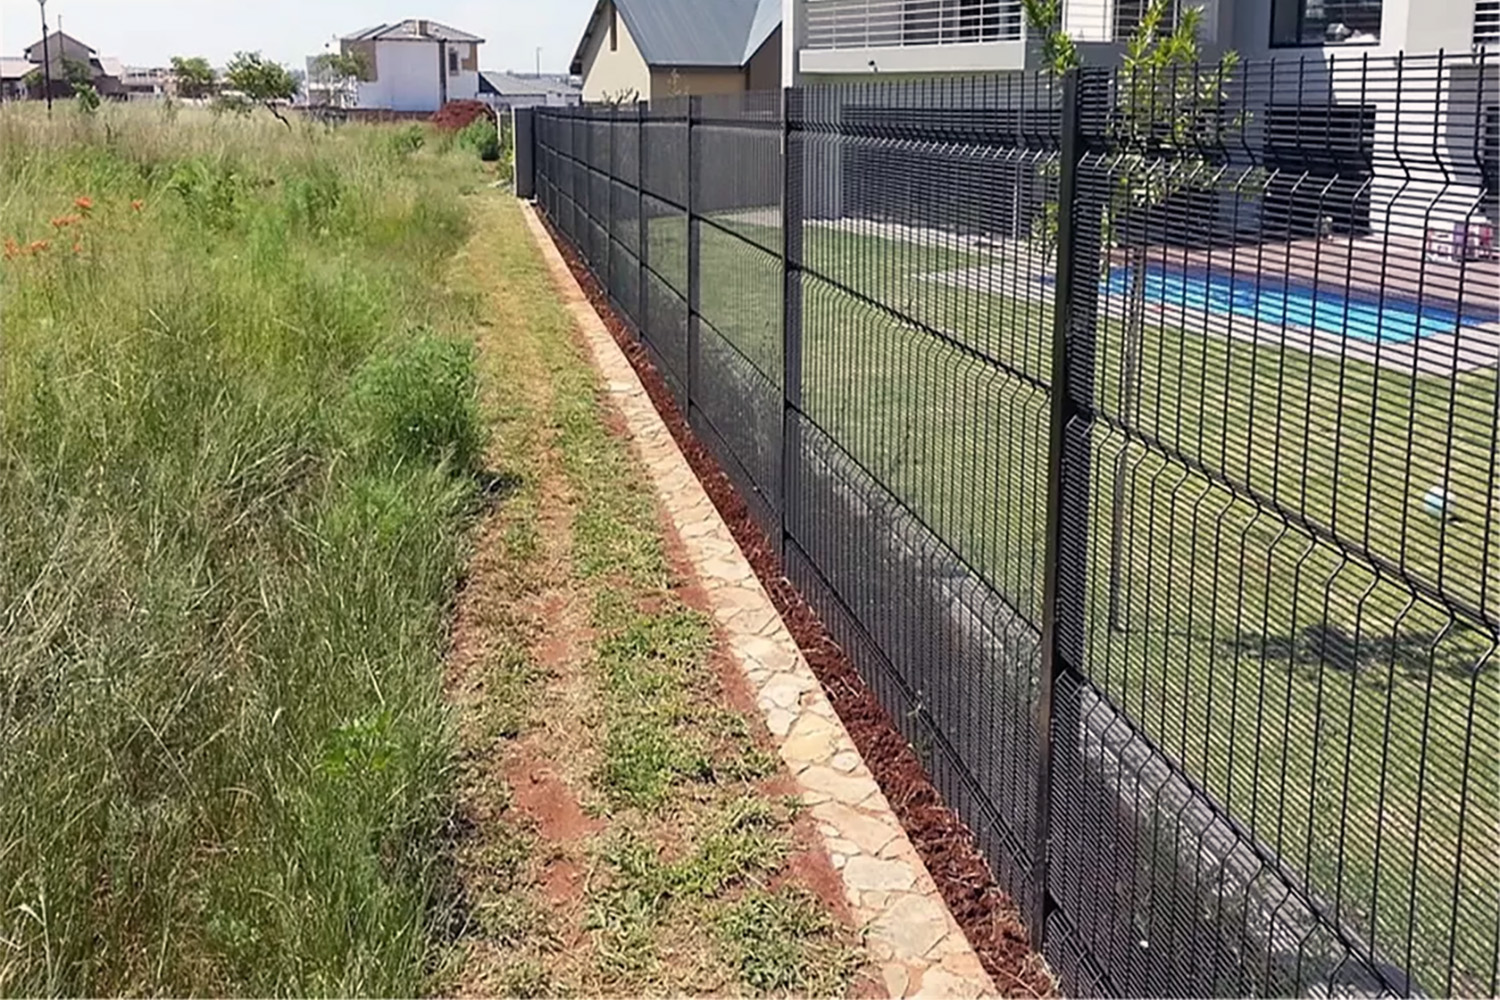
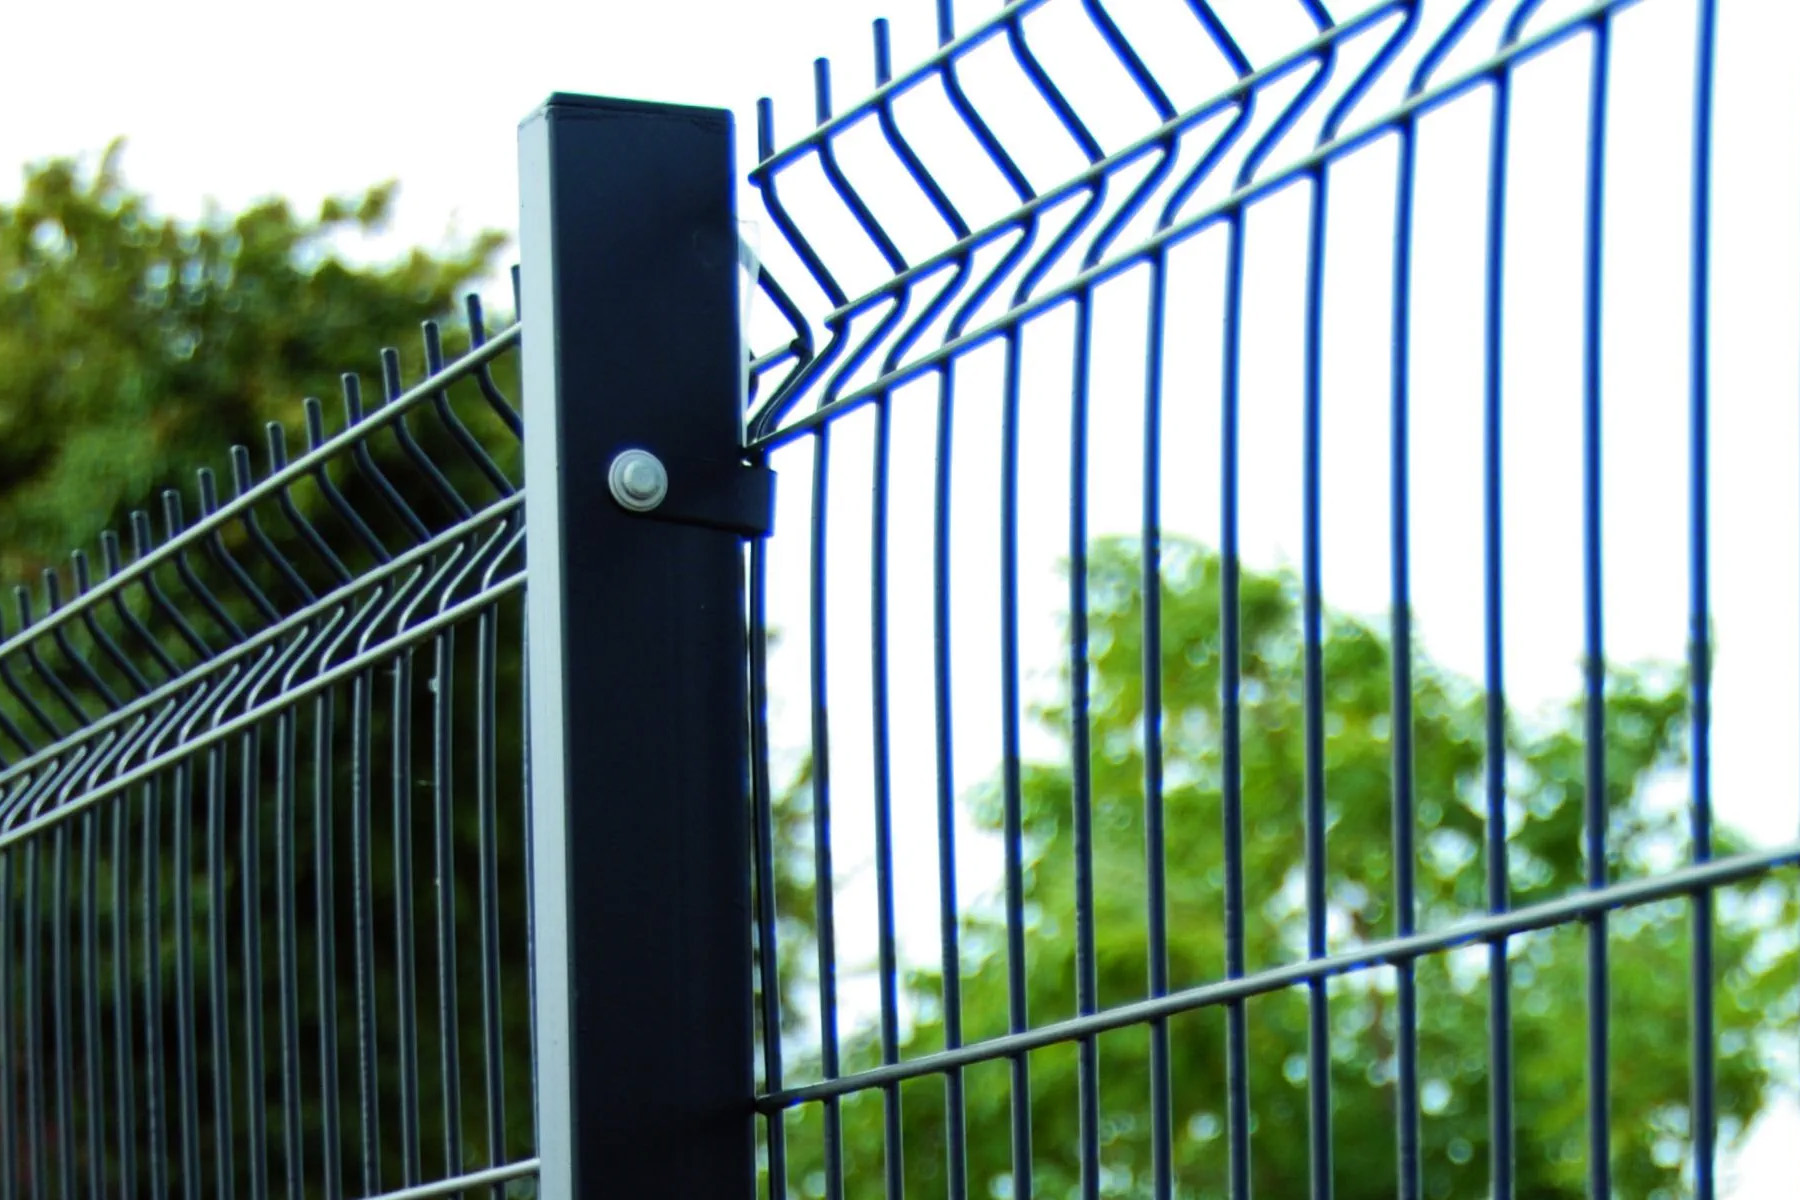
Black metal welded wire fence secured to metal posts with brackets.
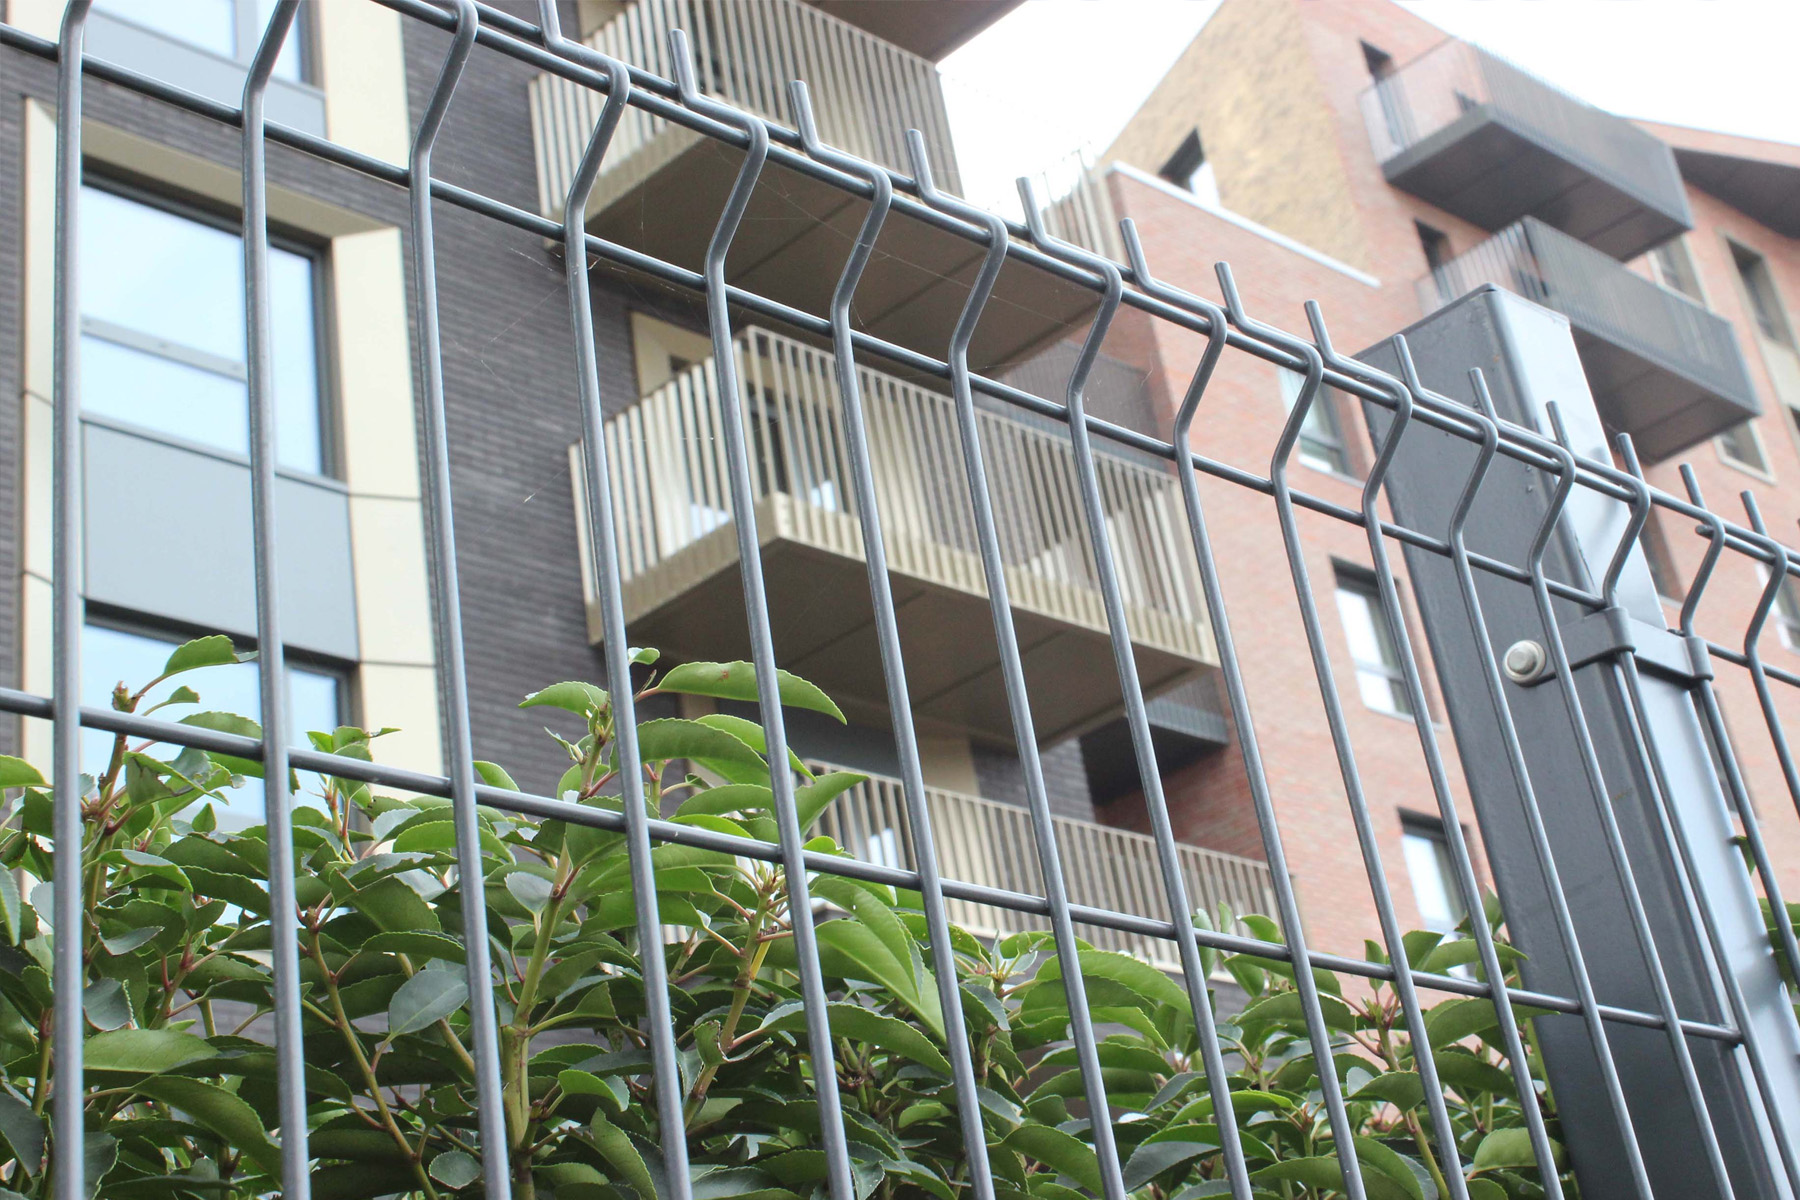
Because of their top design, welded wire fences like this come in sections and not in a roll.

Green welded wire fence with metal posts, brackets and locking gate.
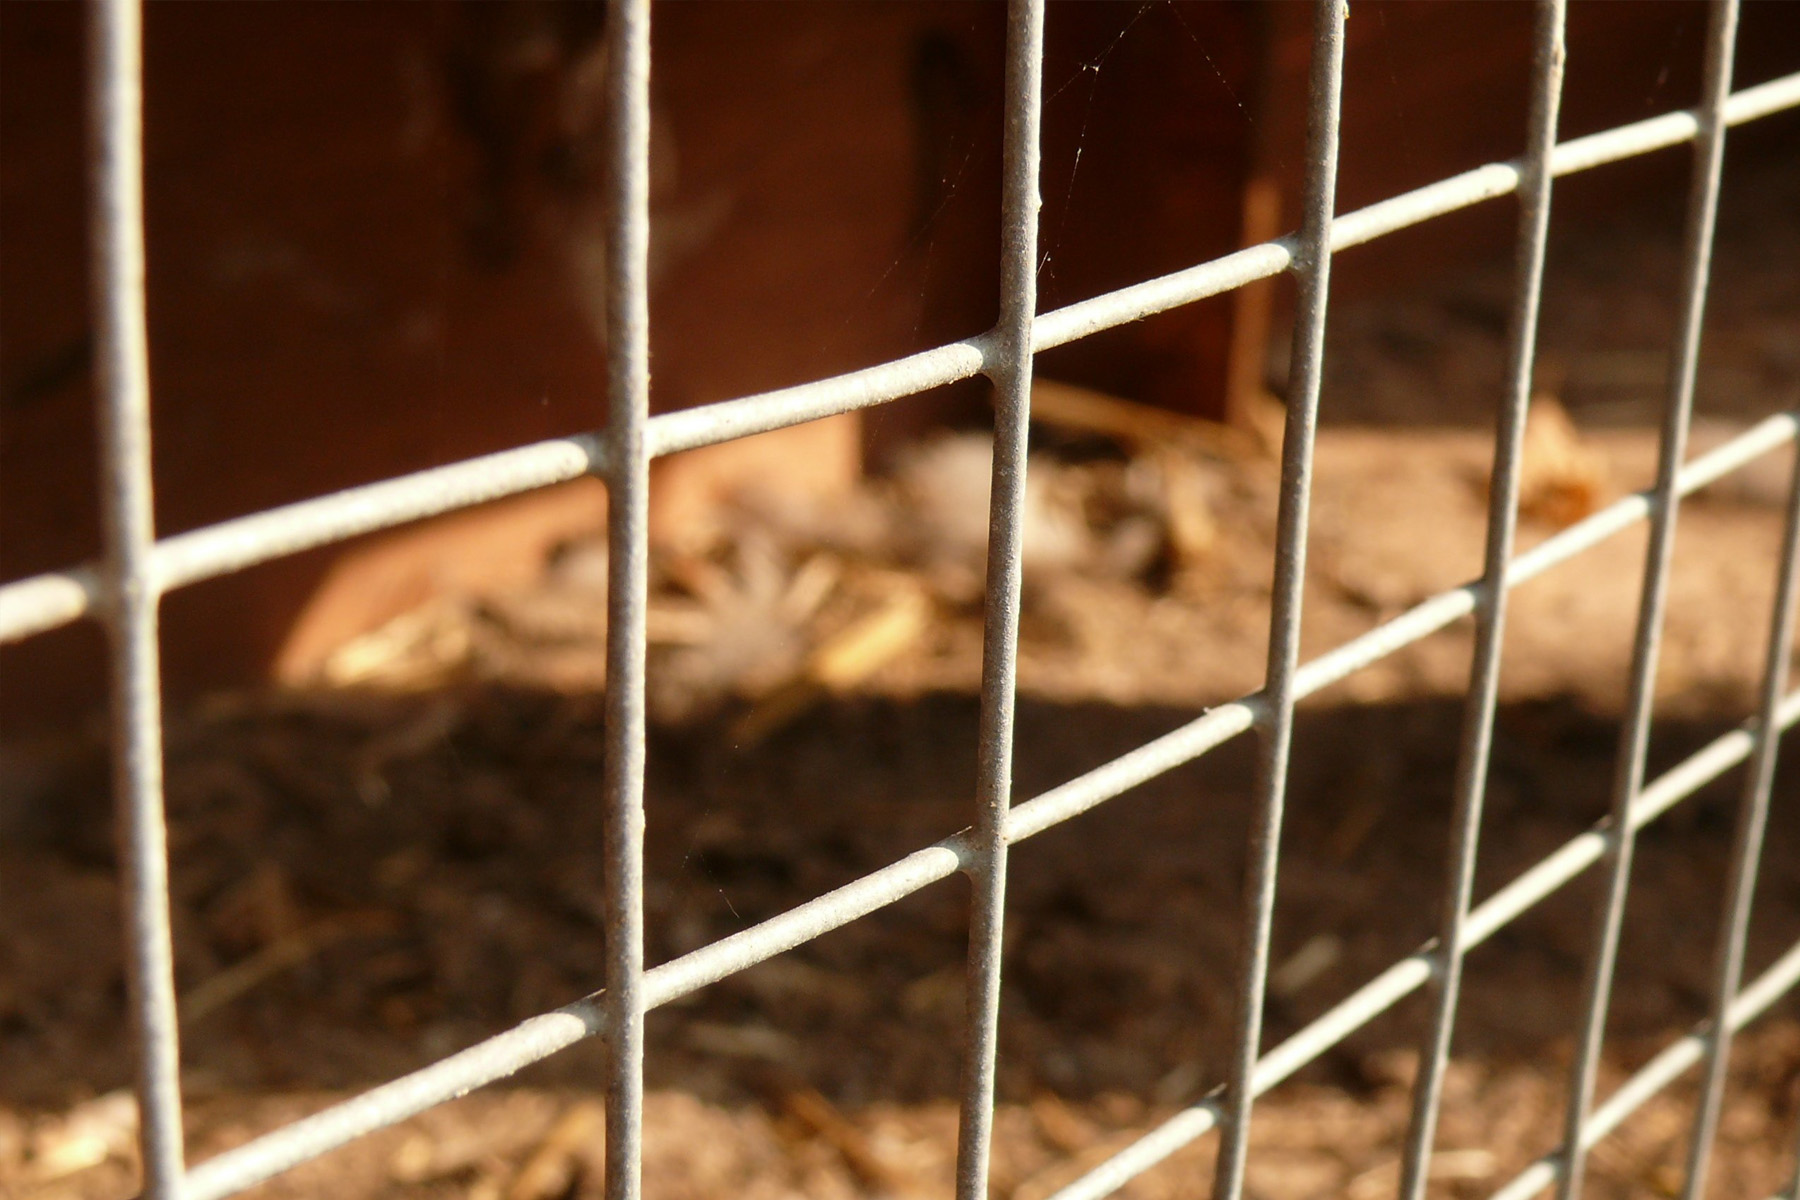
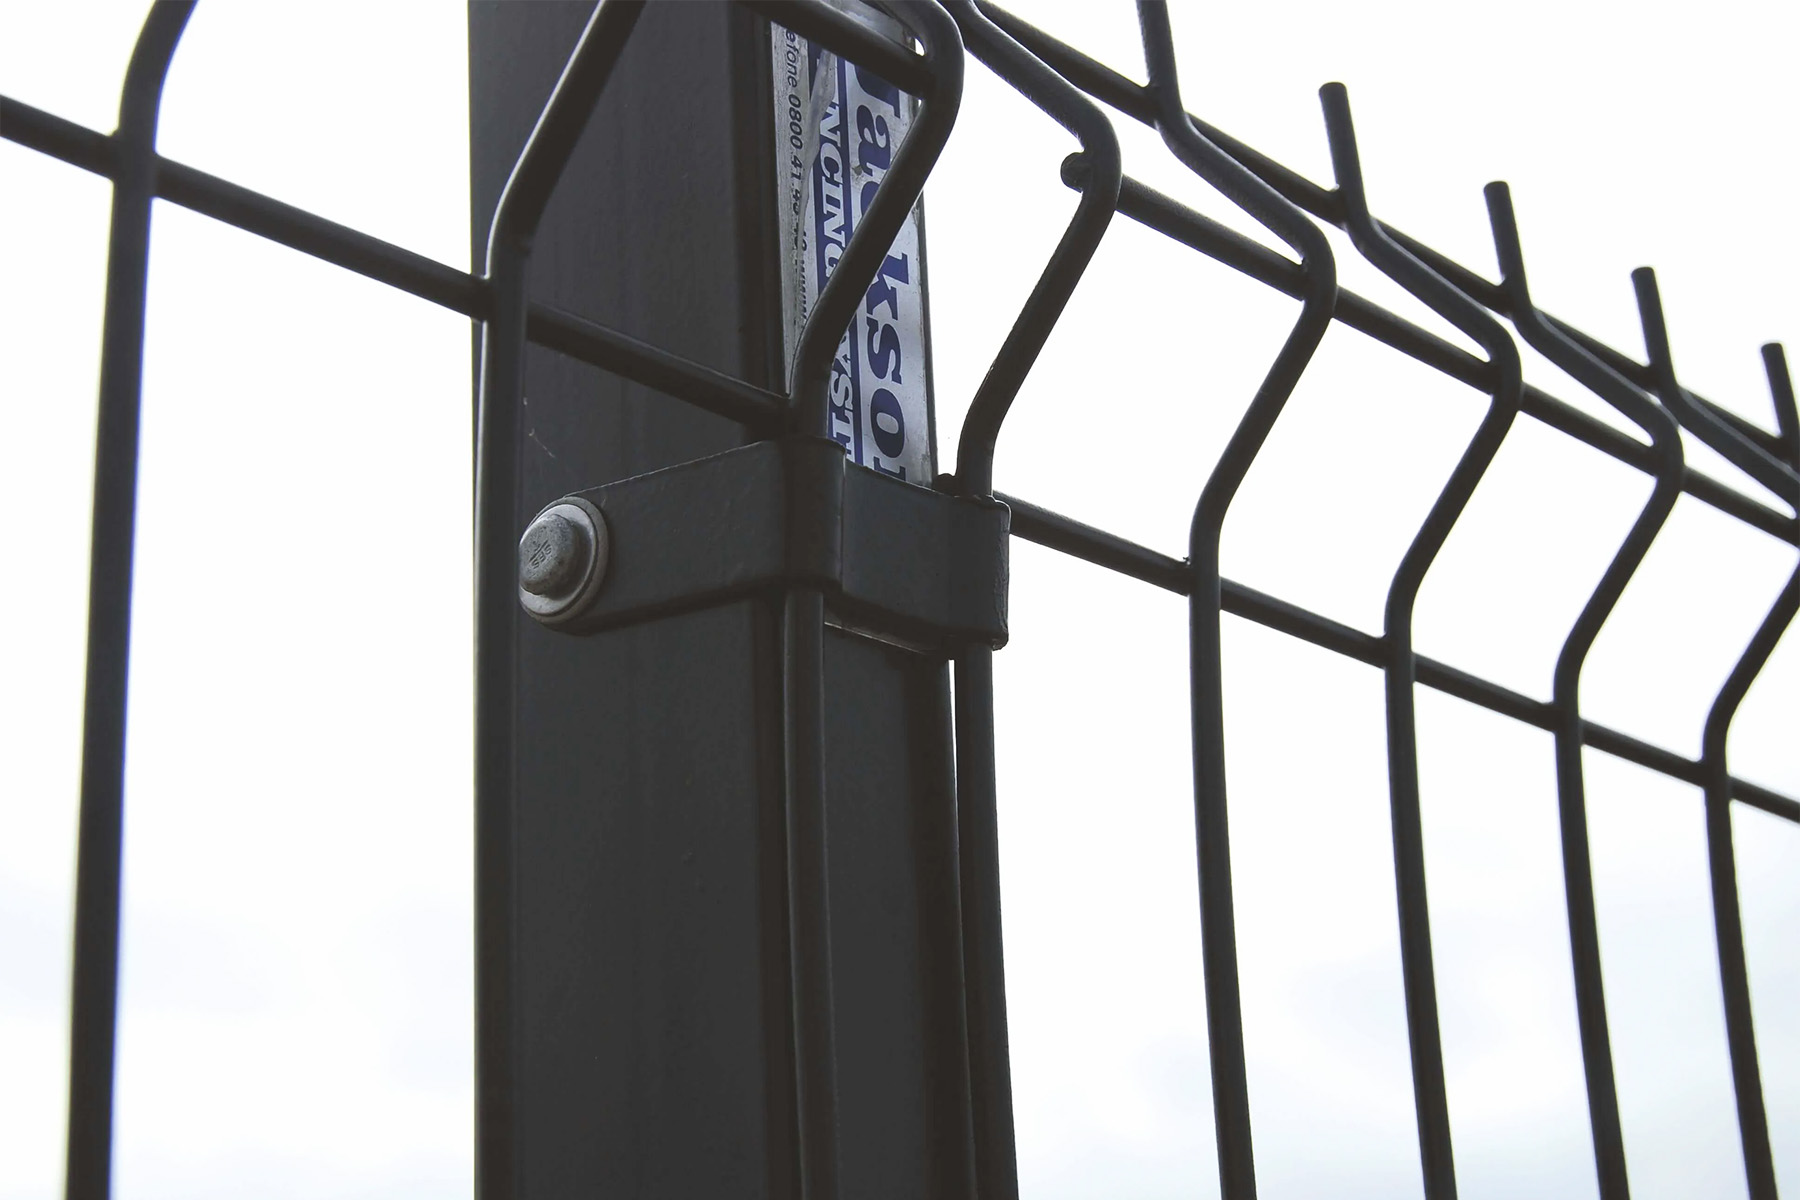
Closeup view of a black welded wire fence, post and bracket.
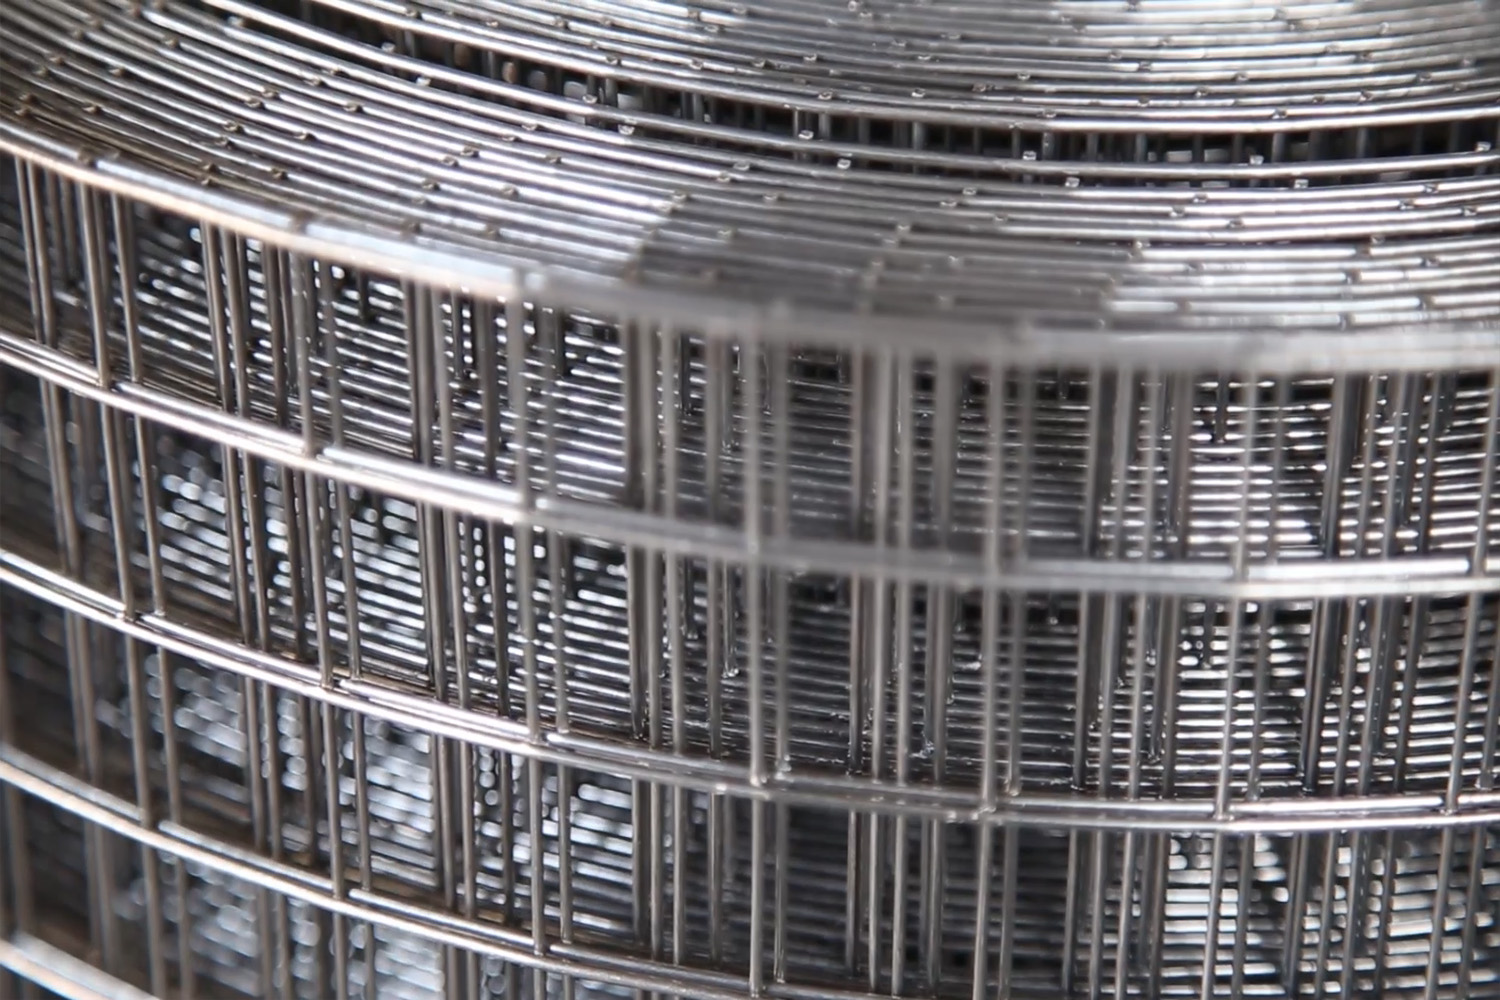
Closeup view of a welded wire fencing roll.
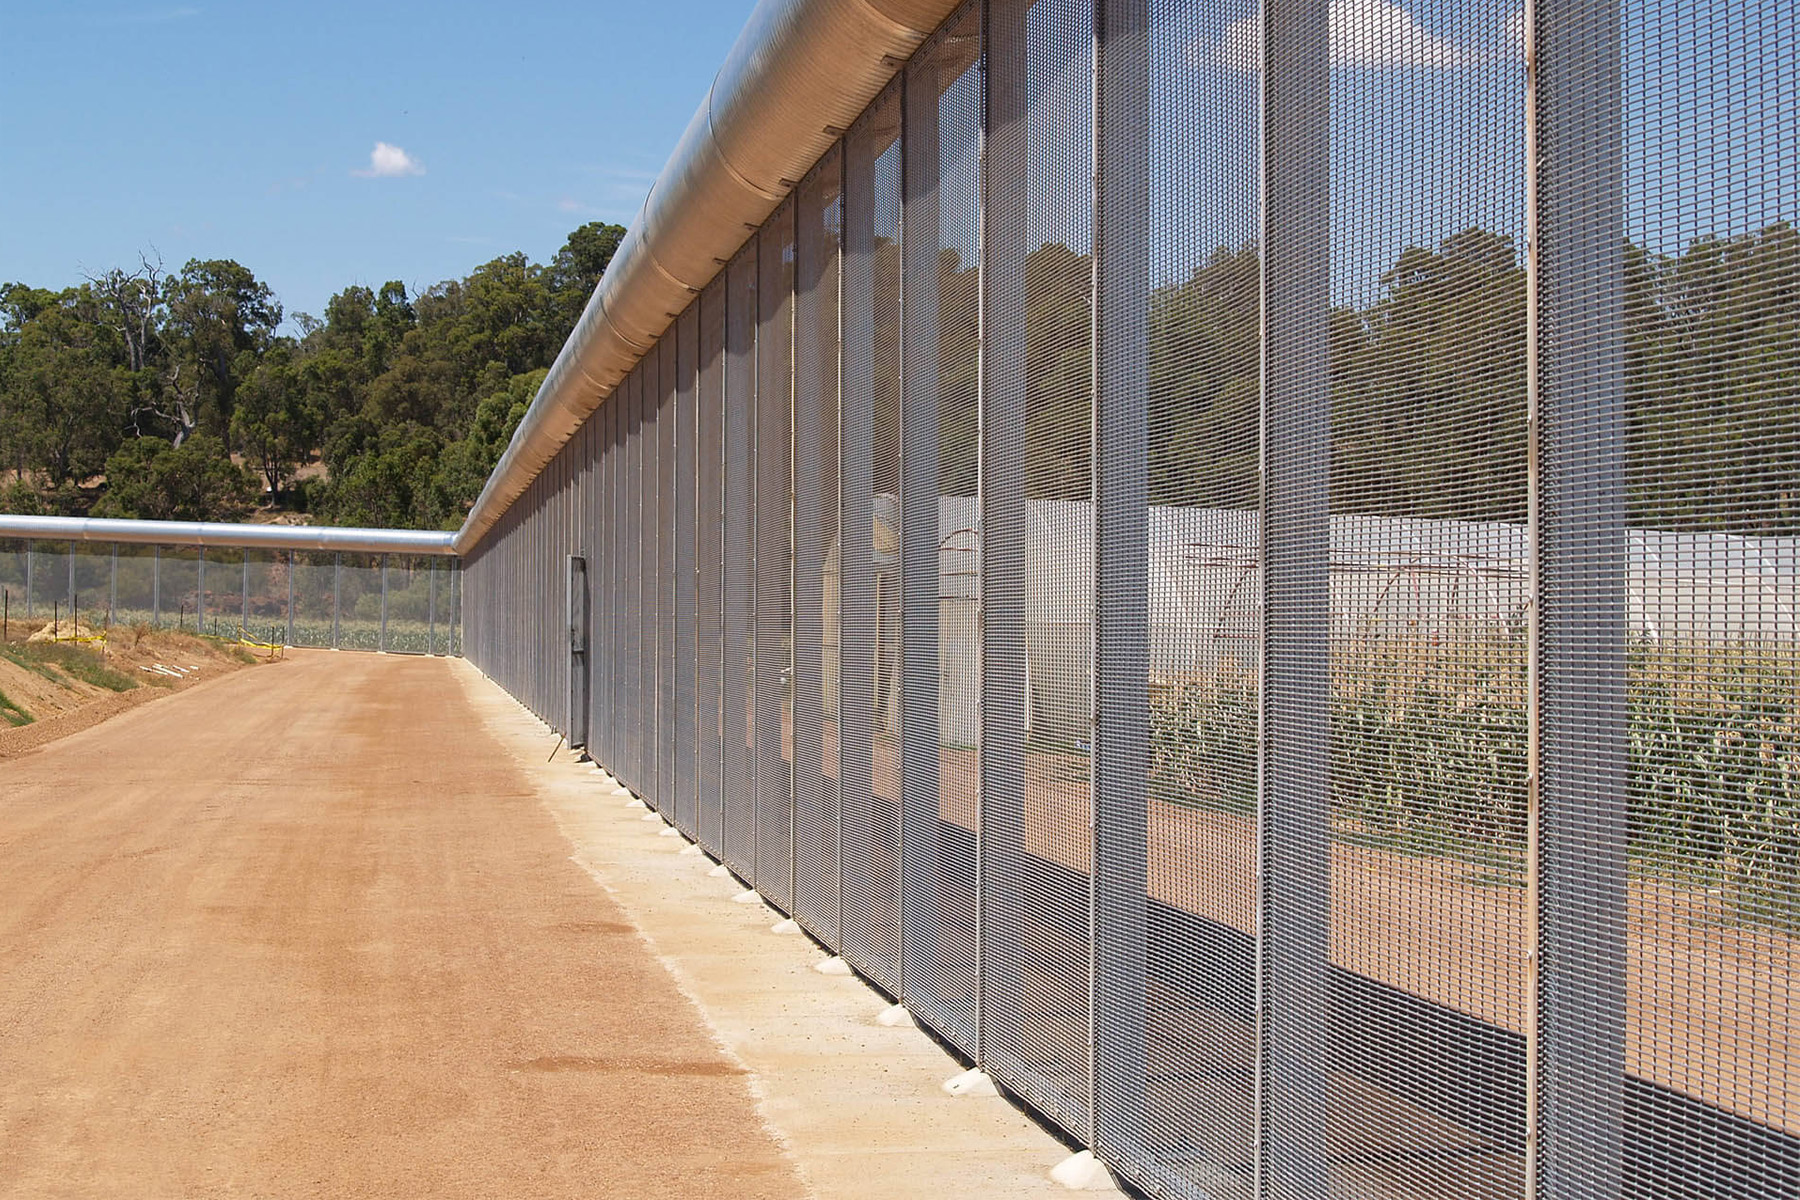
Heavy duty security fence built with welded wire.
Summary: How To Install A Welded Wire Fence
A welded wire fence is a great way to secure your property, keep animals out and pets in, while still retaining visibility through the fence. If you’re doing the job by yourself DIY then you’re in luck. It’s not that hard to install a welded wire fence. Although building a wire welded fence can be done alone, I recommend bringing a friend or two along. Especially if the fence is high. The first step is choosing the fence post material. You can use welded wire with a wood, metal or concrete posts.
A wooden fence post is easy because you can staple the fencing right to the post. But they don’t last as long as metal or concrete posts and are more difficult to maintain. Metal Posts looks more seamless because welded wire is also metal. They’re more durable, lasts longer, and requires less maintenance than wood. Concrete posts are the strongest and most durable, but don;t fit with every home’s design.
Once you’ve selected the post material, choose a height. Then pick the type of welded wire fence you want. It comes in different sizes, designs and colors. Start out by measuring and laying out the fence posts. Dig and set the posts. I recommend setting the posts in concrete at least 2 feet below grade. Once the posts are all up, level and plumb, start installing the fencing. Wire welded fencing is secured to the fence posts using brackets, wire or staples.
Wire welded fencing comes in a roll. Unwind and secure it to the posts as you go.Don’t unroll the entire fence on the ground because it will be more difficult to work with.
If you have any questions or comments about installing fencing, email any time.