How To Waterproof A Wall From The Inside
The best way to waterproof a wall is from the outside. Exterior waterproofing protects your walls from natural weather conditions and ground water. However, there are some great ways you can waterproof a wall from the inside to provide even more protection for your home. The best way to do it is by applying a waterproofing sealant onto the walls. Once dry, a sealer becomes waterproof which prevents water from penetrating through the walls and into your home. They’re applied just like a paint with brushes, rollers or a sprayer.
Caulks and other flexible waterproof sealants should also be used to fill small cracks or damaged areas of your walls. But to seal larger areas, you’ll need a masonry patch, mortar, cement, stone, brick or concrete. The method of repair you use should match the type of material used to build the wall.
Water seeping into your basement is a big problem that should be dealt with using a variety of methods. A small trickle or puddle on the floor may be a sign of a larger problem so don’t ignore it.
A variety of methods can be used to prevent water damage to the home such as a french drain and a sump pump. In case large amounts of water should penetrate into your basement, a drain and pump will remove it before significant damage is done.
Waterproofing your walls isn’t always an expensive project and can be done DIY. Professional help is not always required if you’re handy and have some basic tools.
In this article, we’ll outline the best ways to waterproof a wall from the inside with lots of helpful tips and tricks.
What Causes Water Problems Inside A Home?
There are several reasons why water can penetrate through the walls and into your home. Typically this happens in a basement or crawl space. But it can happen in other parts of the house as well depending on the home’s design and elevation. Water issues are a multi-faceted problem that should be dealt with by using several solutions together. This includes waterproofing from both the outside and inside of the walls.
In addition to waterproofing the walls, you also need a plan for dealing with water if it gets passed the waterproofing layers. The best ways to do it are a french drain which leads into a sump pump or drainage system.
Here are the most common reasons why a home could get water:
- Poorly maintained or positioned gutters which dump water near the house.
- Hydrostatic pressure.
- Cracked walls and floors.
- Condensation.
- Landscape pitching into the foundation.
- Poorly designed or non-existent drainage system.
- No waterproofing on the inside or outside of the walls.
The best way to prevent water from entering the home is by properly positioning your gutters, pitching the landscape away from your home, waterproofing both the inside and outside of your walls, and having a plan to deal with water should it enter the home. Luckily, most of these issues and their solutions are affordable and easy to DIY.
Step 1. Locate The Source Of The Water
The first step in waterproofing a wall from the inside is locating the source of the leak. This is a very important step because it helps you determine the right way to deal with the water. Some walls may have water issues because of a crack while others could need a waterproofing paint. Using the wrong type of waterproofing method may not fix the problem and could actually make it worse.
Finding the source of a water penetration isn’t that hard but it does take some proper timing. Check the area when exterior water levels are heaviest such as when its raining.
You can also create the leak yourself by using a hose around the area. Soak the area thoroughly until water starts to penetrate into the home. This is how we do it when going on waterproofing jobs because we can;t wait around for it to rain. But be ready with towels and a shop-vac to clean up any water that penetrates into the home.
Condensation Testing
A condensation test can help you determine of the source of the water is coming from the outside or from inside the room.In some cases, water on a basement floor can be caused by condensation in the room collecting on the wall and dripping down. In this case, waterproofing the wall from the inside with sealants and caulks wouldn’t help because the water isn’t coming from the outside.
Here’s how to conduct the test:
- Choose a wall that gets wet but at the moment is completely dry.
- Next, tape a piece of aluminum foil to the wall.
- Wait twenty-four hours before checking the foil.
- If the foil is damp on the backside, then water is coming through the wall from the outside. If it’s damp on the front side, moisture is collecting from inside the room.
It’s important to know if moisture is coming from inside or outside of the room.
- If it’s from the outside, sealants can help you waterproof the wall.
- But if it’s from the inside, you need to dry the air with airflow and/or vents.
If moisture isn’t coming from the outside, waterproofing your walls is much easier to do with airflow and/or venting. More extensive, and expensive, waterproofing methods may be avoided if you can find the source of the problem. So it’s worth doing a little investigation work before starting to waterproof your walls.
Step 2. Prepare The Cracks
Once you’ve located the cause of the leaks, you need to prep the area for repairs. It doesn’t matter what size the crack, gap or damage is or what material you’re using to seal the area, the preparation is always the same. Clean out the crack of all dirt, debris, particles, etc. and get it dry.
- Use a vacuum to suck up small bits of dirt, dust, concrete, mortar, etc.
- Use a brush to remove small bits of masonry.
- Remove chipping or damaged areas with a trowel, brush, hammer, etc.
- If you’ve got damaged bricks, remove all the loose bricks and mortar and clean the area.
- Remove chipping or flaking bits of mortar, stones, brick and/or concrete.
- Make sure the area is clean and dry.
- Use fans and/or a heater to dry the area before making repairs or using sealants.
Before waterproofing a wall from the inside, you must prep the wall. Thoroughly clean it and remove all damaged areas. Then make sure it’s dry. Repairs and sealers should always be applied to a clean and dry surface in order for them to adhere and work properly.
Step 3. Fill Cracks & Gaps
In order to successfully waterproof your walls from the inside, you must fill in all the cracks and gaps. It’s impossible to waterproof walls if there are cracks where water can penetrate.
Leaks are common in basements, crawl spaces and other interior walls if there are unfilled cracks leading to the outside. Luckily, fixing these cracks is a simple DIY task if you know how.
What product you should use and how it’s applied depending on the size of the crack and the type of wall material you’re dealing with.
- Small cracks are best sealed with caulk
- Medium cracks can be sealed with hydraulic cement
- Large cracks should be sealed with cement or mortar
- Very large cracks need fresh concrete and/or materials like block, brick or stone
Before sealing and waterproofing a crack of any size, make sure it’s dry and clean of all debris, dust, particles, etc. Moisture and debris could prevent the sealant from adhering properly.
In the section below, I’ll outline how I seal and repair different size cracks and wall materials.
Fill Small Cracks & Gaps
The first step when waterproofing a wall from the inside is making repairs. Fill small all the small gaps and cracks you find with a flexible waterproofing caulk. They’re sold in standard size 10 oz. caulk tubes and are applied with a caulk gun.
Before applying a sealant, make sure the cracks are dry. You can use rags, paper towels, a heater and fans to dry wet masonry quicker.
- Dry and clean the cracks before applying caulk.
- Use caulk to seal small gaps around 1/8-inch or less.
- Squeeze caulk as deep into the cracks as you can and smooth the excess with your finger.
- Make sure the caulk is waterproof and works on masonry.
- I prefer using a silicone based caulk because it’s waterproof and mold resistant.
Calk sealants travel deep into the cracks and crevices and set quickly which prevents more water from coming inside. Make sure to push product as deep into the crack as you can.
Cut the tip of your caulk tube on a slight angle to make applying it easier. I prefer using a very small hole so I can push the tip as far into the hole as possible. Don’t cut the tip hole too large or you’ll have trouble getting caulk into the crack.
Fill Medium Size Cracks & Gaps
Medium size cracks between 1/8-inch and 1/4-inch should be filled with something stronger than caulk. To seal and waterproof cracks this size I use hydraulic cement. It contains additives that help it adhere to masonry which creates a tight seal.
Hydraulic cement is sold in a standard size 10 oz caulk tube or a plastic tub. I use the caulk form to fill medium size cracks with a caulk gun because it helps me get product deeper into the crack.
Be careful when cutting the tip of the tube. Cut the hole as small as possible so that you can get it deeper into the crack. But not so small that product can’t flow freely.
-
- Dry and clean the cracks before applying hydraulic cement.
- Cut the tip of the tube slightly smaller than the width of the crack so you can apply sealant as deep as possible.
- Squeeze hydraulic cement as deep into the crack as possible.
- Then smooth excess material on the surface with your finger or a rag.
One thing to keep in mind when using hydraulic cement is that it dries extremely strong. You should not use it on older walls if they’re brittle because it can actually cause more cracks. If your walls are brittle, use cement in a tube instead. It’s applied just like hydraulic cement but it’s not as strong and won’t damage older masonry.
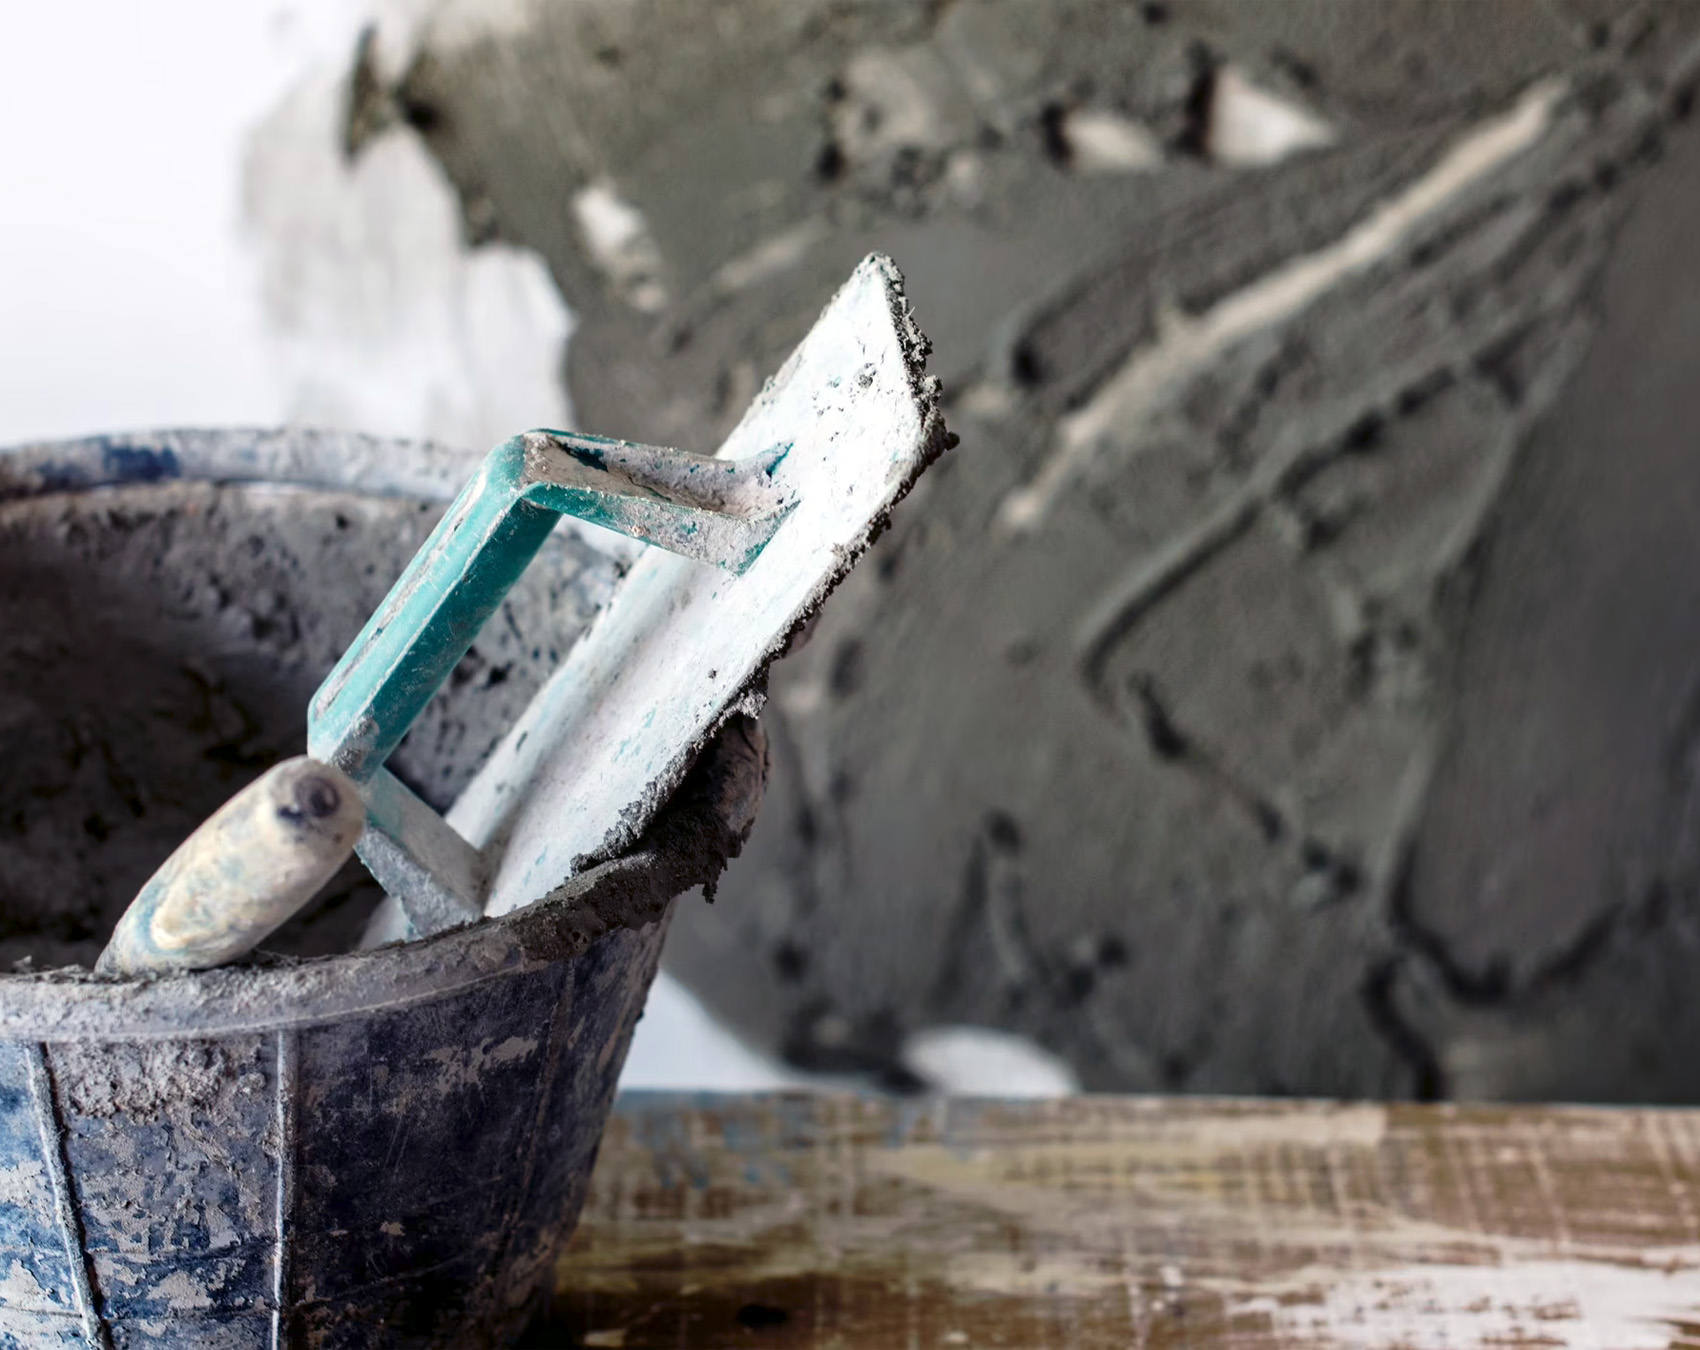
Fill Larger Cracks & Gaps
Large cracks of between 1/2-inch to 1-inch should be sealed and waterproofed using hydraulic cement in a tub or mortar. If there are only a few cracks, I use hydraulic cement because it’s faster and convenient. You can buy a few small tubs and make repairs in minutes. But if the walls have extensive cracks, I mix mortar out of cement, lime and sand. It’s cheaper to mix your own and you have more control over the material. But it’s not worth the effort if you just have a few cracks to fill.
Whichever method you use, hydraulic cement or mortar, it’s applied to the cracks with a putty knife or small trowel.
- Dry and clean the cracks before applying hydraulic cement or mortar.
- Load your tool up with product.
- Push material as deep into the cracks as you can.
Keep in mind that hydraulic cement is very strong and can damage older or brittle masonry. So use it with some caution because it can actually cause more cracks when used improperly.
One of the benefits of sealing cracks with your own mortar mix is that you can control the material.
- Use more sand in the mix to seal old and brittle masonry.
- Add more cement and lime to seal newer, stronger masonry.
I typically try to match my repair material to the condition of the wall I’m fixing. This is important to keep in mind because using a sealant that’s stronger than the wall can damage it.
Make Repairs
If your walls have areas of damage that a sealant can’t fix, such as missing bricks, stone or blocks, or large areas of missing concrete, you need to make repairs before you can do any waterproofing. The best way to repair a damaged wall is with a material that matches the wall. For example, use brick to repair a damaged brick walls, block for block walls, concrete for concrete walls, etc. This makes fitting the repair work into the old wall much easier.
In most cases, extensive repair work requires a bit of demo before you can start fixing. Remove loose bits of stone, block, concrete or brick and clean the area of all debris. This prep work is very important because you want to remove all the damage before making repairs.
Once the wall’s ready, start installing new material in the same style as the old wall.
- To repair a damaged brick wall, use new brick and mortar.
- For block walls, use new cinder blocks and mortar.
- Stone requires new stone and mortar to make repairs.
- Concrete requires fresh concrete and a bonding agent because new concrete doesn’t adhere to old concrete without it.
- If you’re having trouble binding new repairs to old work, use a masonry bonding agent.
Use a damp sponge to feather the edges of new cement, concrete and mortar into the old wall. Then if you later paint the walls with a sealant, the work will be harder to detect.
Fix Damaged Concrete Walls With Epoxy
Repairing cracked solid concrete walls is harder than brick, block or stone. The best way to do it is generally by using an epoxy kit. They’re easy to use and very effective at sealing and waterproofing cracked concrete walls.
Here’s how to use epoxy to seal, repair and waterproof a crack concrete wall:
- Vacuum out loose material and debris from the cracks.
- If the cracks are small, bang in concrete nails about 12-inches apart and then remove them. This creates a space for you to insert the tip of the injector.
- If the cracks are wide, you don;t need the nails because the injectors will fit without any help.
Epoxy kits have two parts labeled A and B. On their own, each part is useless. However, when mixed together thoroughly, they combine to form a new substance that’s extremely strong, durable and adhesive.
Some kits are in a liquid form and mix themselves when you squirt them into the crack. Other epoxy kits are a paste which you mix yourself and apply to the crack with a putty knife.
I use injection epoxy for deep cracks and putty for shallow cracks.
- A is the resin.
- B is the hardener.
Whichever type of epoxy you use, make sure to get material as deep into the crack as possible. This is the best way to prevent leaks in the future because it seals the area and doesn’t allow water in.
Fix Drywall Cracks
If your wall is finished with drywall, you should spend a little time repairing all the cracks before you prime and repaint it. Fixing small cracks is easy because they simply require another coat of spackle and some sanding. But larger cracks may require re-taping of a corner or seem.
- To re-rape a corner or seem, I first remove the old tape. Use a utility knife to dig in and find the edge of the tape. Once you find the edge, it’s easy to pull the tape off the wall.
- Once the old tape is removed, spread a fresh line of spackle along the seam or corner.
- Push a line of tape into the spackle. Use paper tape instead of mesh because it’s stronger and resists cracking.
- Use your knife to pull excess compound from under the tape.
- Apply a thin line of compound over the tape, remove excess with your knife and feather the edges.
- Apply at least 2 more layers of compound, sand and finish the wall.
Allow each coat of drywall compound to fully dry before applying the next. Once it’s dried, lightly sand over the tape and compound before applying the next coat.
Repeat the process of applying fresh drywall compound and sanding until your your walls are smooth. At least layers of drywall compound are best if you want string joints that won’t crack.
Once the final coat of compound is dry and sanded smooth, apply 1-2 layers of primer followed by 2-3 layers of high quality paint. I recommend using mold and water resistant primer and paint in a basement.
Filling drywall cracks that aren’t on a seam are much easier. Simply apply fresh compound and sand in thin layers as needed.
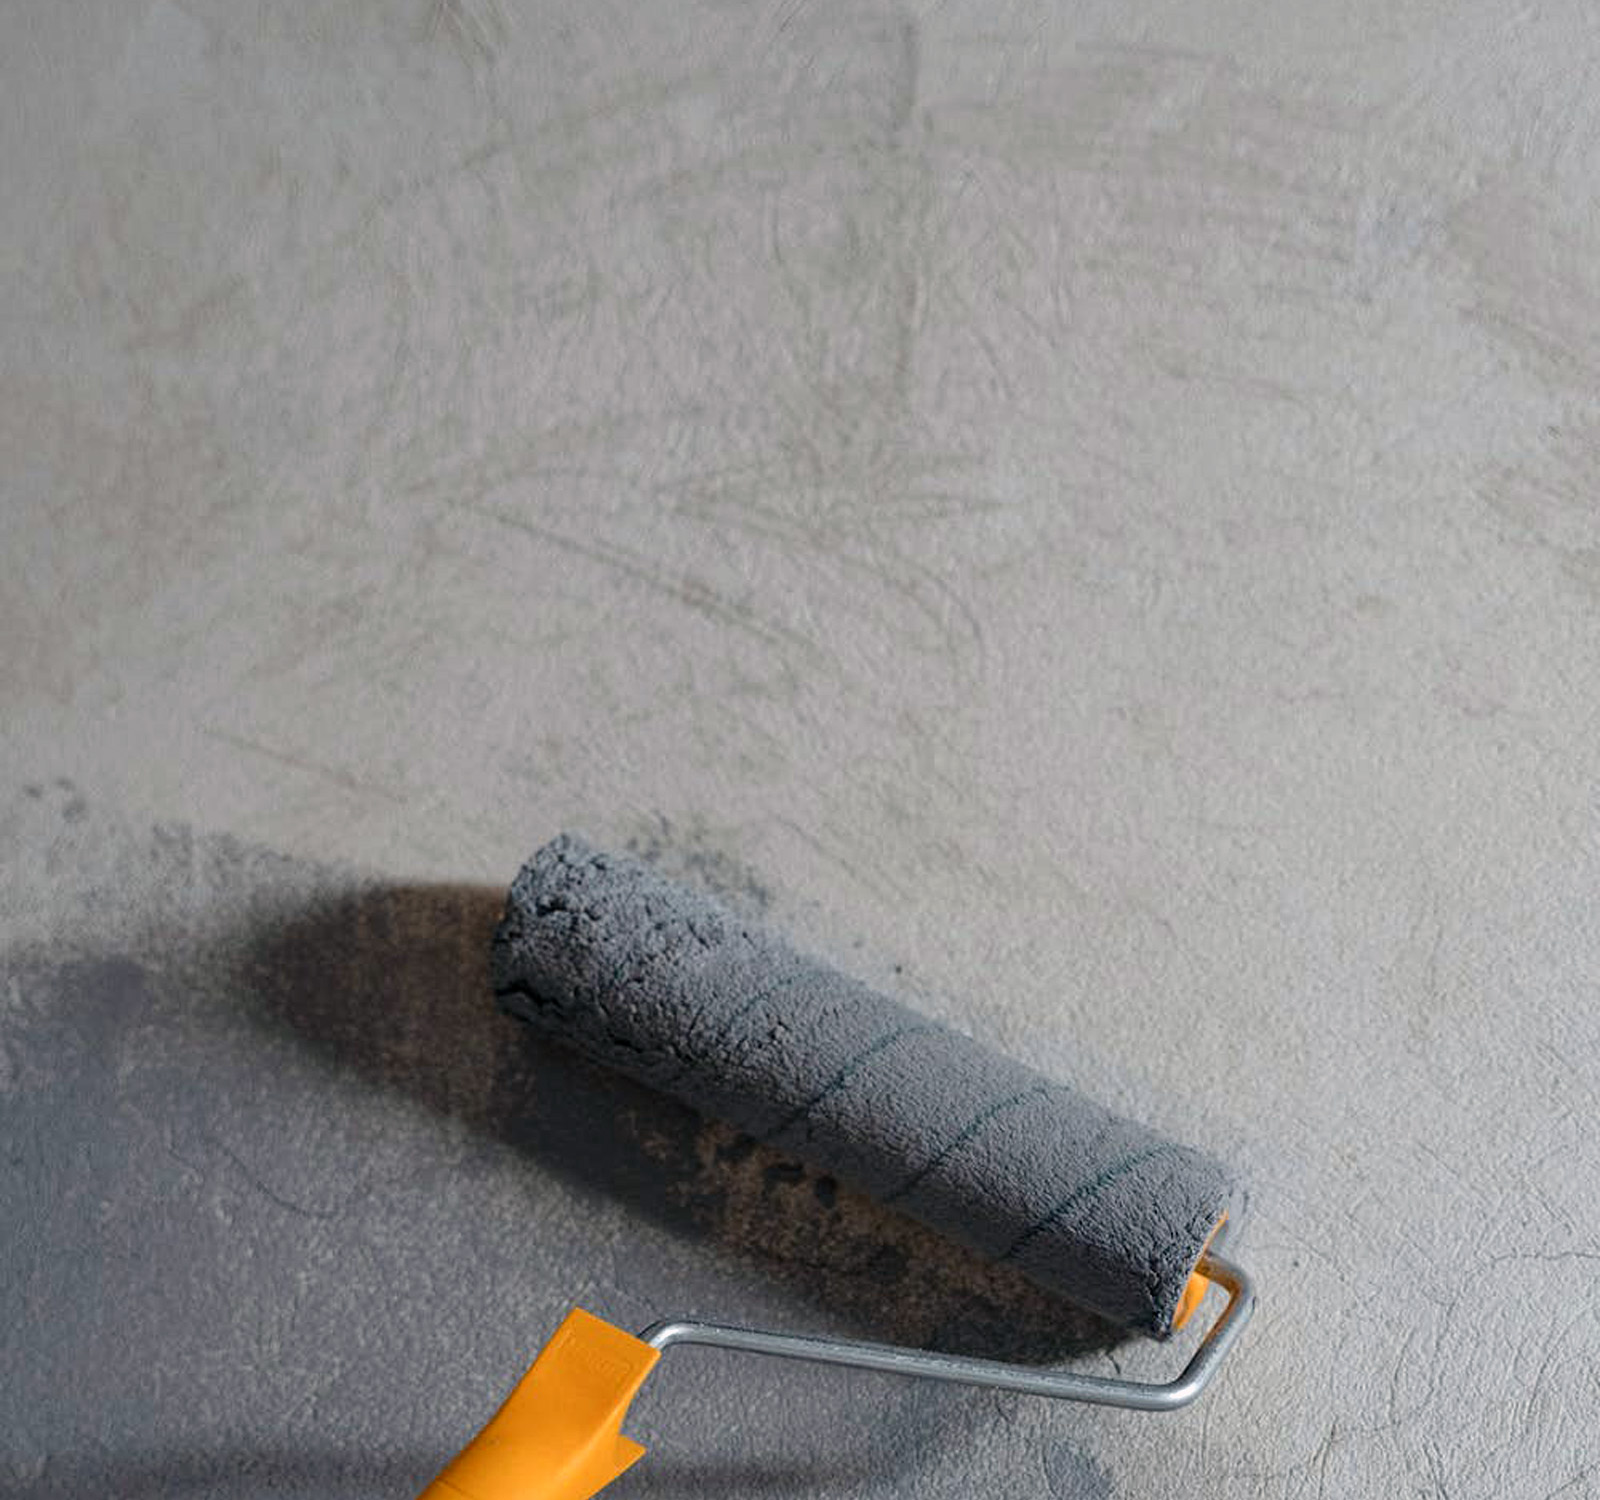
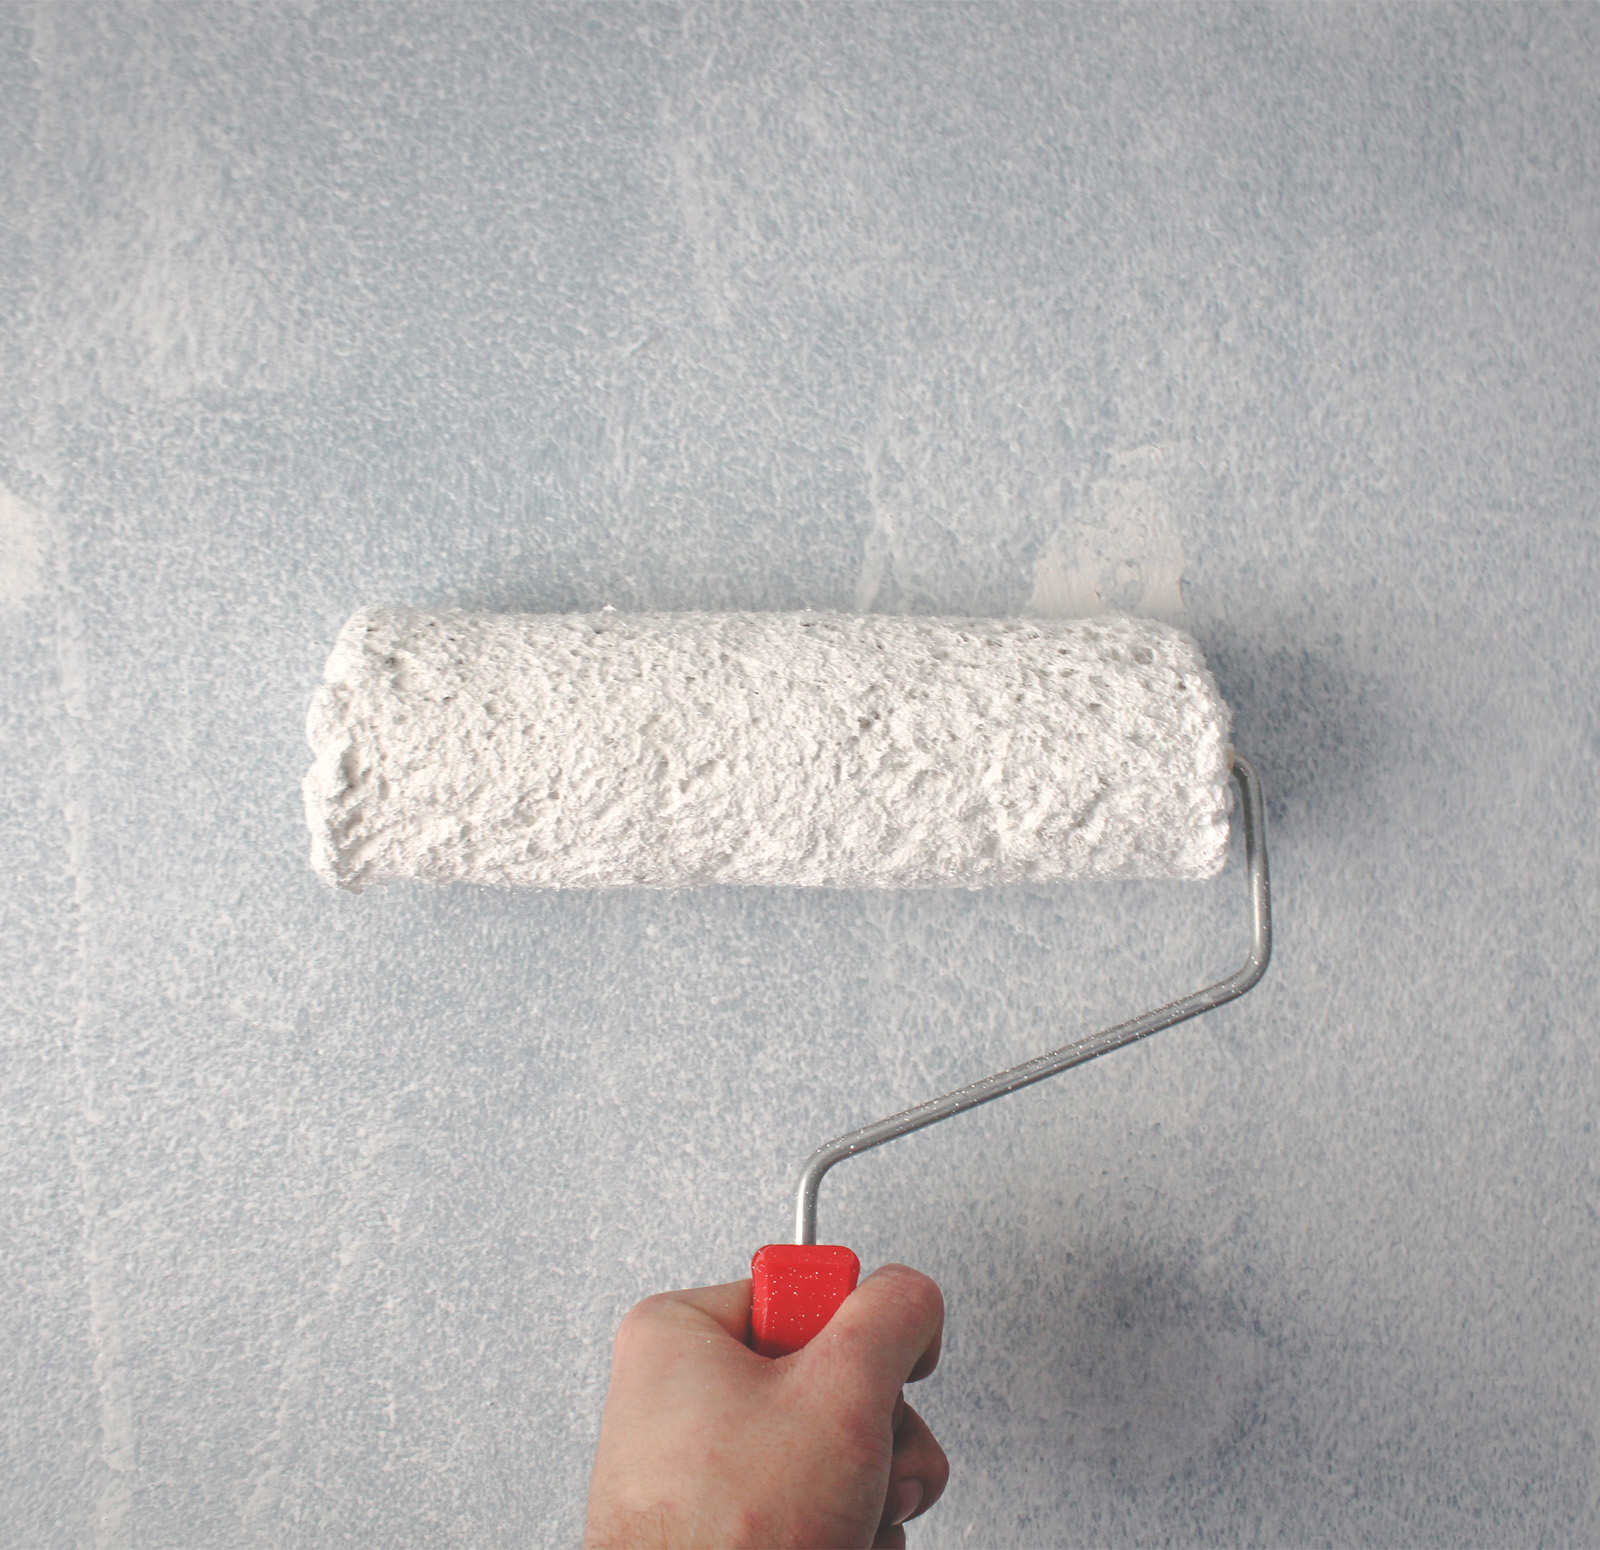
Step 4. Apply A Sealer
Sealer is painted onto the wall using brushes, rollers or a sprayer. Sealers are one of the best ways to waterproof a wall from the inside because they’re specifically designed to repel water. However, a sealer alone will not make a wall waterproof because liquid can still penetrate through cracks and damaged areas. Rather, it’s an essential part of an overall waterproofing strategy.
- Before applying a sealer, the surface must be clean and completely dry. Clean the walls with all dust and debris, oils, grease, mold, mildew, etc.
- Once the walls are clean, make sure they’re completely dry. Use fans or a heater to help dry them if necessary. But do not paint over wet walls because the sealer won’t adhere properly.
- Sealers are applied just like a pain using brushes, rollers and/or a sprayer.
- Use painters tape, tarps and plastic sheeting to cover areas you don’t want paint.
Sealer protects walls from chipping, cracking, flaking and water damage. They’re a huge help in waterproofing your walls, but remember they’re not fully waterproof. So make sure to make repairs and fill cracks along with using a sealer.
The following sealers are what I use to help make basement walls waterproof from the inside:
Drylok Masonry Waterproofer is the only product I use to waterproof masonry walls. It’s a fantastic waterproofer that comes in a few different formulas which usually have at least a 4 1/2 star rating. Choose the one that best matches the type of wall material you have.
Zinsser Gardz Dry Wall Sealer is the only product I use to seal drywall. It’s very easy to apply just like a paint and is very effective. They offer a few different formulas each with over a 4 star rating.
Step 5. Install A Sump Pump
Waterproofing a wall from the inside and out is a great way to prevent water damage. However, you should still have a plan to deal with water just in case it gets in. The two best ways to deal with water that penetrates into the house are a french drain and a sump pump.
- A french drain is located along the perimeter of the exterior walls. It collects and funnels water penetrating into the house to a single location. Typically this is a collection basin, drain or a pit with a sump pump.
- A sump pump collects and pumps water out of the house through a drain pipe that usually runs to a sewer system. Typically they’re installed in a pit which fills with water in the event of a flood. Every sump pump has a switch which automatically turns the pump on when water levels get too high. This prevents them turning on for small amounts of water.
A sump pump is a good idea even if you don’t have a french drain. In the event of a flood, the pit will fill up, activate, and remove the water. However, they won;t do anything to remove small amounts of leaking water.
Sump pumps are more effective when paired with a french drain because they can deal with and small amounts of water.
Superior Pumps are the brand I use for all of my waterproofing jobs. They offer a variety of designs and sizes that can potentially deal with thousands of gallons of water per hour. Many are very easy to install because they’re compact and plug into a standard size outlet.
Step 6. Install A French Drain
A French drain is a small trench cut along the perimeter of your exterior walls that guides water to a central location. They can be installed on both the exterior and interior of the home. For the sake of this article we’ll be discussing interior french drains.
Typically a french drain helps waterproof walls from the inside by diverting small amounts of water that leaks onto the floor to a pit. The purpose of the pit is to collect water and divert it out of the home. At the bottom of the pit is usually a drain or a sump pump that leads to a sewer system.
- If your home is high, you can install a drain that runs downhill to a sewer system.
- If your home is low, you’ll need a sump pump to shoot water out of the house and into a sewer.
An interior French drain is installed by cutting out a strip of concrete floor and digging a trench to the base of the footings. A bed of gravel is poured onto the floor of the trench, followed by a perforated pipe and more gravel. A filter sock is wrapped around the pipe which allows water into the holes but not gravel.
The french drain and drainage pipe are pitched downhill so they divert water into a pit. The pit collects water and sends it out of the house either through a floor drain or a sump ump.
Water Resistant Drywall
If you’re finishing a basement or an area of the home that’s prone to get wet, use water resistant drywall instead of standard drywall. It isn’t waterproof and should still be sealed, however, it’s made from material that’s better able to resist water damage. This provides a little bit more protection against water damage and helps waterproof the wall from the inside.
- Green Drywall: You can buy water-resistant drywall at any Home Depot, Lowes or drywall supplier. It comes in all the standard drywall sizes and is easy to find because it’s colored green.
- Purple Drywall: Drywall that’s colored purple has additional fire and mold resistance. The mold resistance is especially beneficial in basements or areas of the home that get wet. While it’s not water resistant, it’s special coating helps it resist mold and mildew growth which can be more beneficial that moisture resistance in some cases.
No matter what type of drywall you hang in a basement, you should always seal it. Sealing drywall before painting is a great way to help waterproof a wall from the inside which may help prevent water damage, mold and mildew growth.
Summary: How To Waterproof A Wall From The Inside
The best way to waterproof a wall is from the outside. Exterior waterproofing protects your walls from natural weather conditions and ground water. However, there are some great ways you can waterproof a wall from the inside to provide even more protection for your home. The best way to do it is by applying a waterproofing sealant onto the walls. Once dry, a sealer becomes waterproof which prevents water from penetrating through the walls and into your home. They’re applied just like a paint with brushes, rollers or a sprayer.
Caulks and other flexible waterproof sealants should also be used to fill small cracks or damaged areas of your walls. But to seal larger areas, you’ll need a masonry patch, mortar, cement, stone, brick or concrete. The method of repair you use should match the type of material used to build the wall.
Water seeping into your basement is a big problem that should be dealt with using a variety of methods. A small trickle or puddle on the floor may be a sign of a larger problem so don’t ignore it.
A variety of methods can be used to prevent water damage to the home such as a french drain and a sump pump. In case large amounts of water should penetrate into your basement, a drain and pump will remove it before significant damage is done.
Waterproofing your walls isn’t always an expensive project and can be done DIY. Professional help is not always required if you’re handy and have some basic tools.
If you have any questions or comments about how to waterproof walls from the inside, email any time.